How to create the bevel & emboss effects for editable text in Adobe Illustrator
6 minute readIn this tutorial we will talk about how to get the Bevel & Emboss and Letterpress effects for editable text using native Illustrator's features. Let's get started!
Creating bevel effect using the 3d effect
The first thing that comes to mind is to apply the 3D Extrude & Bevel effect to create a bevel on the editable text. You would usually type your text, select it, then go to Effect > 3D > Extrude & Bevel. Then, in the dialog box you would select the Front for Position preset, Classic Bevel, set the height and tick Preview option. The effect has a lot of options, but, unfortunately, this way to create a bevel effect is not ideal. We can get a number of artefacts that are not editable, as well as self-intersections of bevels and step color transitions. instead of this method, we are going to show you how to use the Appearance Panel to create this effect and keep it live the whole time.
Create Emboss effect using the Appearance Panel
The Appearance panel is undoubtedly one of the most powerful of Adobe Illustrator tools. And you will now see why this is the case with this tutorial, it's surprising how many Illustrator users don't know of or don't use the Appearance Panel.
Emboss effects
Type the text that we will work with.
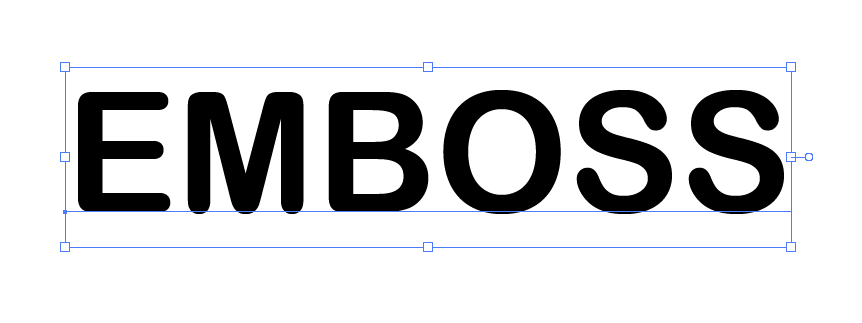
Disable the fill in the Tools panel and open the Appearance panel (Window > Appearance).
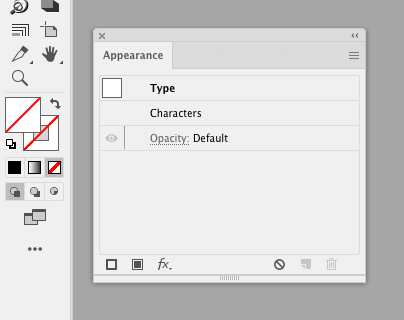
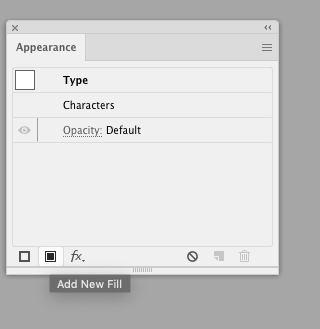
Create new fill by pressing the corresponding button in the Appearance panel.
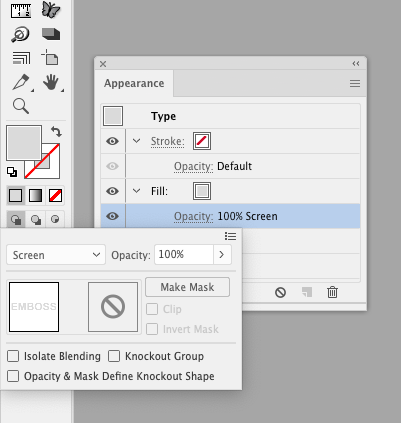
Replace black color with gray and apply the Screen blending mode to this fill.
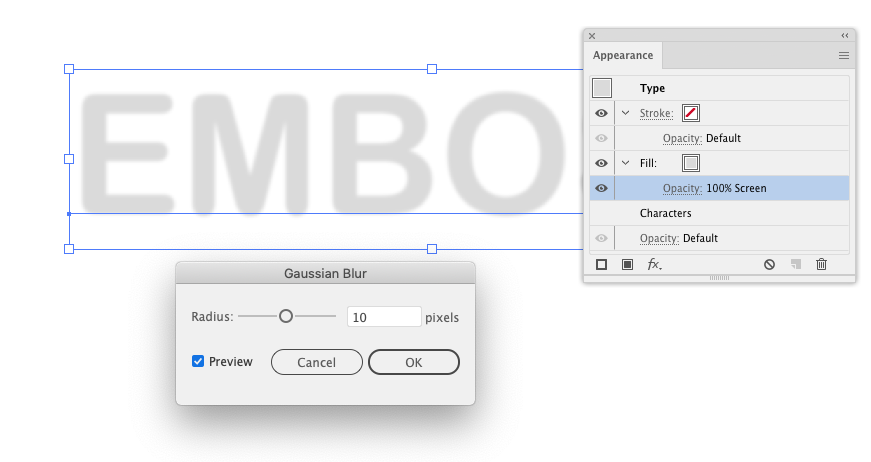
Apply the Gaussian Blur effect to the fill (Effect > Blur > Gaussian Blur…).
Duplicate the fill.
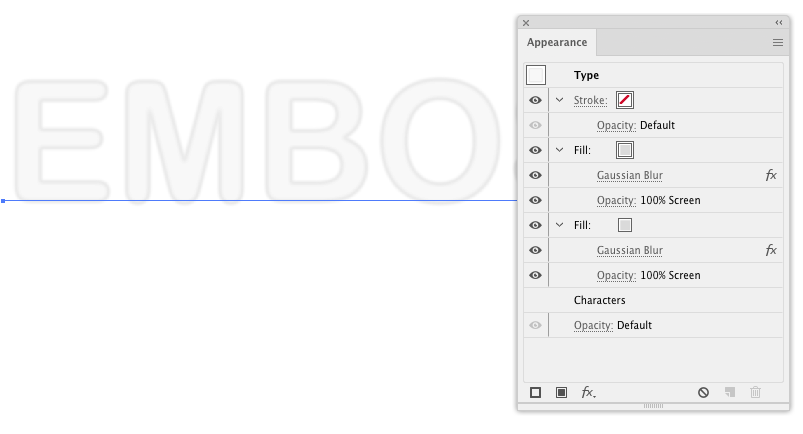
Replace the color of the top fill with a darker shade of the base color and apply the Multiply blending mode to this fill.
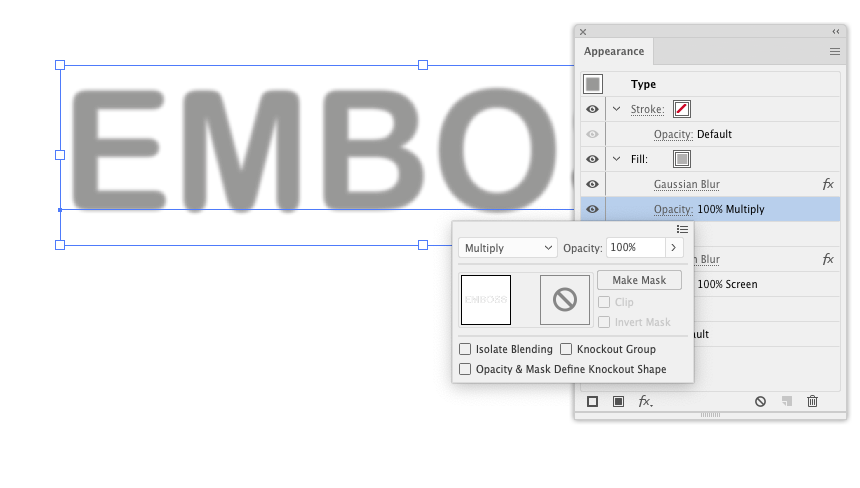
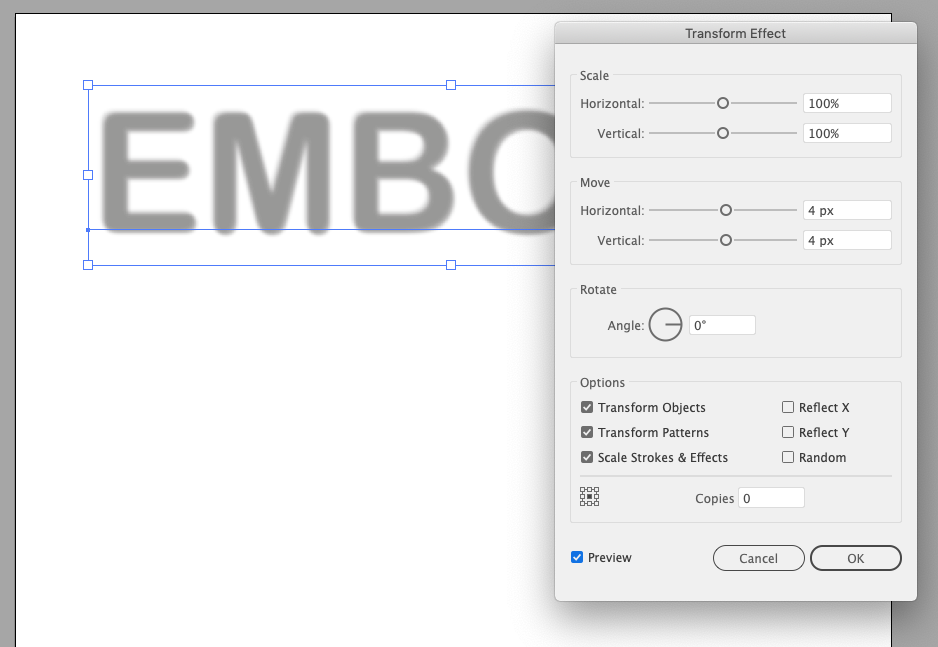
Keeping the top fill selected, go to Effect > Distort & Transform > Transform… and set the horizontal and vertical Move value.
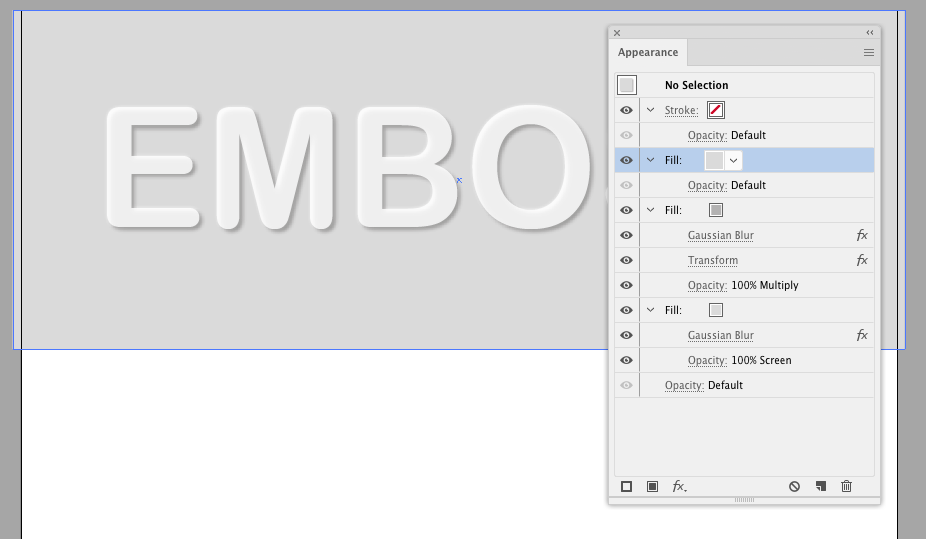
Add a new fill which color matches the color of the background.
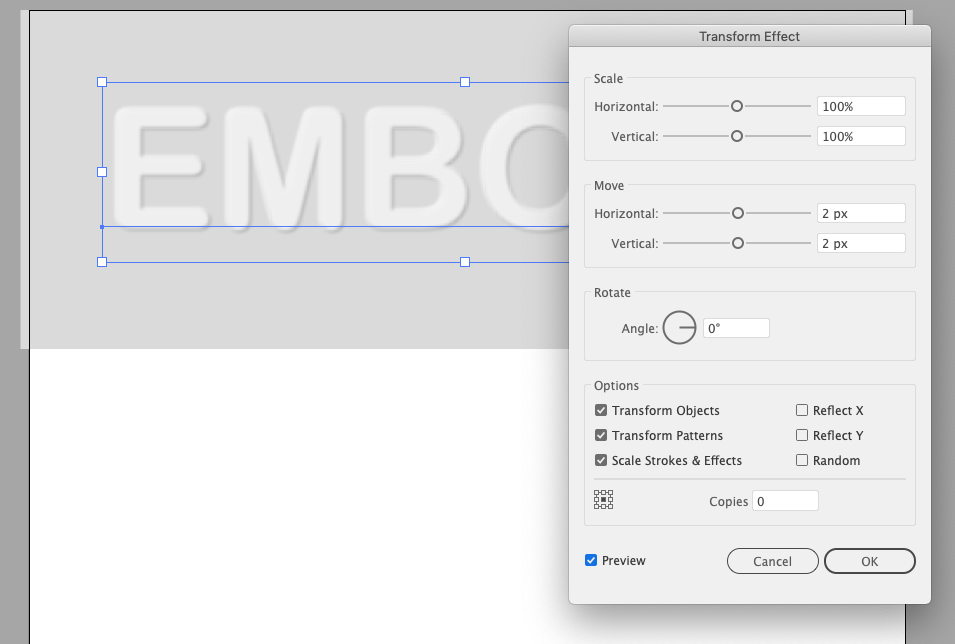
Select this fill, then go to Effect > Distort & Transform > Transform… and set the horizontal and vertical Move values that are half than in the previous Transform effect.
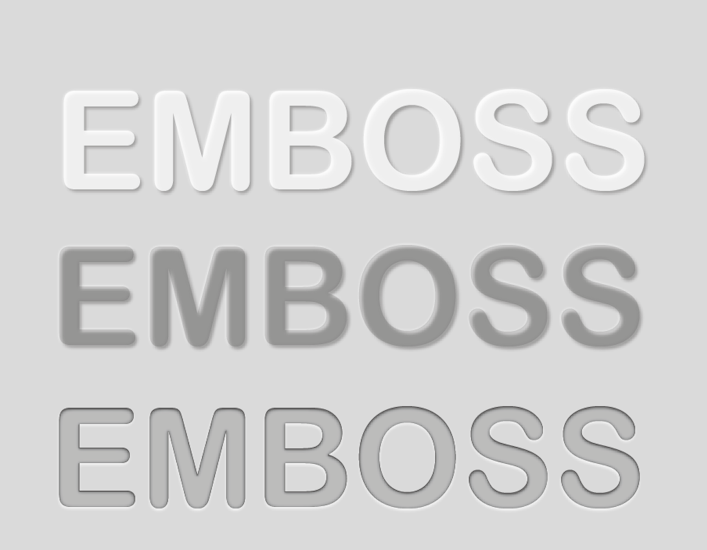
The Emboss text effect is ready.

The upper plane of the text now looks completely flat. But we can easily create the illusion of a rounded bevel on the text. Simply apply the Multiply blending mode to the upper fill.
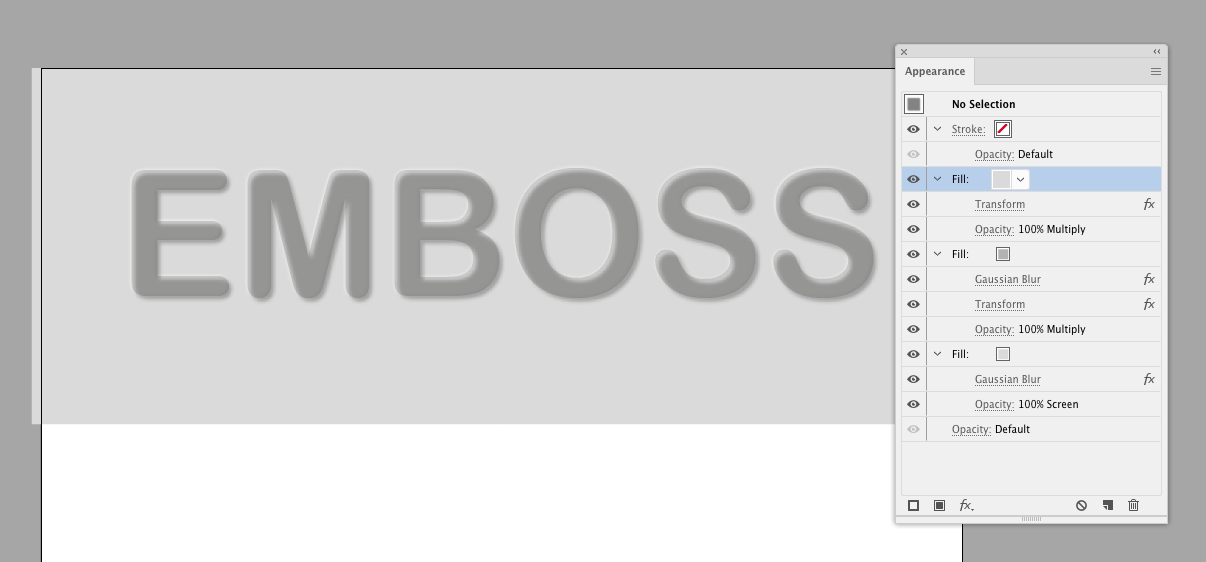
This method works best with rounded fonts.

Letterpress effect
Duplicate text created in the previous section, and remove two upper fills in the Appearance panel.
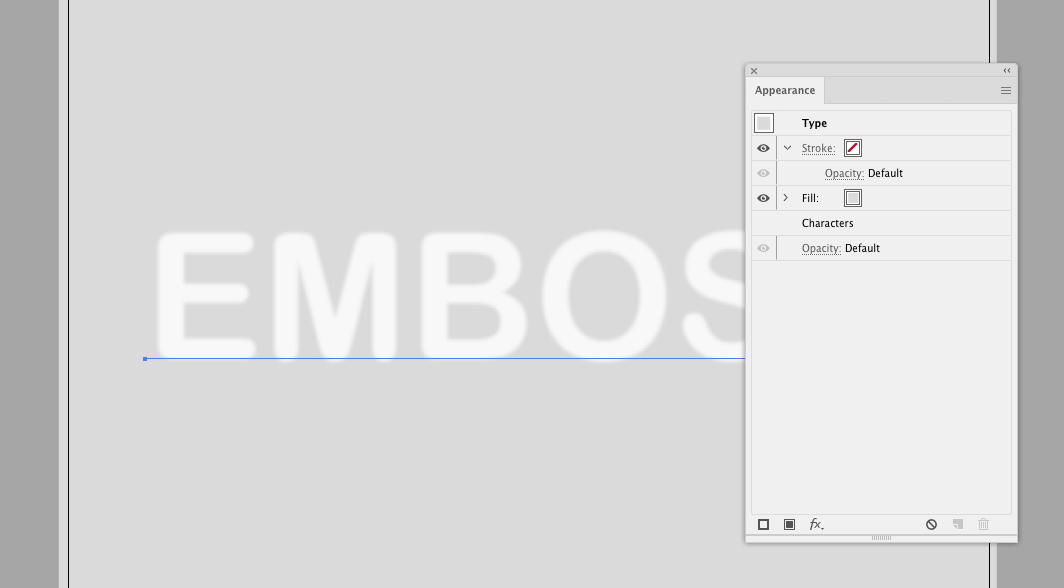
Create a new fill with a darker shade of the text.
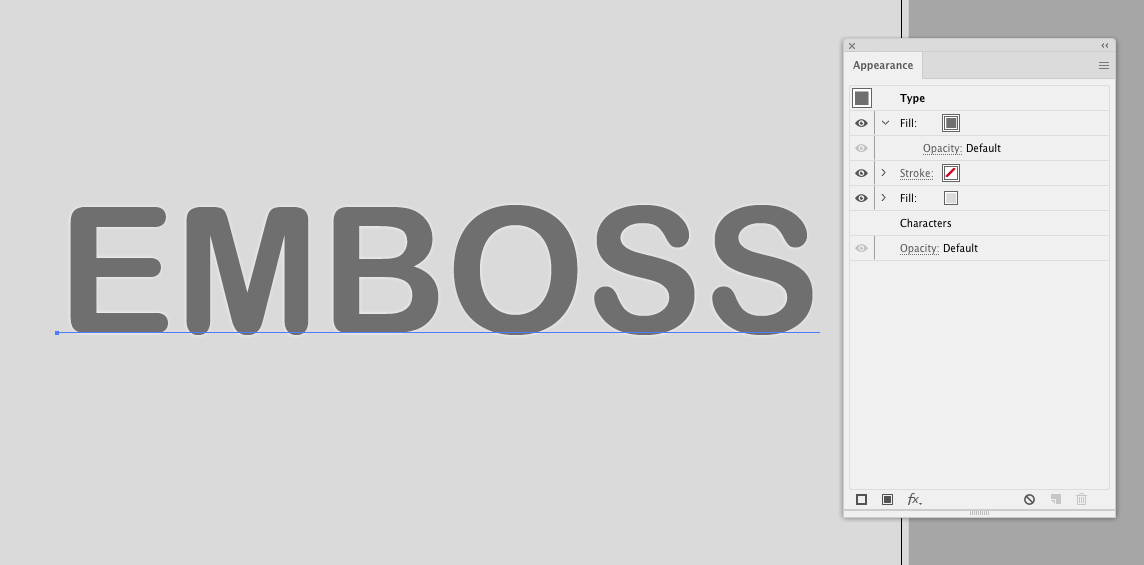
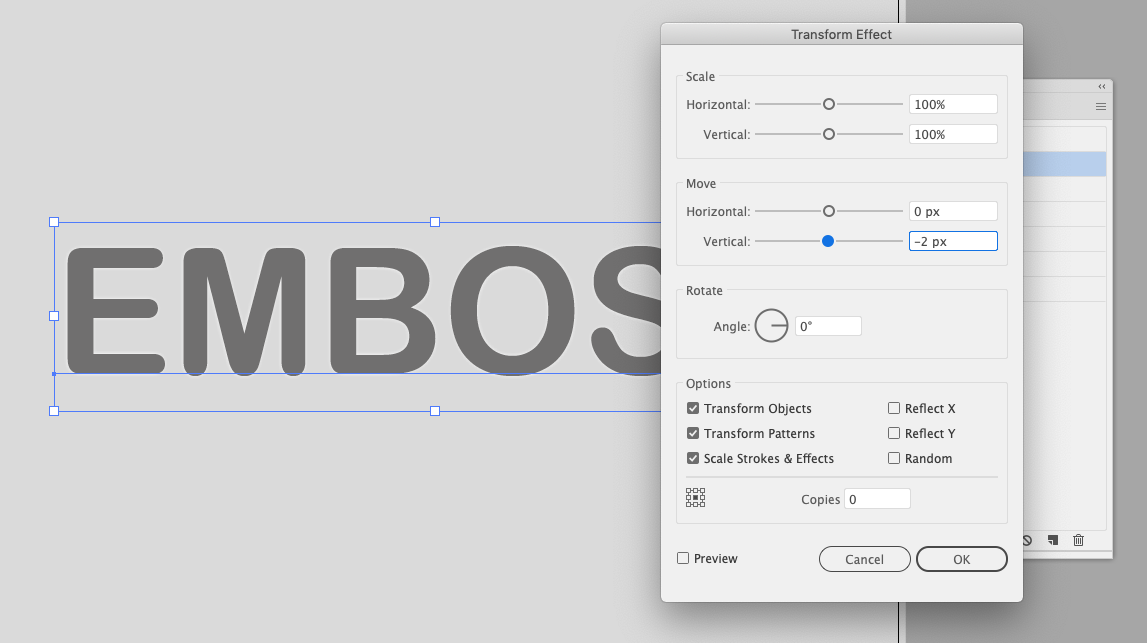
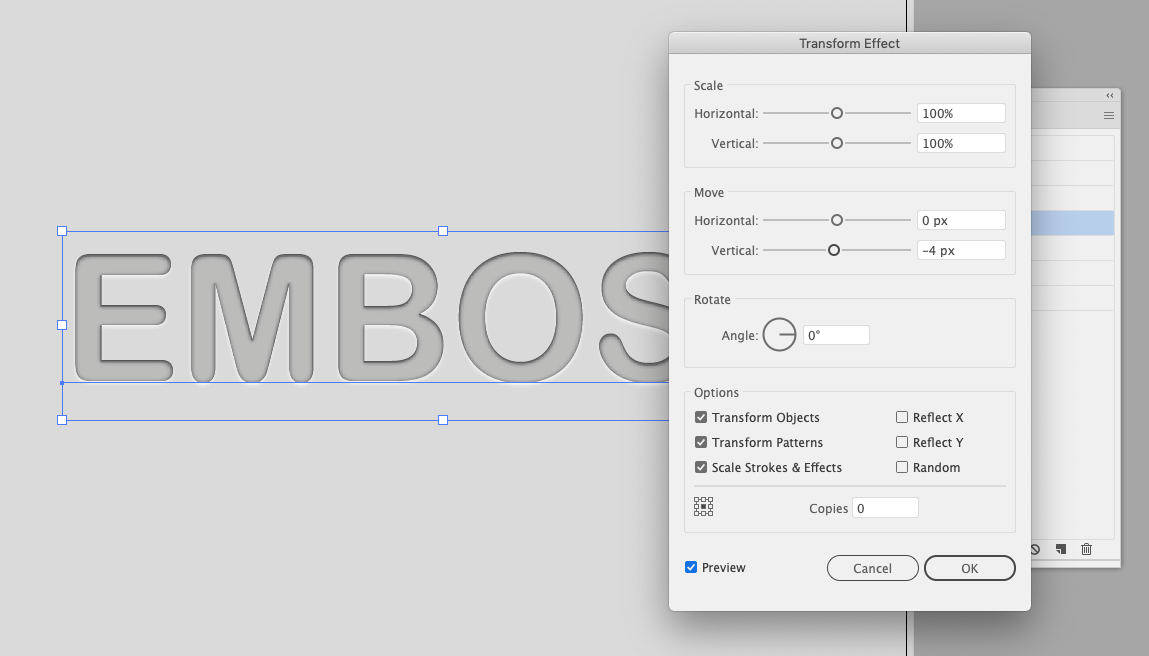
Apply the Transform effect to it and set the horizontal offset value for the fill to shift slightly upwards.
Apply the Inner Glow effect to the top fill (Effect > Stylize > Inner Glow…). Select the options shown in the picture below.
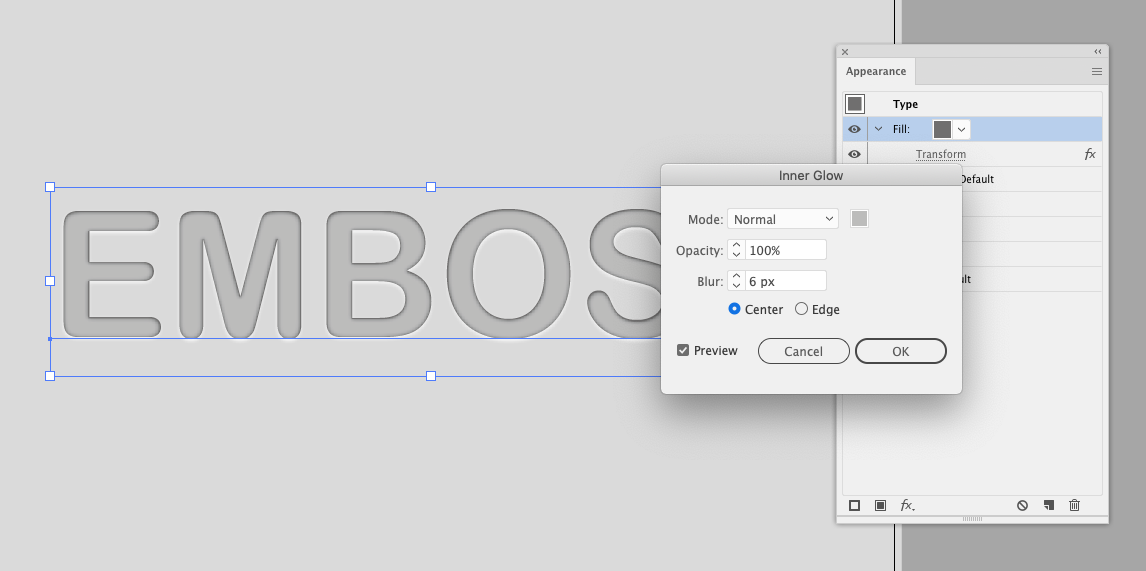
And finally, let's enhance the effect of the inner shadow. Create a new dark gray fill and place it between two existing fills in the Appearance panel.
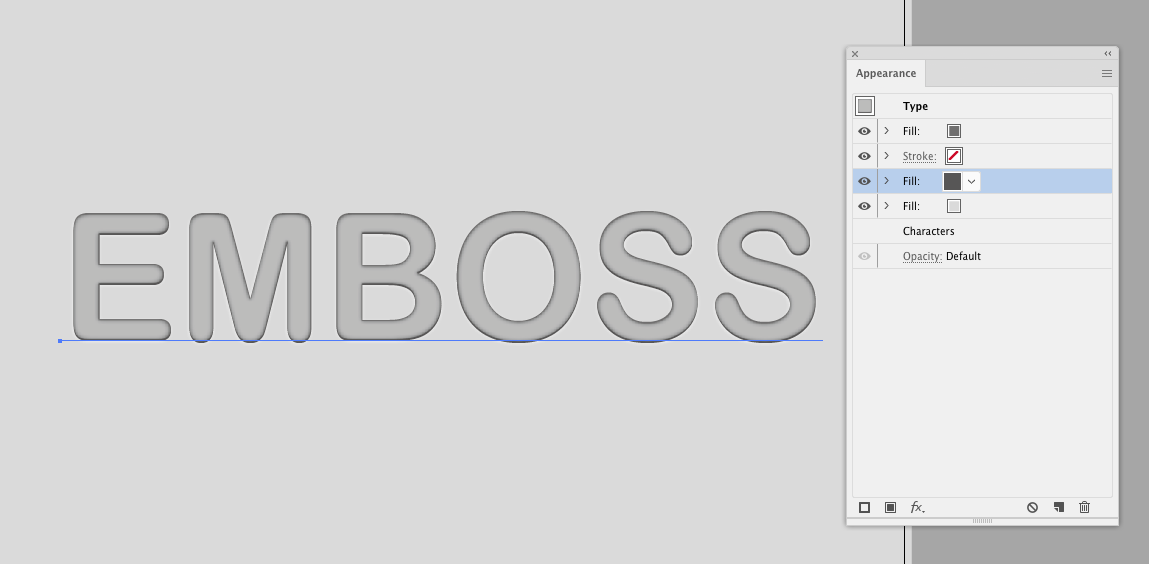
Apply the Transform effect to this fill, setting the vertical offset value.

Save all styles created today in the Graphic Styles panel in order to quickly apply effects to any editable text.
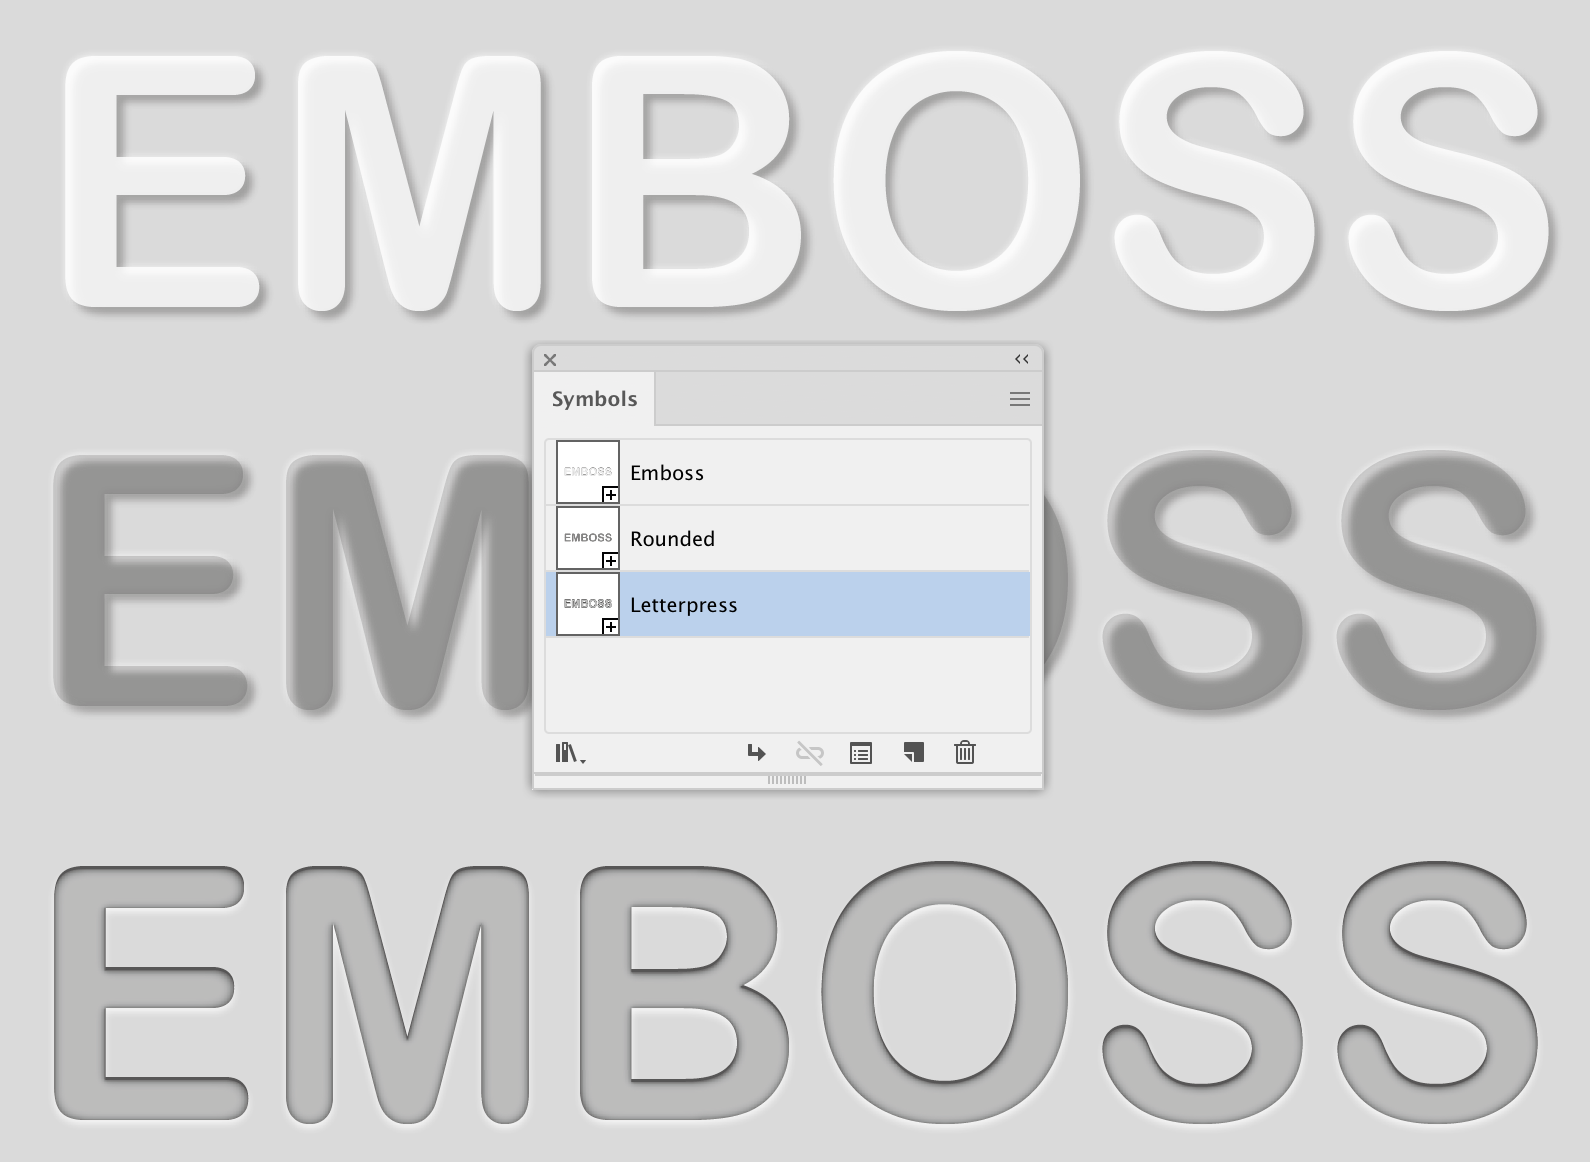
Using the Appearance panel, you can create even more complex effects for the text, and manage the effects more conveniently using the Stylism plugin.
