Featured Artist - AG Offset Tool with John Harman
7 minute readFor this monthly theme of daily Geometric Vector Art I decided to use the Astute Graphics AGOffset tool as much as I could to replace my normal ‘manual’ processes of making the designs using blend tools and repeating copied shapes. While it is similar, it did require approaching things in different ways but it fit nicely into my workflow. I would normally build the initial line shape with the default Illustrator blend tool, but in this case using the AGOffset gave me the control of the easing to make the lines fit together differently. In places I did have to ‘break’ the Offset objects to then disassemble the parts to make the desired look, but I do that with my normal designs as well.
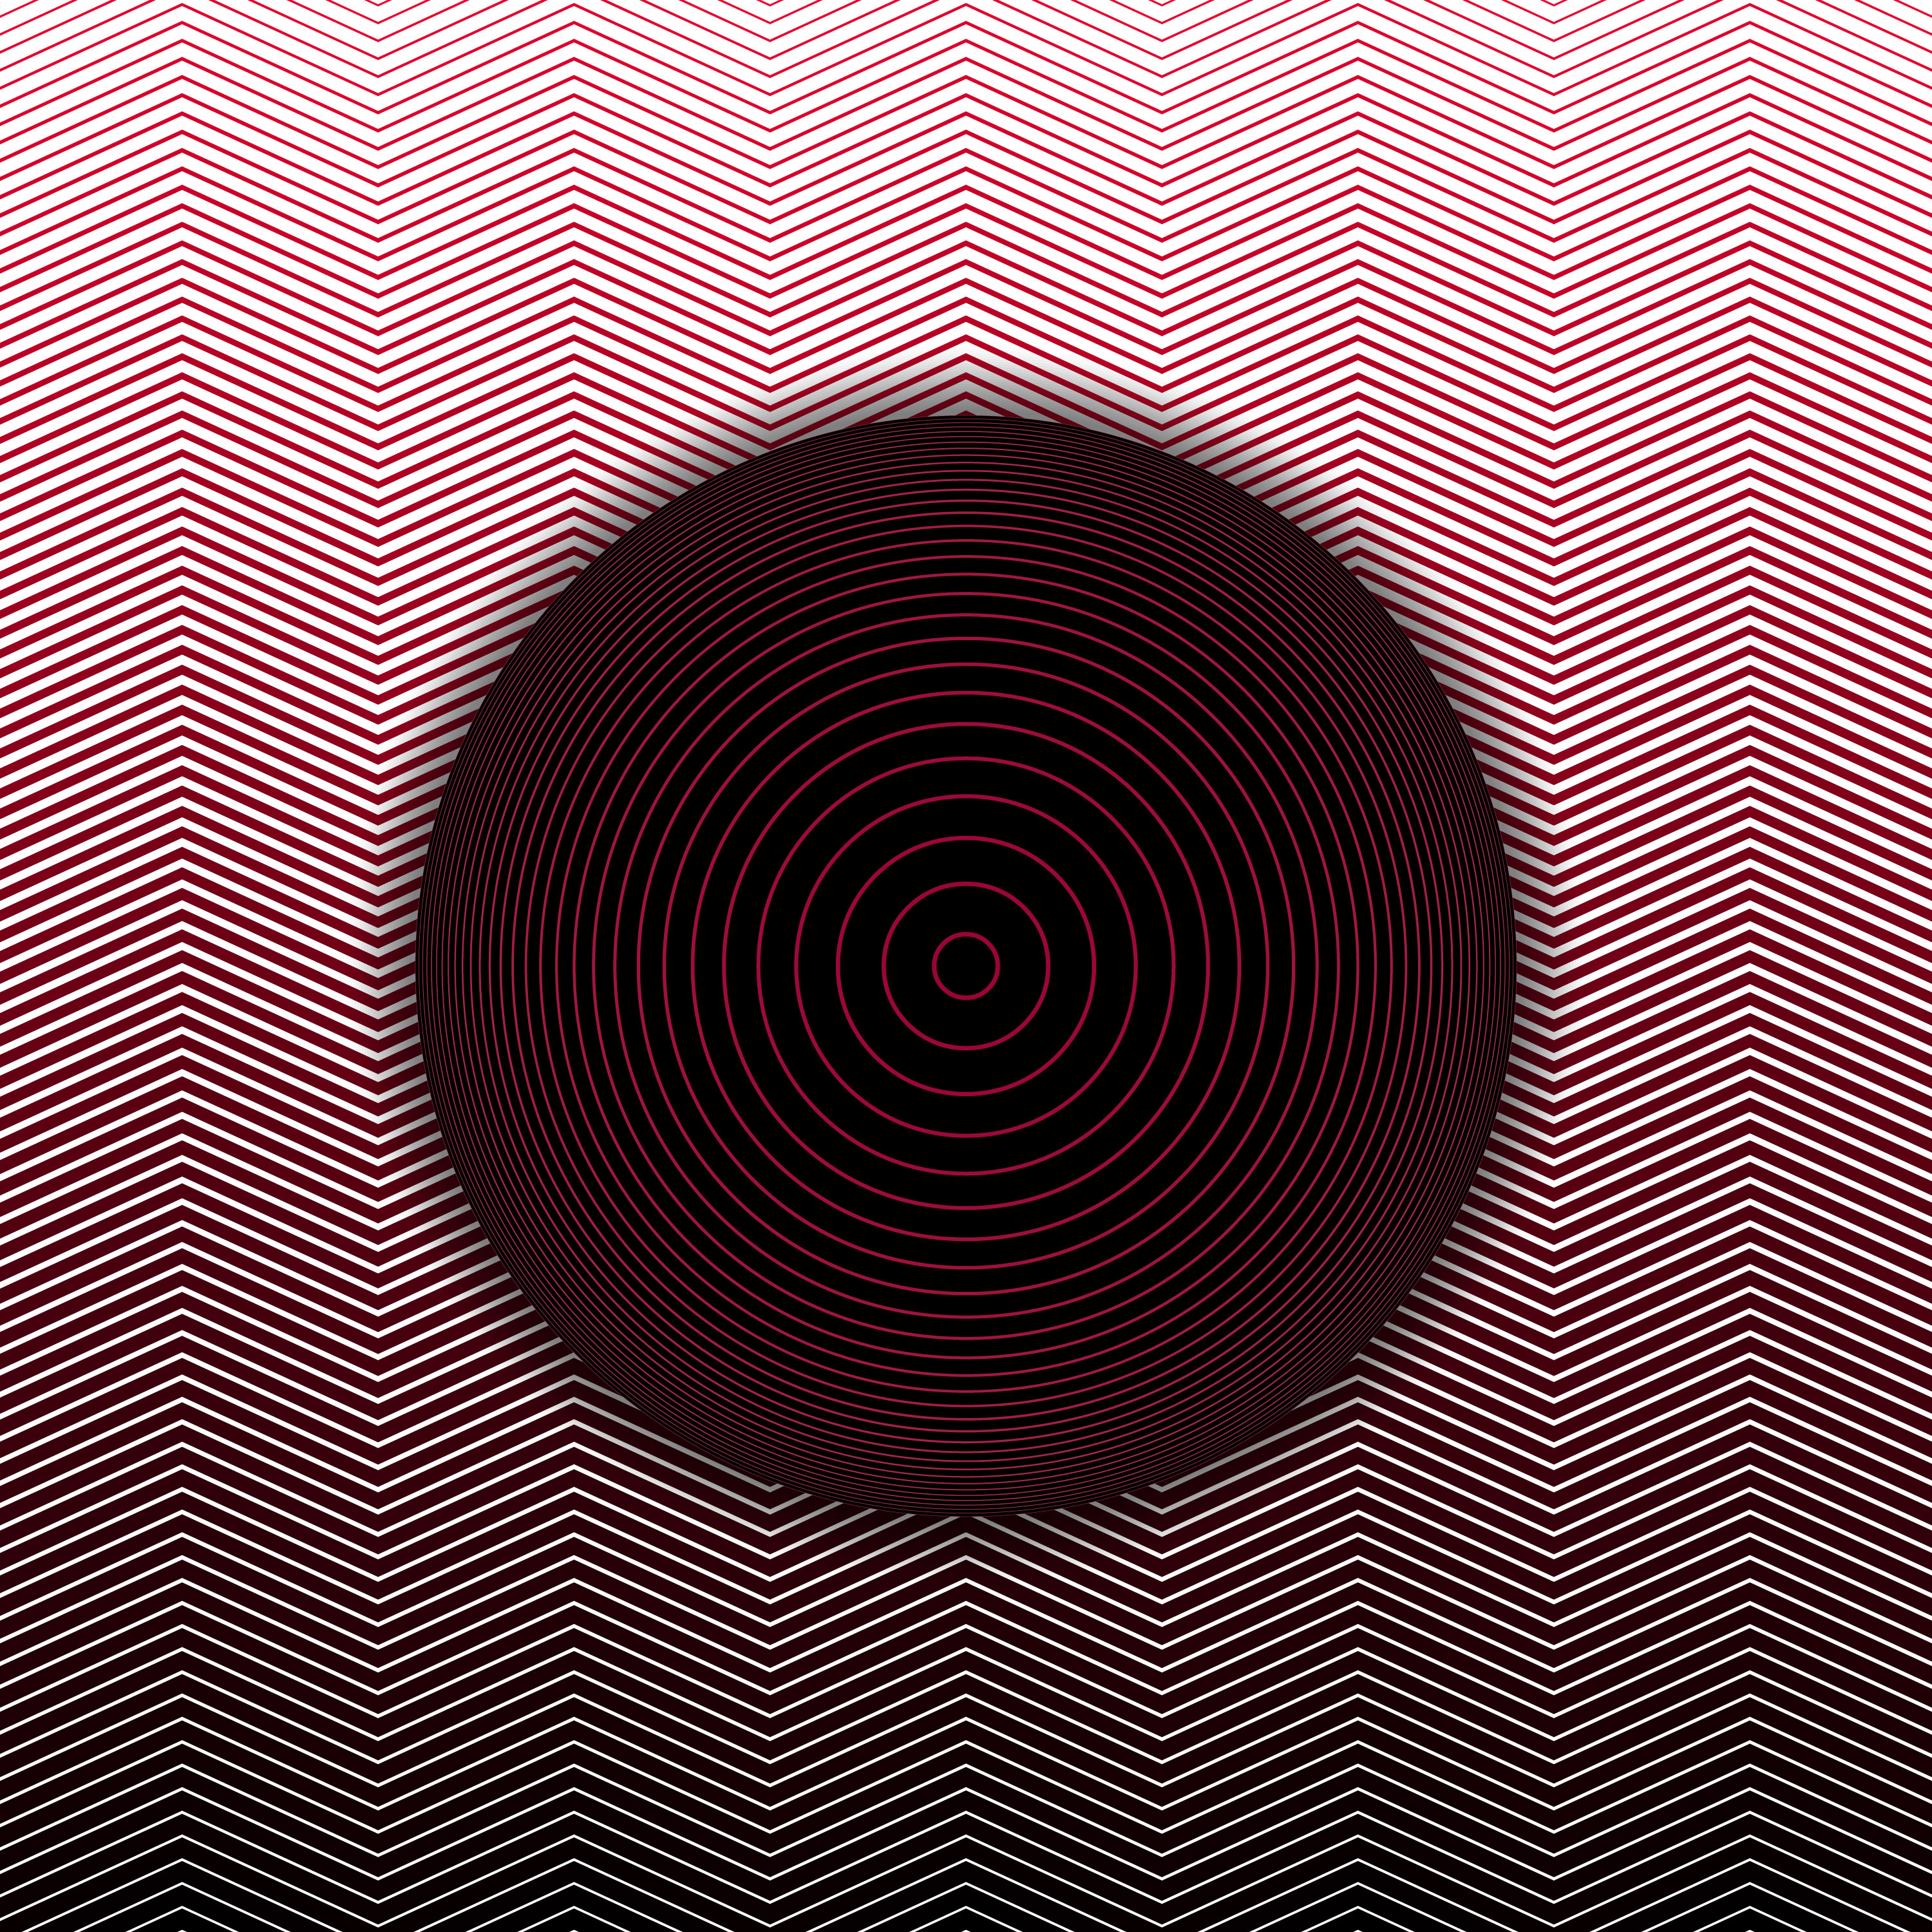
I start off by drawing a line across the top of my square artboard. The weight of the line depends on personal preference and the size of your overall design, but I generally work at 3000x3000 px designs so in my case a 20px line worked.
With the AG Offset panel open, I set the distance to the size of the artboard (in this case 3000 px). I knew that I wanted to adjust the easing and line
weight so I set those around where I thought they would best work due to experience, but it’s really easy to adjust after applying as well.
- Since I knew I wanted to have these lines ‘bend’ I wanted to have them have a nice weight change, but wanted to adjust the easing to give them close to equal spacing further down, I went ahead and adjusted the easing and steps after applying.
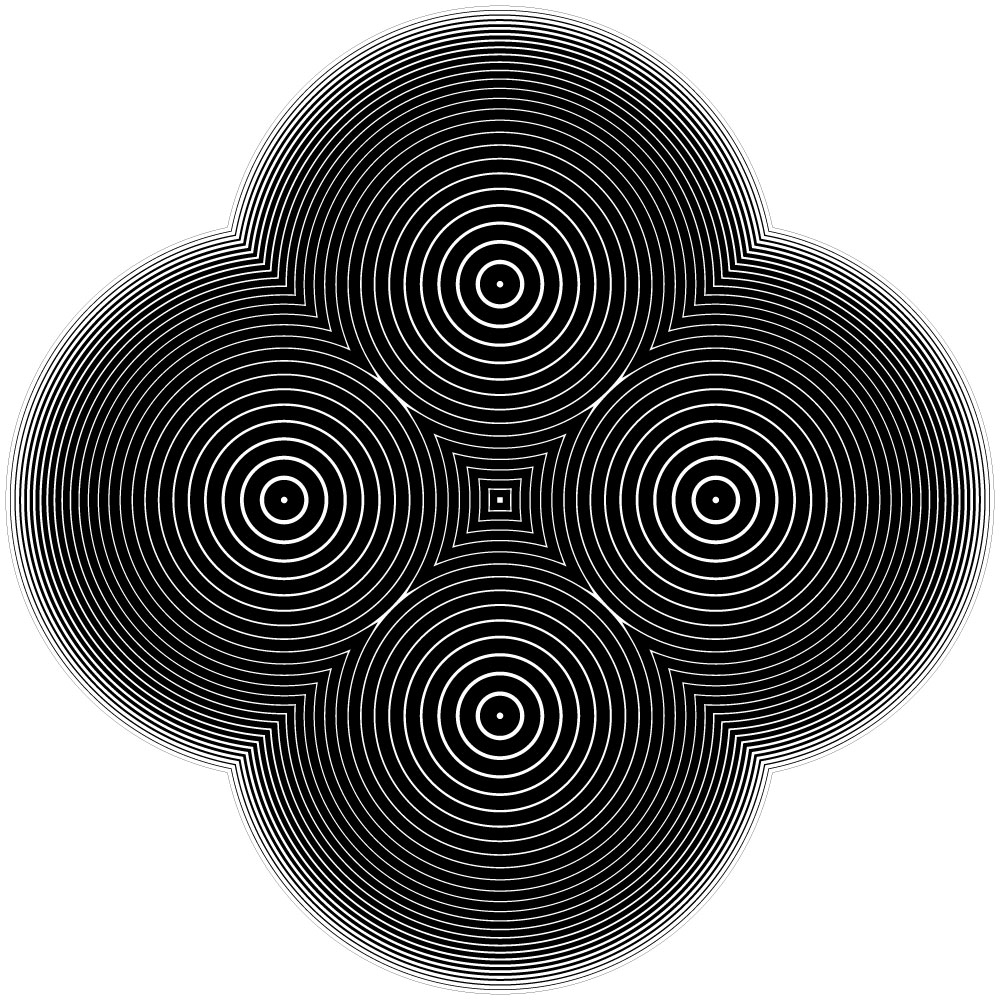
I lock that layer to avoid accidentally editing it while I build on top and created a 1/4 circle using the Astute Graphics Dynamic Shapes tool in the
Vectorscribe plugin. I had already drawn one so my settings were already set to a 90 degree arc, but it would have worked to draw a full circle and
adjust the settings after.
- The key here is drawing it from the center of the artboard and having it align with the initial line drawn for the background lines. That and making sure it’s the same line weight.
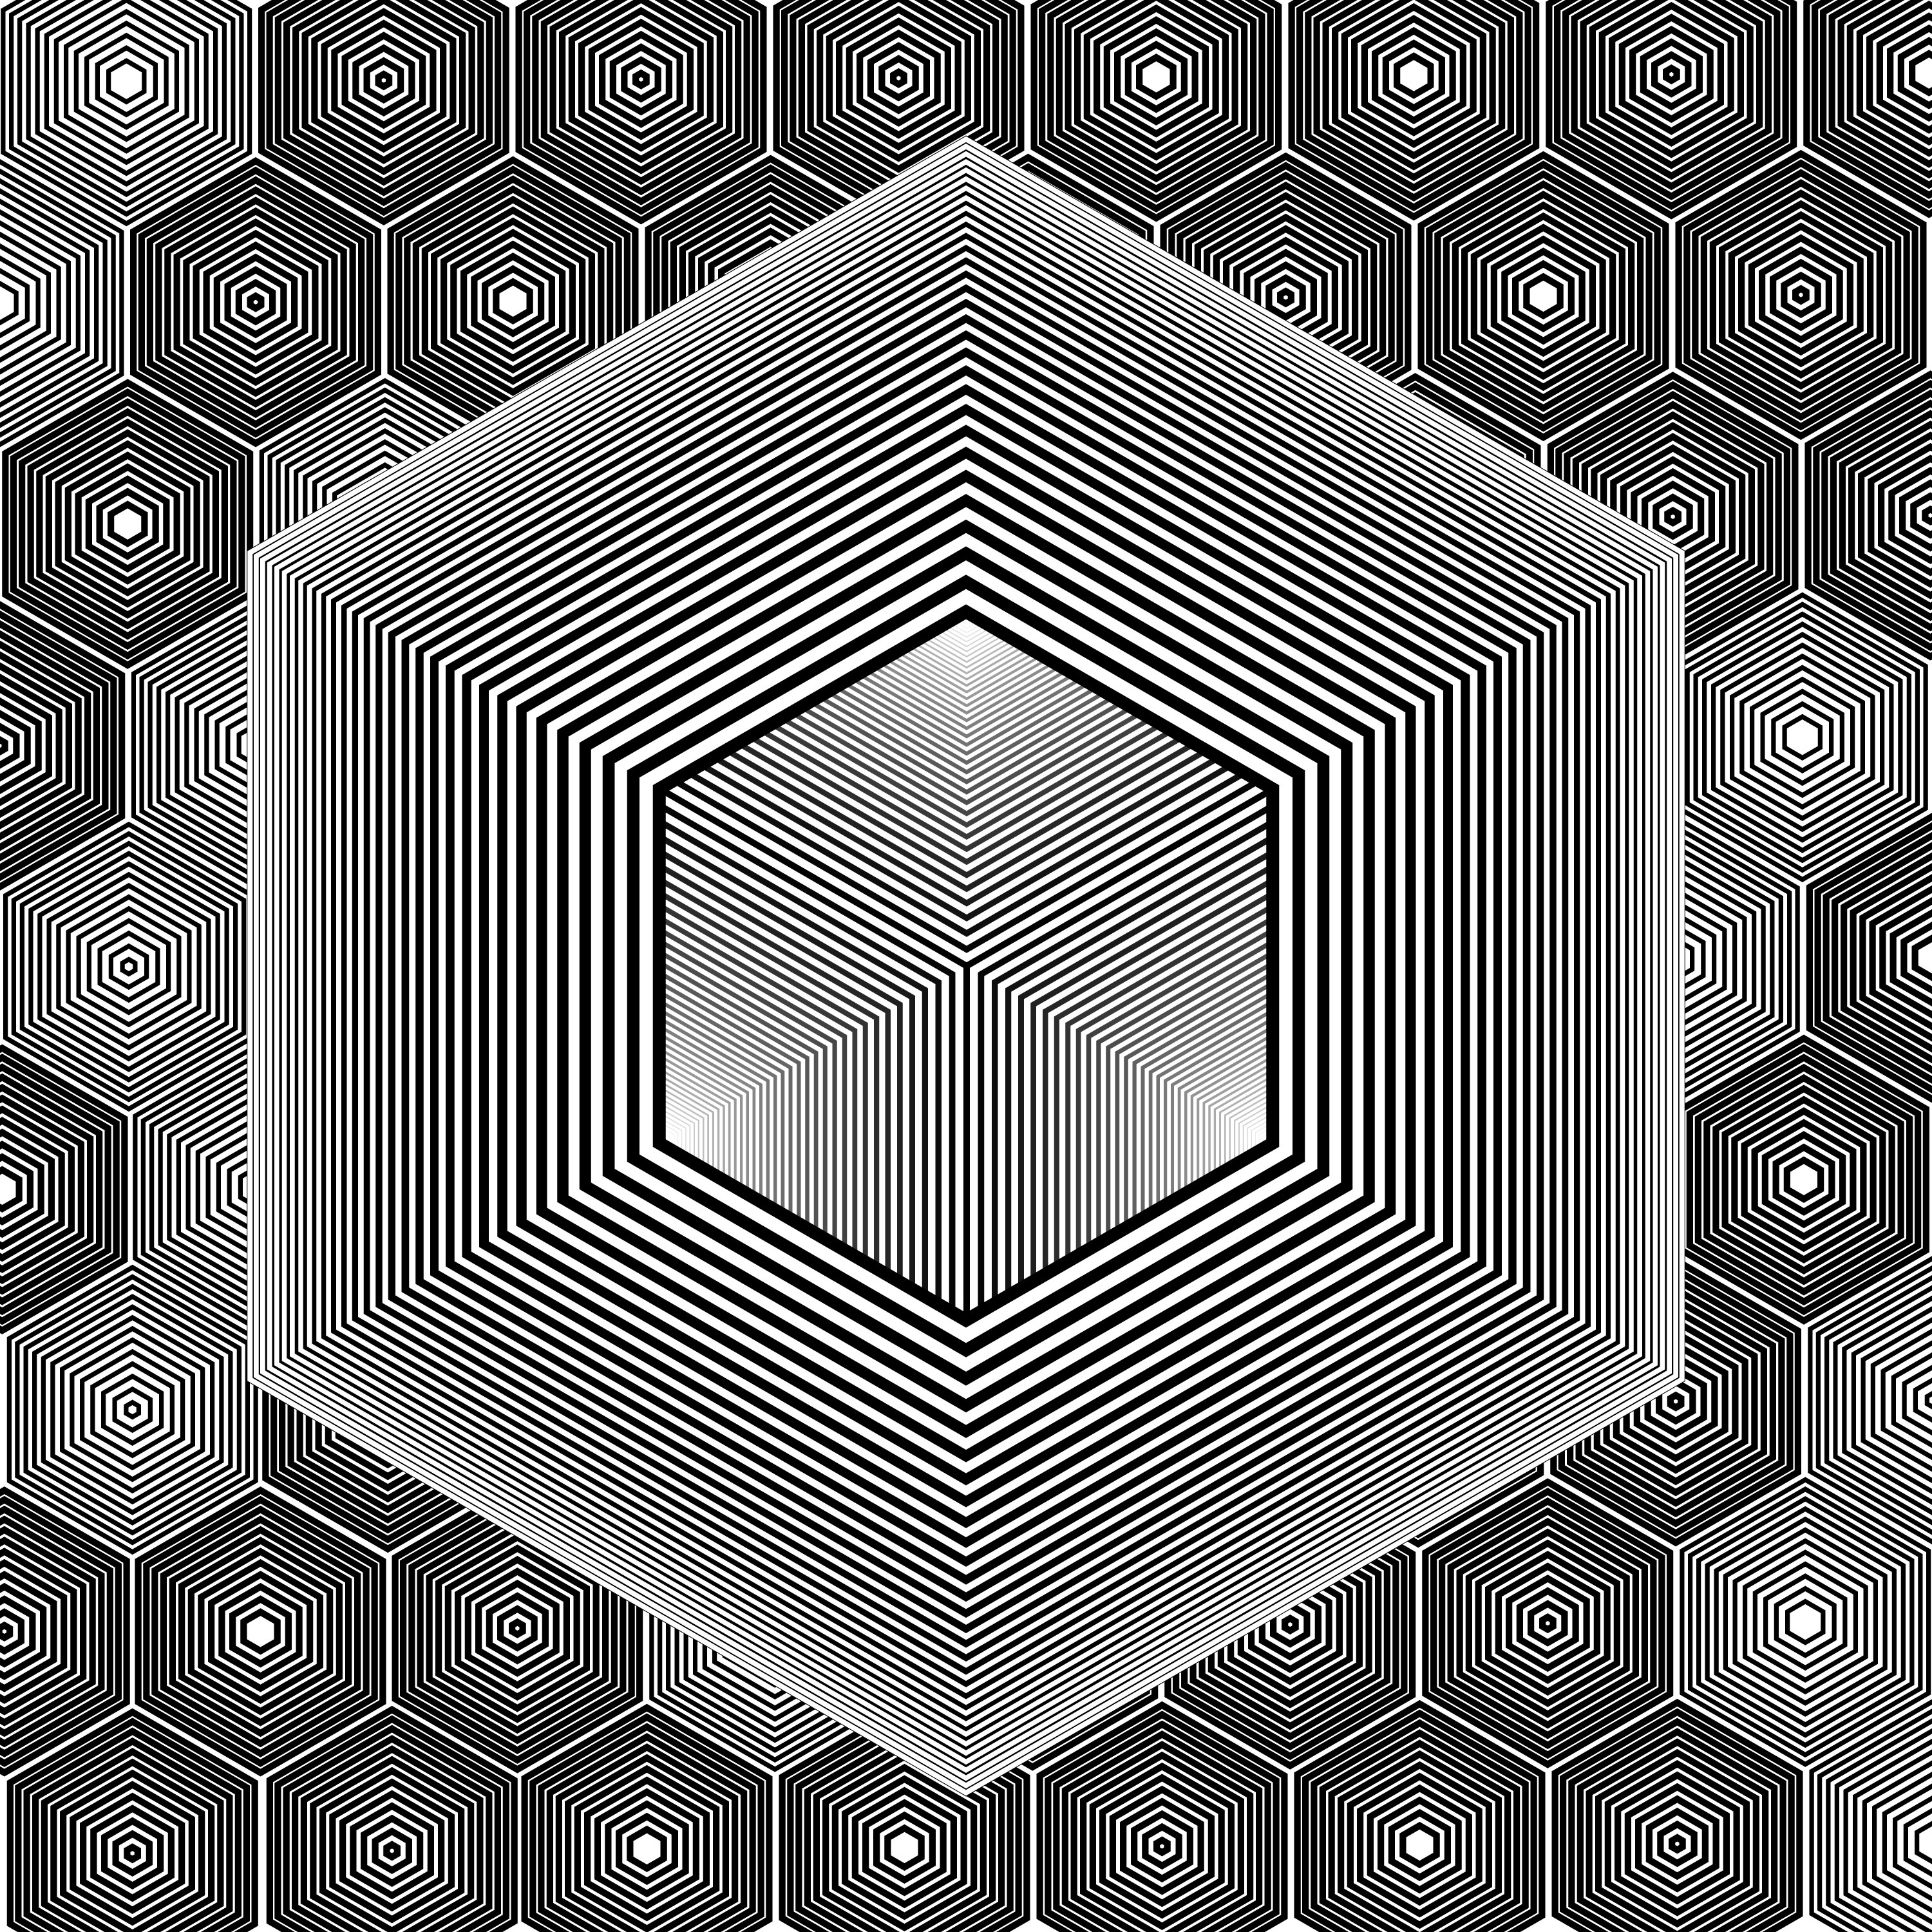
As long as you are still in the same design session you can just apply the same AG Offset to the 1/4 circle, but if not, use the same settings you did for
the initial straight line.
- This will ‘break’ a bit as the offset is at least twice as big as the 1/4 circle is. We will fix that in the next steps.
- Using the same settings will mean that the amount of steps, the spacing, and the line weights will all align exactly between the background lines and the first part of the lines for the 1/4 circle.
With the 1/4 circle with the AG Offset applied to it selected select the Object menu and select Expand Appearance.
- This will turn those lines that are offset from the original to selectable lines.
I used the Super Marquee tool in the video, but with any direct selection technique, select and delete the lines that extend past the center point of the
group.
- I selected and deleted a couple of the smaller ones on the other side of the group and the largest one so that the overall design worked better in the artboard.
This step can be done later in the process, but as I find it easier to work with, I went ahead and did it here.
- Select the largest of the 1/4 circles and duplicate it. Lock the group of all the 1/4 circles so you don’t edit that.
- With the Dynamic Shapes tool selected hover over that duplicated 1/4 circle. It should say ’Shape Recognized’ and if you click it will convert to a dynamic shape. You can also select it and use the menus in the Dynamic Shapes panel to convert it.
- Switch the shape from a black stroke to a white fill and then change it to a Dynamic Donut.
- Adjust the inner size to align with the smallest circle offset shape.
- Move that layer behind the black stroked group.
Lock the circle layers and duplicate the first line background layer.
Using the rotation tool, Option(Mac)/Alt(Windows) click the center of the artboard and select -90 degrees.
- This will rotate that object around the center point and allow the lines that align with one side of the 1/4 circle to align with the other side of it.
With that object still selected select the Object menu and select Expand Appearance.
- This again will turn those AGOffset lines to individual lines.
Select the lines that don’t intersect with the 1/4 circle and delete them.
- I used the Super Marquee tool in the video, but the direct selection tool would also work.
Using the direct select tool, drag select the top anchor points that set of lines and drag them down to align with the 1/4 circle.
- Be careful that you are only moving the points and not scale the lines as that would change the line weight.
In the video I adjusted that white Dynamic Donut using the default Offset Path function as I noticed the edge peeking out from behind the lines. This should have been done in the earlier step. I found it easier to turn off the background lines to work on these next steps.
Duplicate the vertical line group and select the lower anchor points on the first one and make them shorter.
Align the duplicated group to the center and adjust the anchor points to make this group shorter as well.
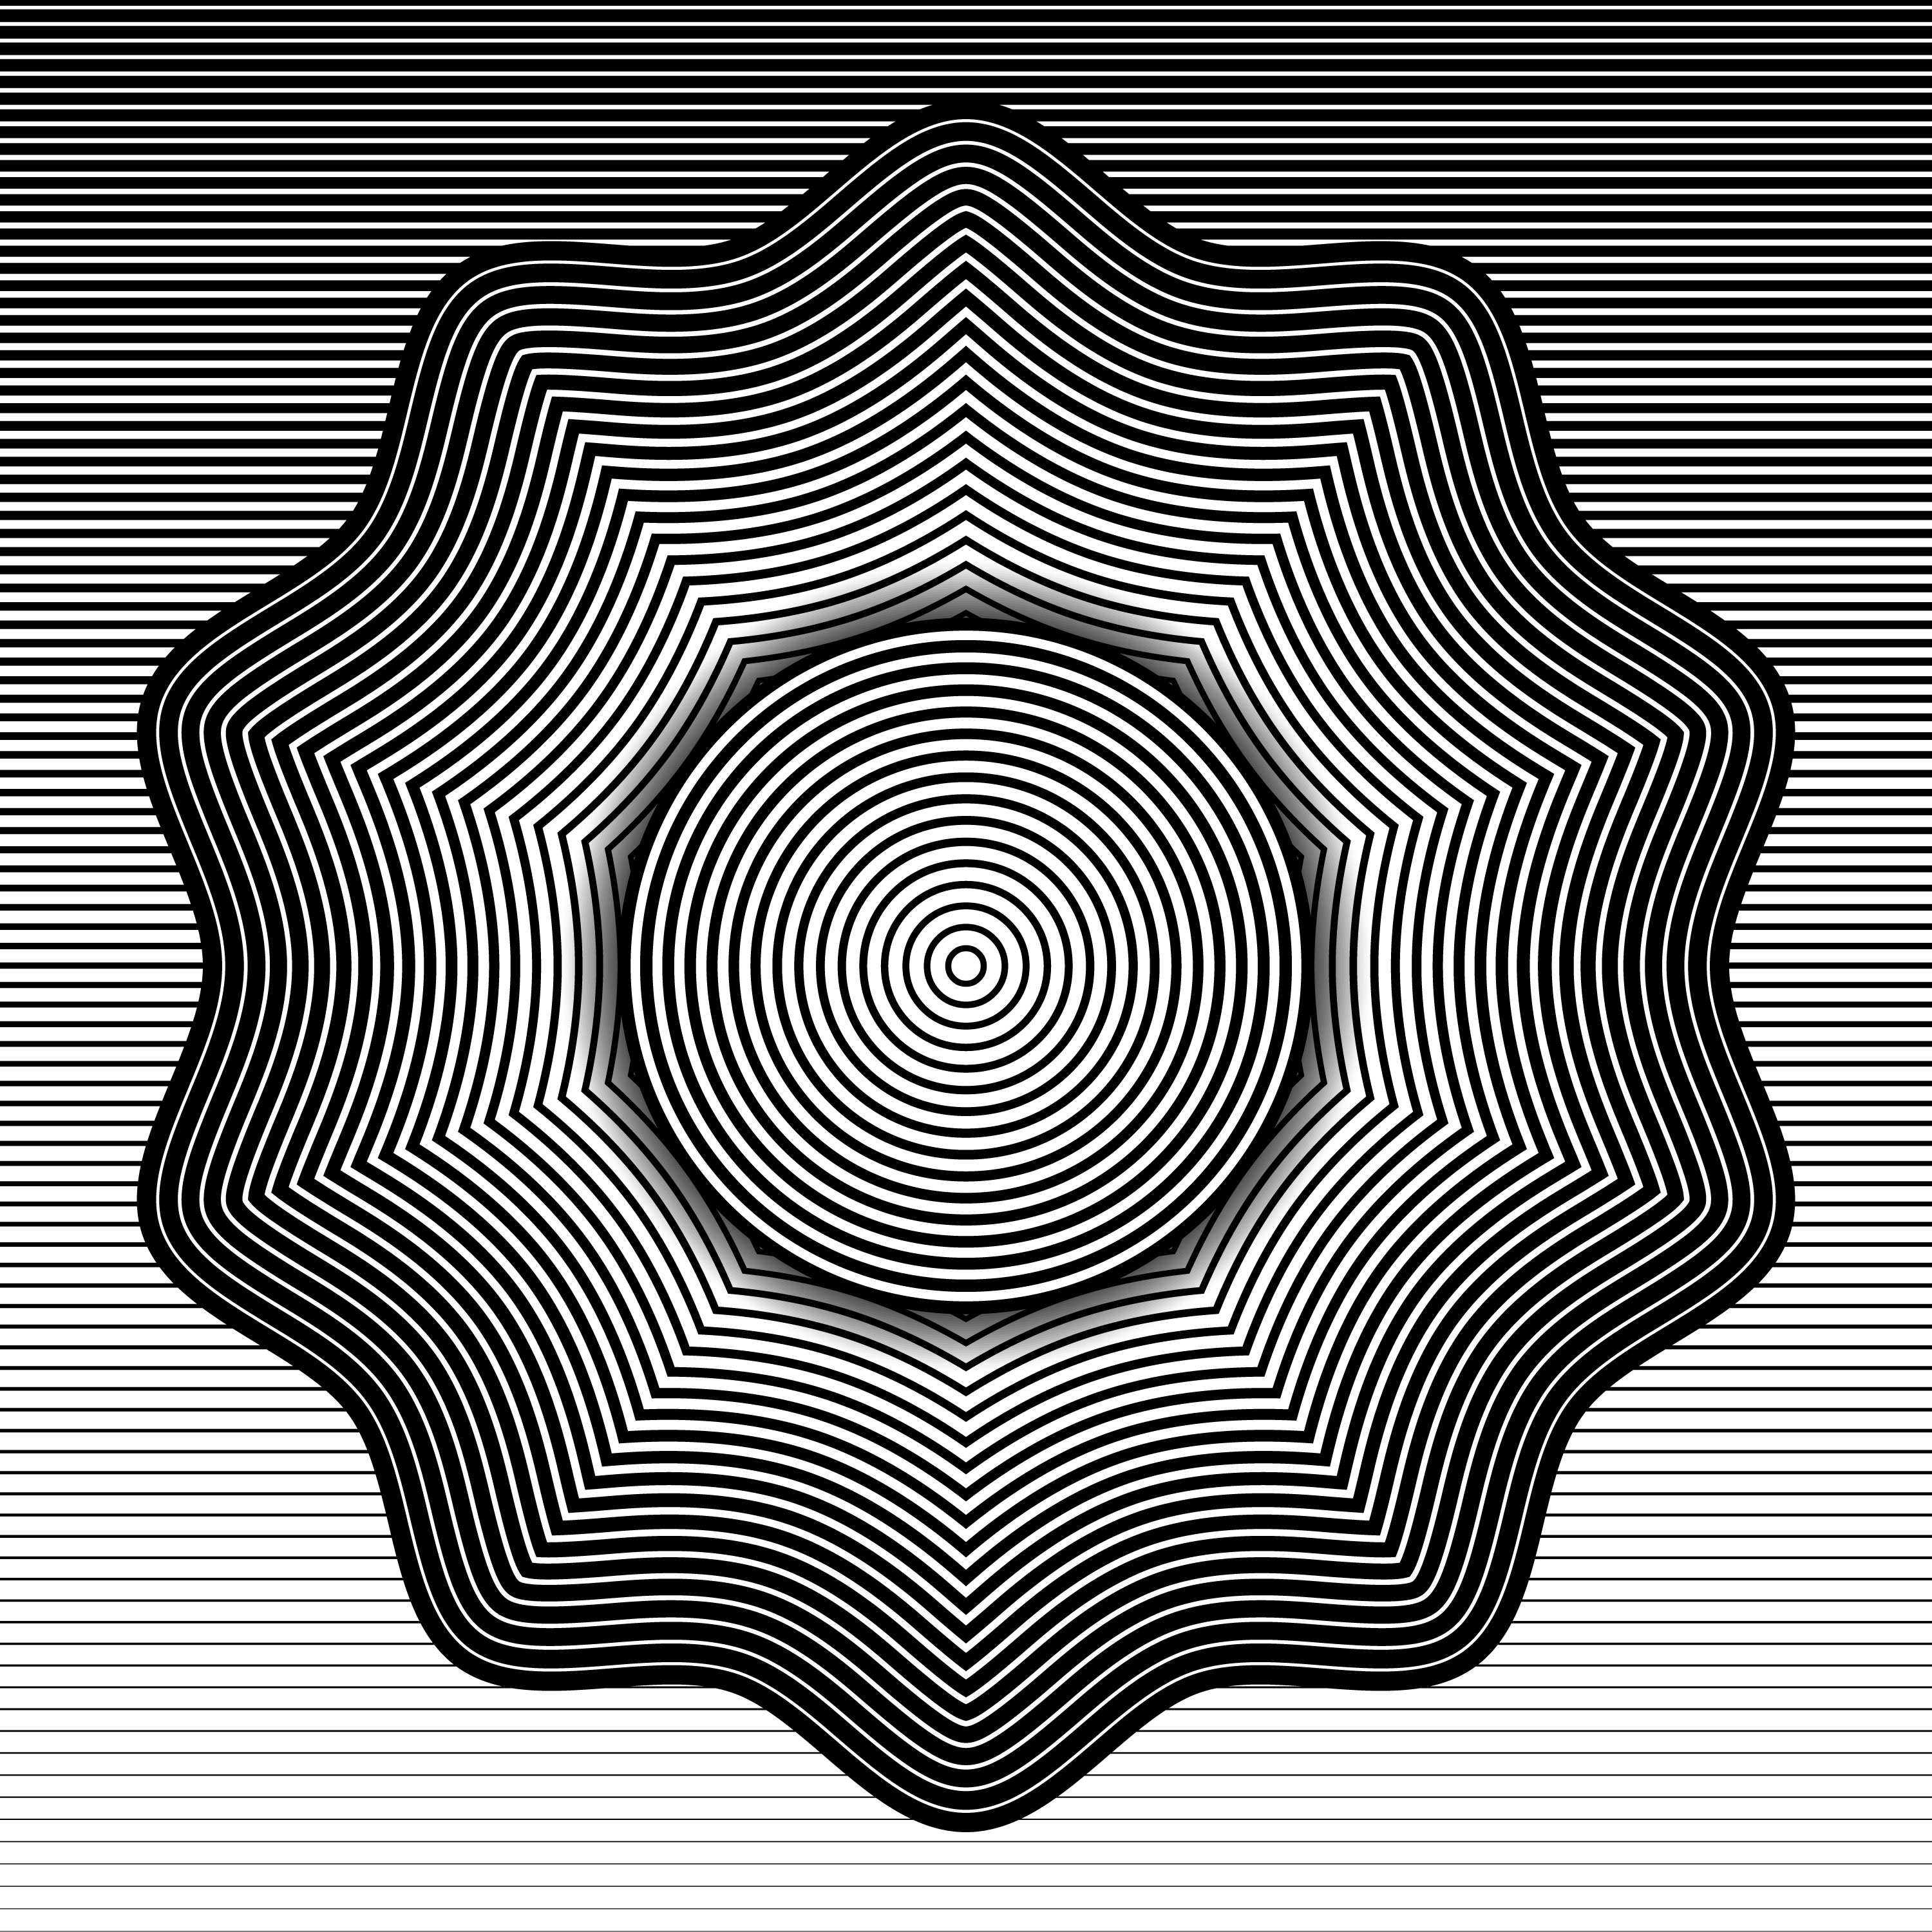
Select the SubScribe Connect tool and connect the lines that match up with the same line weight.
- The lines will run together in places depending on your line weights. This will be fixed soon.
Using the Widthscribe Width Selector tool, hold down the Option(Mac)/Alt(Windows) and click on each line somewhere in the curved area to add a width marker. Use the same technique to add width markers on the anchor points on each side of the curved areas as well.
Click-drag to select the width markers in the middle of the curved lines and adjust the line weight there using the Width Selector panel until the lines
are not running together.
- You might need to adjust each one individually until you find what works.
Select the two outer lines in the group of curved lines and duplicate them. Using the pen tool, connect those two lines to make a single path. Switch the stroke to a fill and make it white.
Move the recently created white fill shape behind the lines group and turn the background layer back on.
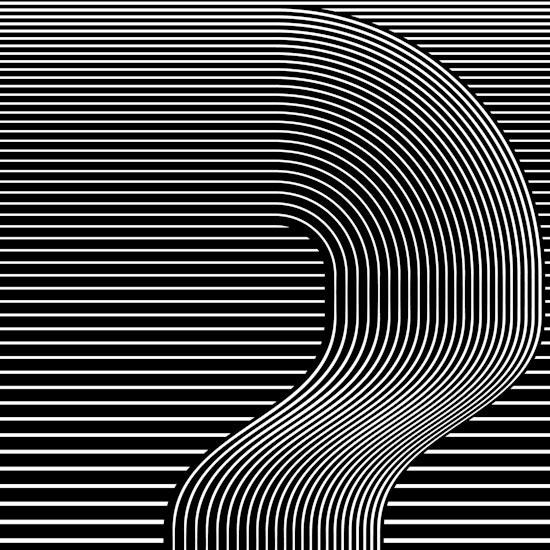
Done!

The techniques and tools that I have used in this are just some of what I use when creating my various vector geometric designs. Thanks for watching!