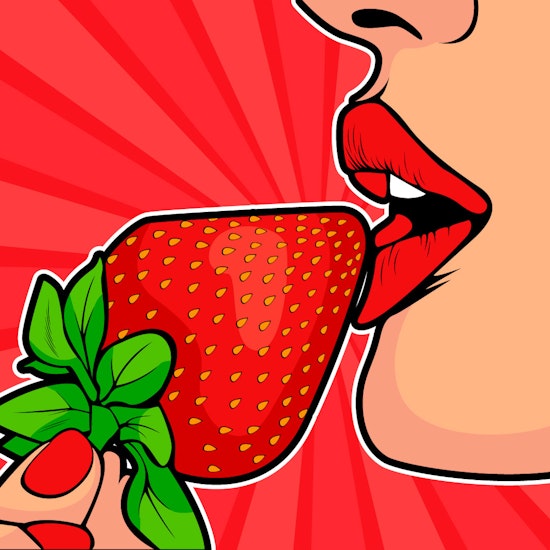
Create a die cut sticker effect in Illustrator
2 minute readIn this quick tip we’re going to show you how to make multiple offsets to create a die cut sticker effect to this artwork using AG Offset (part of the Stylism plugin).
🍓 Group all your objects together.
🍓 Select the whole group and head up to the AG Offset Panel (Window > Astute Graphics > AG Offset).
🍓 Use the Flyout menu on the panel to select the [Default Settings].
🍓 Check that Treat Group as Compound Shapes is selected.
🍓 Change the fill colour to black for the first outline.
🍓 Click the Apply AG Offset button.
🍓 This could take a little while to complete as it’s combining all the shapes to be treated as one compound path.
🍓 You can adjust the distance using the up/down arrows or entering a value.
🍓 Head into the Appearance panel and you will see your AG Offset applied to the group, you can turn it on and off here.
🍓 Duplicate the Effect by dragging it down onto the Plus icon.
🍓 The AG Offset panel now shows Copy 1 and Copy 2 of the Effect.
🍓 Switch to Copy 2 (which is the latest one) and change the fill color to white.
🍓 Now adjust the distance again, and you can then switch back to Copy 1 to adjust that effect too.