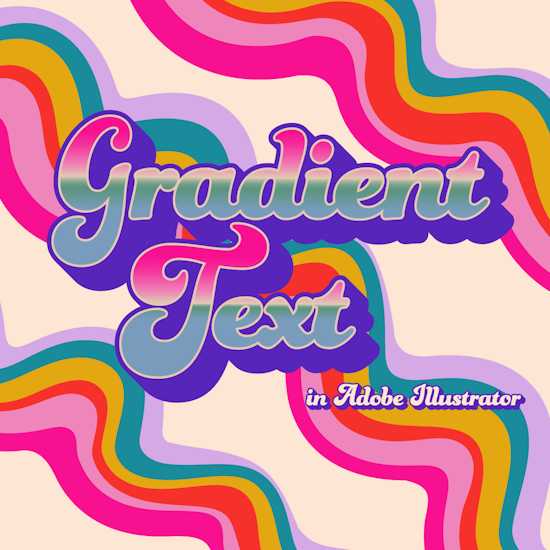
How to add gradients to type in Adobe Illustrator
6 minute readGradients can transform ordinary text into eye-catching, professional-looking artwork. But in Adobe Illustrator, applying gradients to live text can be a little tricky, especially if you want to maintain editability. In this tutorial, we’ll walk through how to add gradients to type using both native Illustrator techniques and Astute Graphics tools like Gradient Forge and Gradiator.
The most important thing to know about gradients on type
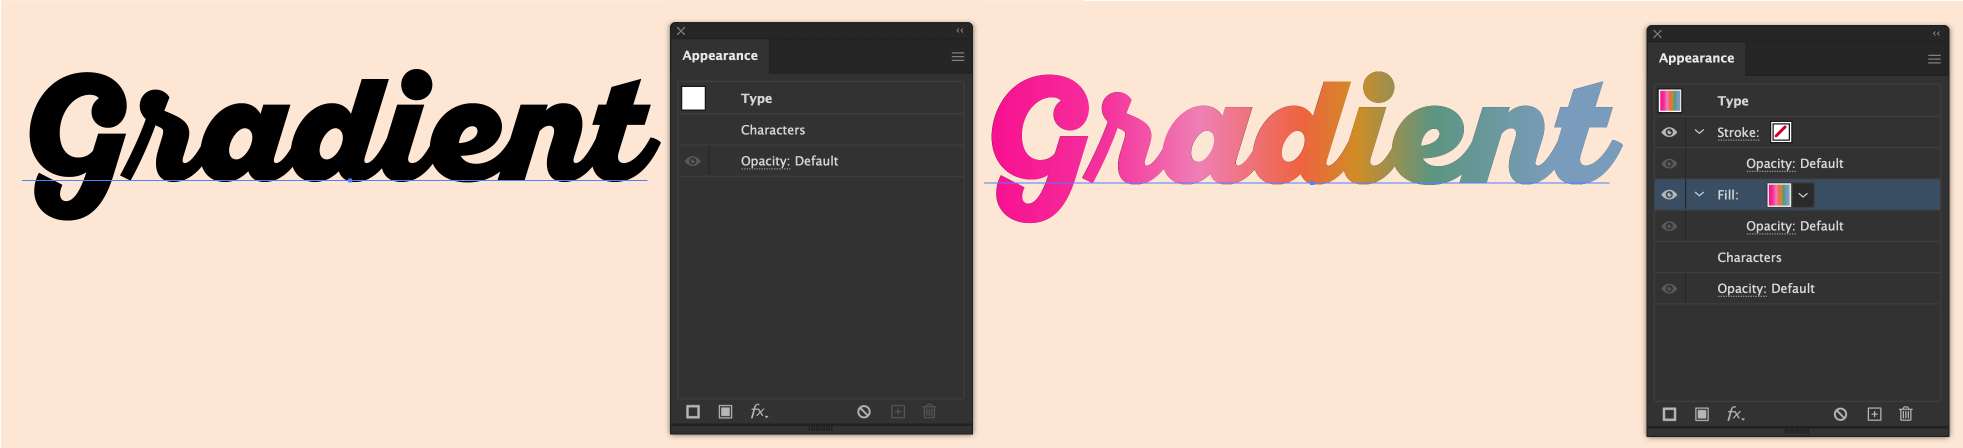
The most important thing to note when applying a gradient to type in Adobe Illustrator, is where you need to put the fill color. By default, when you add a fill color to type it adds it to the individual characters. For example, choosing a gradient fill from the color swatches adds a gradient to each individual letter, and each letter has a control slider.
If you wish to add the gradient to the entire word, so the gradient is working as one object across the entire type block, you first must remove the stroke and fill it entirely (stick with this as it will make sense soon) then open the Appearance panel (Window > Appearance) and click on “Add New Fill”. If you look closely at the Appearance Panel, you will see this Fill has been added to the Type Object rather than at the Character level.
How to apply gradients to type and keep it editable
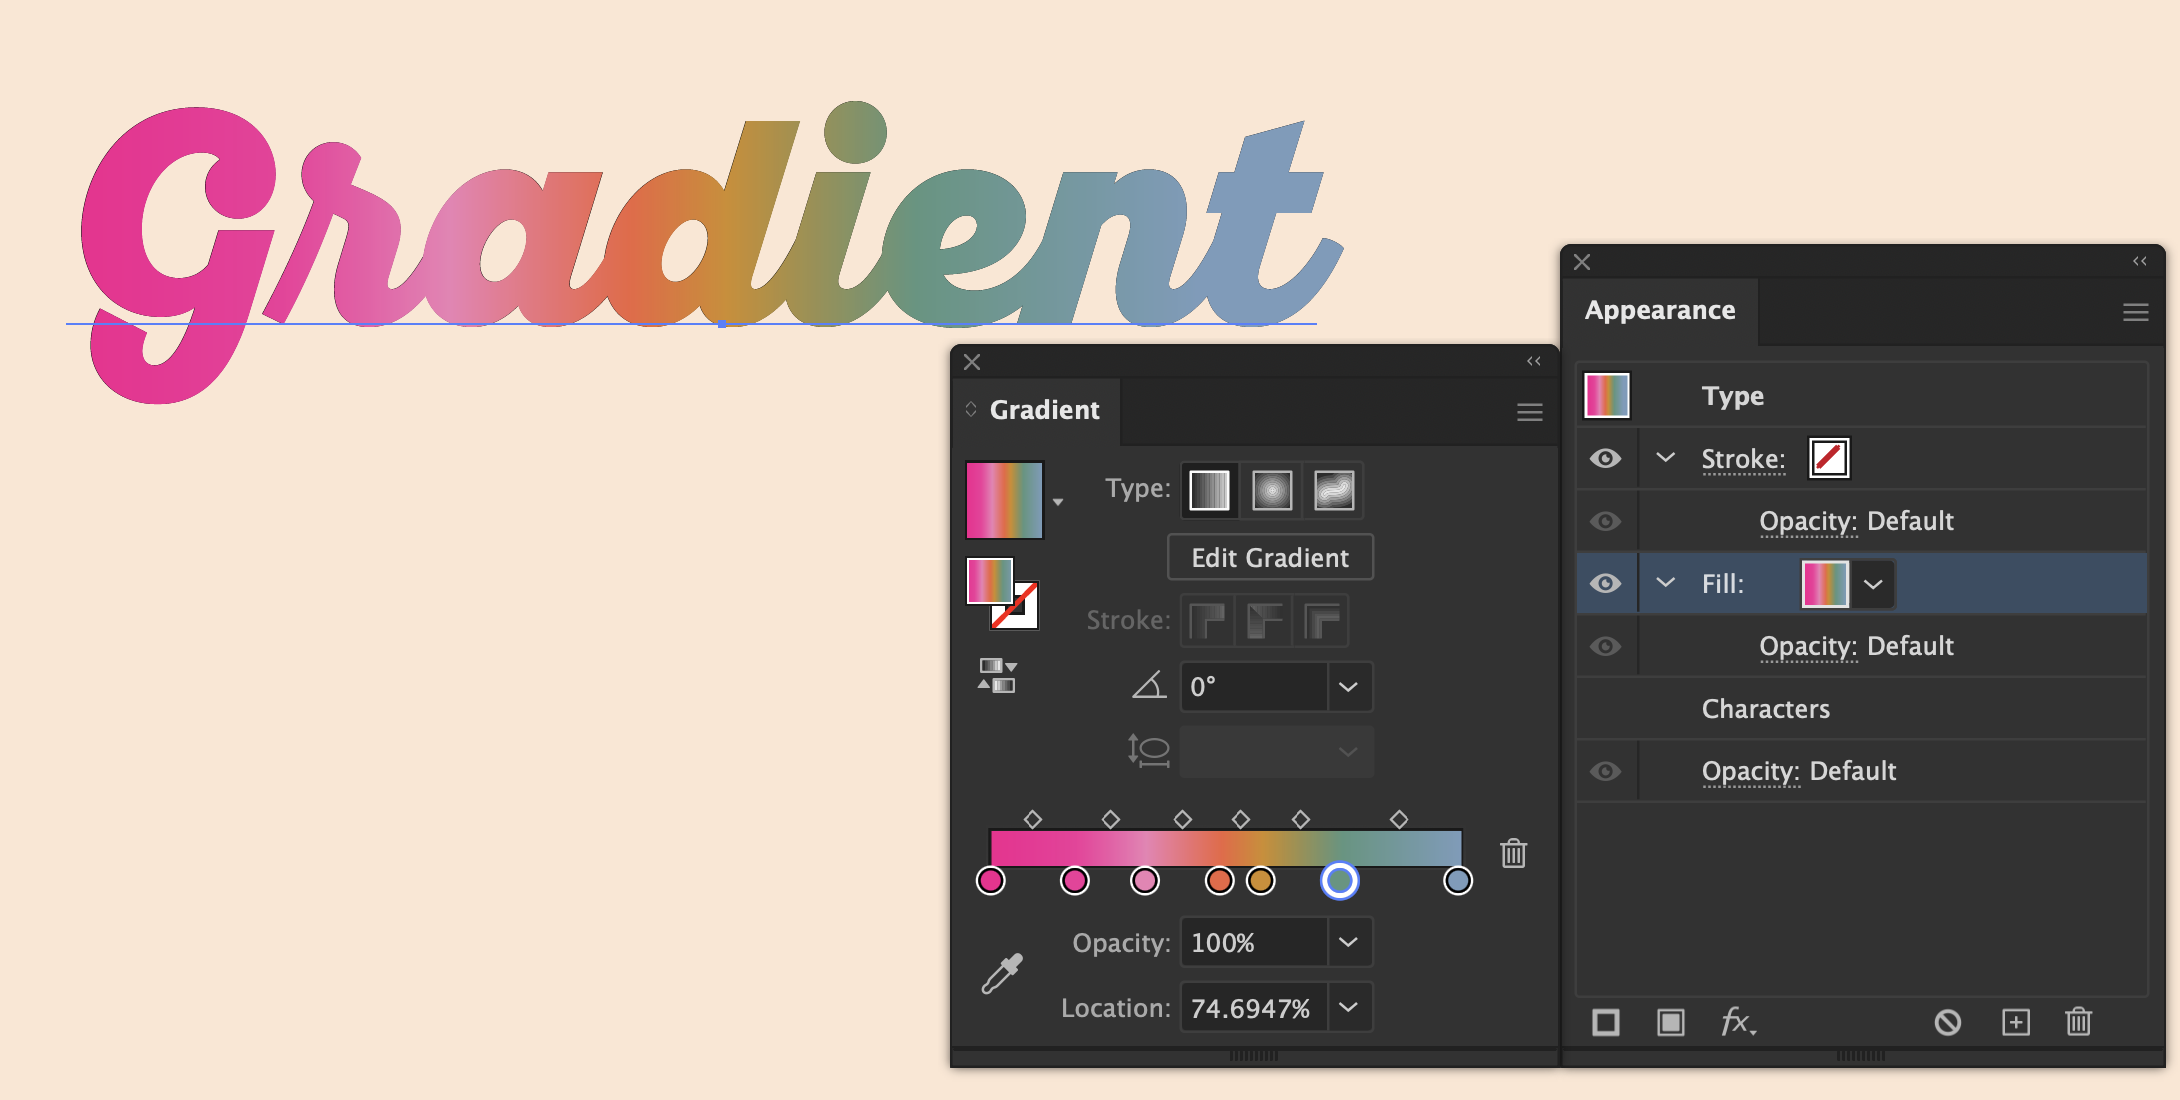
The best way to apply gradients to live text while keeping it editable is by using the Appearance Panel.
Type your text with the Type Tool (T).
Remove any Fill or Stroke color.
Open the Appearance Panel (Window > Appearance).
With the text object selected, click "Add New Fill" at the bottom of the Appearance panel.
Select the Fill you just created and apply your desired gradient using the Gradient Tool (G) or the Gradient Panel.
You can also add a stroke with a different gradient by clicking "Add New Stroke" in the Appearance Panel.
Note: This technique works only when you apply gradients to the text object, not to individual characters.
How to convert type to outlines and apply a gradient
If you're not concerned about keeping the text editable:
Select your text and go to Type > Create Outlines (Cmd/Ctrl+Shift+O).
Now that your text is made of vector shapes, you can apply gradients to individual letters or the entire word.
Use the Gradient Tool (G) to refine the angle, color, and spread.
Note: This method removes the ability to edit the actual text later, so save a live text copy before converting.
If you're an Astute Graphics user, you can supercharge your workflow with Gradiator and Gradient Forge.
Apply and manage gradients more intuitively with Gradiator
Gradiator is a powerful panel for applying and managing gradients across multiple objects and layers in Adobe Illustrator. Gradiator includes several functions which are not available on the native Gradient panel. You can read the full Gradiator documentation here: https://docs.astutegraphics.com/subscribe/gradiator
How to use Gradiator on type:
Select your text objects.
“Add New Fill” using the Appearance panel (as instructed above).
Open Gradiator (Window > Astute Graphics > Gradiator).
Apply a preset or custom gradient.
Use Gradiator’s interface to:
Numerically set the origin or length of a gradient.
Change the angle of multiple gradients.
Capture a gradient including its absolute position, and apply it to one or more paths.
Rotate or randomize the color order of one or more of the gradients’ stops.
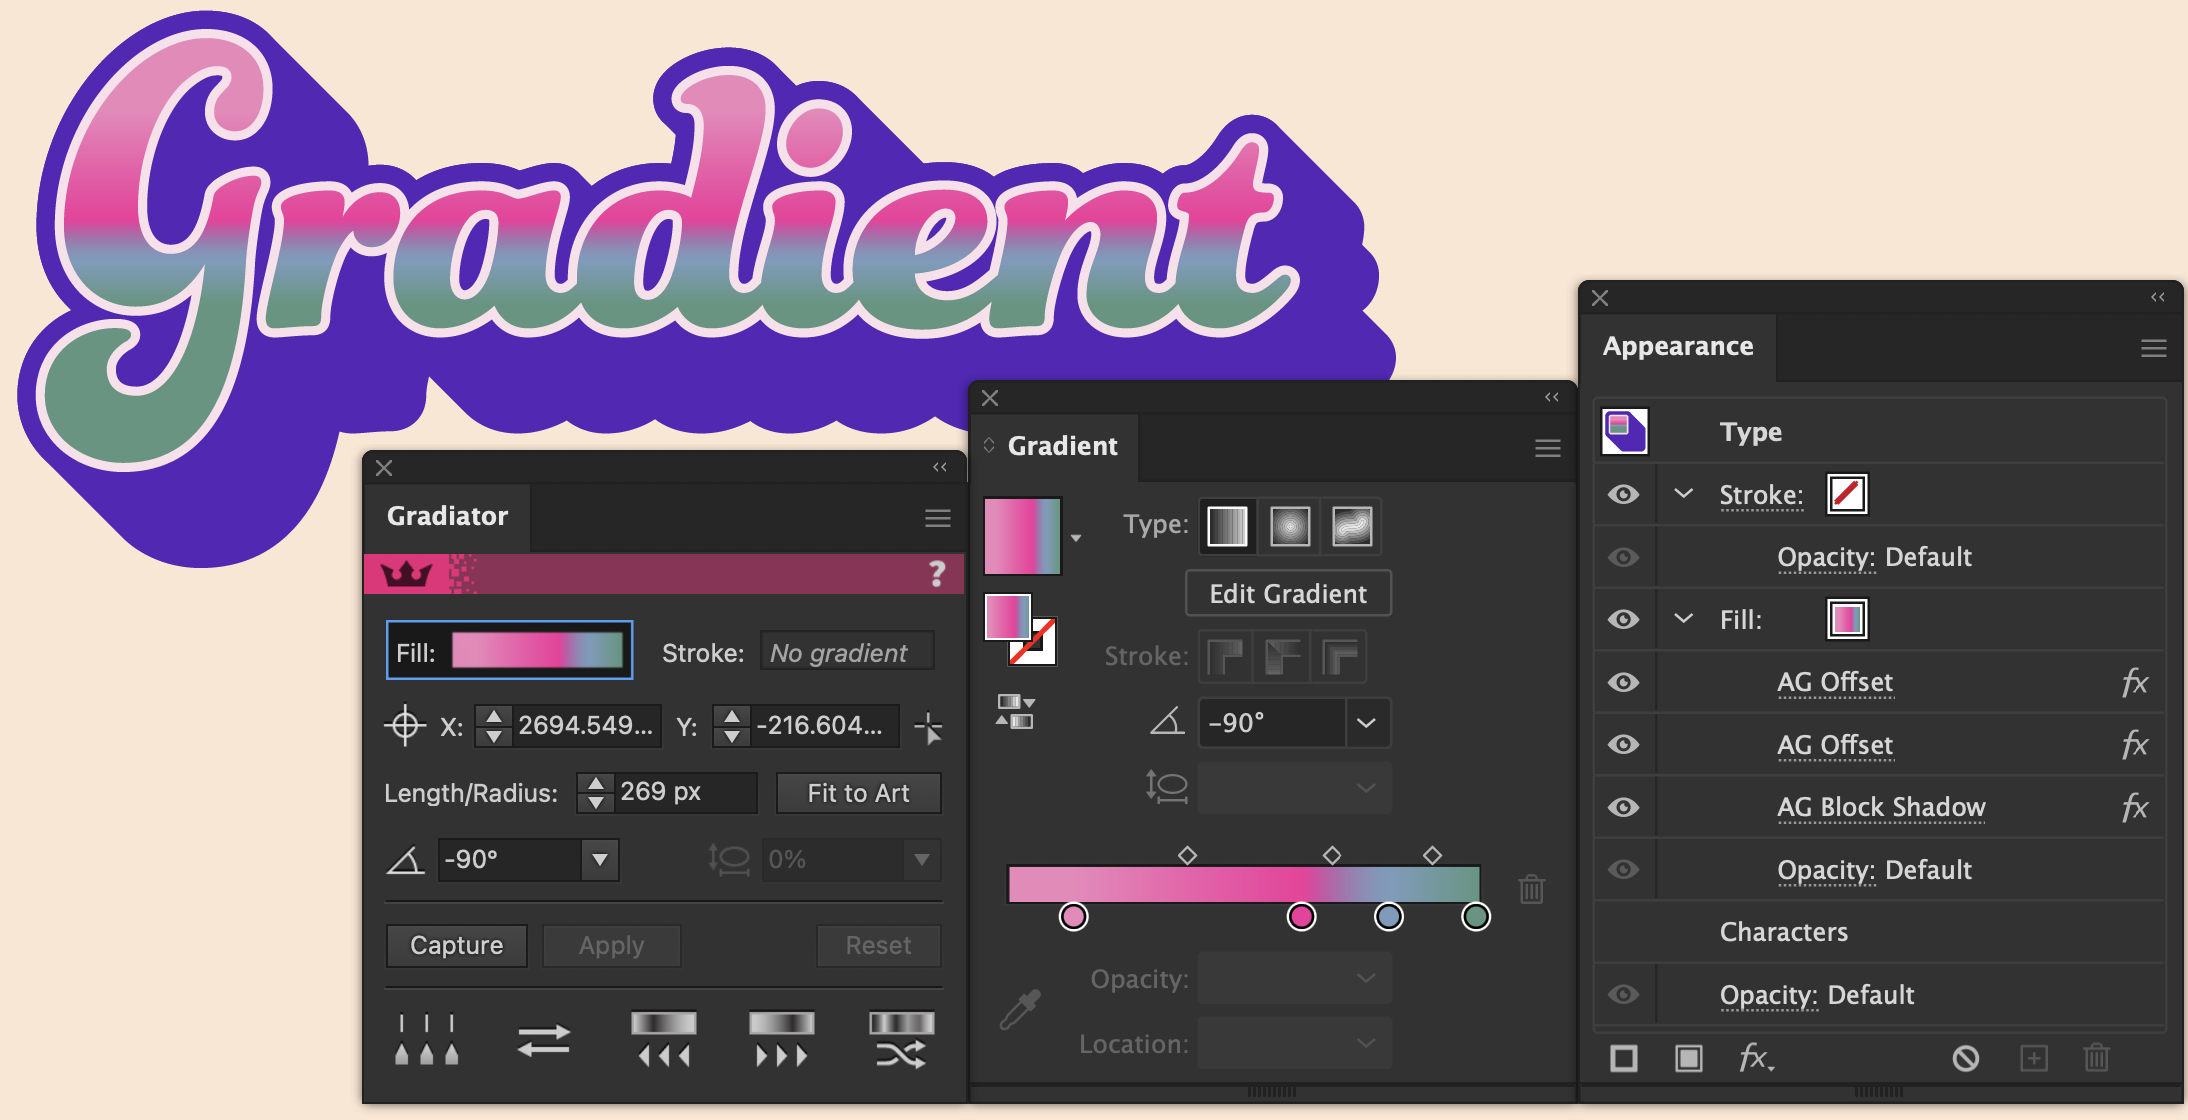
Note: We have also added extra Astute Graphics live Effects, such as AG Offset and AG Block Shadow to create this amazing vintage gradient text effect.
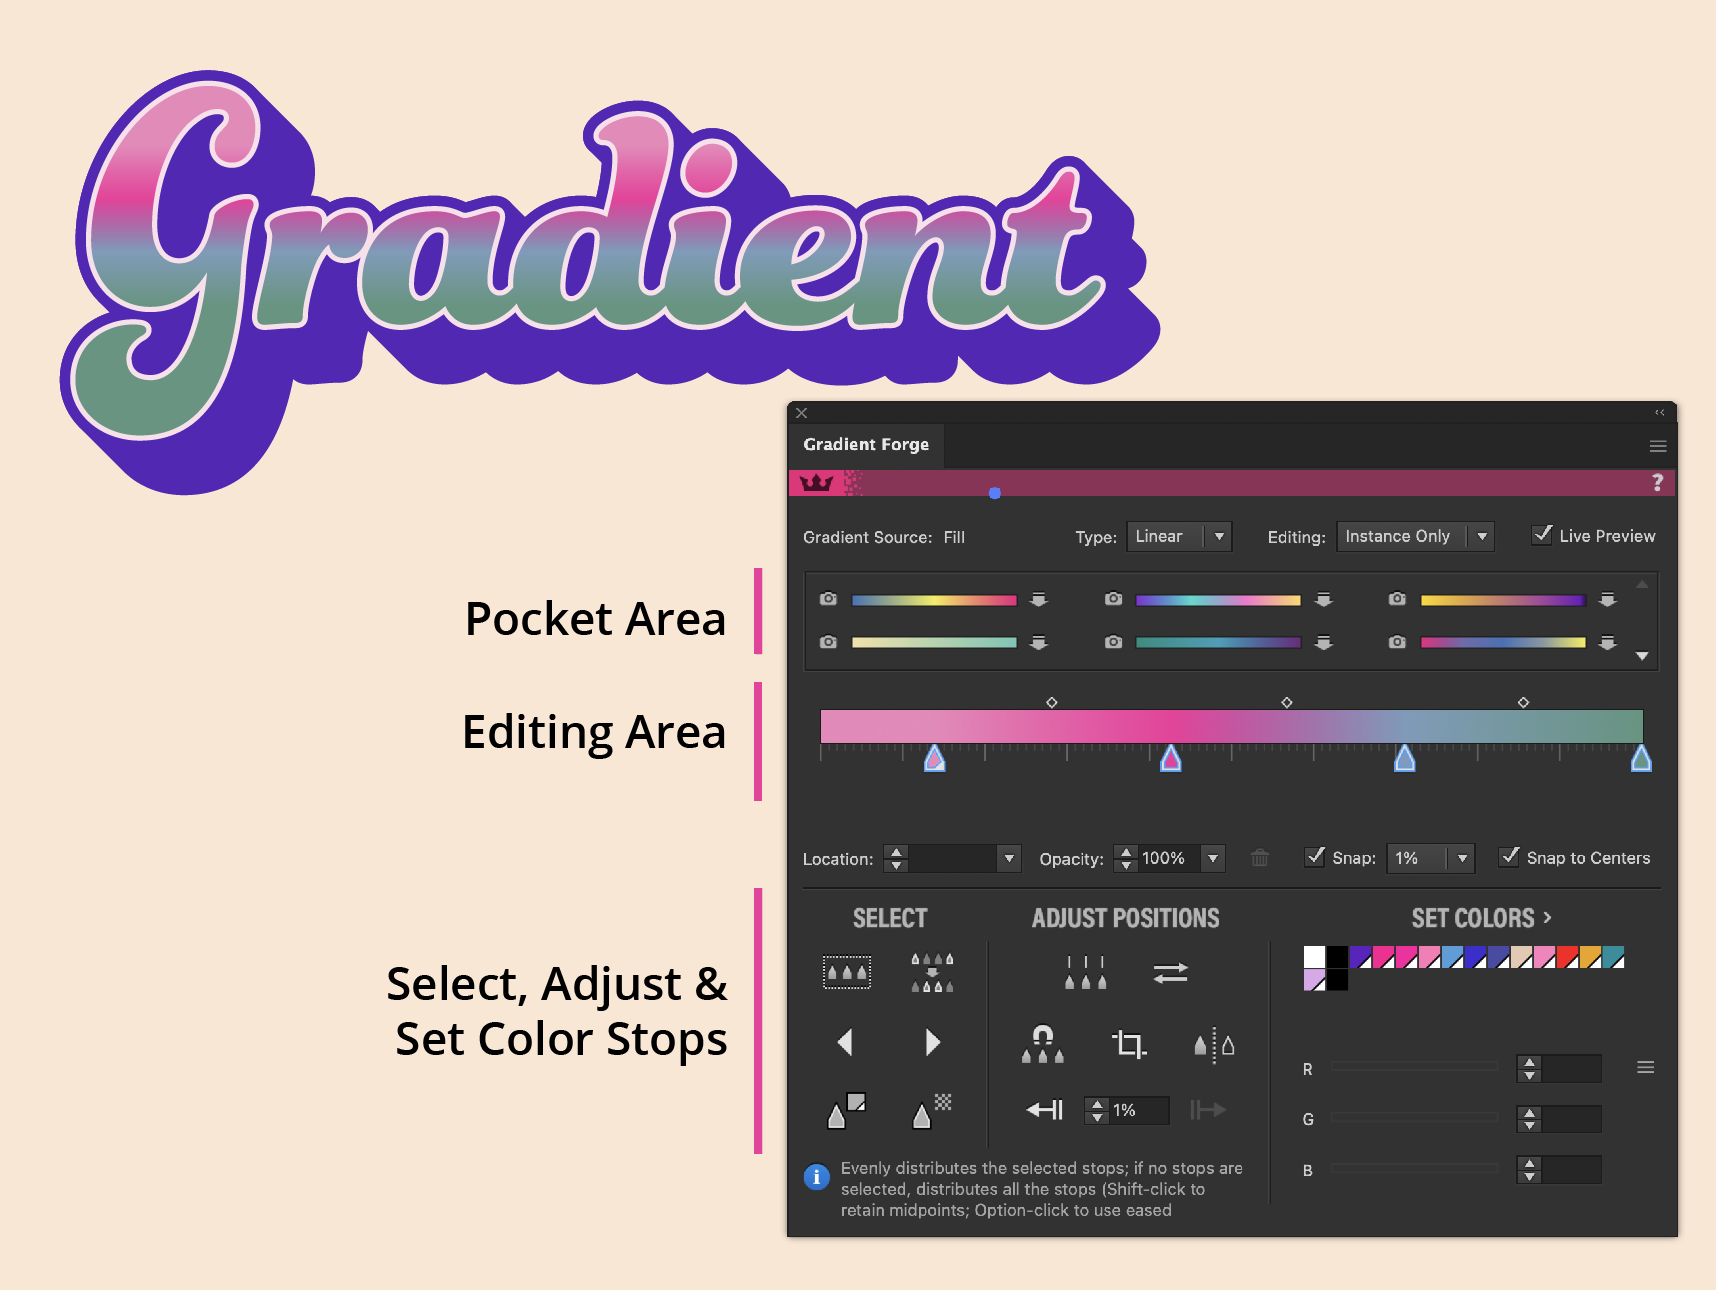
Create complex, precision-controlled gradients with Gradient Forge
Gradient Forge gives deeper control over how gradients behave on objects, including those with complex geometry like outlined text. The full Gradient Forge documentation can be found here: https://docs.astutegraphics.com/subscribe/gradient-forge
How to use Gradient Forge on text objects:
Select your text objects.
“Add New Fill” using the Appearance panel (as instructed above).
Open Gradient Forge (Windows > Gradient Forge).
Use its advanced features in the panel to:
Modify each gradient stop.
Select and adjust multiple stops.
Have the ability to snap stops.
Stack stops on top of one another with ease to create hard transitions.
Easily view and add transparency.
Save complex swatches to “Gradient Pockets” to use across your brand.
Adding gradients to text in Illustrator doesn’t have to be frustrating. By leveraging both native Appearance Panel techniques and Astute Graphics’ tools like Gradiator and Gradient Forge, you can create flexible, beautiful typography with ease.
You can try Astute Graphics for free for 7 days:

