
A quick tip for using the eraser in Adobe Illustrator Draw
5 minute readWe’ve looked at all kinds of time-saving vector techniques in our #10MinSkills series of tutorials. But what about when you’re on the move? Here, freelance illustrator Dan Mumford shares a handy tip for using the Eraser tool in Adobe Illustrator Draw.
For anyone who’s missed Adobe’s Make It On Mobile campaign, Illustrator Draw lets you create scalable vector illustrations on your mobile phone, tablet or Chromebook. You can then edit your design in Illustrator when you’re back at your desk.
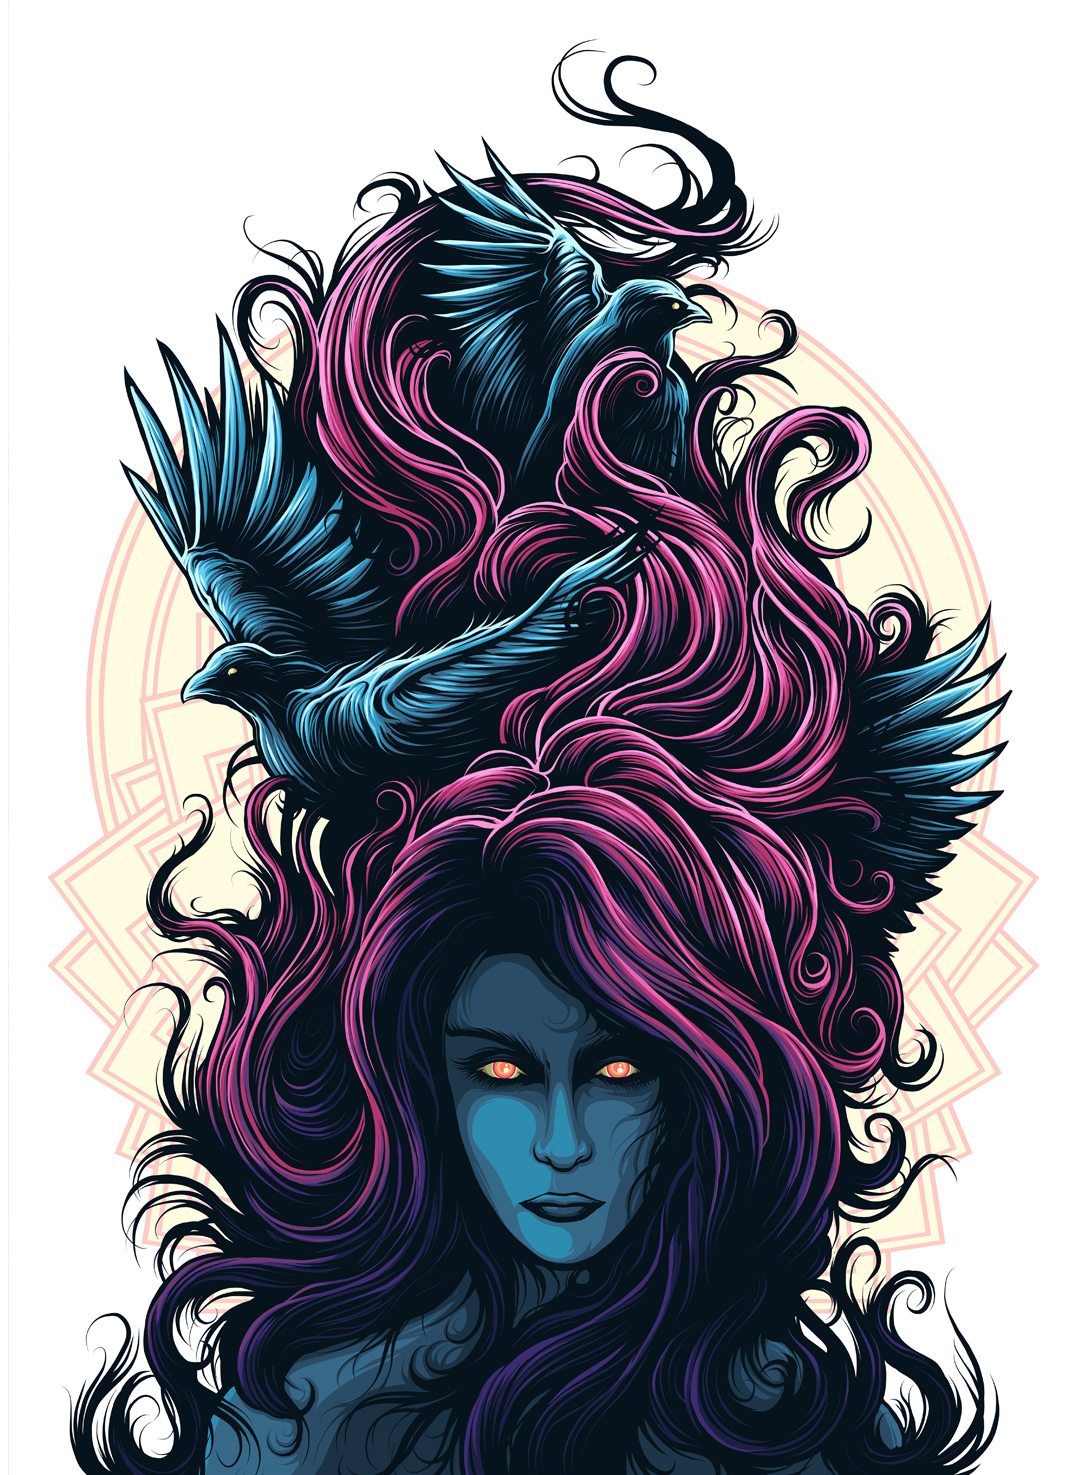
That means you can start exploring new ideas whenever inspiration strikes – something Dan’s taken full advantage of in his workflow. He produced this striking psychedelic portrait on an iPad Pro using Illustrator Draw while traveling in Europe.
One technique that Dan often uses in Illustrator Draw is a process for carving out highlights with the Eraser tool to add depth to his images. First, he stacks up layers of different colors. Then he uses the eraser and Shape menu to carve into different layers to reveal the colors beneath.
In the video below, he shows exactly how to do this using concentric circles of color. Hit the Play button to watch Dan's tip for quickly erasing areas on the move, with the Shape menu and Eraser tool in Adobe Draw.
Using the shape tools to erase in Illustrator Draw
So where might you use this technique in your illustrations? For Dan – whose clients include Disney, Sony, Iron Maiden and more – it’s particularly useful for eyes. He erases through concentric circles of color to give pupils exactly the right shine.
But this method can be applied to create a range of different effects. “Using this same principle with other shapes – squares, rectangles and so on – I find it’s really easy to make quite complex illustrations that are reliant on perfectly straight lines, where I would normally use the ruler or freehand,” he explains.
“Being able to work with touch gestures, as well, becomes second nature very quickly, and you can move around the screen really fast. It certainly helps to cut slow shape-making in half sometimes.”
9 tips for illustrating in Adobe Draw

Illustrator Draw has five vector brushes, an eraser, one photo layer and up to 10 drawing layers to play with. If you’re new to the app, here are nine tips for mastering the basics…
Tap and hold the Size or Opacity buttons to change your brushes. Color lets you access the color picker, app themes and colors from your CC library.
Double-tap the eraser to change its size.
Zoom in and out using pinch gestures.
To go back a step, swipe left or tap the Undo icon. Tap and hold the Undo icon to access the Redo icon – or swipe right to redo.
Tap the Layers icon and select + to add a new layer. To duplicate, move or reflect the contents of a layer, tap the … button. To change layers, tap on your desired layer. Toggle a layer’s visibility by double-tapping it.
Re-order layers by tap and holding the layer, and moving its position in the stack.
The Shapes icon lets you select any App Shapes or Capture Shapes in your CC Libraries. Tap + in the top right-hand corner of the Shapes menu to launch Capture CC from Draw.
Move or rotate a shape by placing two fingers on it. Pinch inside to enlarge or reduce its size.
When you’re ready to move to desktop, tap the Share/Send To icon. If you select Send to Illustrator CC, your illustration will open with paths and layers for further editing.
Faster vector editing
Once you’re back at your desk and using Illustrator to finish your design, you’ll find a host of Illustrator plugins on our website that will super-charge your workflow – whatever field you work in.
These include VectorScribe – the Swiss army knife of vector editing tools – and Texturino, which lets you add raster-based textures as a live effects to live text, gradient meshes, filled paths and raster objects.
In addition, you'll find other helpful tools for getting more out of Illustrator, such as Phantasm, for color control like Photoshop’s; mirroring tool MirrorMe, with live functionality for quick and flexible pattern, fractal and kaleidoscope effects; and WidthScribe, which lets you customize the width of multiple vector strokes and taper line ends – plus a lot more.