Featured Artist - Ryan Reason
5 minute readHi, my name is Ryan “Ryi” Reason. I own and operate Reason Tee, a custom screen-printing shop in California. I use Adobe Illustrator primarily for preparing vector artwork for screen printing. Everything from creating custom vector artwork for customers, modifying current customer artwork, and creating spot color separations for films to be screen printed onto tees and garments.
I discovered Astute Graphics in May. I was completing an online tutorial by Aaron Draplin and he mentioned Astute Graphics. I gave the trial a try and was instantly hooked. Astute Graphics’ plug-ins made Adobe Illustrator feel complete. I found myself thinking; “Now this is how Illustrator should work!”. The AG monthly webinars, AG team, and AG users on the AG Slack channel are amazing, providing a welcoming and positive community during a difficult time.
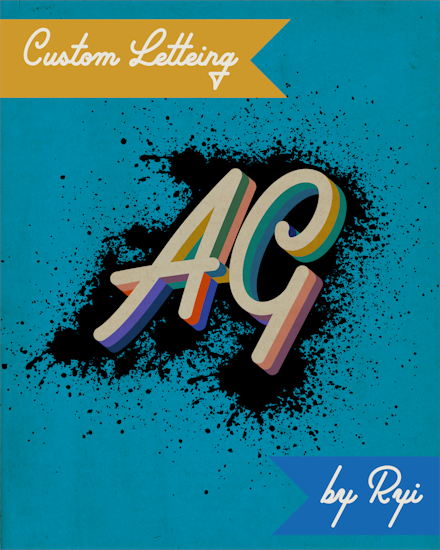
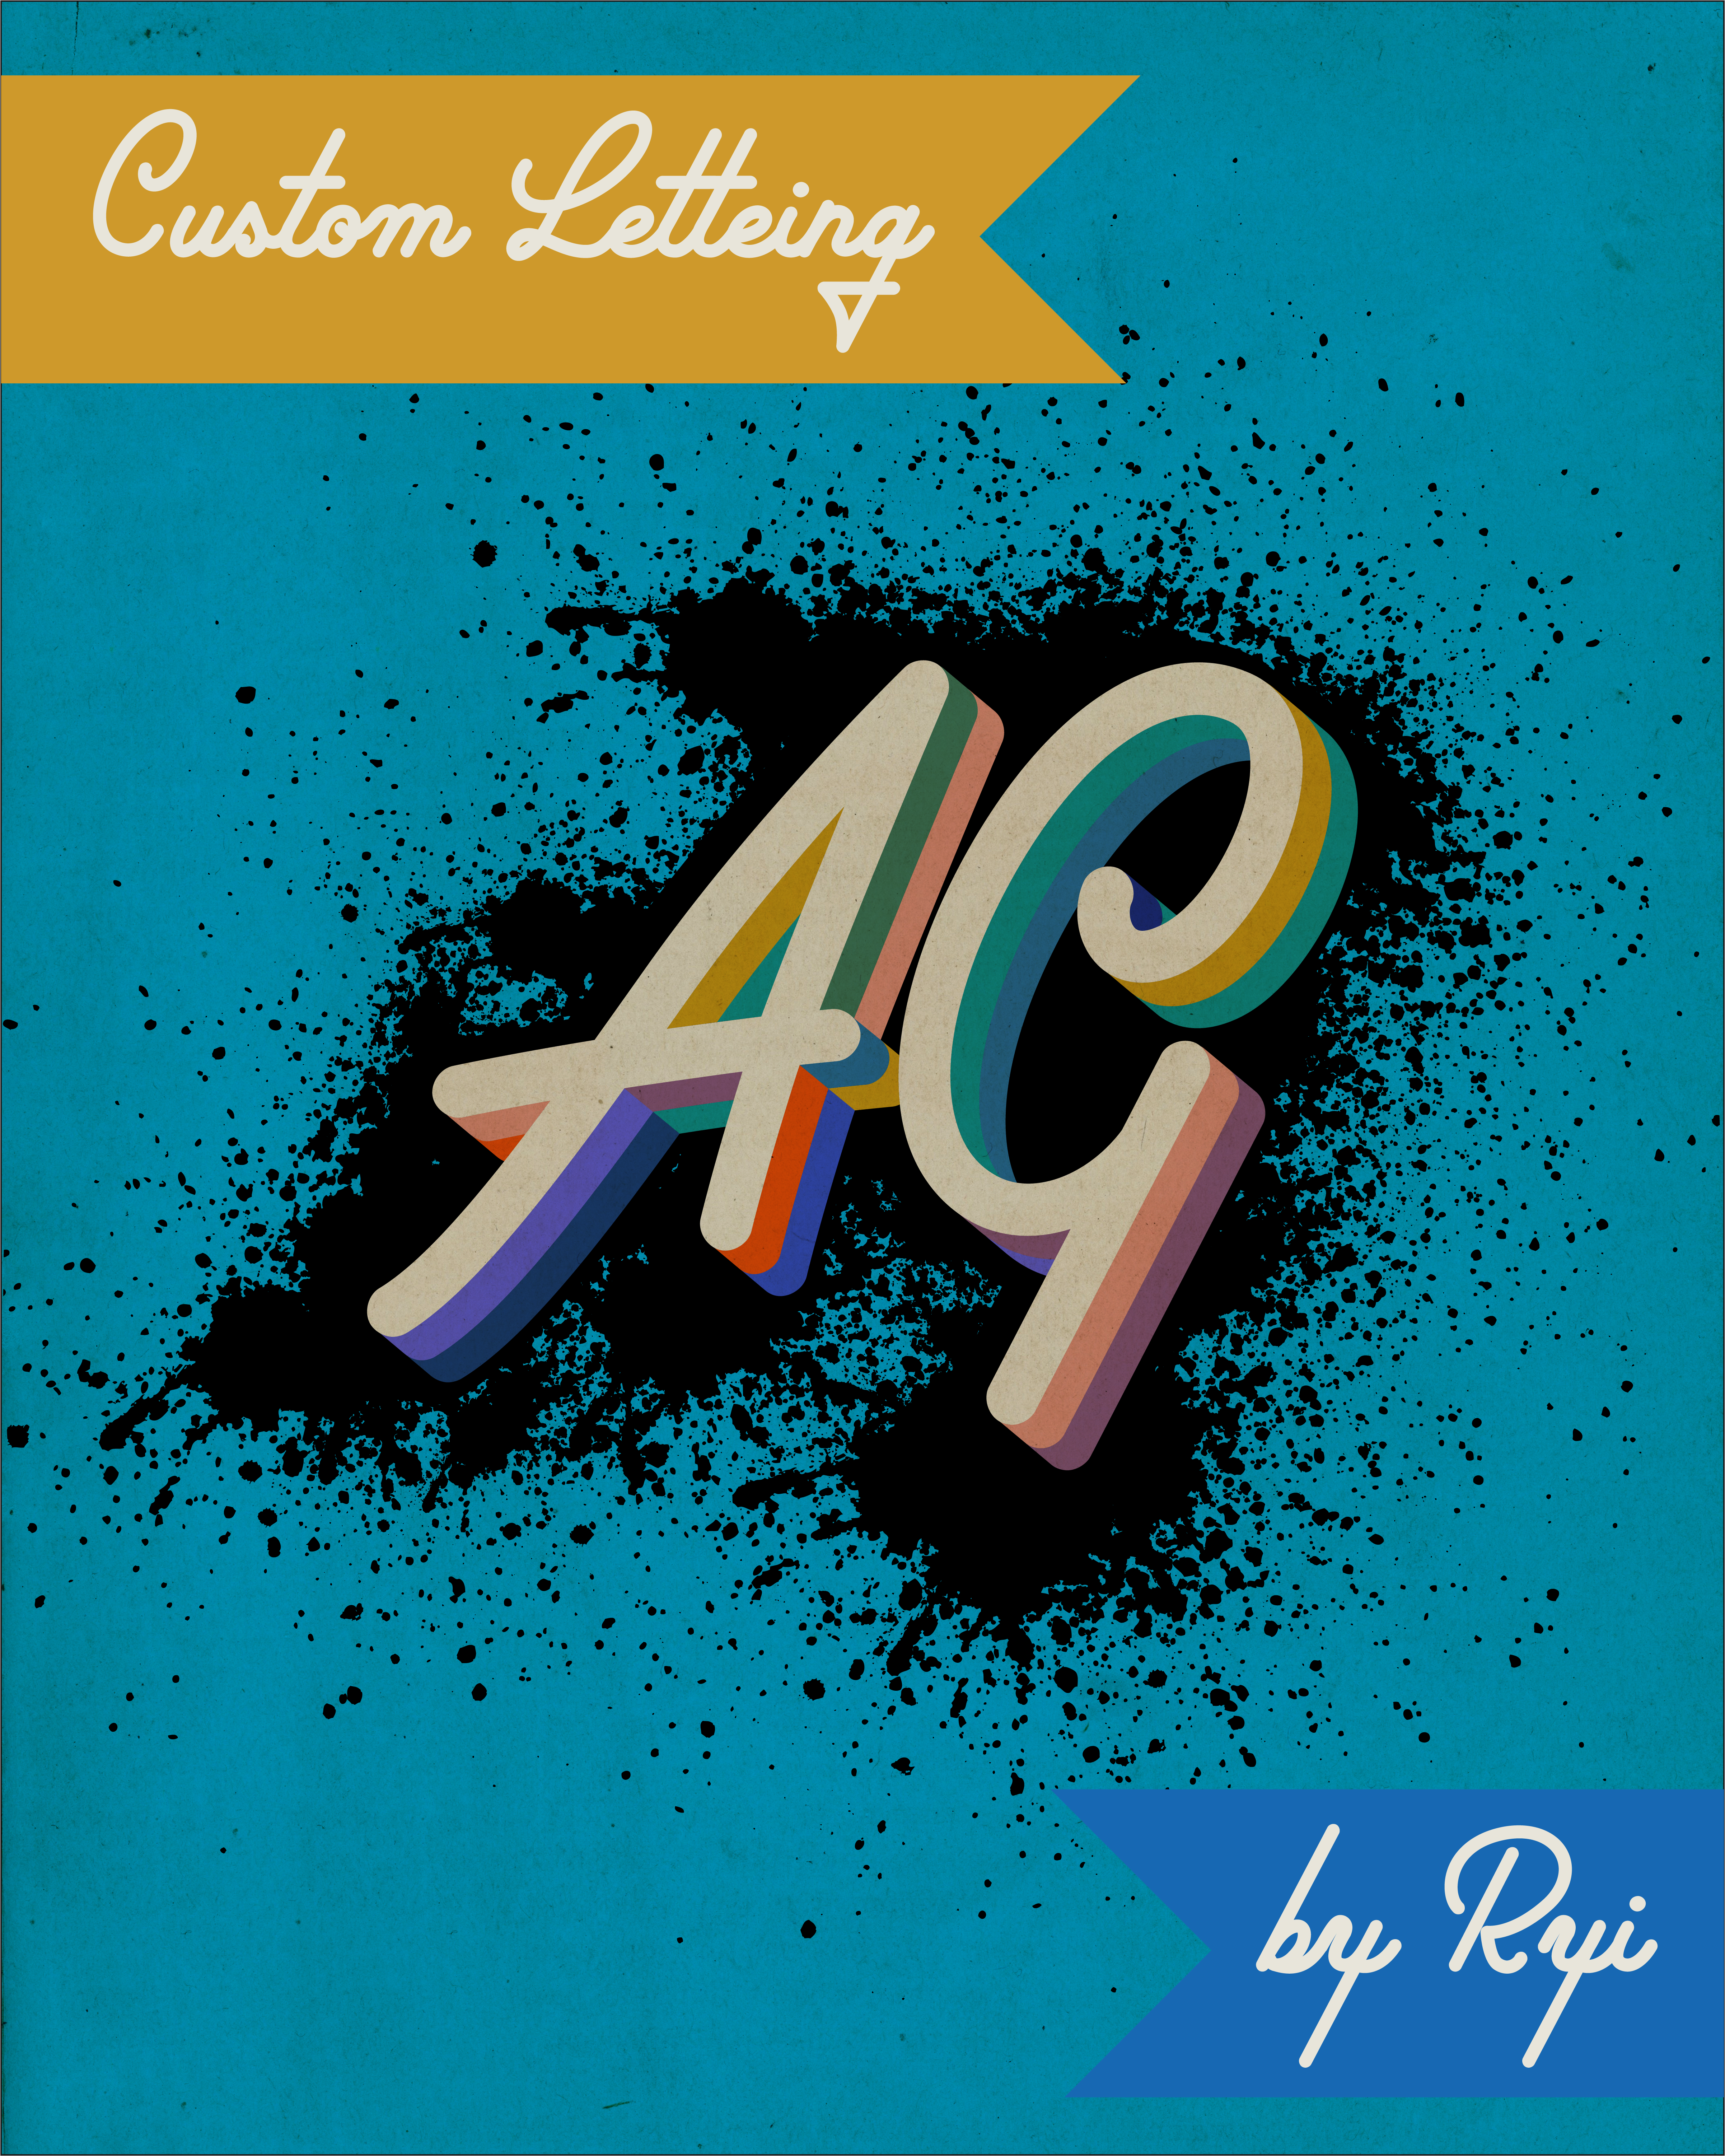
With my business being very slow, I have had the opportunity to spend more time with my family and rekindle my love and passion for art. I created this design purely for the joy of creating. I wanted to try something new. I had a vision of the overall style of the design but was not sure on the message. I asked my spouse, Amy, what it should say, and she replied, “Take No Shit”.
I used several of the AG tools for this project: InkFlow, AG Block Shadow, AG Offset, the Collider tool, Extend Path Tool, VectorFirstAid, Astute Buddy, Lock Unlock Tool. I also used Adobe Illustrator brushes available from RetroSupply Co. I still haven’t gotten in the habit of using Autosavior. I will likely have to learn that lesson the hard way after Illustrator crashes and I lose a crap ton of work.
My process is:
Notes: I color the art last. I start with a rough idea of my end goal and utilize color as a form of separating artwork with the wand tool. Once I have the design created, I create a New Color Group in Swatches for coloring the design. I often switch back and forth between Outline mode to ensure the objects are lining up. I also use VectorFirstAid as I go to remove extra anchors, points, paths, etc. To ensure I have artwork from previous steps available, I copy all and start a new layer often.
1. I like to start by sketching a rough layout.
2. For this design, I used InkFlow to create the letterforms; however, your favorite font will work.
3. Expand and fill the strokes then use Pathfinder to Unite.
4. Using AG Block Shadow, create one drop shadow, expand the artwork, use Pathfinder to Divide, Magic Wand Tool to select the drop shadow color, copy, send to back, align behind the first drop shadow, and expand.
5. Using the same angle as the drop shadow, create a straight-line stroke with the Line Segment Tool across one of the “joints” in the letterforms. These lines will be used like a cookie cutter. I apply a contrast color and 1-point stroke to the lines for my personal reference.
6. Copy and paste the straight line across each segment that you want to “cut”.
7. Once all the lines are placed right where you want them, switch to Outline mode, using the AG Collider tool (I LOVE IT!) and AG Extend Path Tool (also awesome), reposition all the lines ensuring they expand across all of the drop shadow objects you want to cut and align just right.
8. Remove the stroke / fill from all the lines ensuring both the fill and stroke is “None”.
9. Select all the objects, click Pathfinder and Divide, then ungroup.
10. Select all objects again, change to the Shape Builder Tool, build out each segment to be filled a different color.
11. Create my New Color Group and add color swatches.
12. Color the artwork with colors that make you happy.
Once completed, I went back and added a background color, solid color object behind the letterforms, splatter, and a cardstock overlay for texture.
1. Select all the objects, copy, paste behind on a new layer.
2. Use the Pathfinder > Unite tool to combine all the objects.
3. Use the AG Offset tool to create a single solid outline, expand, Pathfinder > Unite.
4. Create a rectangle larger than the new object, ensure the rectangle is a different color, select the rectangle and backdrop object, click Pathfinder > Divide, select the Magic Wand Tool, click the unwanted content, delete, select the remaining content, click Pathfinder > Unite.
5. Now resize the solid “shadow”, apply a stroke, and change the stroke to a fun brush. I got my favorite brushes from www.RetroSupply.co.
6. Add a background color.
7. Add a new layer on top of all the art, place a card stock image (again from RetroSupply Co), change the blend mode to Multiply, and modify the opacity as needed.
That’s it! I hope you enjoy my tutorial. Thanks to all the great people at Astute Graphics and thank you Dave, Nick, and Carlos for the kick ass AG webinars.