FindReplace - Quickly add hieroglyphics to an ancient ruin
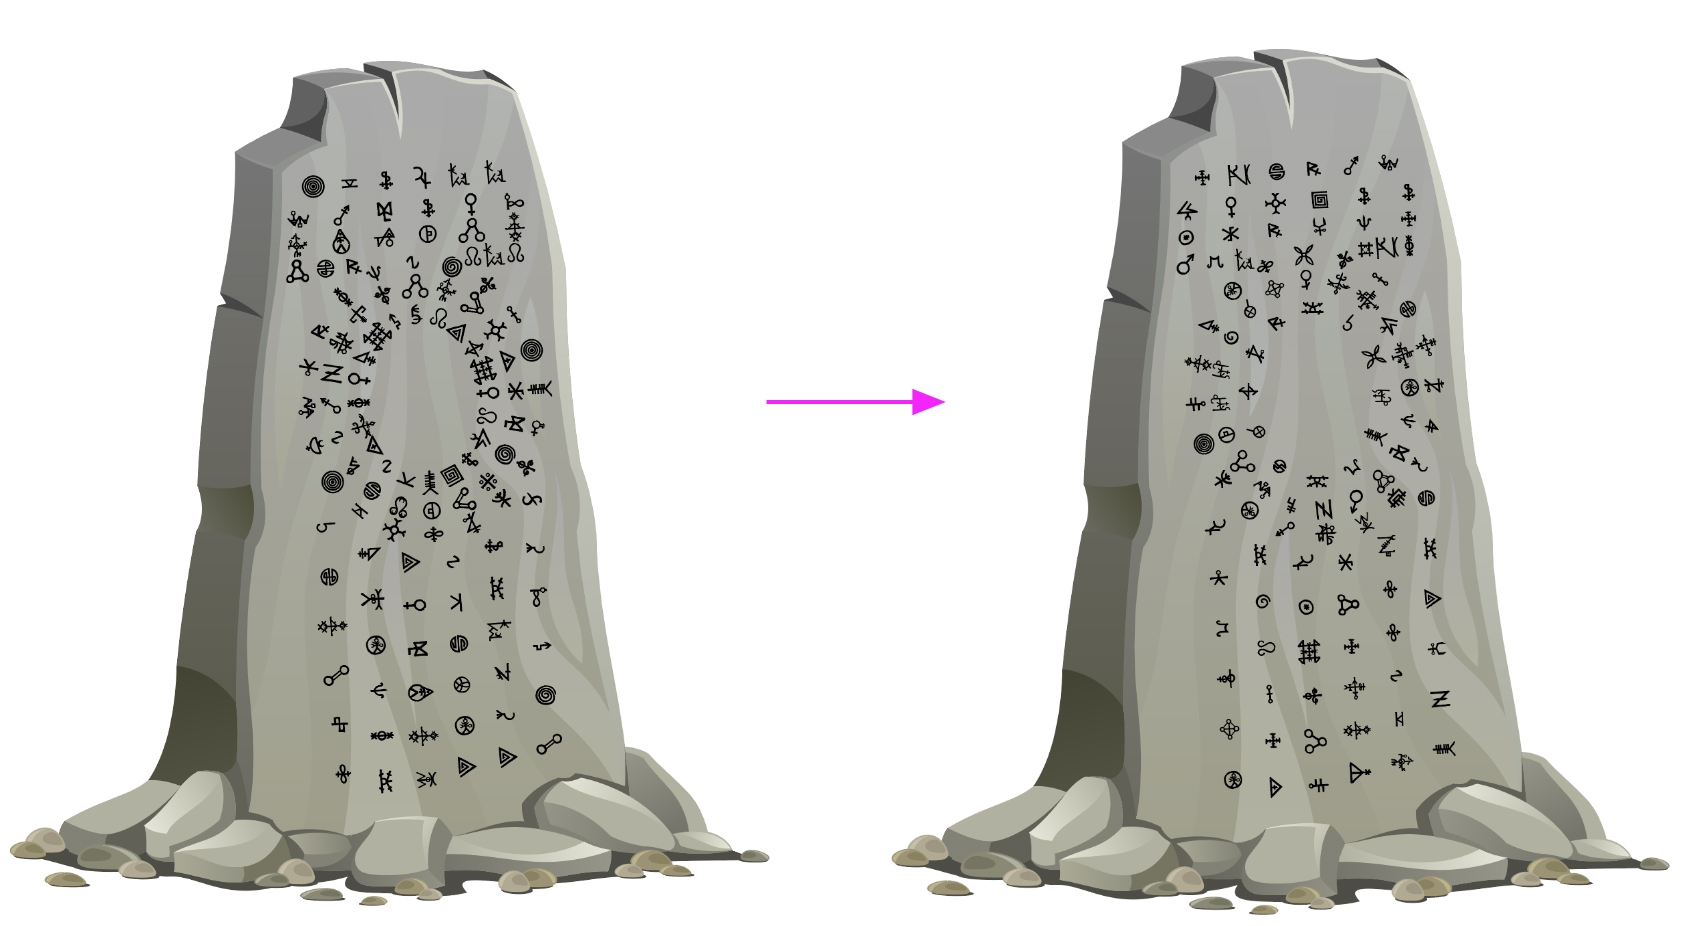
6 minute readThe recently release FindReplace plugin gives you some major time saving capabilities. I’ll be walking you through the process of adding random hieroglyphics from a group to a large ancient ruin. In the example below, you can see what you’ll be creating.
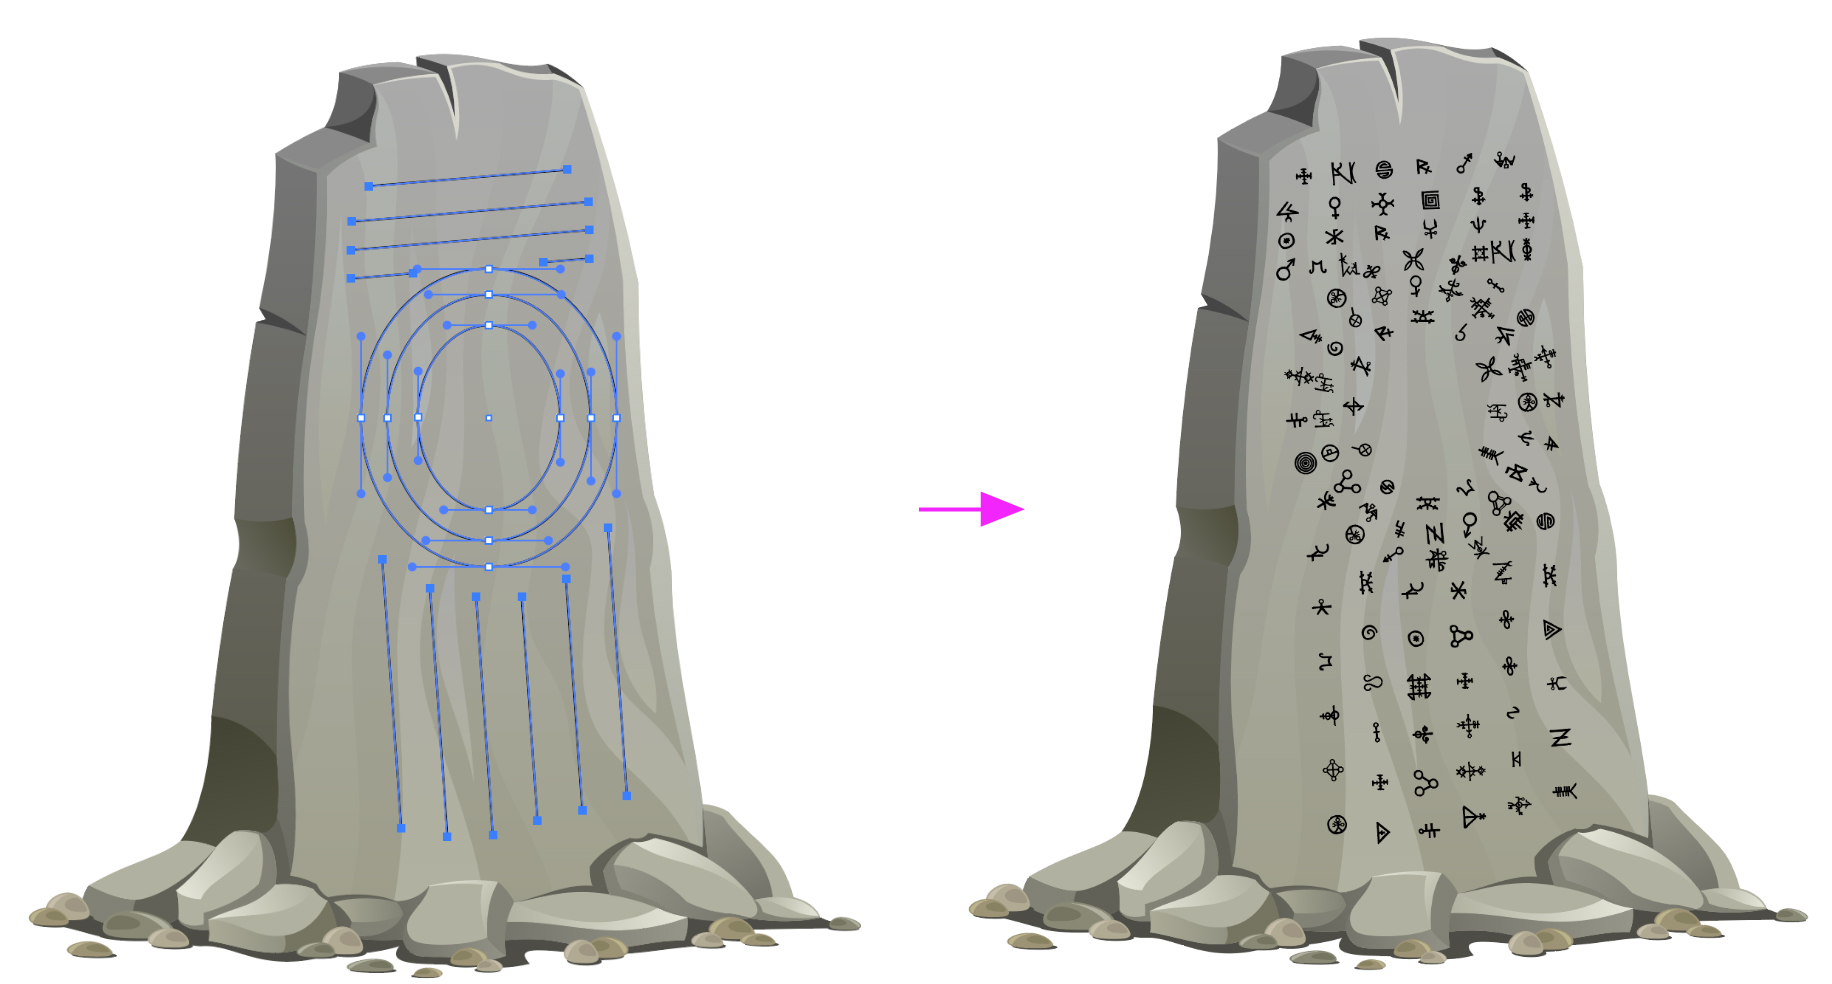
The first step is to create some lines that you want hieroglyphics placed along. We’ll be creating points along these lines to place hieroglyphics along. If you are going to place the hieroglyphics along a slanted surface, you can use the shear, scale, and transform tools in Illustrator to match the lines to your surface.

Add points along paths
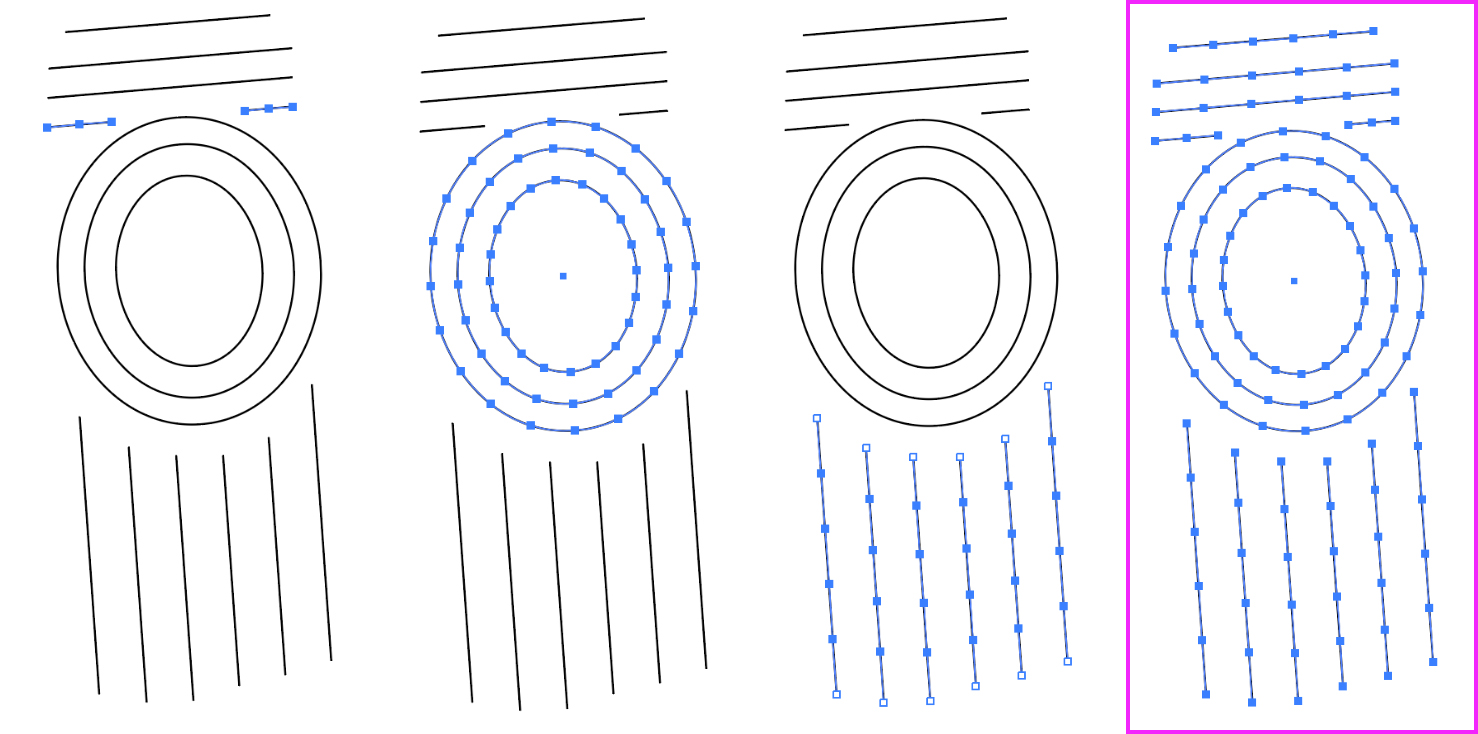
Before you start adding anchor points, make a copy of the lines you just created, and place it on a separate layer as a backup. Hide the layer so you can come back to it later if needed. With the paths created and placed correctly, add some points and make sure they are spaced evenly. Open the PathScribe panel (part of the VectorScribe plugin). Select only paths that you want to have similarly spaced hieroglyphics placed along and (Option + Click) the Add Anchor Points button.

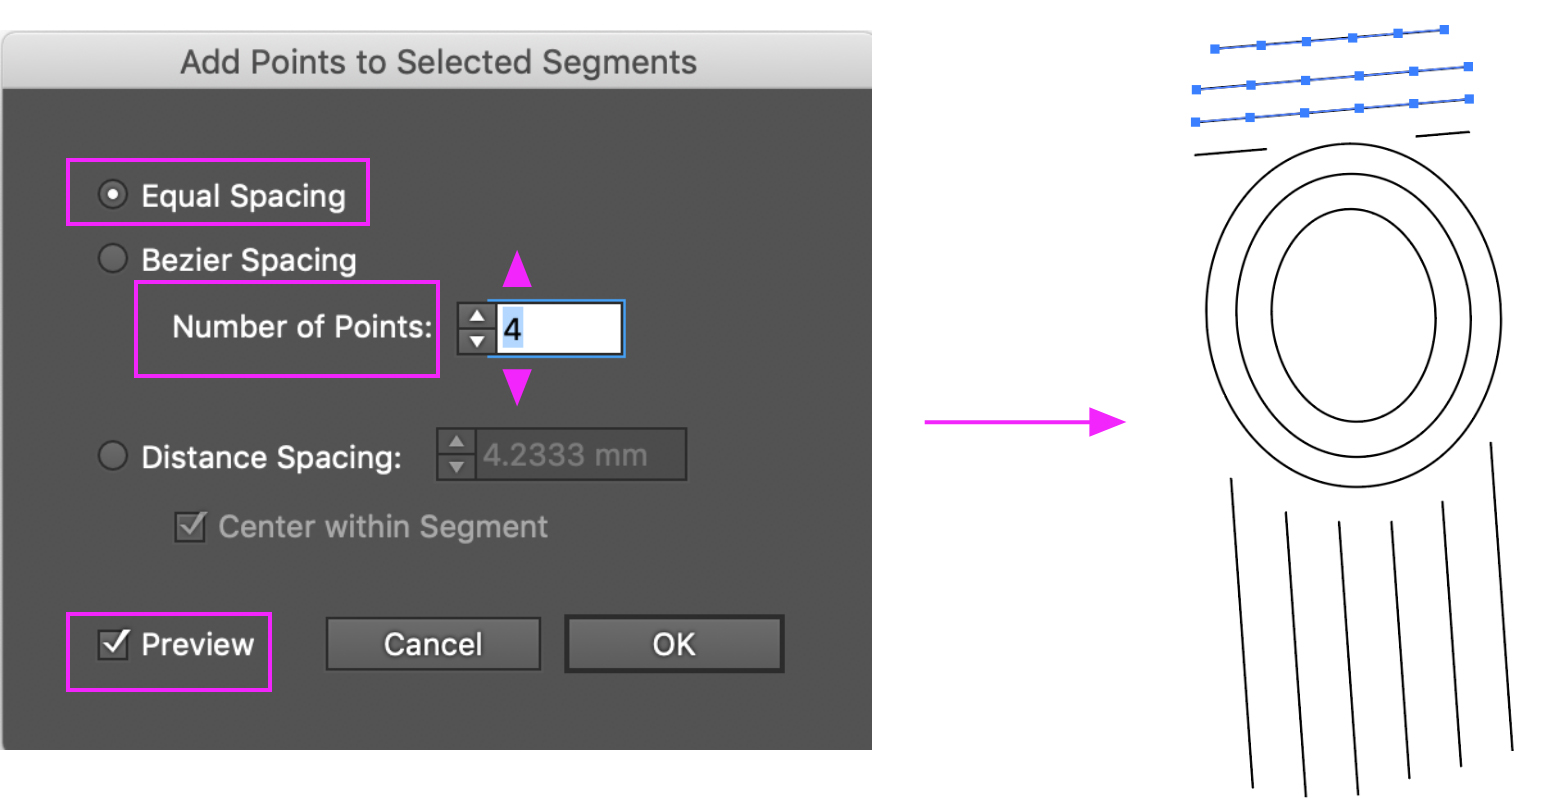
Set your spacing to Equal Spacing and add the desired number of points. You can check the preview button to get an idea of what your spacing will look like. You'll see from the example below, there is a preview of anchor points that will later be replaced by hieroglyphics.
Repeat the process above for each set of similar lines and shapes.
Prepare replacement objects
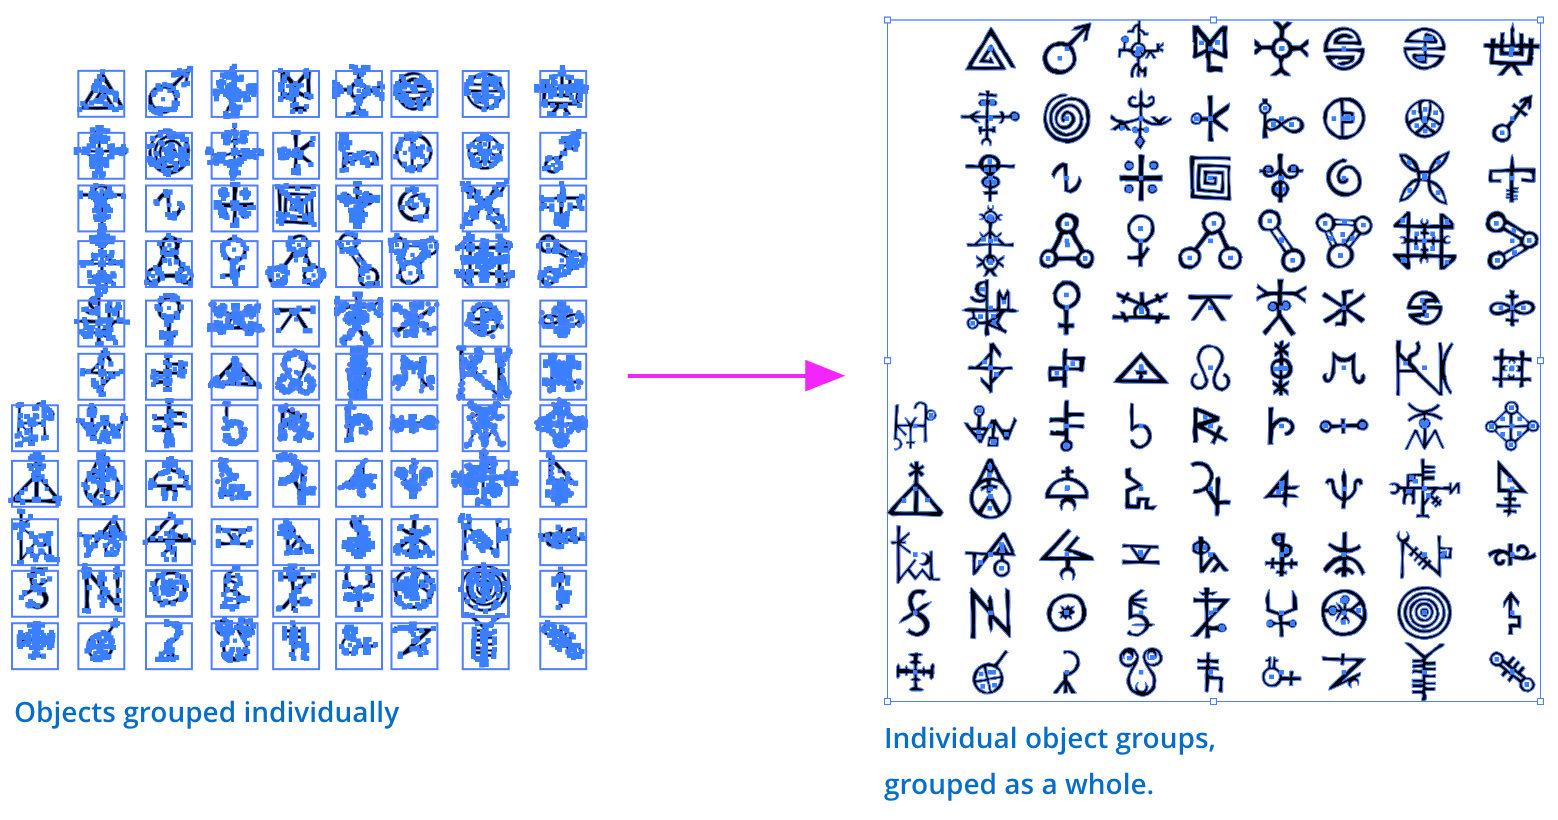
Once all the anchor points have been created and evenly spaced, go to your group of symbols or hieroglyphics. Each symbol or object should be grouped individually. As long as each symbol or hieroglyphic is made of one path or a single group, the objects will be placed correctly. Make sure the full set of hieroglyphics are grouped together. This is the hierarchy of how your objects should be grouped:
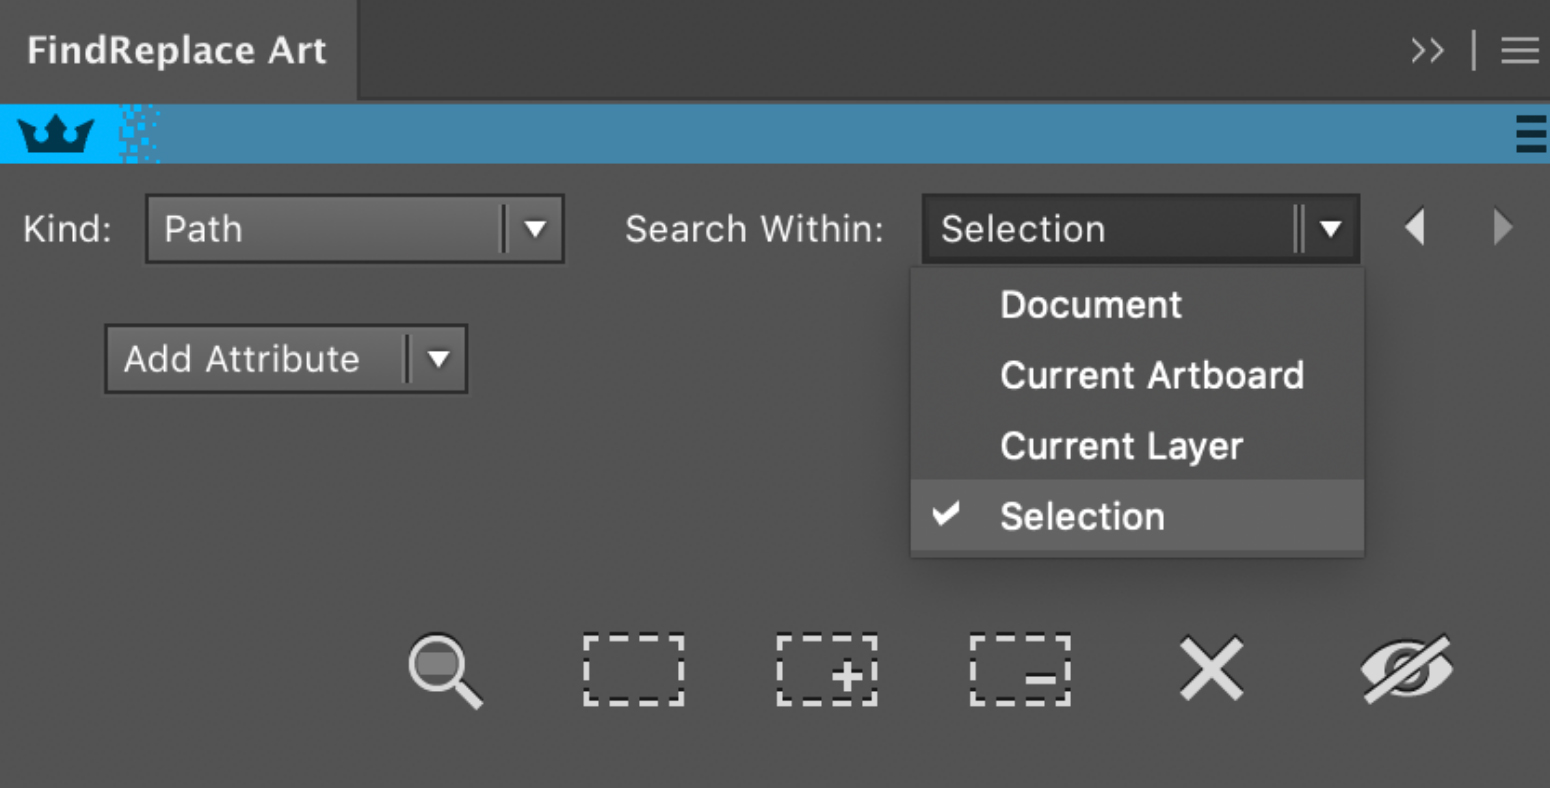
To set up your FindReplace settings to work correctly, open the panel and set the Search For settings. Set Kind to Path. If you know you will only have this one set of matching paths on your document or layer, you can set the Search Within accordingly. I prefer to have it set to Selection because I can more readily control what I replace.
Open the FindReplace panel and drop the group of hieroglyphics into the Replace With box by selecting the group and clicking the Eyedropper icon. If you did this correctly, a thumbnail will appear inside the Replace With box showing the group of icons. Set the Pick from Group option to Random and set your rotation to match. If your icons are already the correct size, you can keep the scale set to 100%, otherwise you can have them automatically scaled up or down as part of the replacement process.
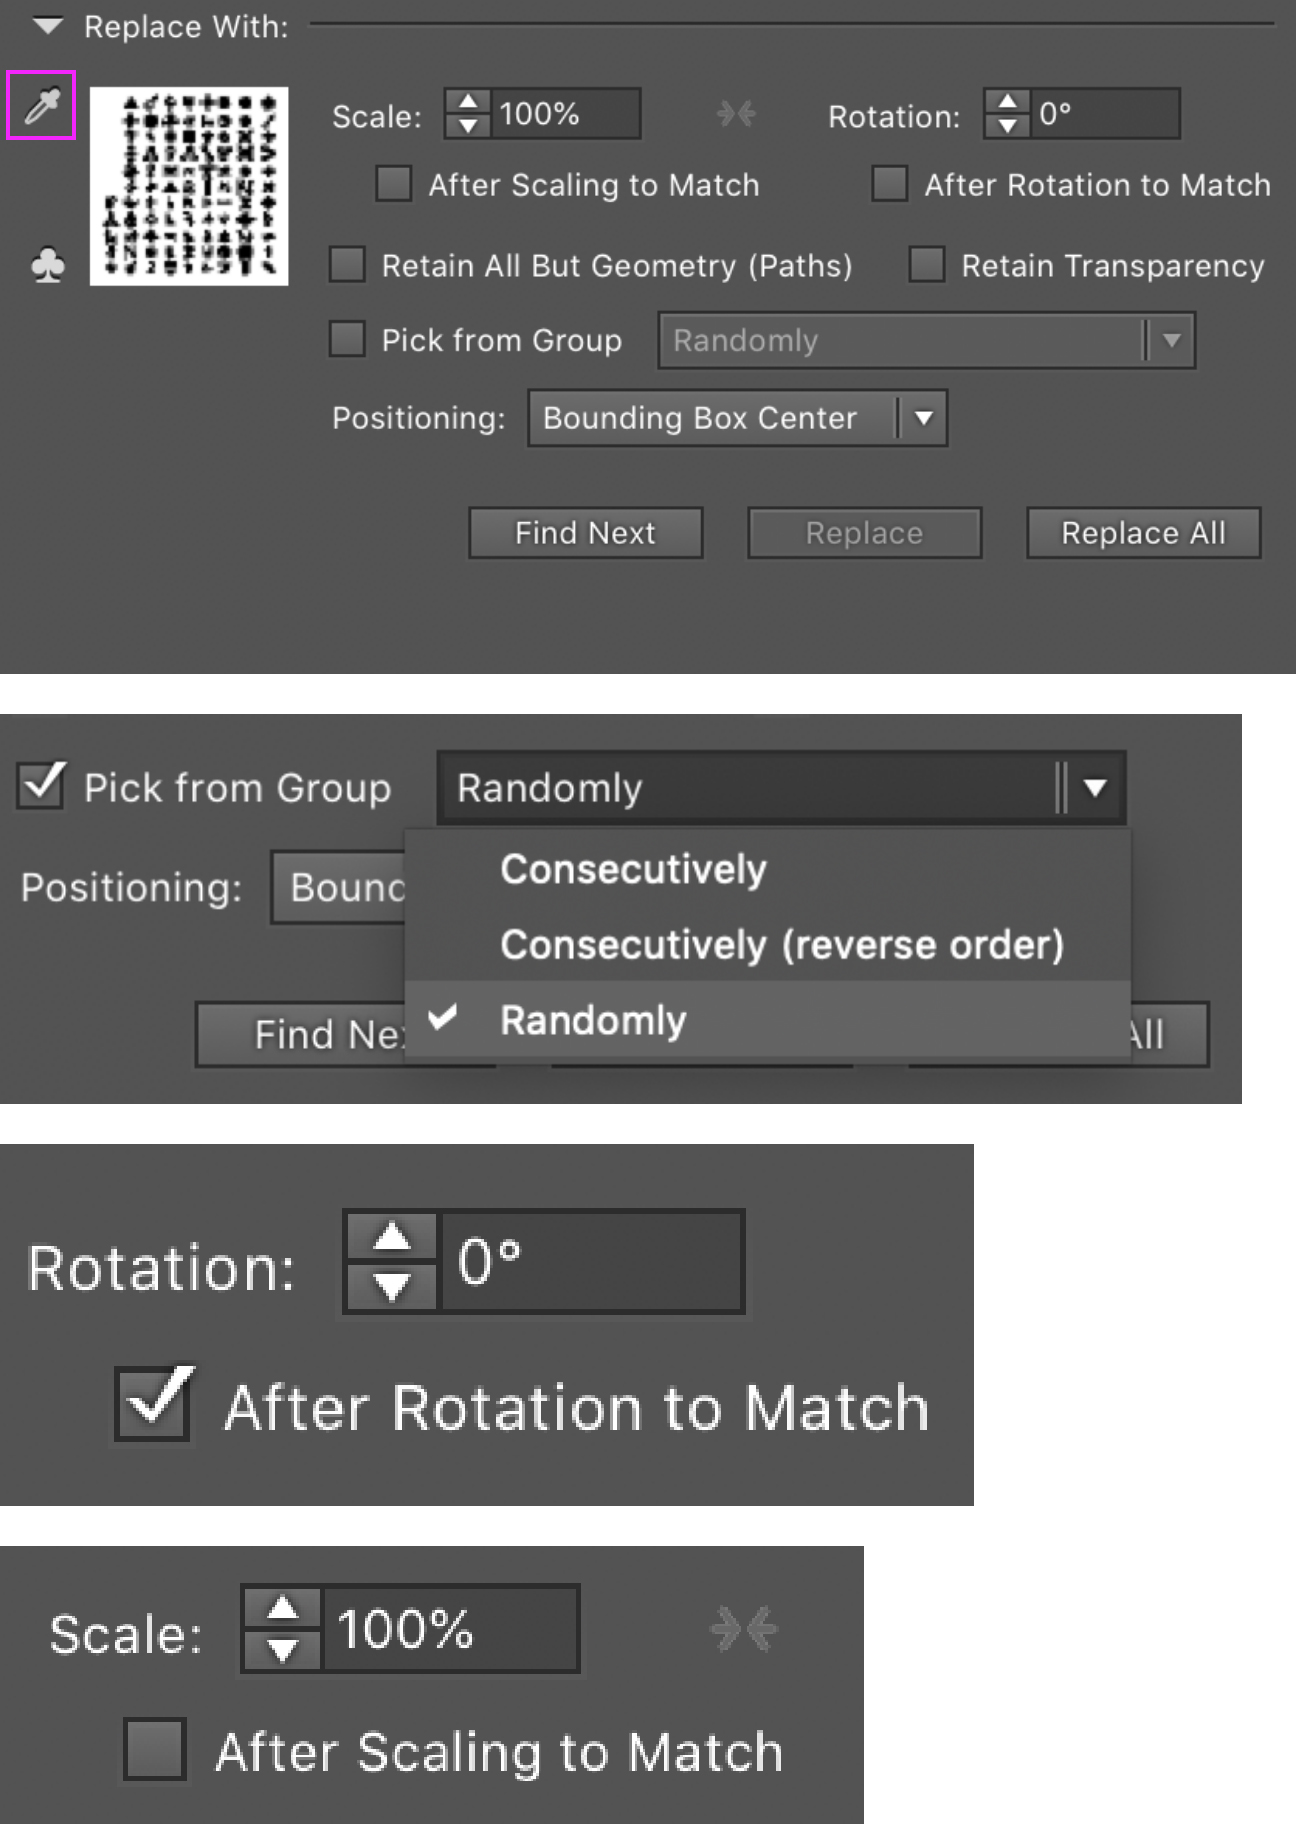
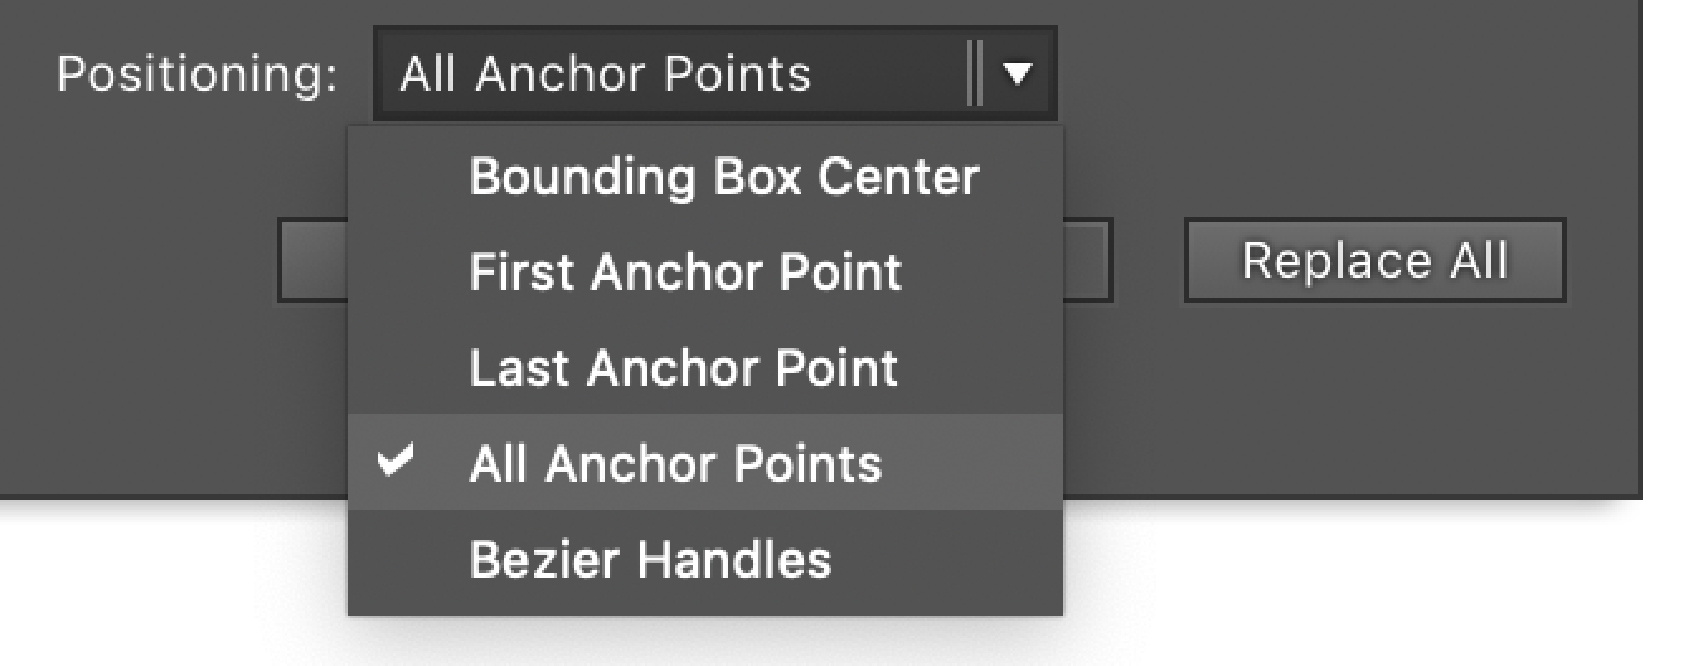
Now, the most important step is to set the positioning of the replacement objects, or all your anchor point prep work will have been for nothing. Set the Positioning to All Anchor Points so each symbol is placed in the correct position.
Click the Replace All button and watch your objects get placed along the paths.

If you aren't fully pleased with the randomization of the result, undo the action, and repeat it until you get the symbols placed as desired.
Fixing spacing problems
You may notice that the set of hieroglyphics in the center circle are spaced a bit too close together. Undo the replace all action, and delete the inner circle. You can copy that same circle from the backup layer created earlier. Repeat the Add Anchor Points step and use fewer points this time. The FindReplace panel should already be set up with the correct settings, so simply click the Replace All button again, and you should find that the spacing problem will be fixed.