It’s a shark! Getting creative with phantasm and the Symbols Panel
5 minute readPhantastic phun with Astute Graphics Phantasm plugin!
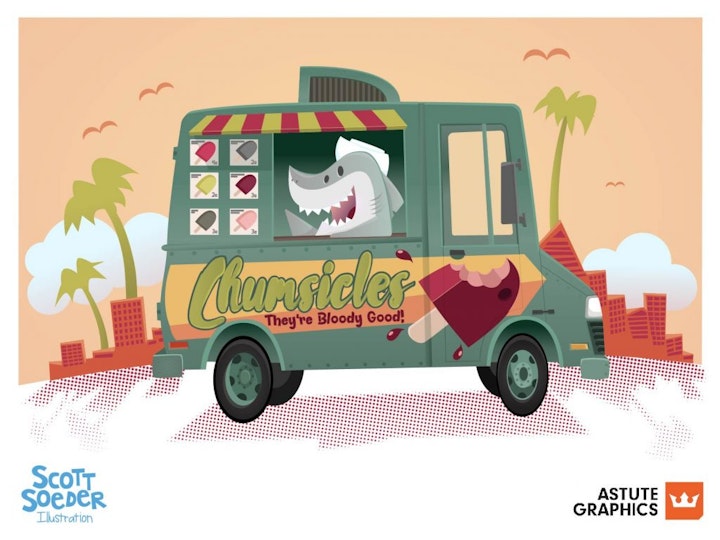
Hello! Today we are going to look at a very powerful plugin from Astute Graphics called Phantasm. It’s Phantasic! And since it was Shark Week recently, I’m going to show some shark art I created and how Astute Graphics plugins makes working in Adobe Illustrator easier and with precision!
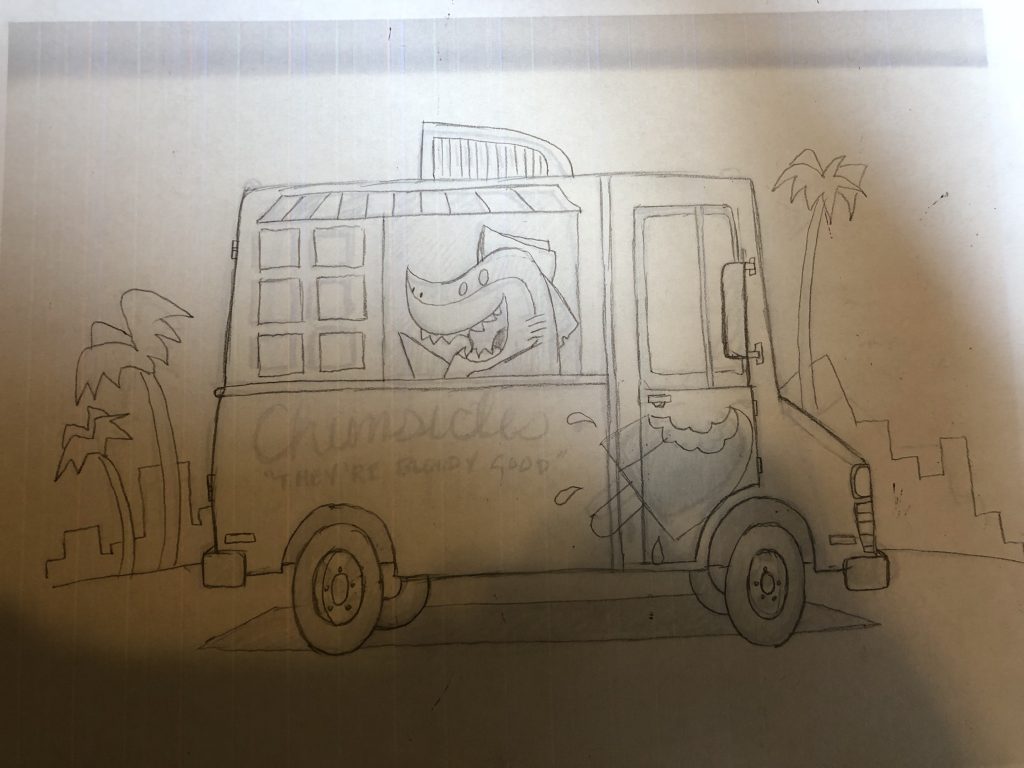
As with any illustration I create, I usually start on paper with a quick sketch. The sketch may be very small and rough. Sometimes I’ll use tracing paper to make a tighter sketch to scan into the computer. I have also snapped a photo of the sketch on my phone and skipped scanning altogether.
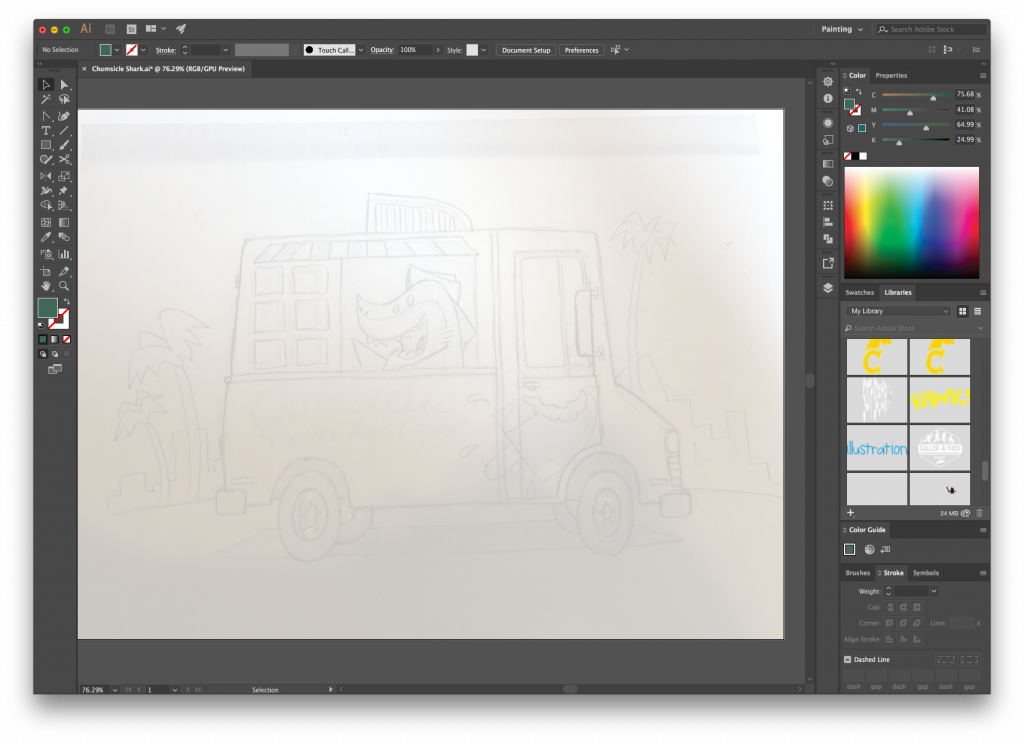
Bring the drawing into Illustrator. I like to dim the image (double click on the layer in the layers panel to bring up the layer options and check Dim images) to roughly 25%. Now we are ready to build the vectors!
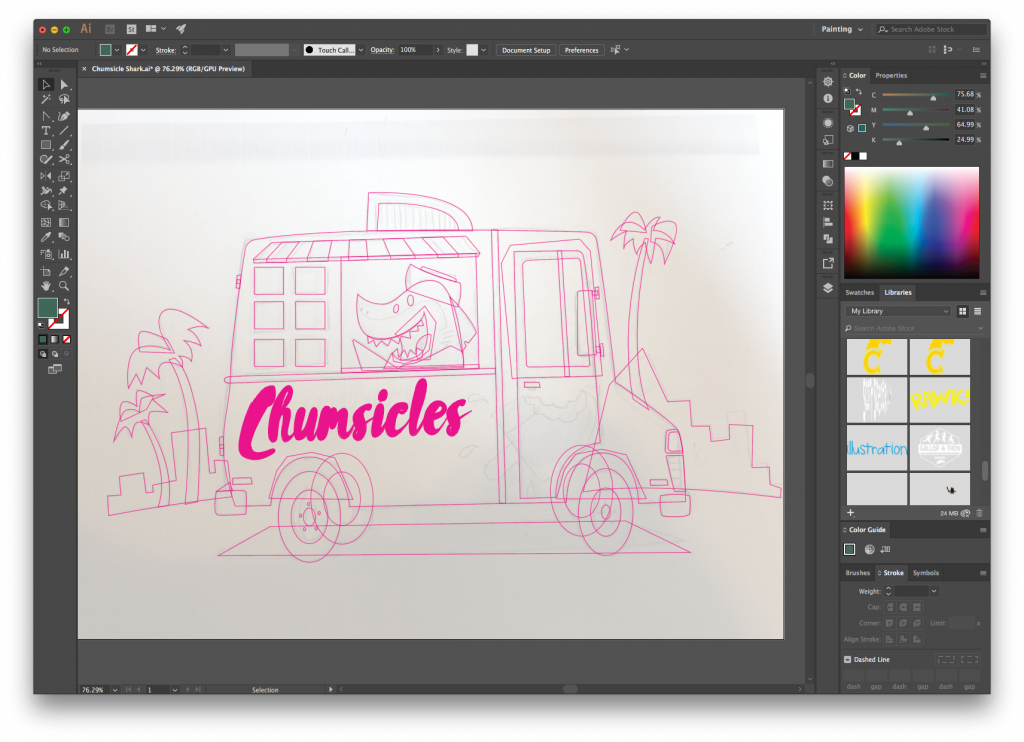
I’ll draw all the basic shape that I will need to create the illustration. I’ll continue working over the sketch until all the shapes are created. Notice some of the shapes (like the palm trees) will be left as is. These raw shapes get copied placed on their own layer labeled Raw Shapes which is locked and hidden. I’ll keep these in case I need to revert back to them. With the shapes created, I will fill them with some base colors.
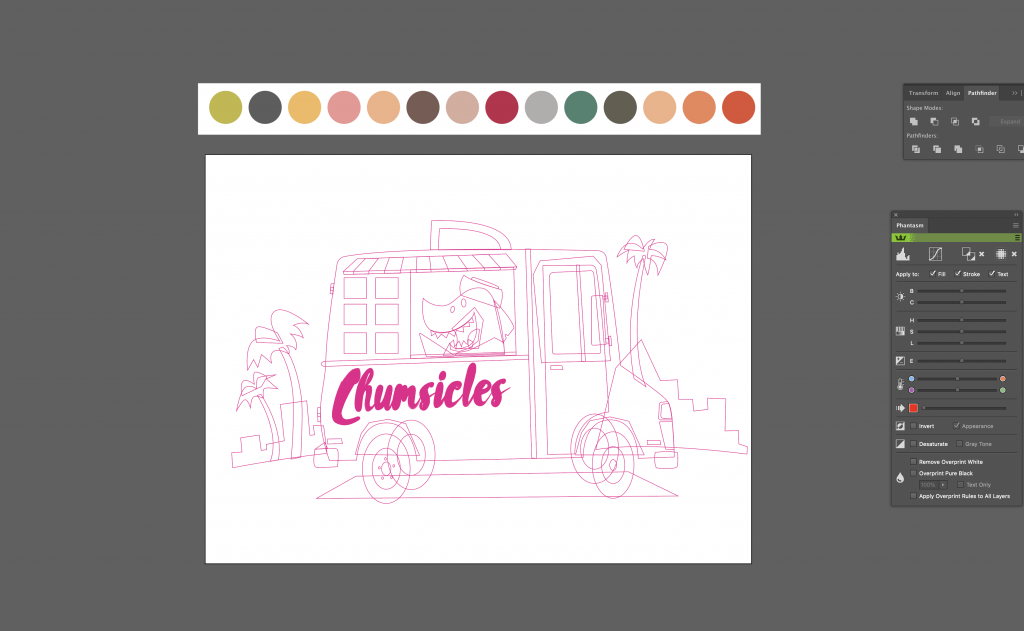
To work with colors, I create a color palette with circles and place them off the artboard just above the illustration. Yes, I will make each color a swatch in the Swatches panel, but I like having the colors bigger and out on the artboard. Selecting shapes, I’ll fill them in with base colors and work over the illustration trying out different color combinations until I like it.
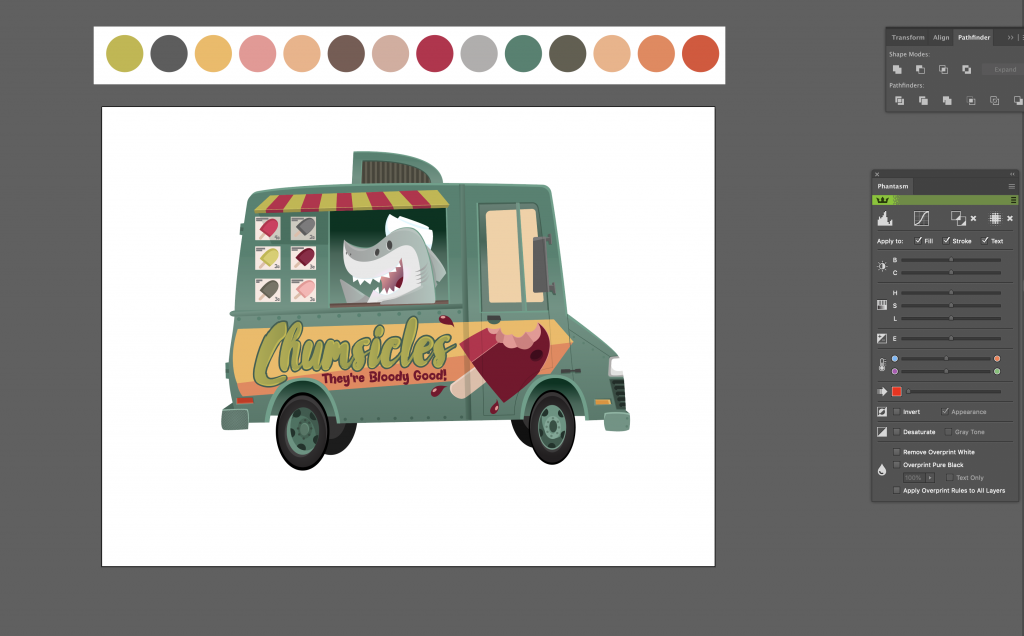
With the base colors worked out, I’ll continue working over the illustration to refine details and colors. I used cool colors on the truck and shark with warm colors in the background to give a feel of a beach sunset (when hungry sharks like a snack!).
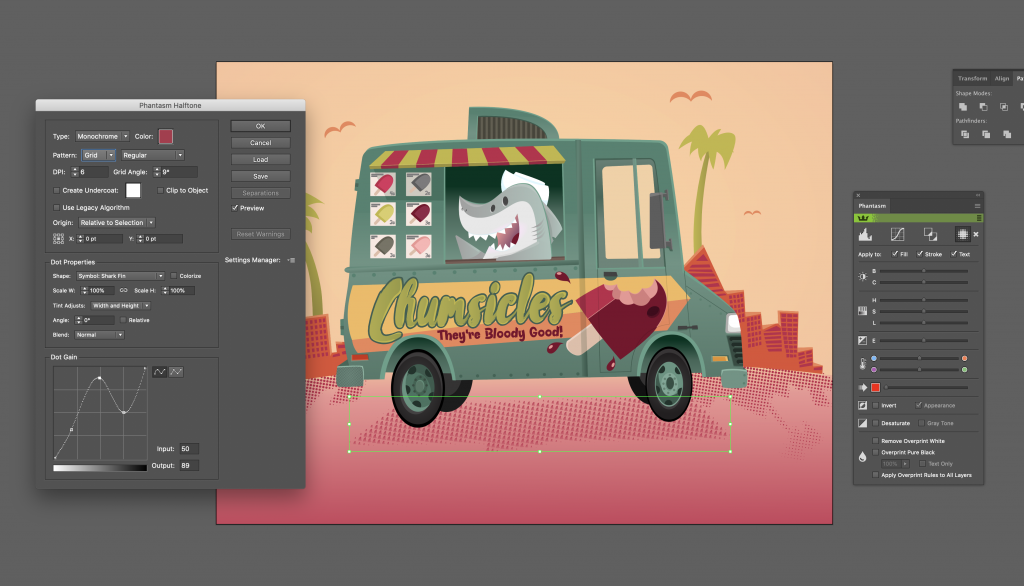
For the shadows of the truck and building, I’d like to use a halftone. For halftones in Adobe Illustrator, nothing beats the Astute Graphics Phantasm plugin. Phantasm offers complete control of the halftone AND keeps it editable. Brilliant. You have the ability to control every detail of the halftone. The level of precision is amazing.

To get started, click on the shape you want to use for your halftone. In this case, I’ll start with the shadow shape under the truck. I select it and then click the halftone icon in the Phantasm Panel. This will bring up a window with a frenzy of options to dial in your halftone. I’m going to edit the color, angle, DPI and dot gain for mine. You’ll really have to experiment as there are a number of tweaks you can make to perfect your halftone.
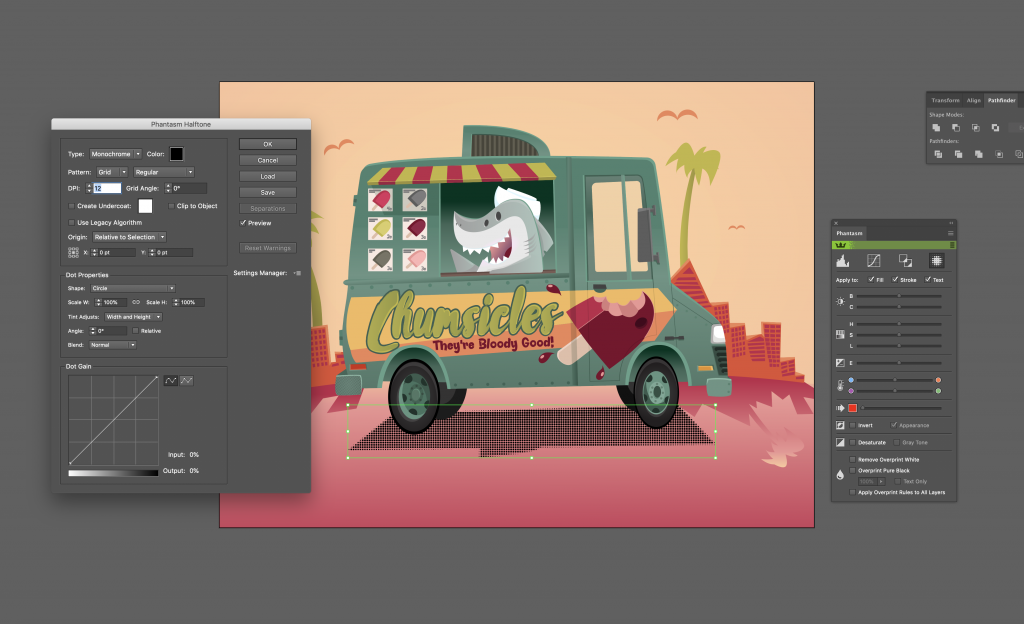
I’m choosing circles to use in my halftone, but there are options for squares, lines, or a character from a typeface. Additionally, it can be anything you want it to be. Just make it a symbol!
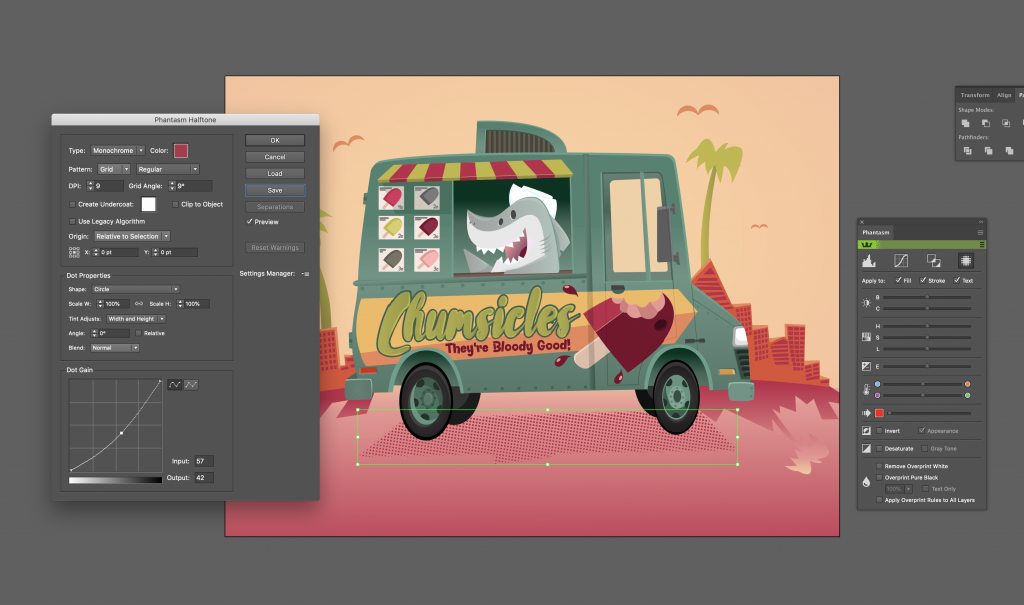
For example, I drew a shark fin and made it a symbol by dragging the fin to the Symbols Panel and making it a new Symbol. Then, I select the shadow of the truck and click the halftone icon in the Phantasm Panel to bring up the options window. Under Dot Properties > Shape, I can select my new Shark Fin symbol. And now I have a Shark Fin Halftone! You still have the same control over the symbol halftone as everything else. If your original symbol was loaded into the Symbols Panel as black, you can recolour the symbol to suit your artwork. So many possibilities and it all remains editable to go back and tweak at any time. Truly a remarkable tool to have in your Adobe Illustrator tackle box.
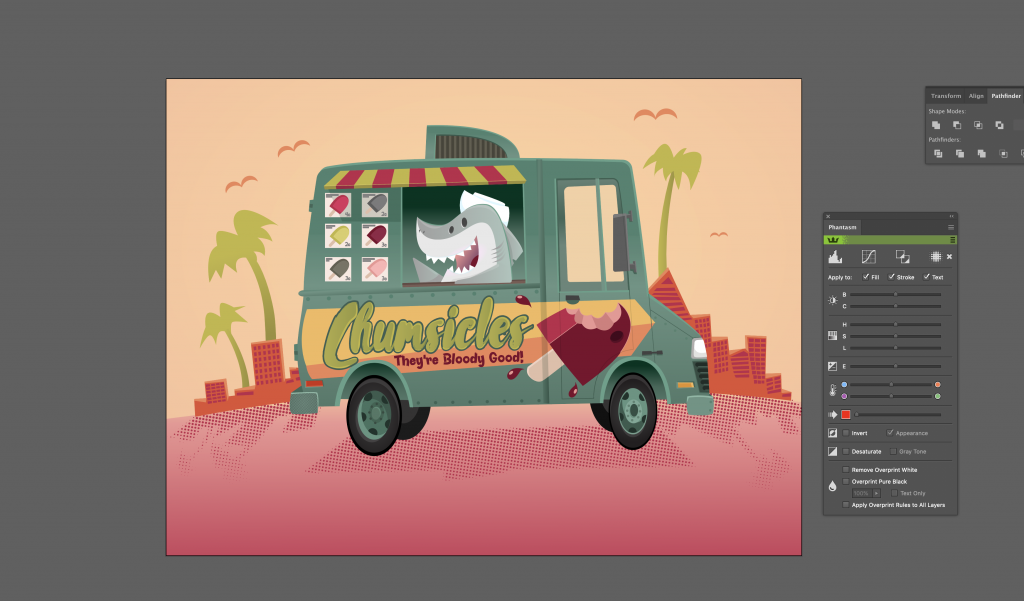
Once everything looks good to me, I’ll save my setting, so I can apply it to my other shadow shapes in the illustration.
There you have it. The completed illustration. But wait!
I think some nice clouds to break up the orange in the background might be nice.
Let’s quickly go to the VectorScribe Dynamic Shapes panel. Here you have a selection of shapes to choose from, we need a cloud shape. Click on Dynamic Cloud and choose Type and even Puffiness!