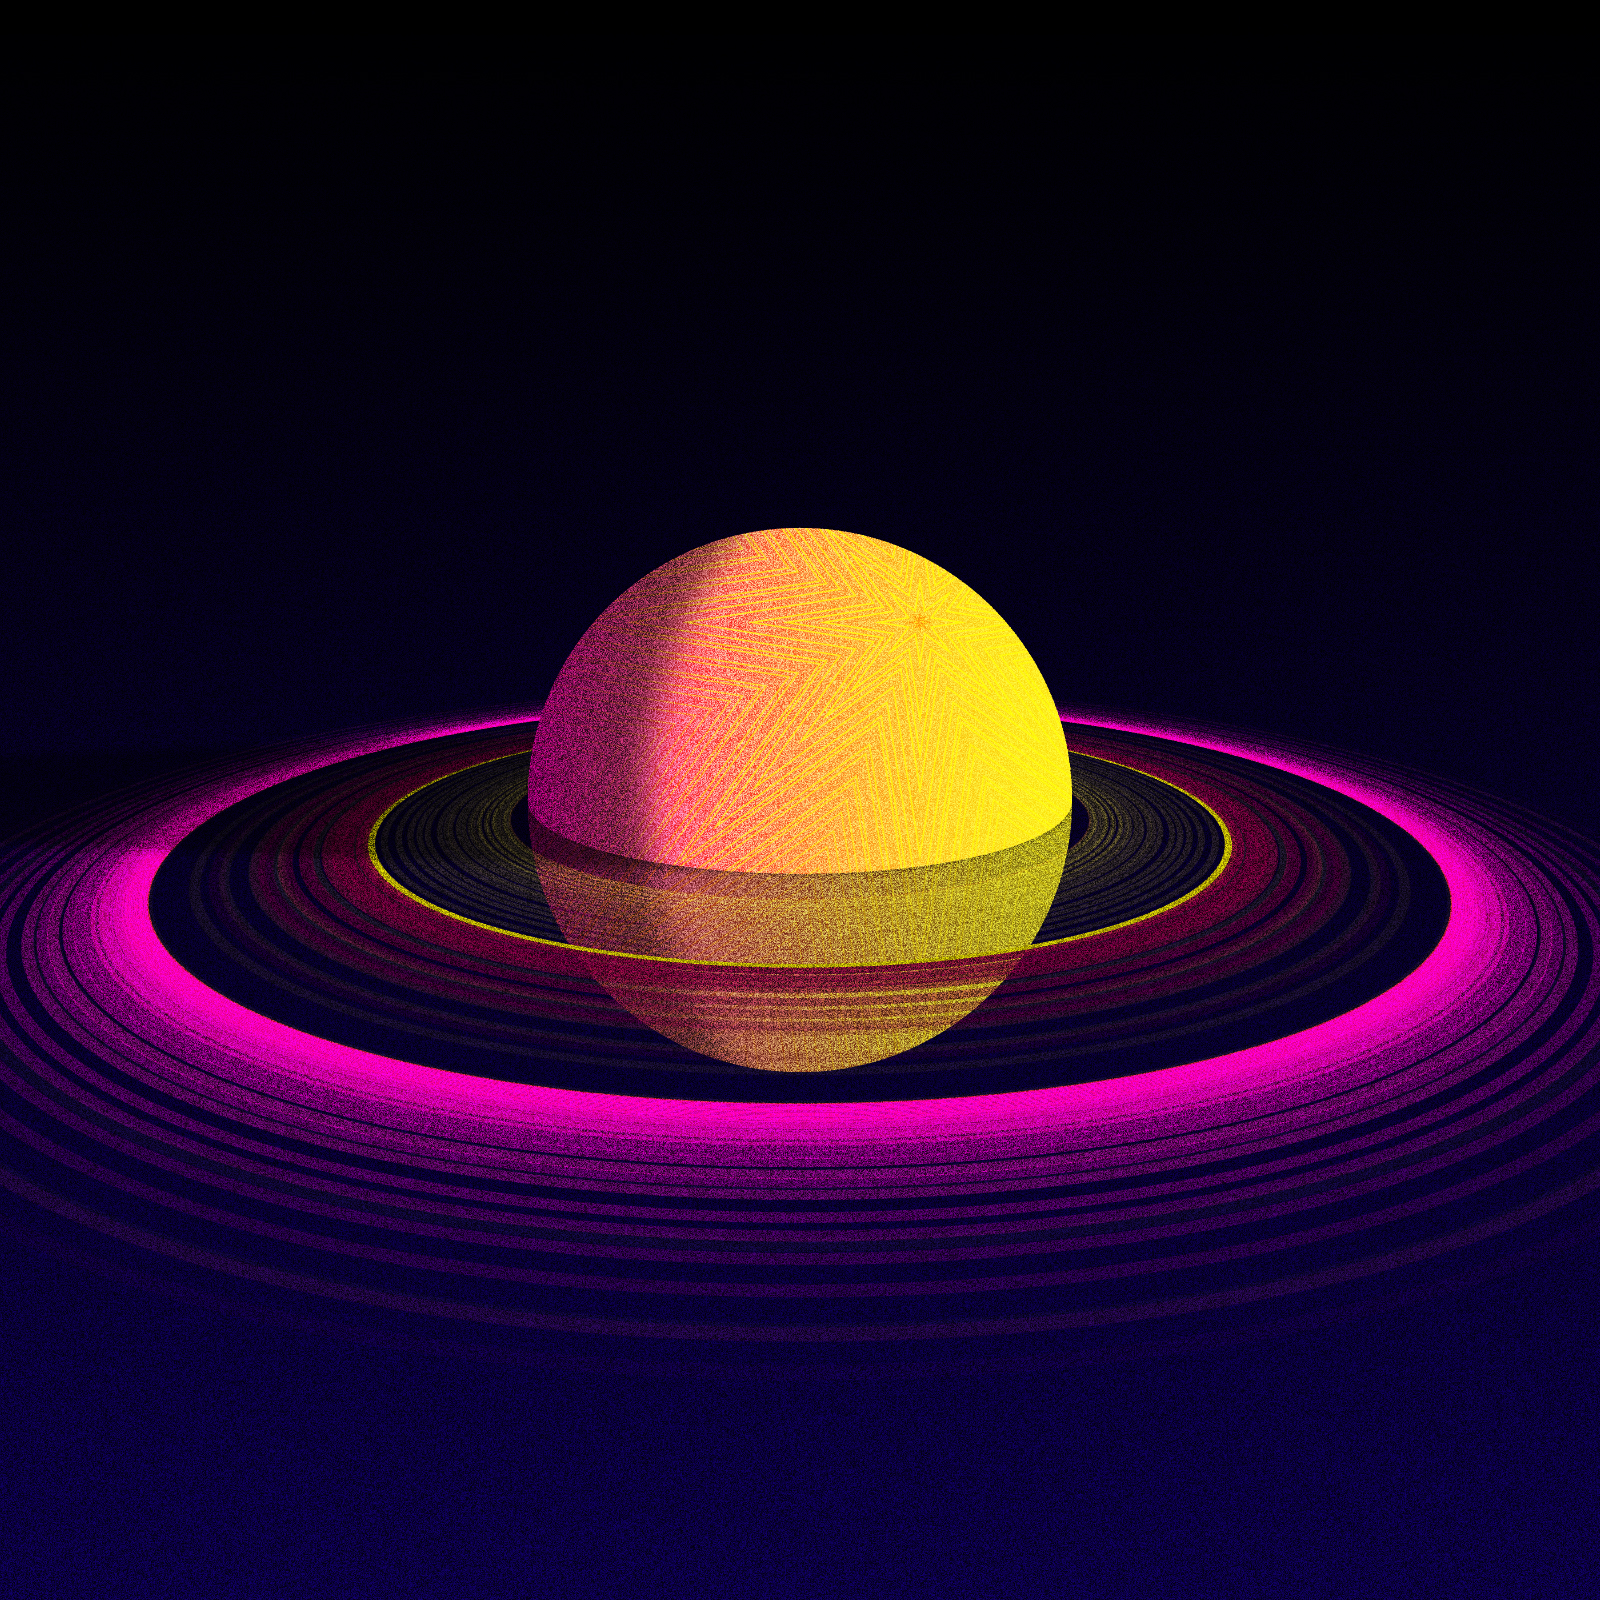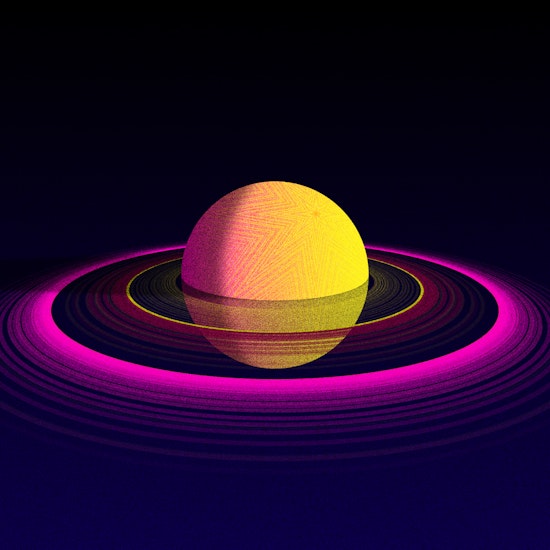
Creating 'planet offset' with Stylism
9 minute readWith the new AG Offset from Astute Graphics, we can fly our imaginations again and take beyond limits what we can do in Adobe Illustrator.
This tutorial is a bit long, but the steps to follow are straightforward, so get to work.
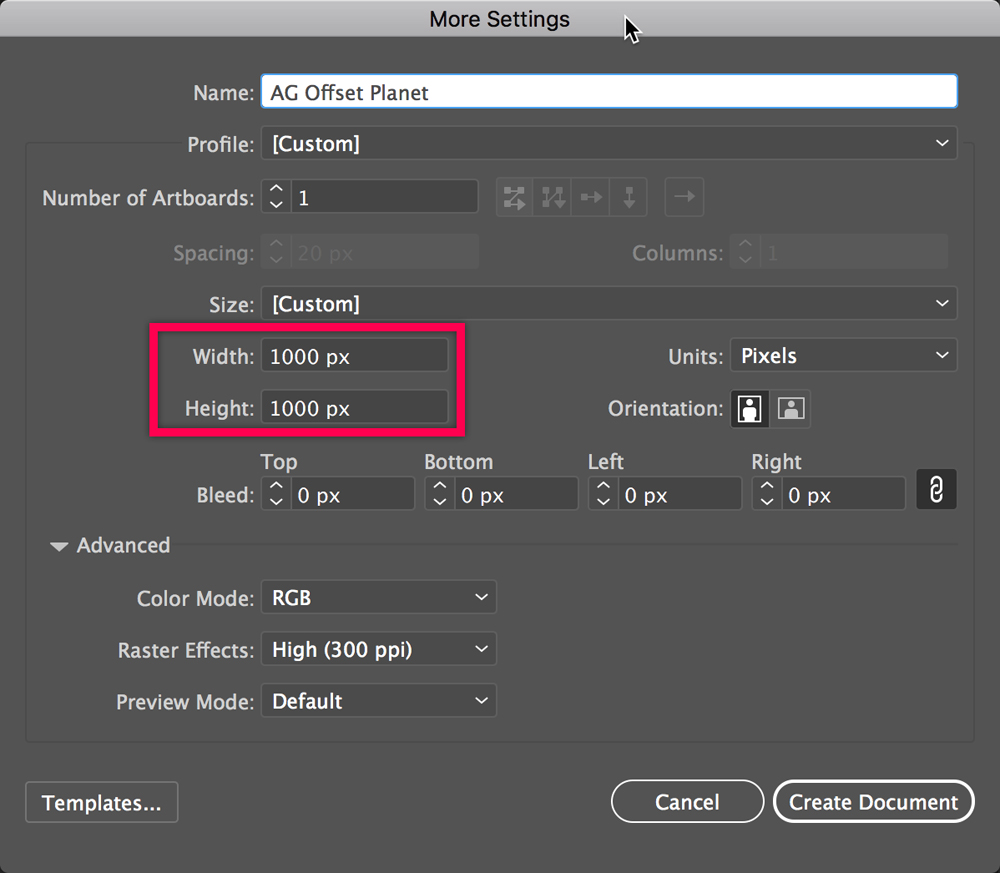
We start by creating a RGB document, 1000 by 1000 px, with “Align to Pixel Grid” off.
With VectorFirstAid we eliminate all unnecessary resources such as colors, brushes and graphic styles.
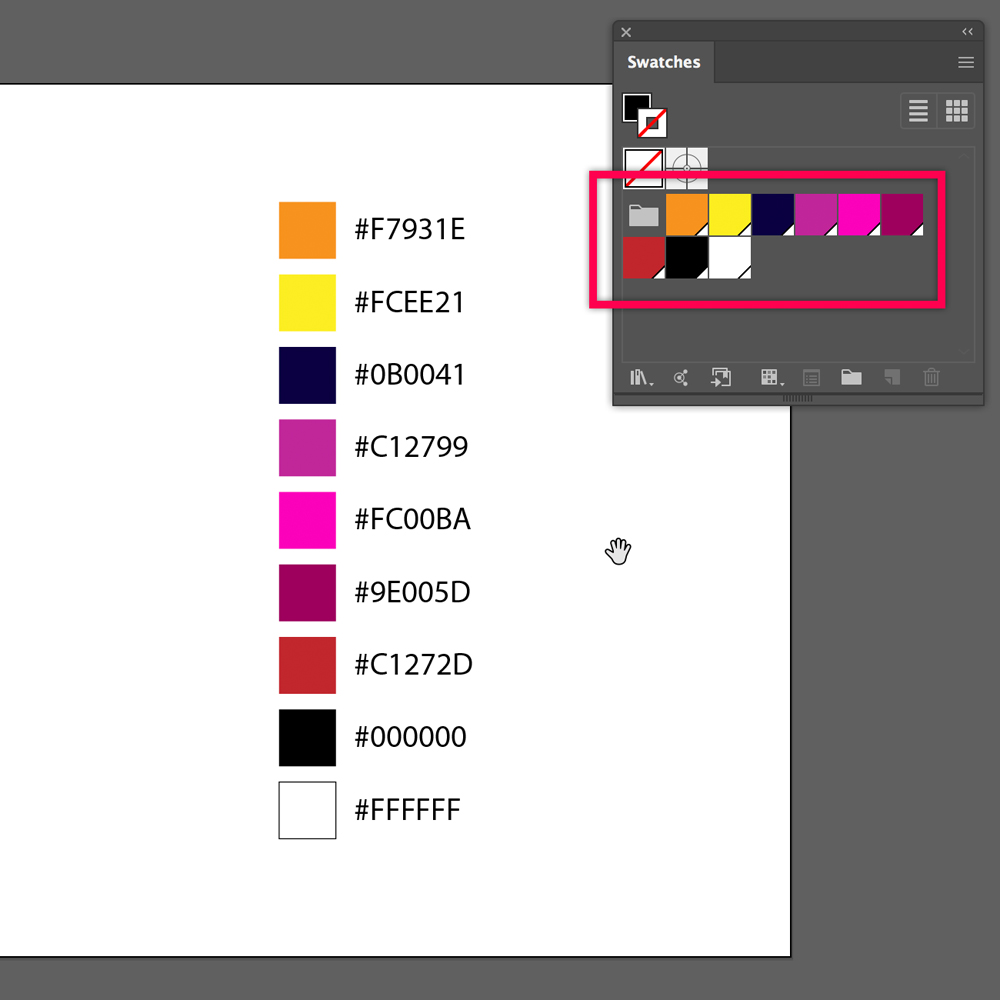
Next, we will create the following color palette.
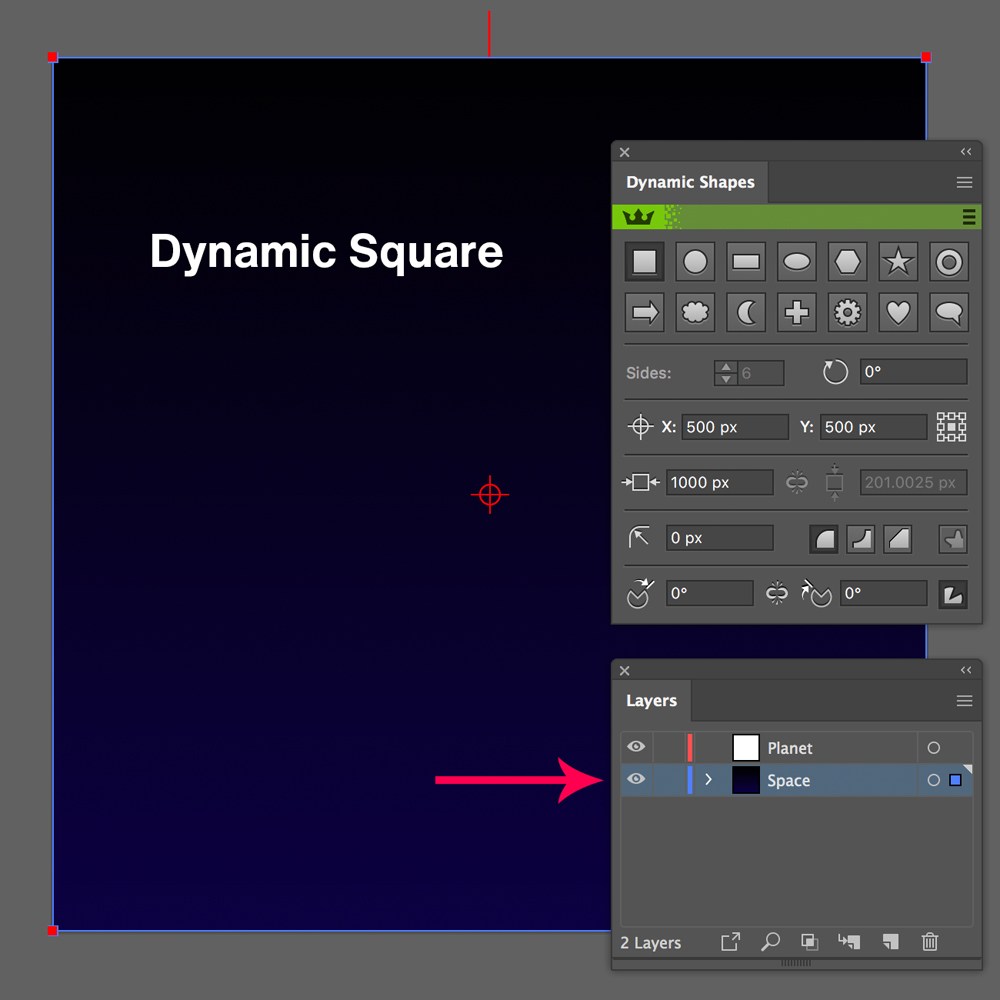
Create two layers: one for the background (Space) and one for drawing the planet (Planet).
Draw a 1000px square on the Space layer and paint it with a vertical gradient from #0B0041 to #000000.
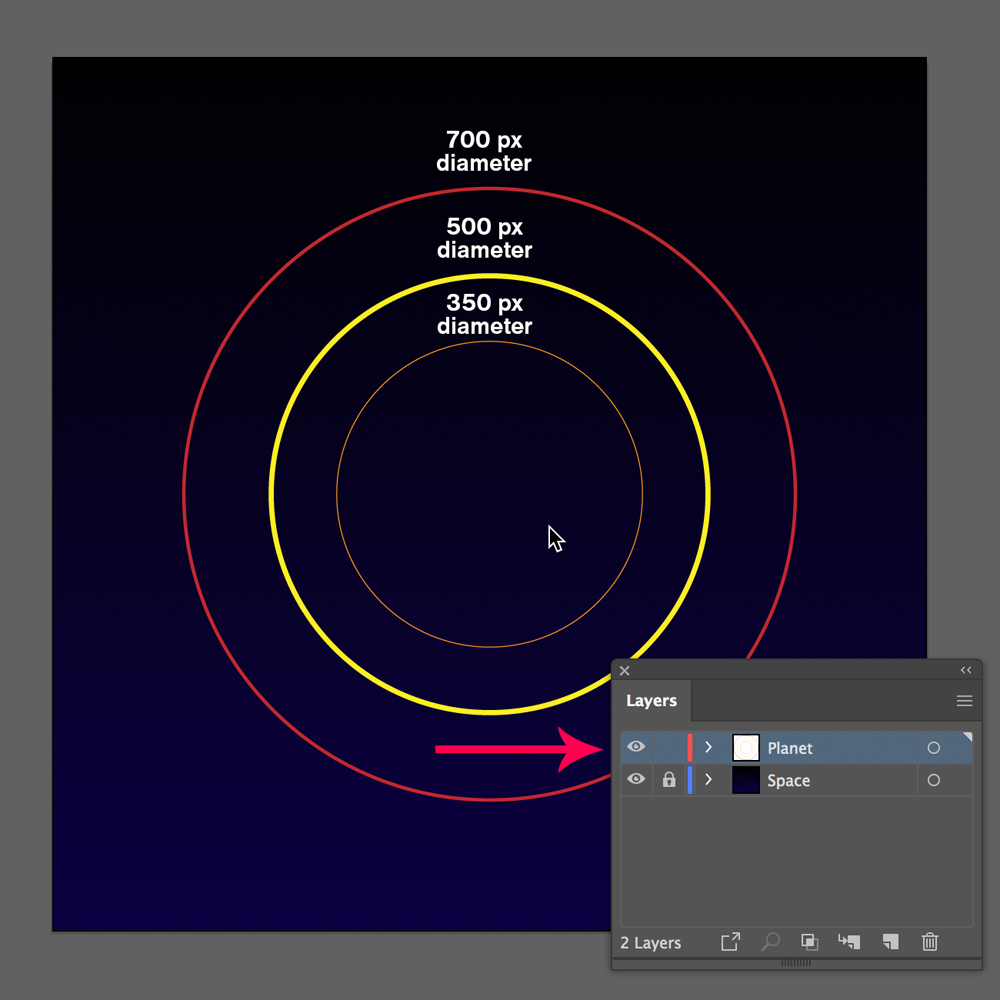
Lock the Space layer and draw three concentric circles (without fill) that will be the rings of our planet.
1- 350 px in diameter, 1 pt Stroke, color #F7931E
2- 500 px in diameter, 6 pt Stroke, color #FCEE21
3- 700 px in diameter, 4 pt Stroke, color #C1272D
We will apply different AG Offsets to each of these circles.
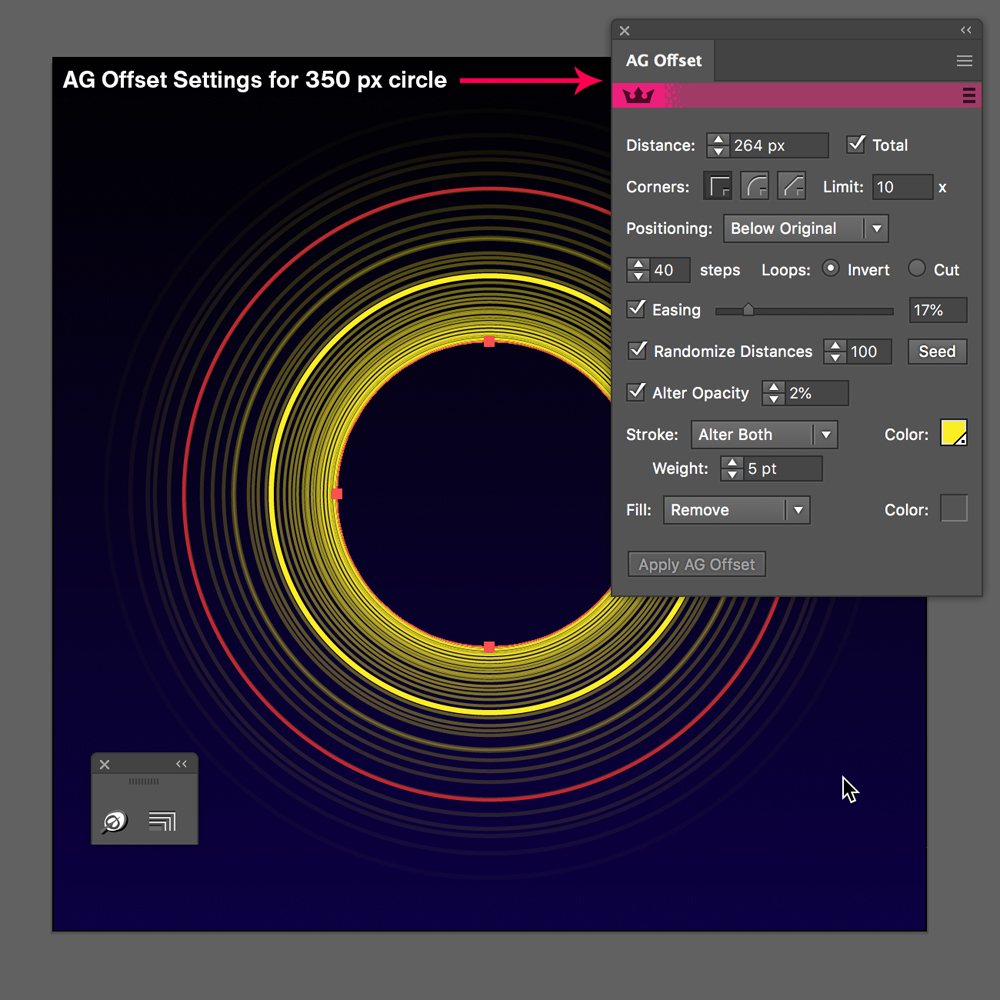
To the circle of 350 px.
Distance: 264, Positioning Below Original, 40 Steps, Easing: 17, Randomize Distance: 100, Alter Opacity: 2%, Stroke: Alter Both, Weight 5 pt, Color #FCCE21.
To the circle of 500 px.
Distance: 80, Positioning Below Original, 10 Steps, Easing: 38, Randomize Distance: 100, Alter Opacity: 2%, Stroke: Alter Both, Weight 7 pt, Color #C12799.
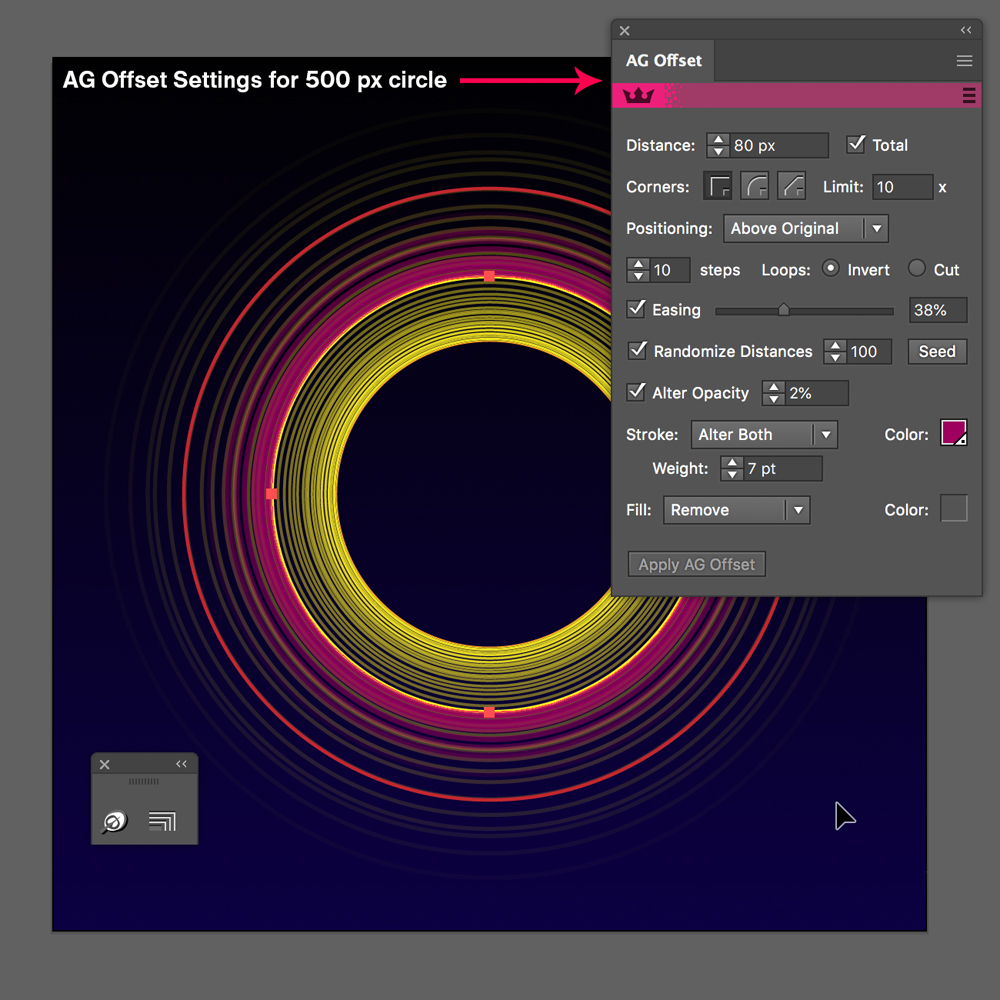
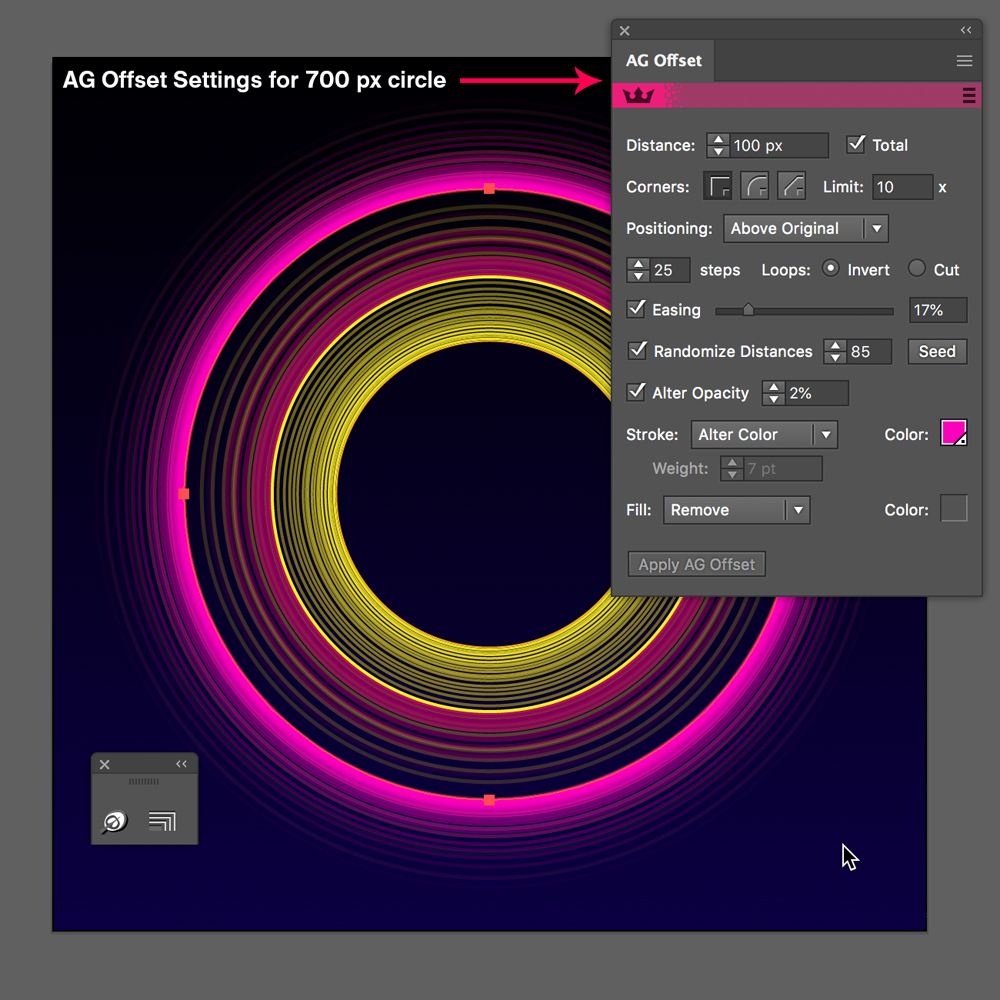
To the circle of 700 px.
Distance: 100, Positioning Below Original, 25 Steps, Easing: 17, Randomize Distance: 85, Alter Opacity: 2%, Stroke: Alter Color , Color #FC00BA.
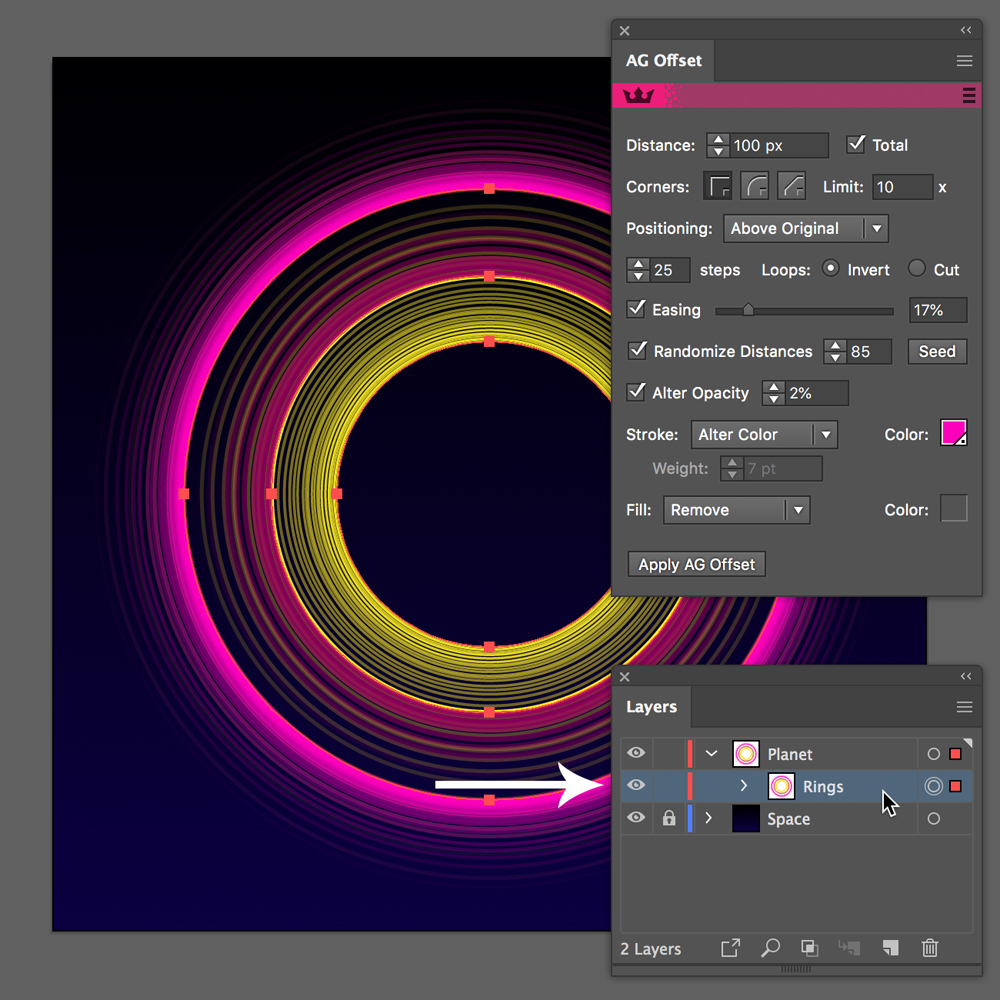
Group the three circles and rename the group as Rings in the layer palette..
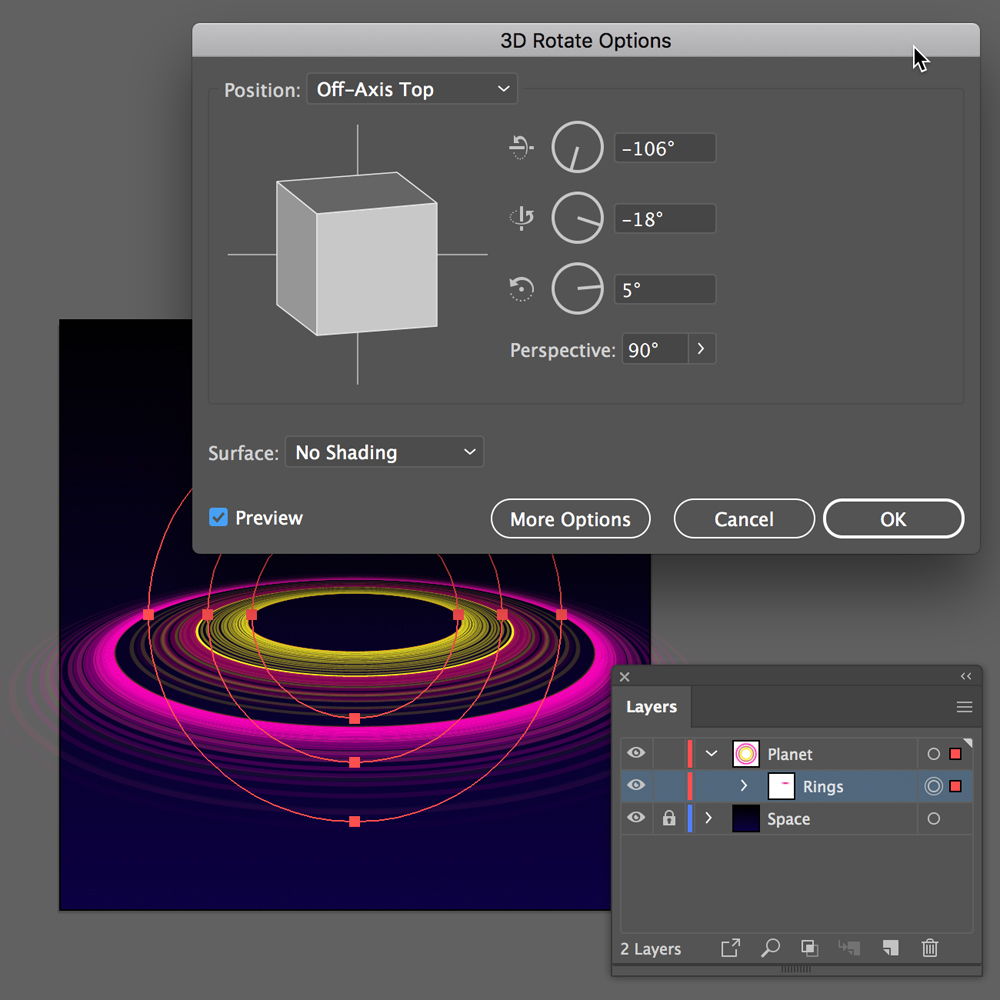
To the Rings group, apply the 3D Rotate effect: Effect > 3D > Rotate.
Change the Position to "Off-Axis Top"and the Perspective to 90º.
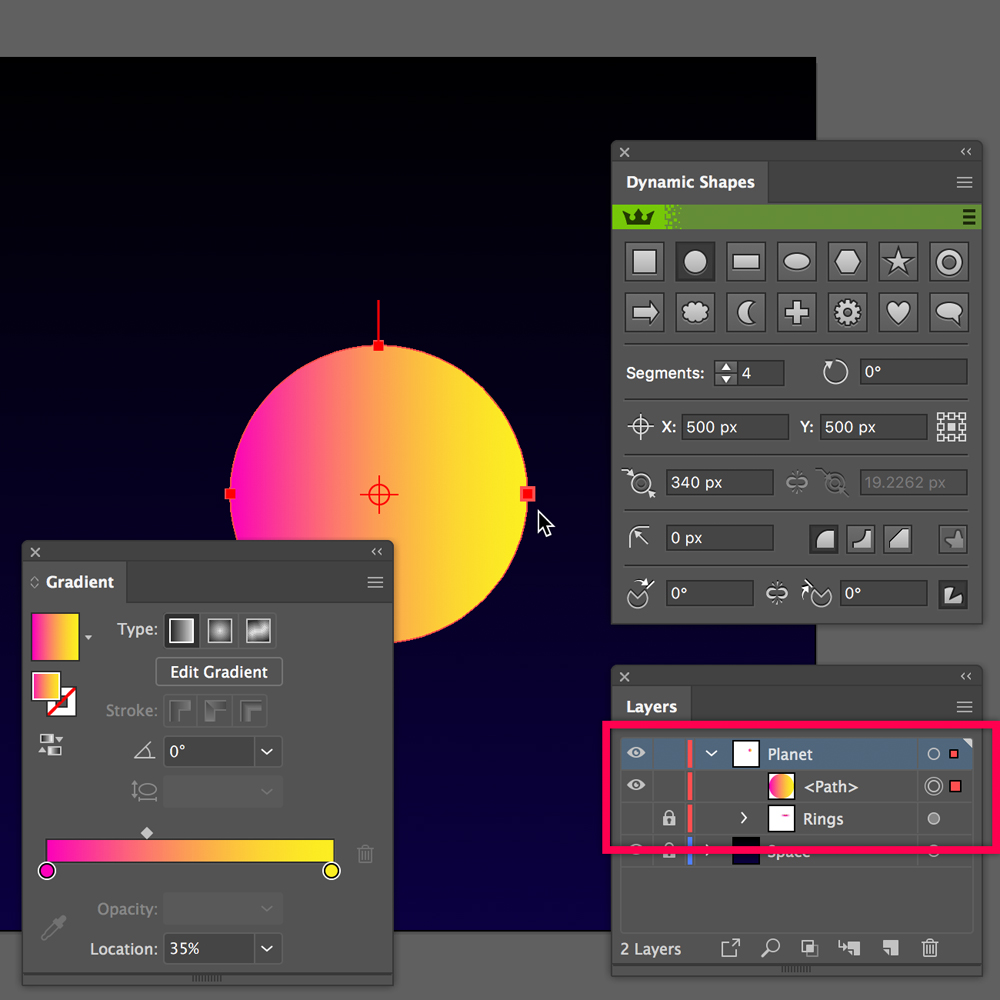
Temporarily hide the Rings group, draw a 340 px circle and paint its fill with a horizontal gradient #FC00BA a #FCEE21.
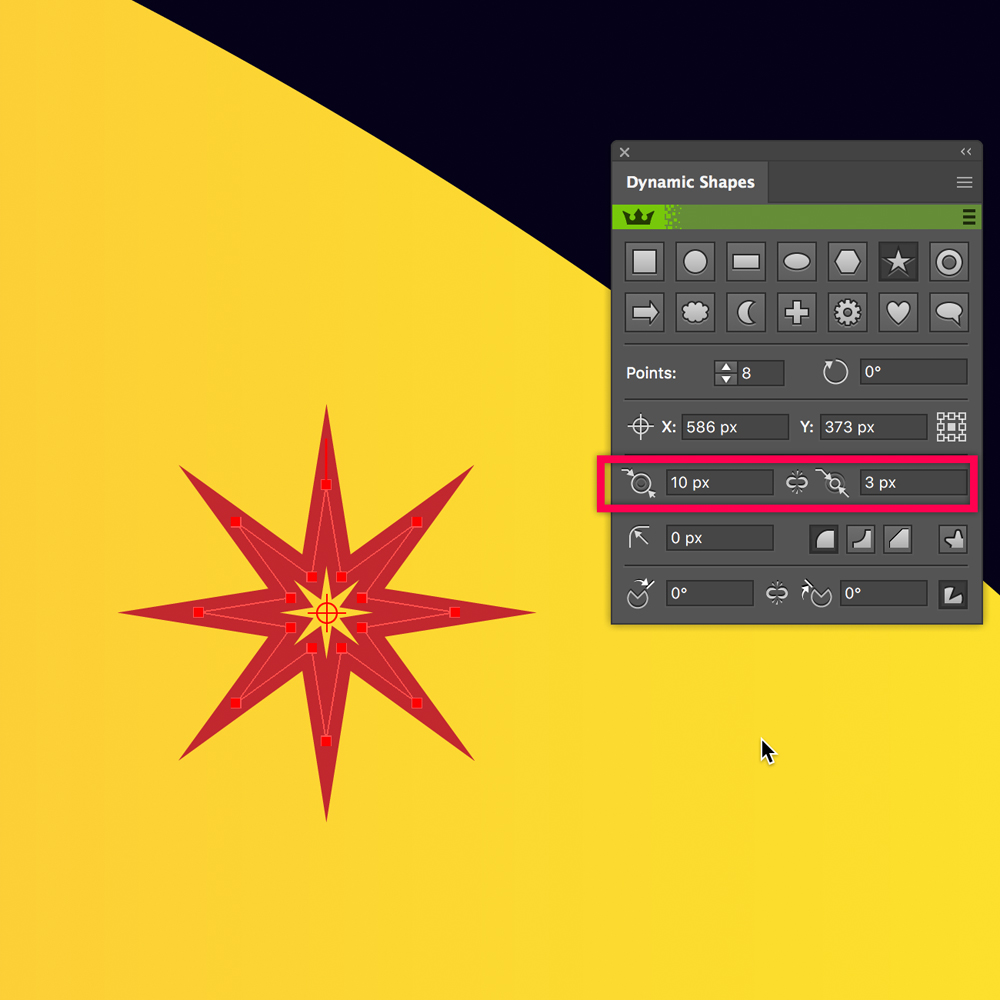
Inside the circle, create a small 8-pointed star (using Dynamic Shapes ) with an external diameter of 10 px and an internal diameter of 3 px, 1 pt Stroke, color #C1272D.
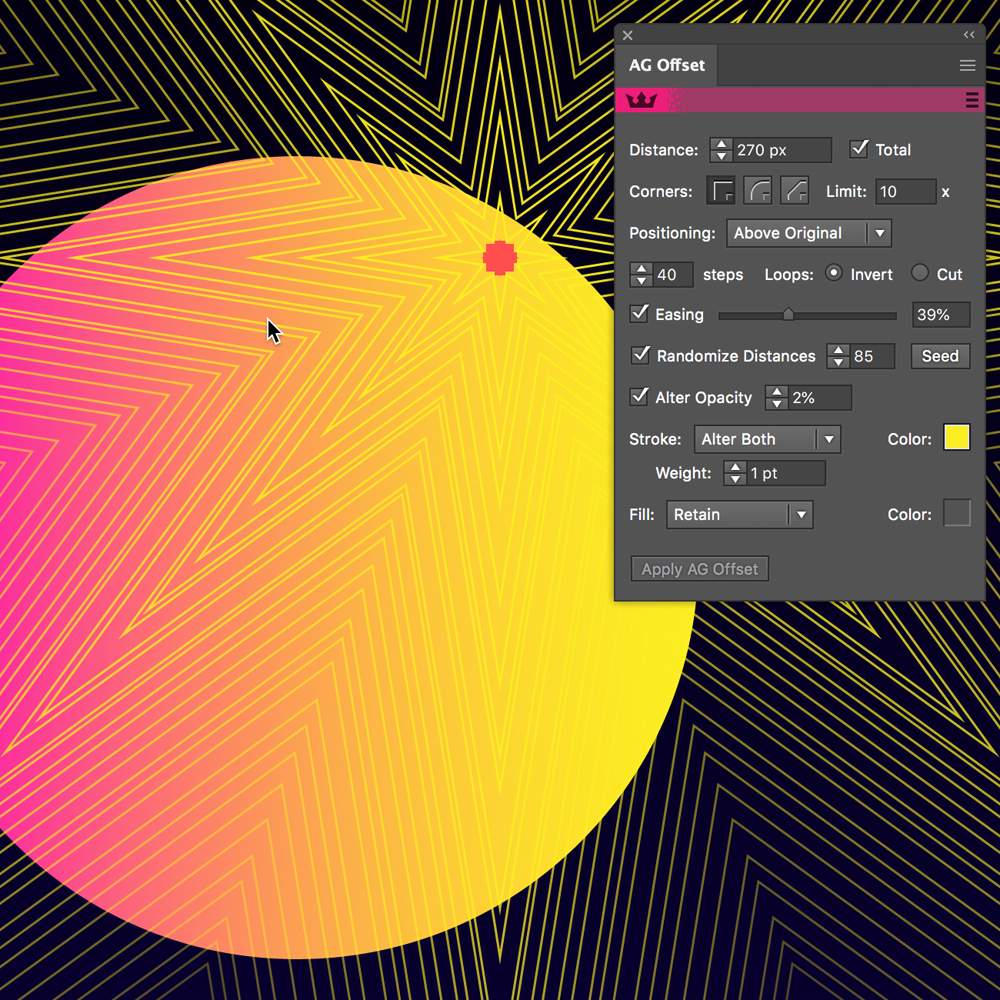
The little star will become a texture that will be inside the circle. For this apply a massive AG Offset:
Distance: 270, Positioning Above Original, 40 Steps, Easing: 39, Randomize Distance: 85, Alter Opacity: 2%, Stroke: Alter Both, Weight 1 pt, Color #FCCE21.
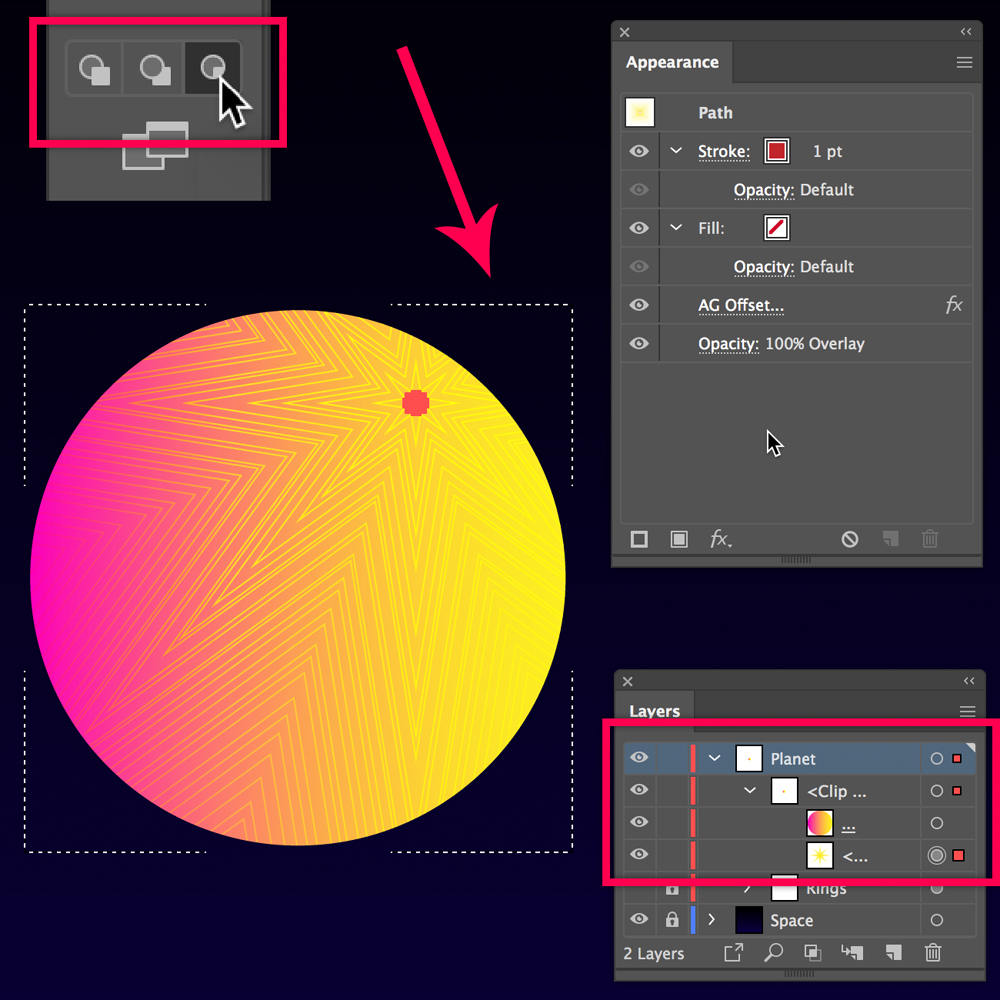
In the following steps, use the "Draw Inside" option.
Select the circle and activate "Draw Inside" in the toolbar.
Select the star, cut, and paste. When pasting, the star is located inside the circle.
Use the layer palette to position the star to your liking.
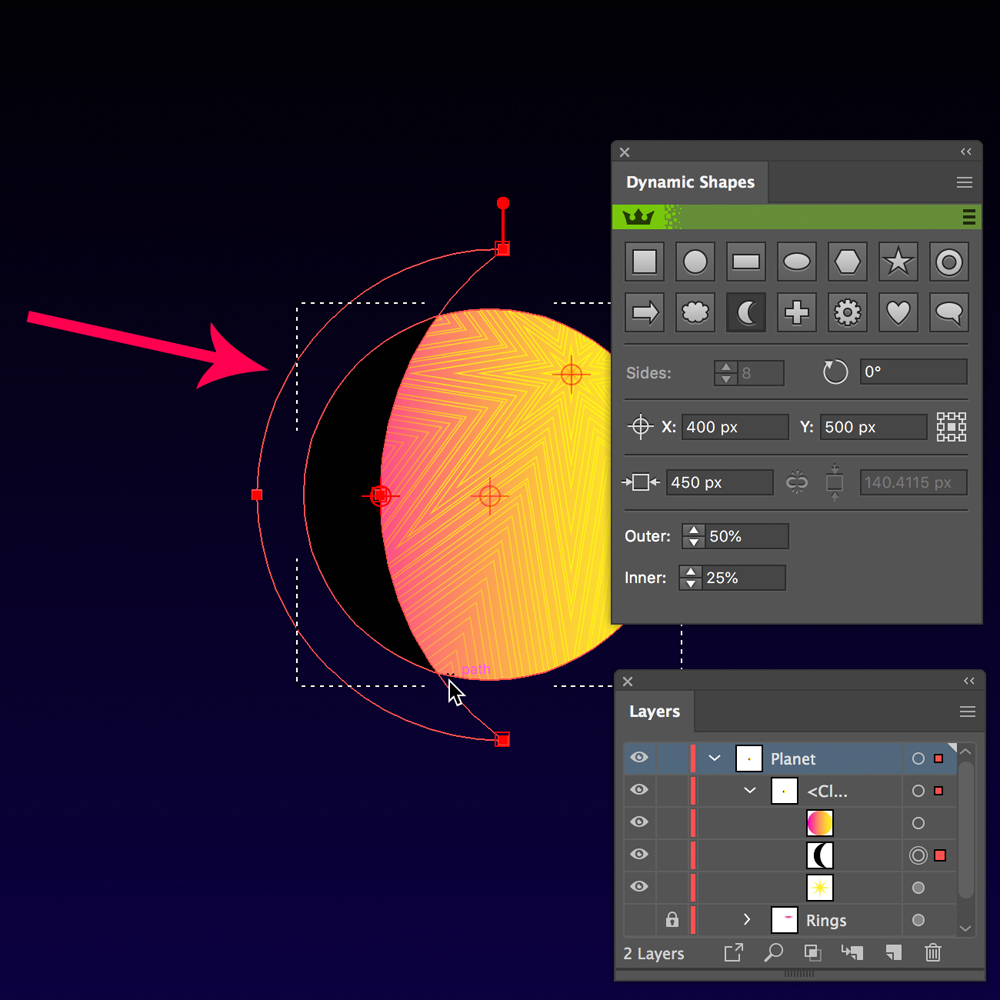
Draw a Dynamic Shapes crescent to simulate a shadow.
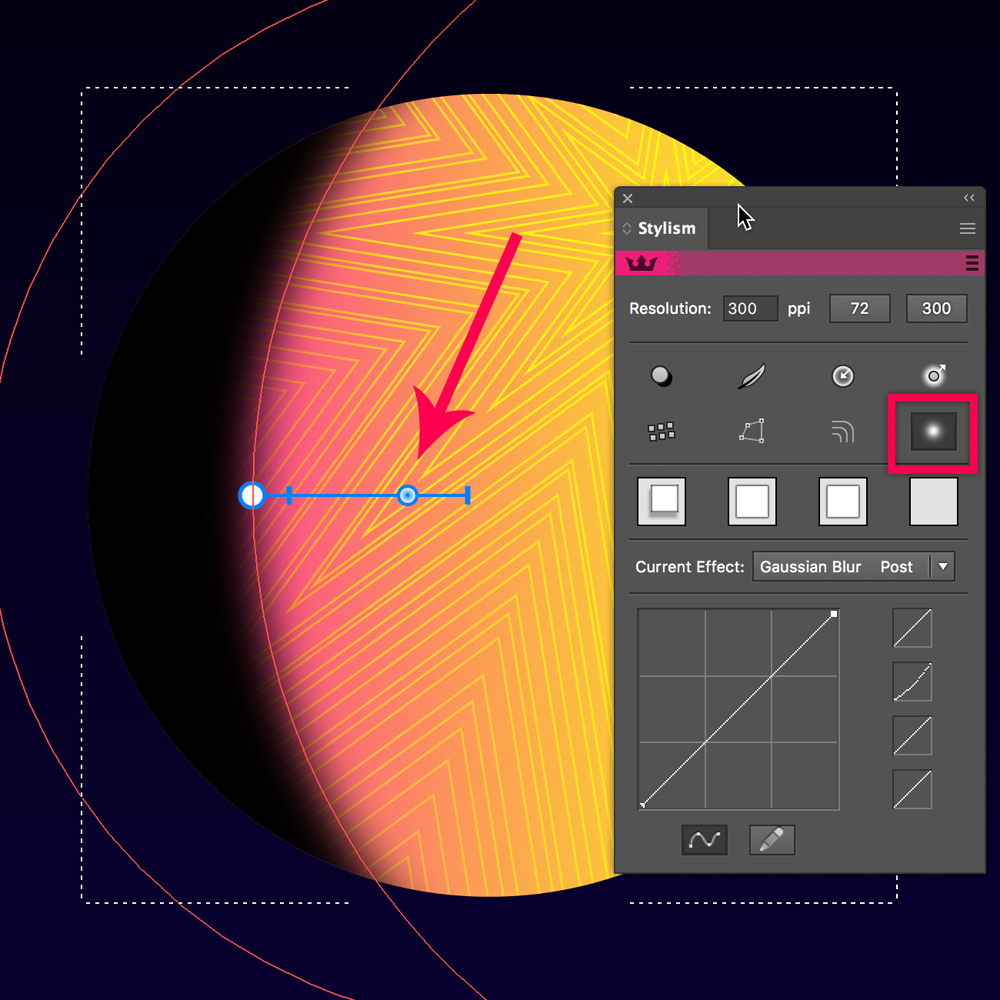
With Stylism add some Gaussian Blur.
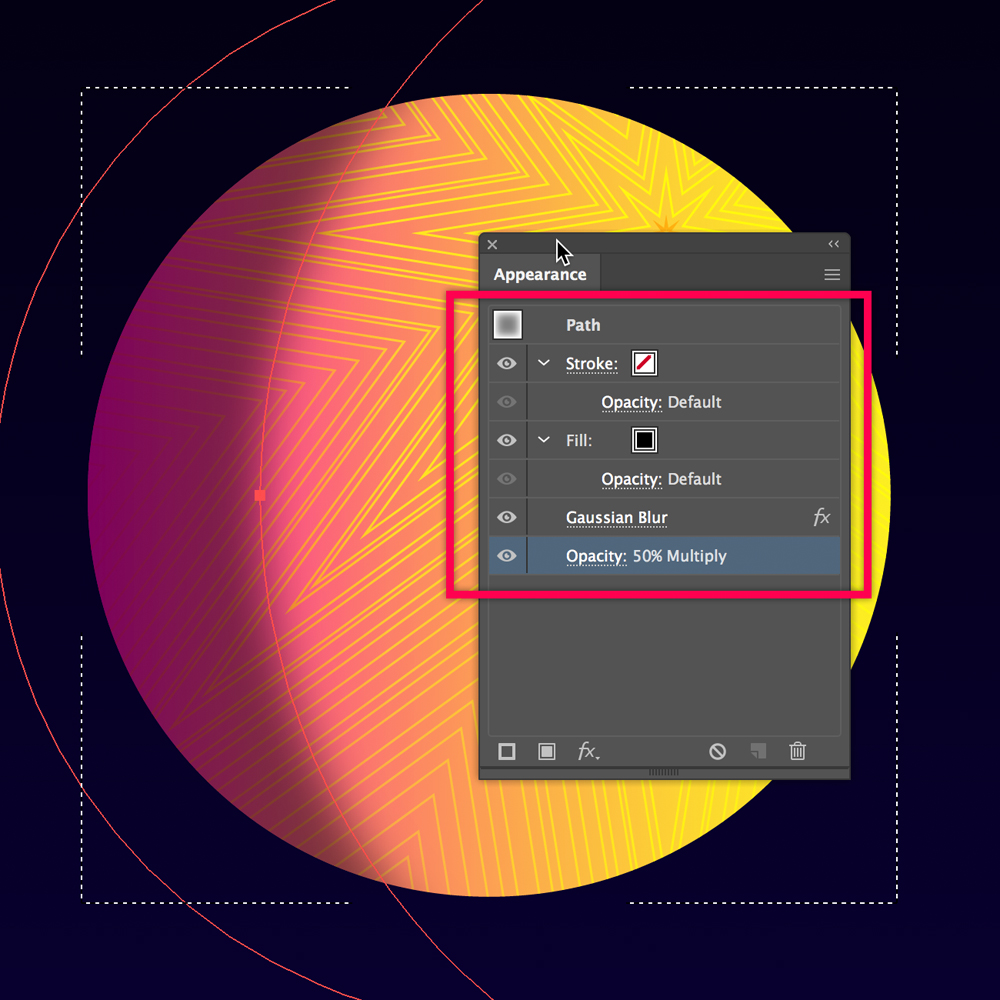
Change the blending mode to Multiply and lower the opacity to 50%.
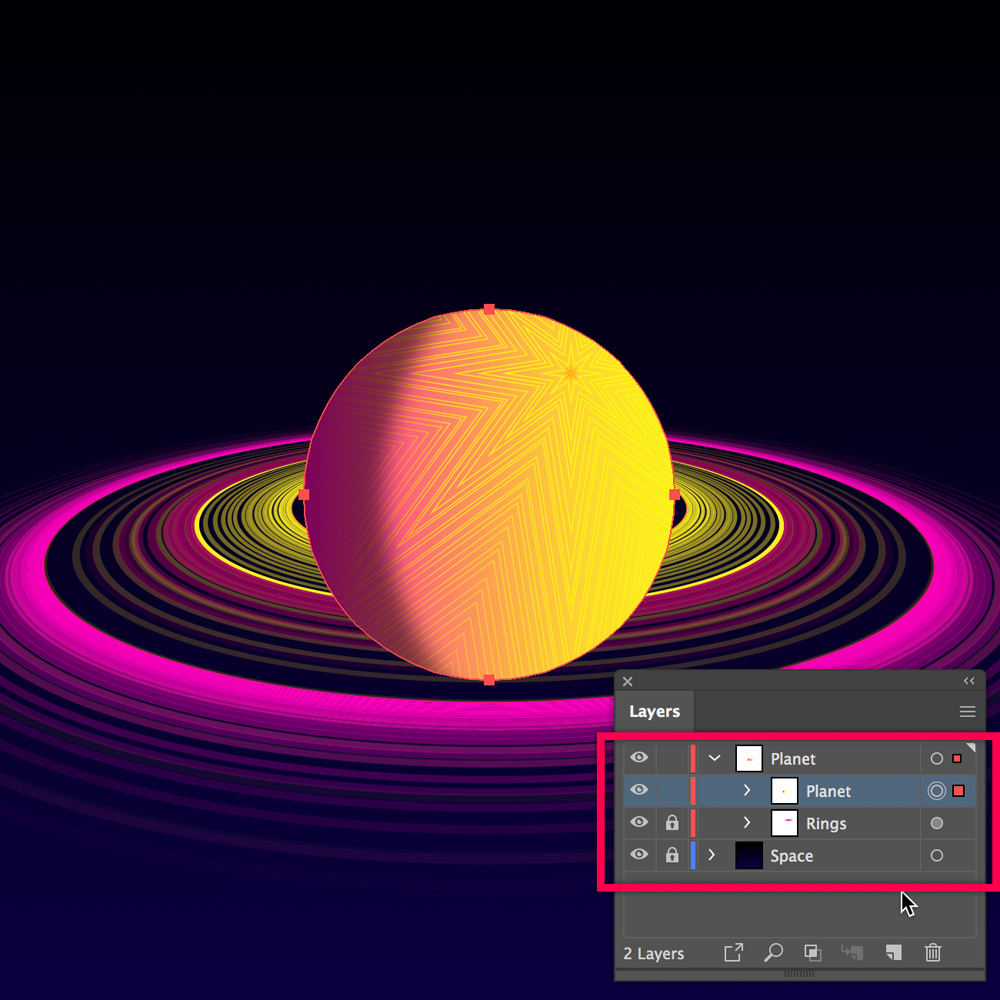
This sphere will be our planet, return to Draw Normal mode.
In the following steps, we are going to create a pair of masks to simulate that the Rings rotate around the planet.
Draw another 340 px circle.
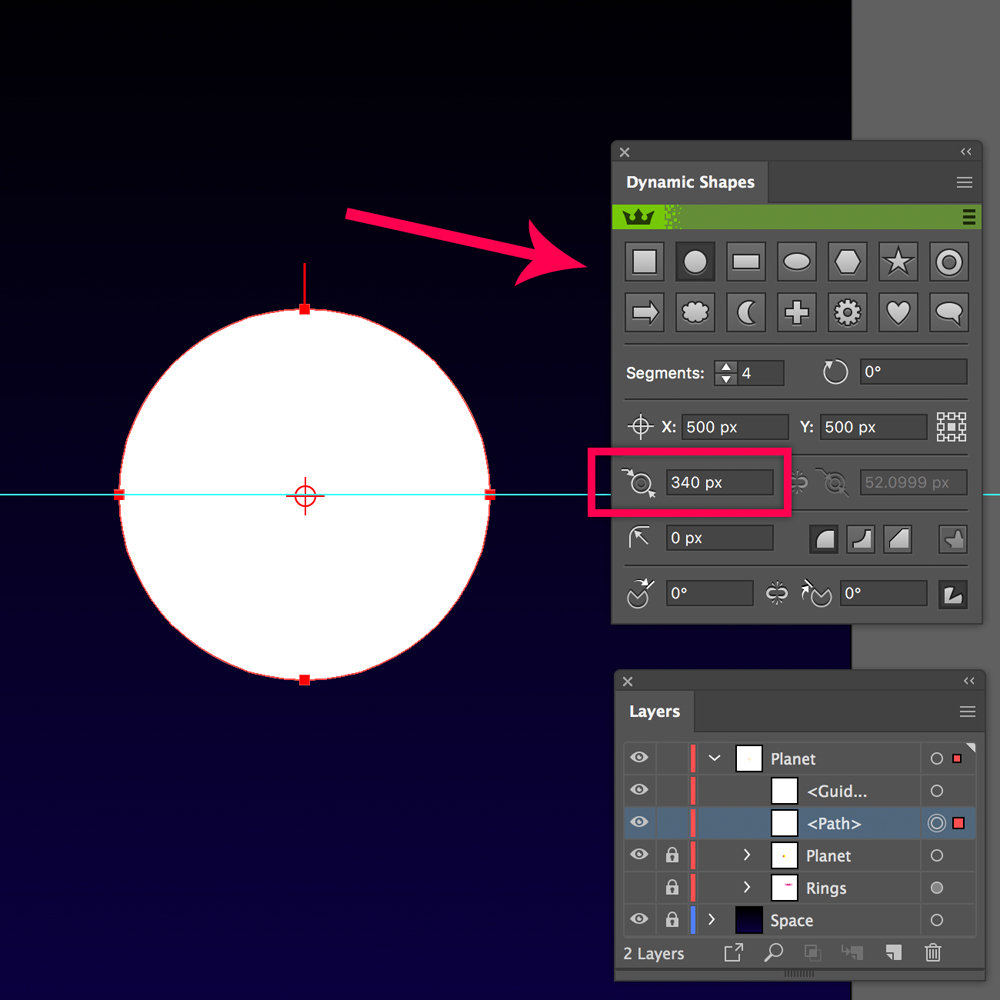
Apply the same 3D effect used on the Rings:
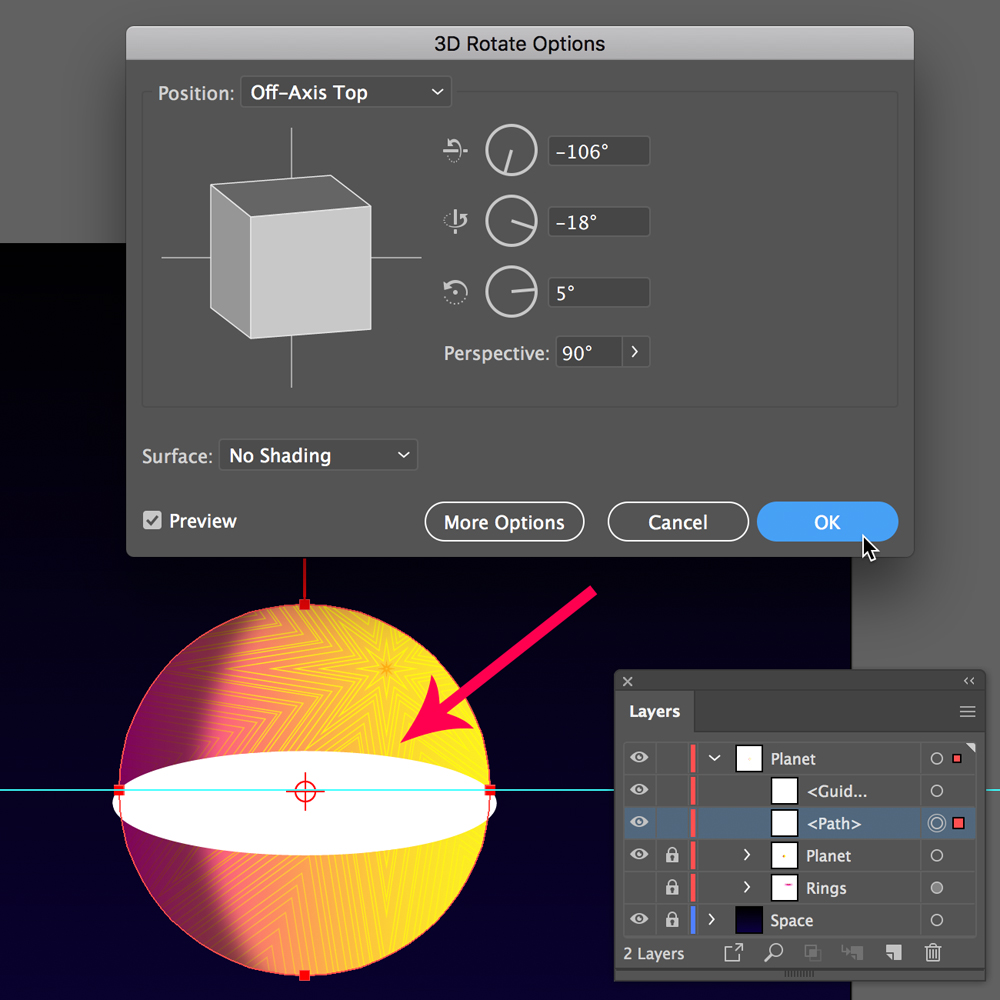
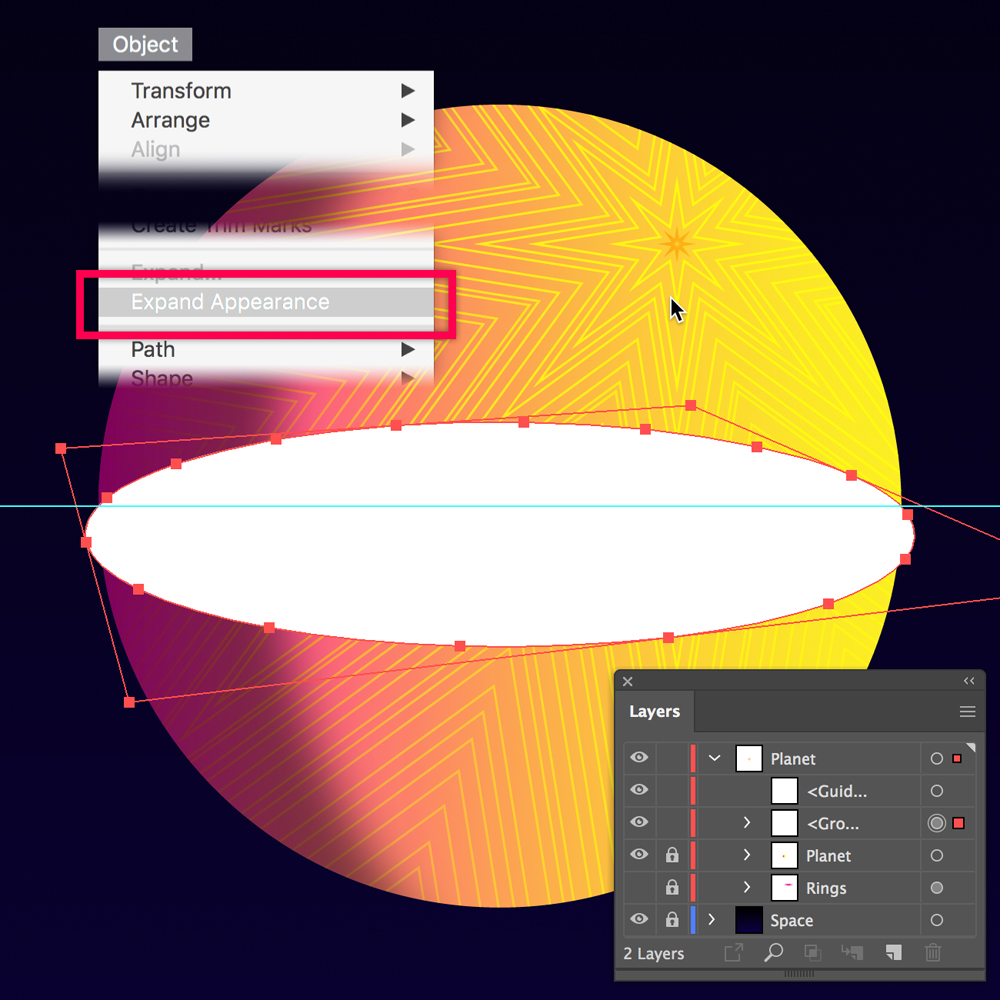
Then, expand the appearance to get the base ellipse to cut the Sphere into two parts.
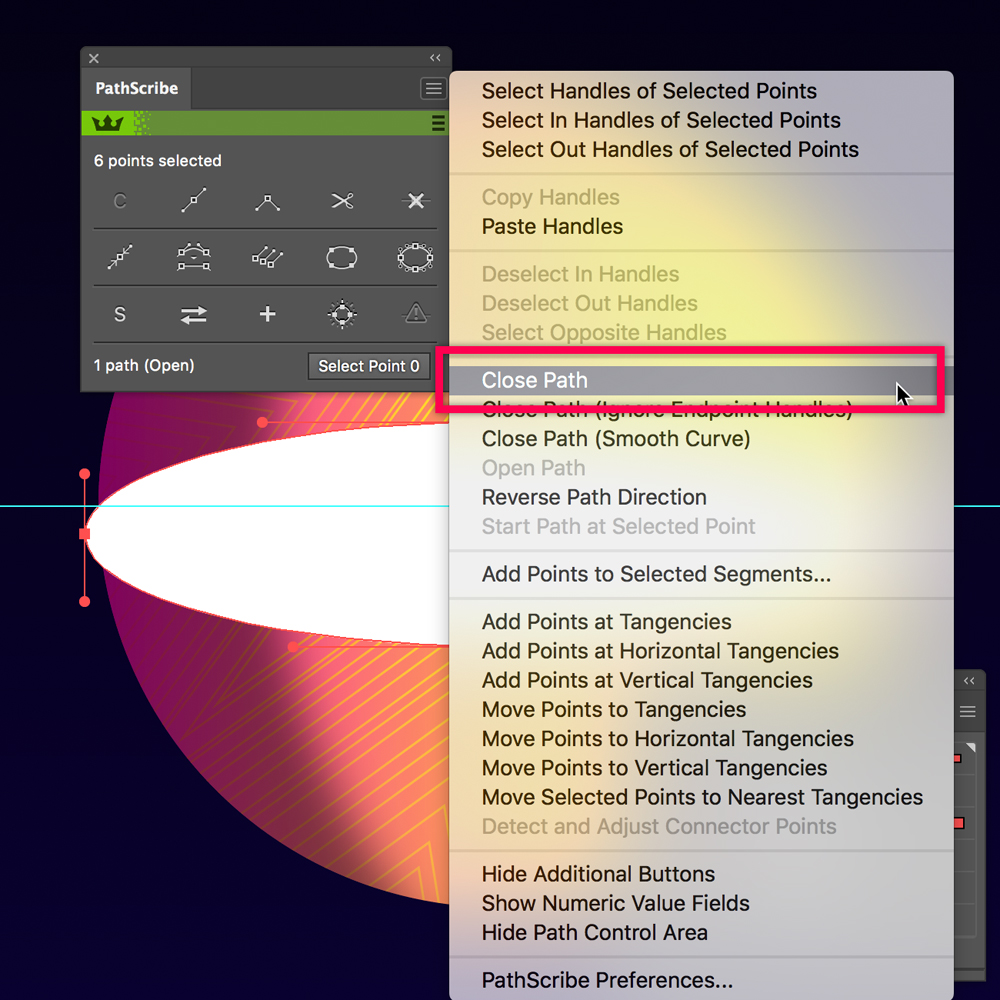
With PathScribe use the “Move Points to Tangencies”option to clean the shape.
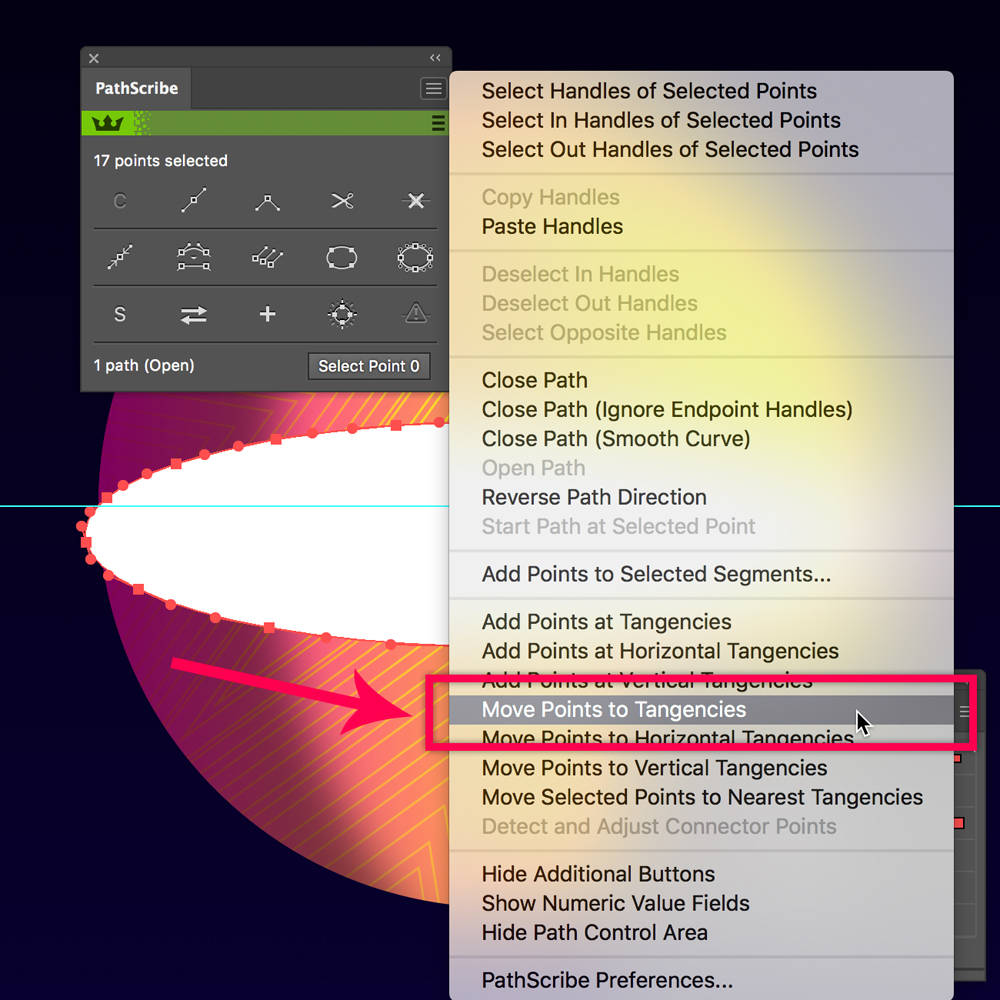
Close the Path.
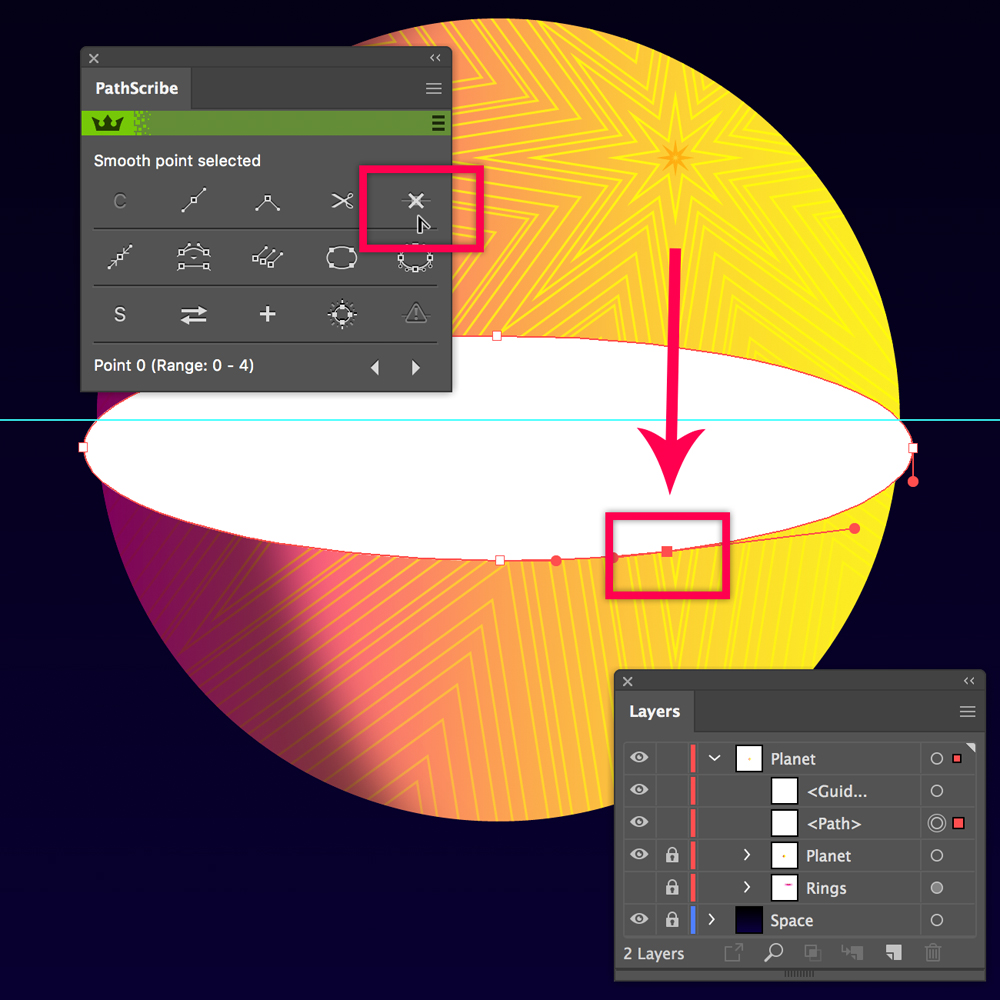
Remove the extra Anchor Point.
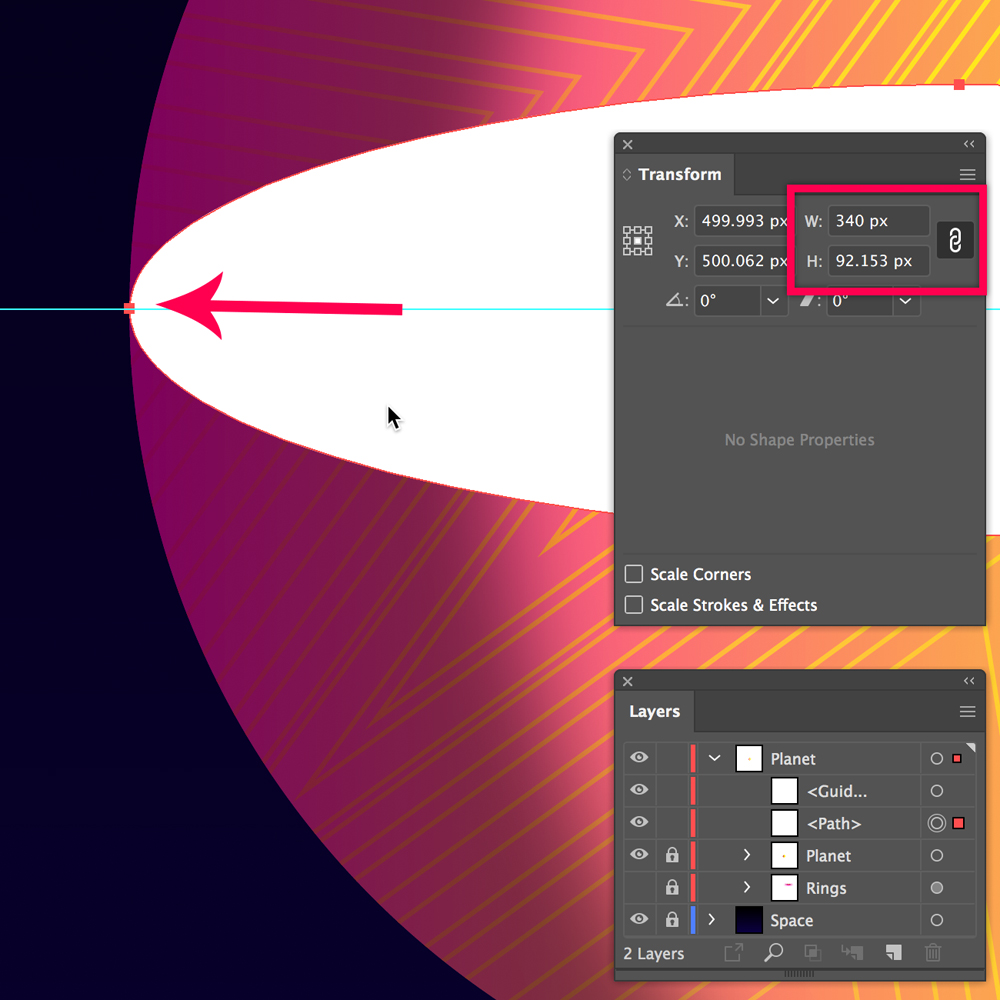
Align the ellipse to the center of the Sphere.
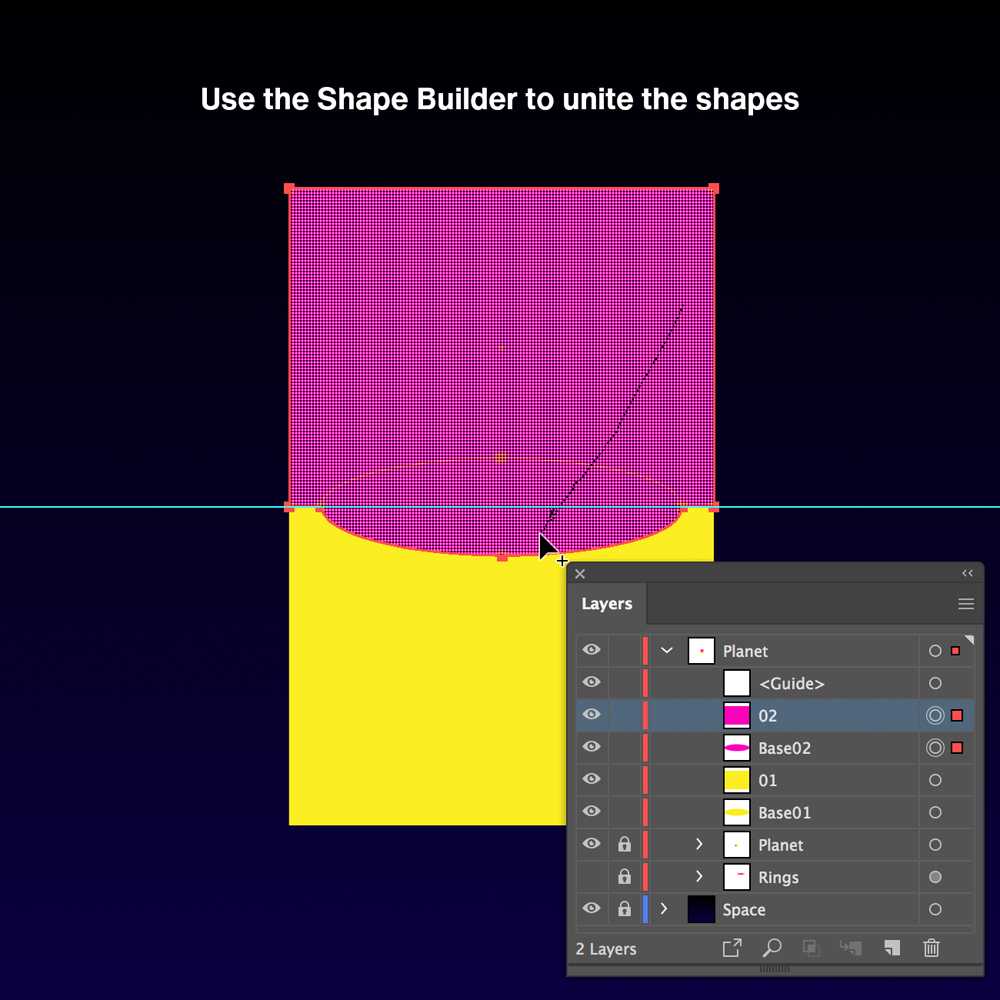
Duplicate the ellipse; one will be called Base01 and the other Base02. Paint them in different colors for easy identification. Draw two rectangles of 400x300 px one above and one below the center (see illustration).
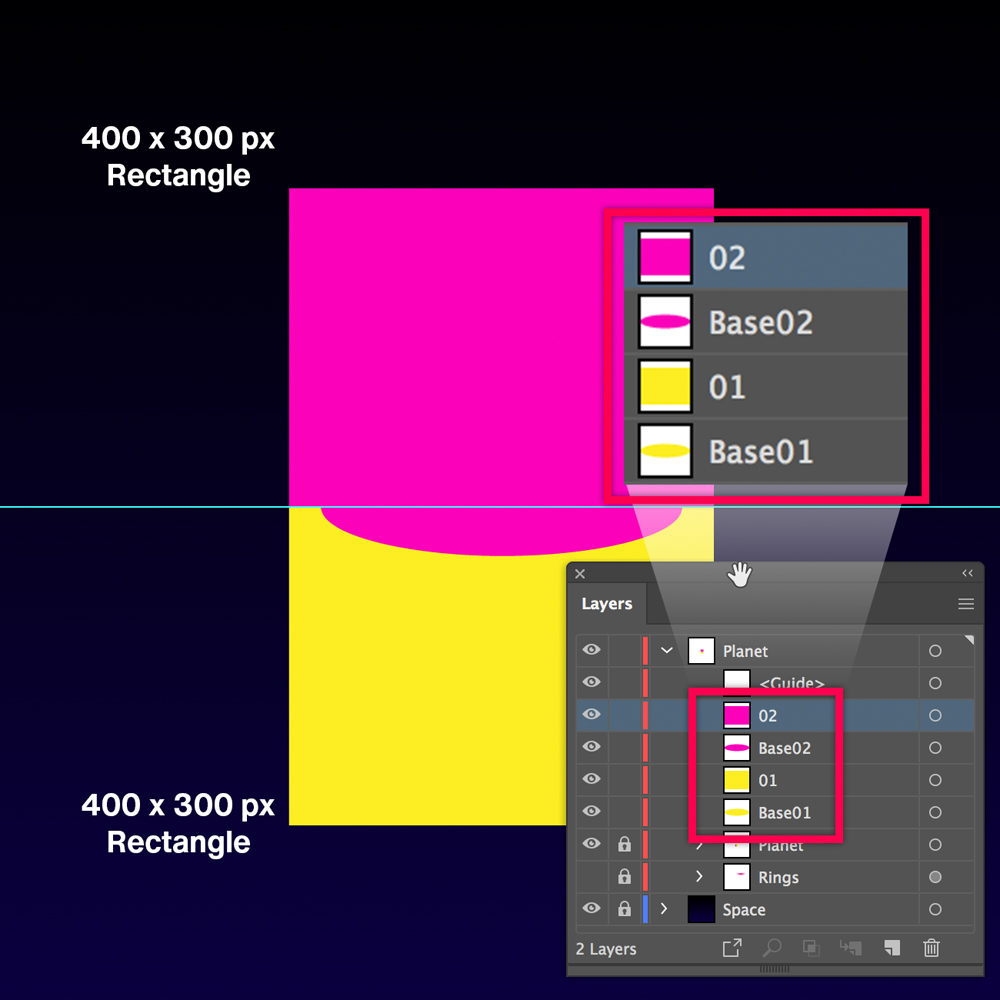
Use “Shape Builder” to join the upper rectangle with the ellipse of Base02.
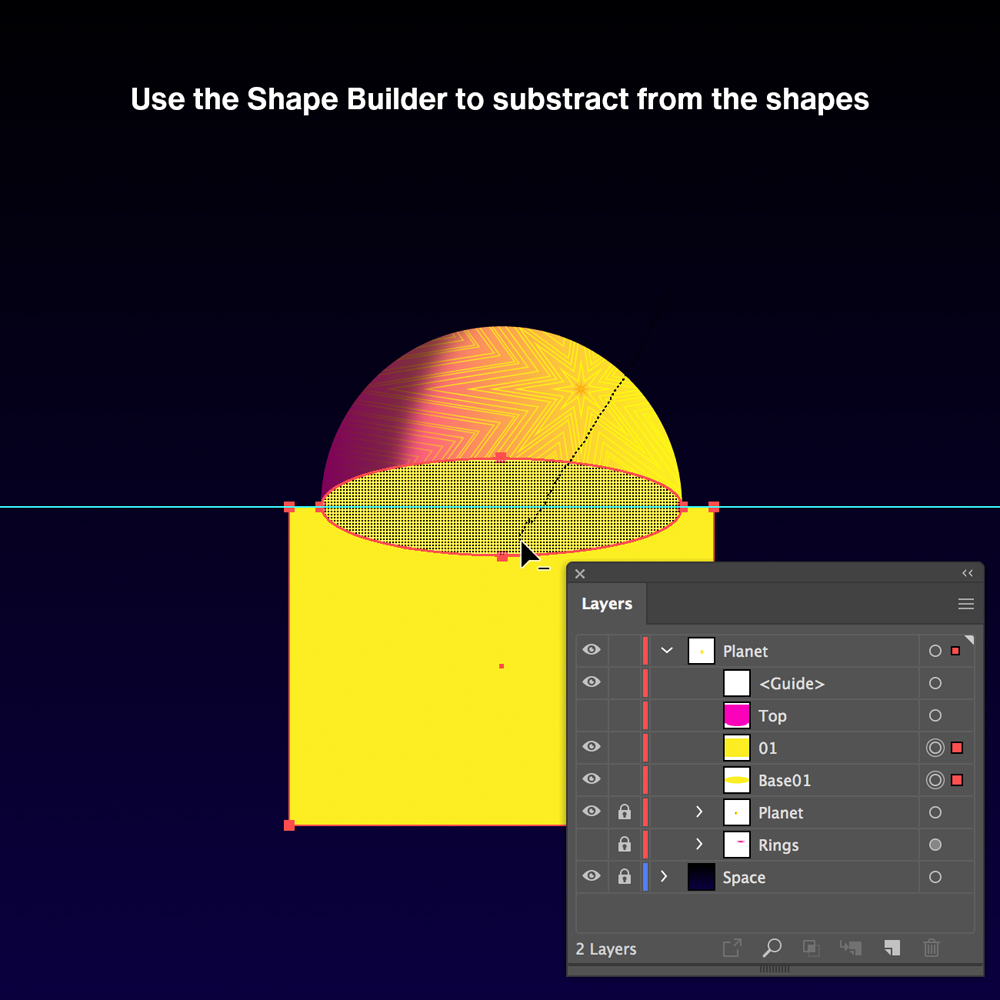
For the mask below, use “Shape Builder” to subtract the ellipse (Base01) from the lower rectangle.
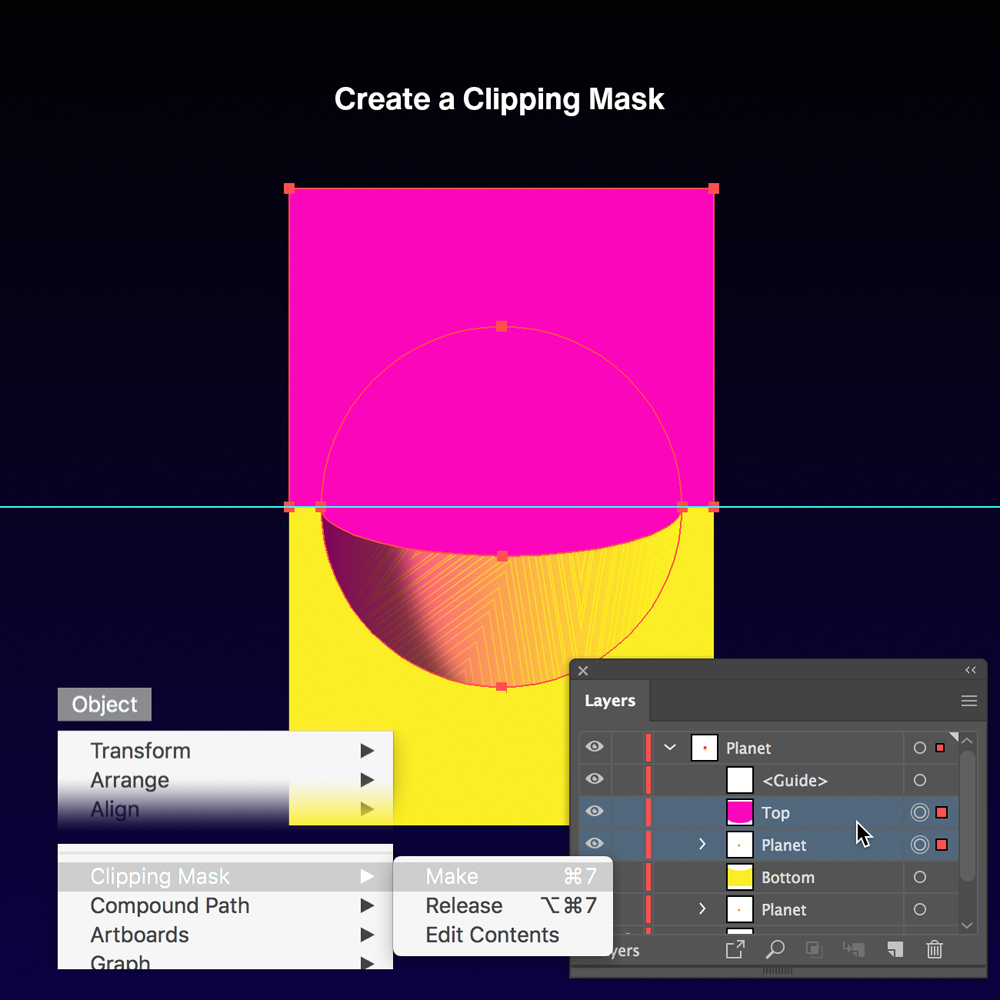
Duplicate the Sphere layer and use Object> Clipping Mask> Make, to mask both spheres: the top and the bottom.
Dark the lower part of the planet using Phantasm.
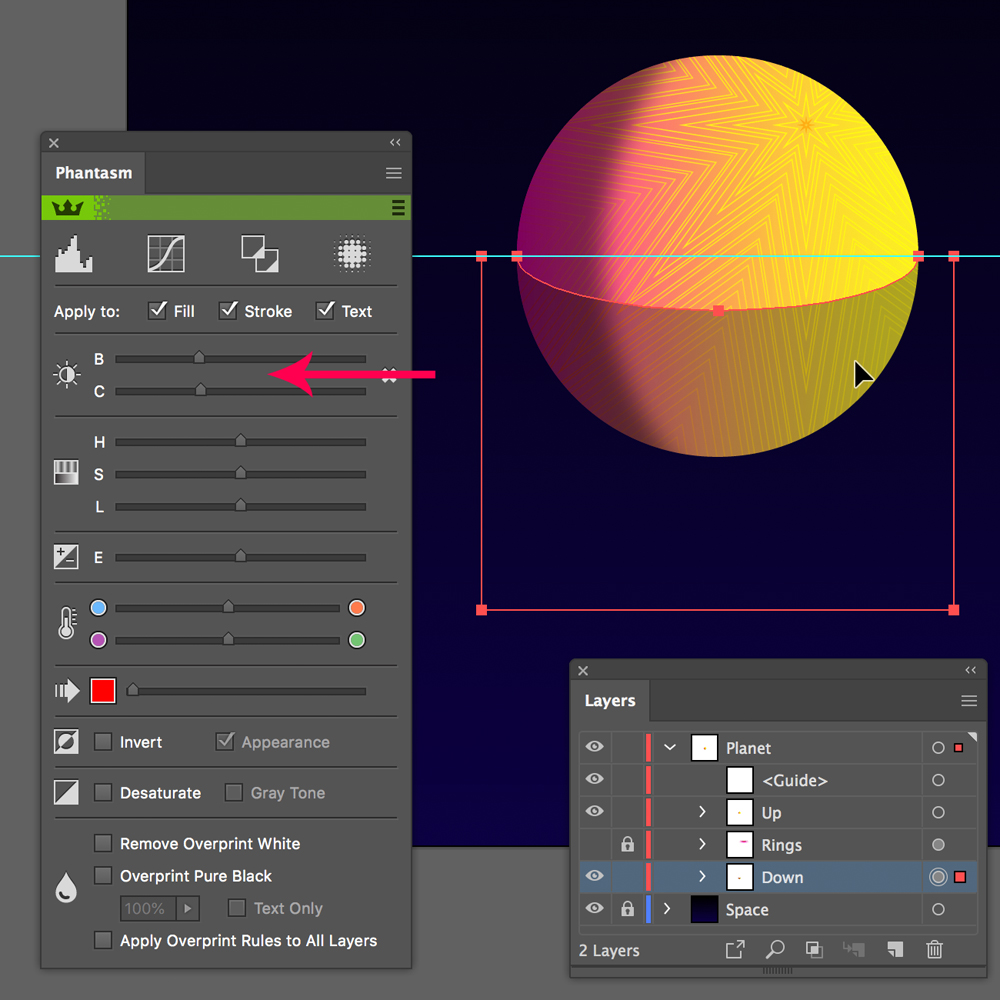
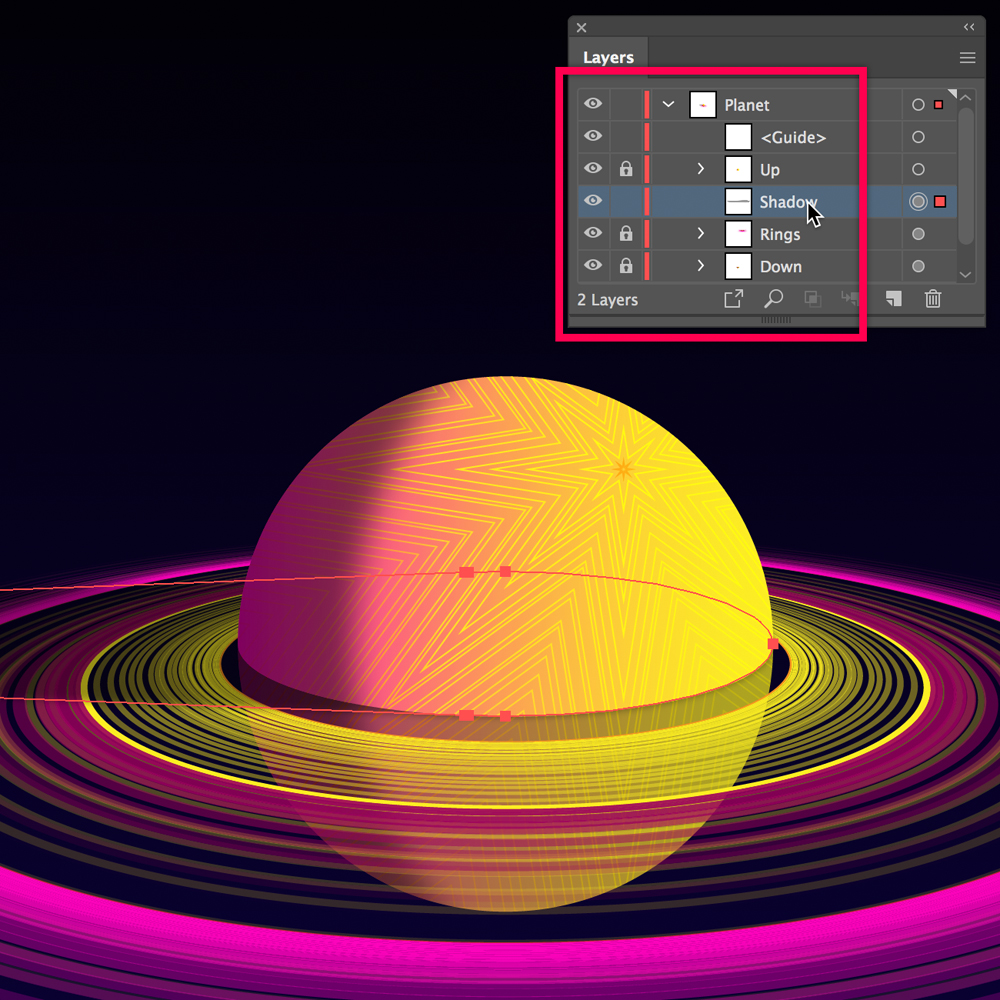
Rearrange the Layers.
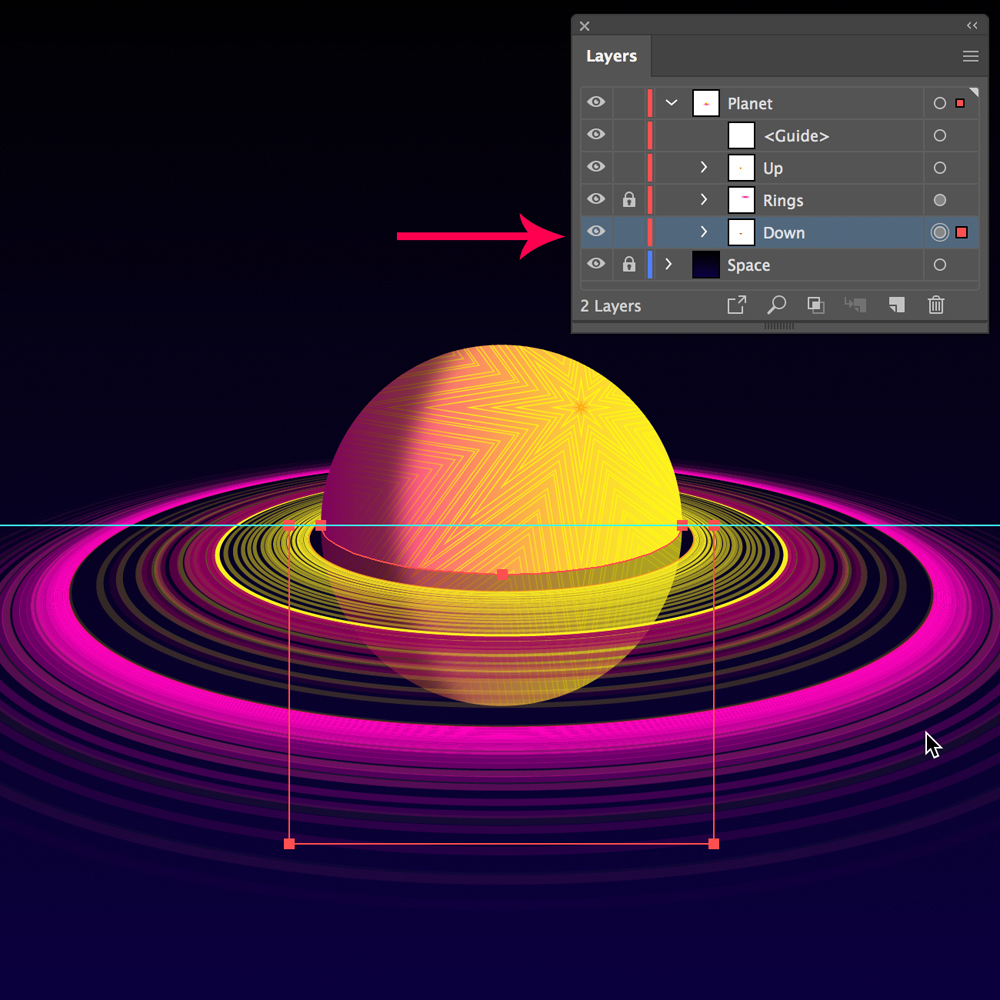
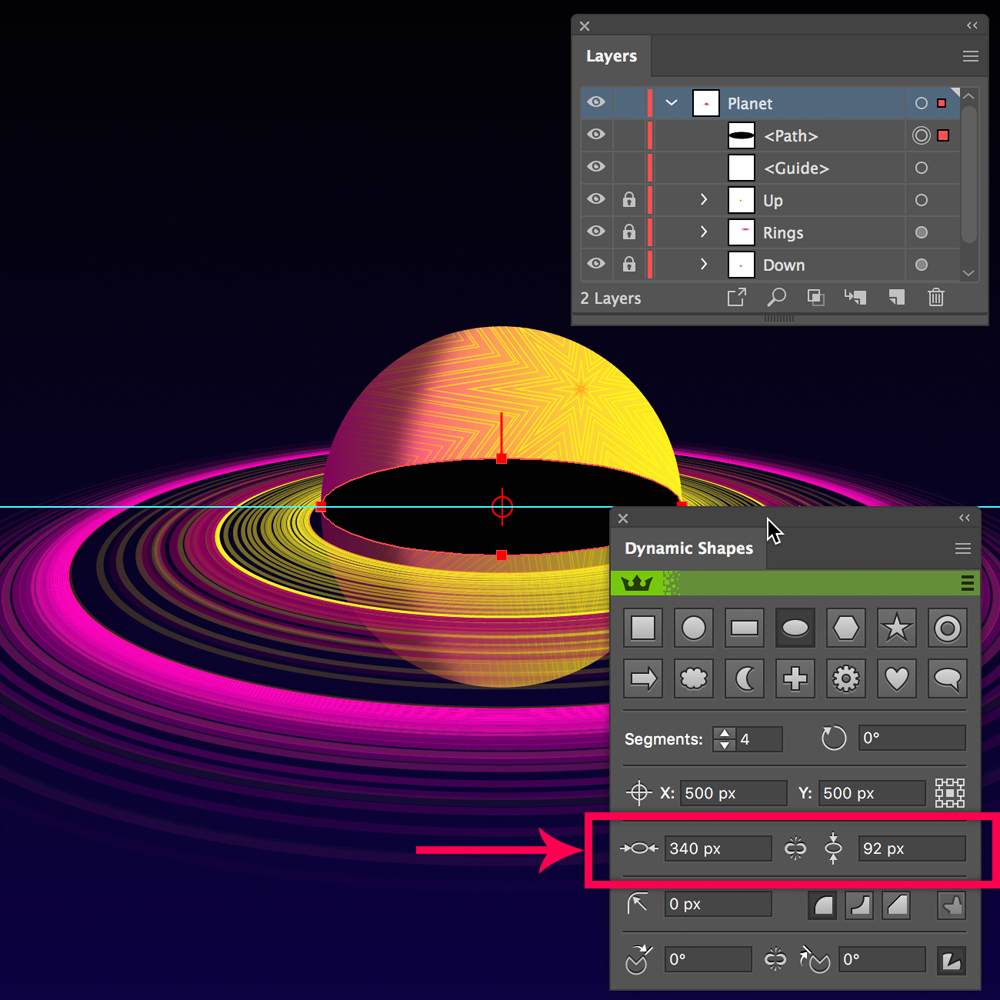
For the shadow cast by the Planet on the Rings, draw a couple of ellipses:
One 340 x 92 px and the other 170 x 46 px
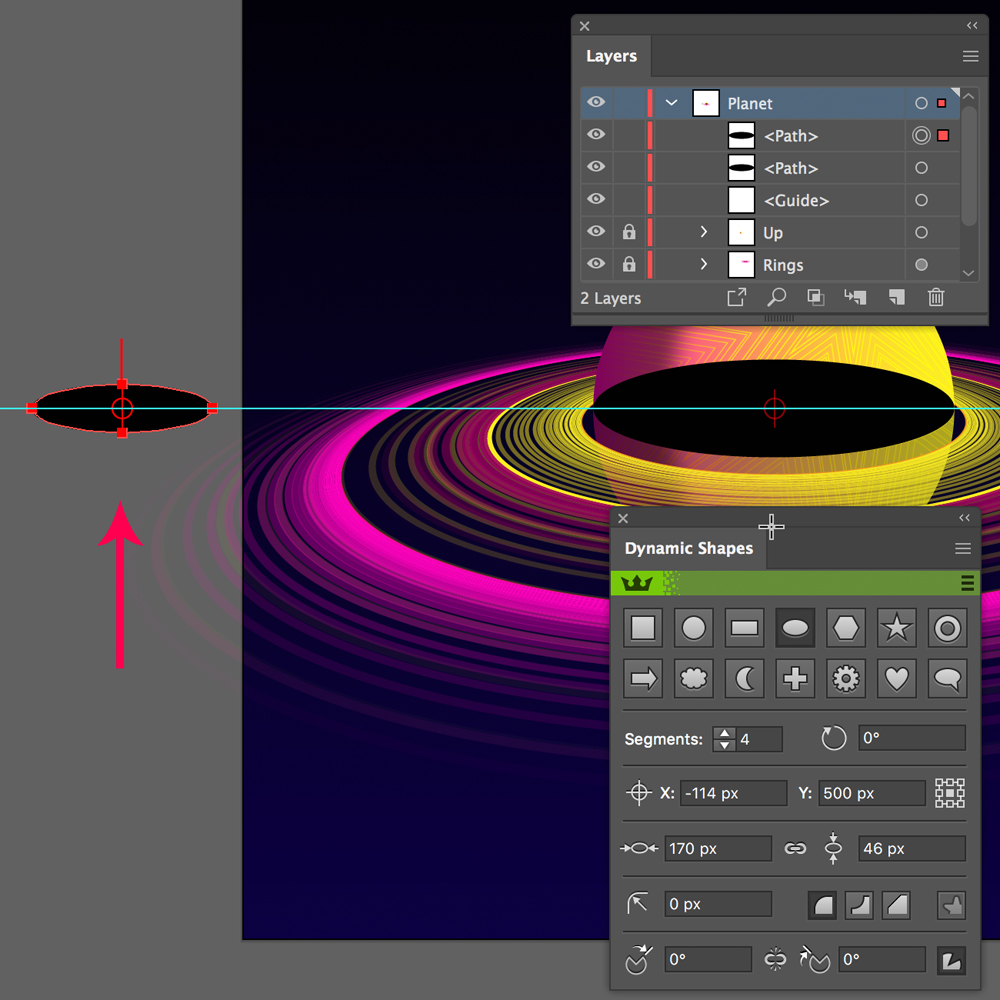
Join both ellipses, using SubScribe's “Tangent Line Tool.”
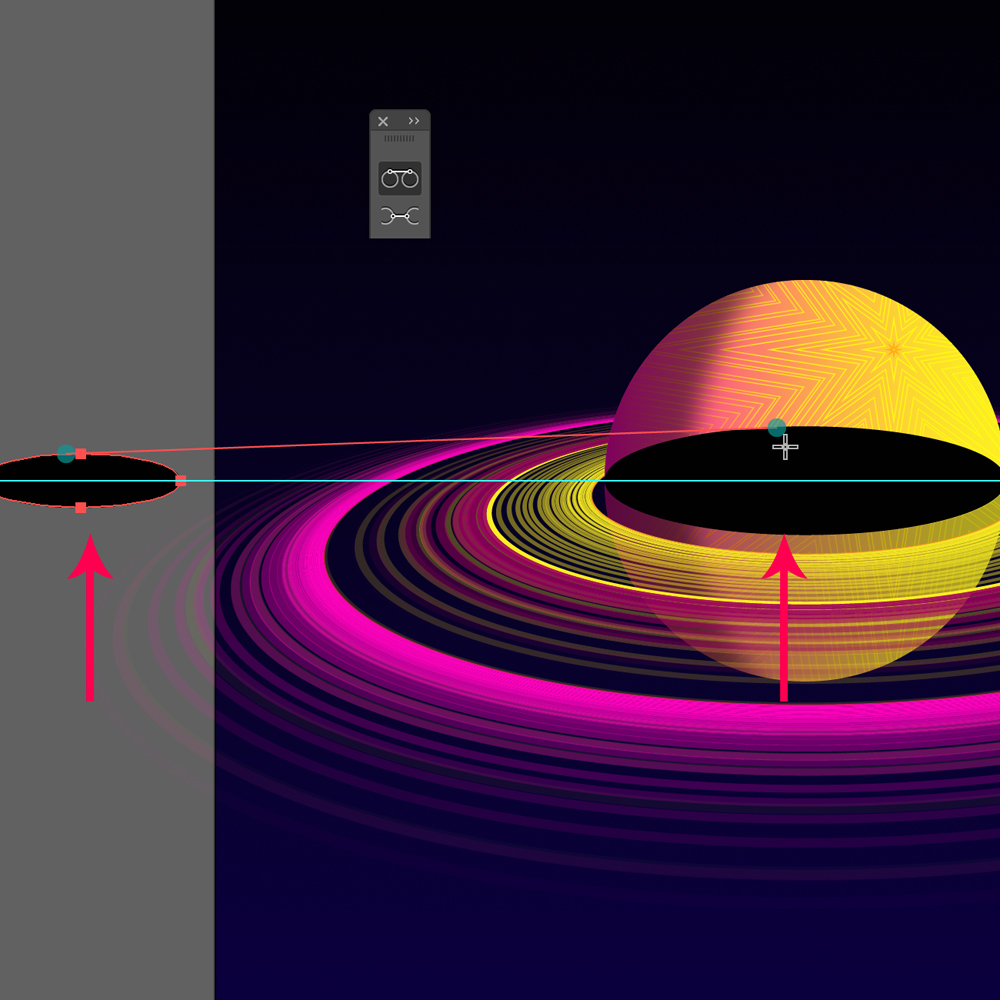
Join both lines: “Path > Join”
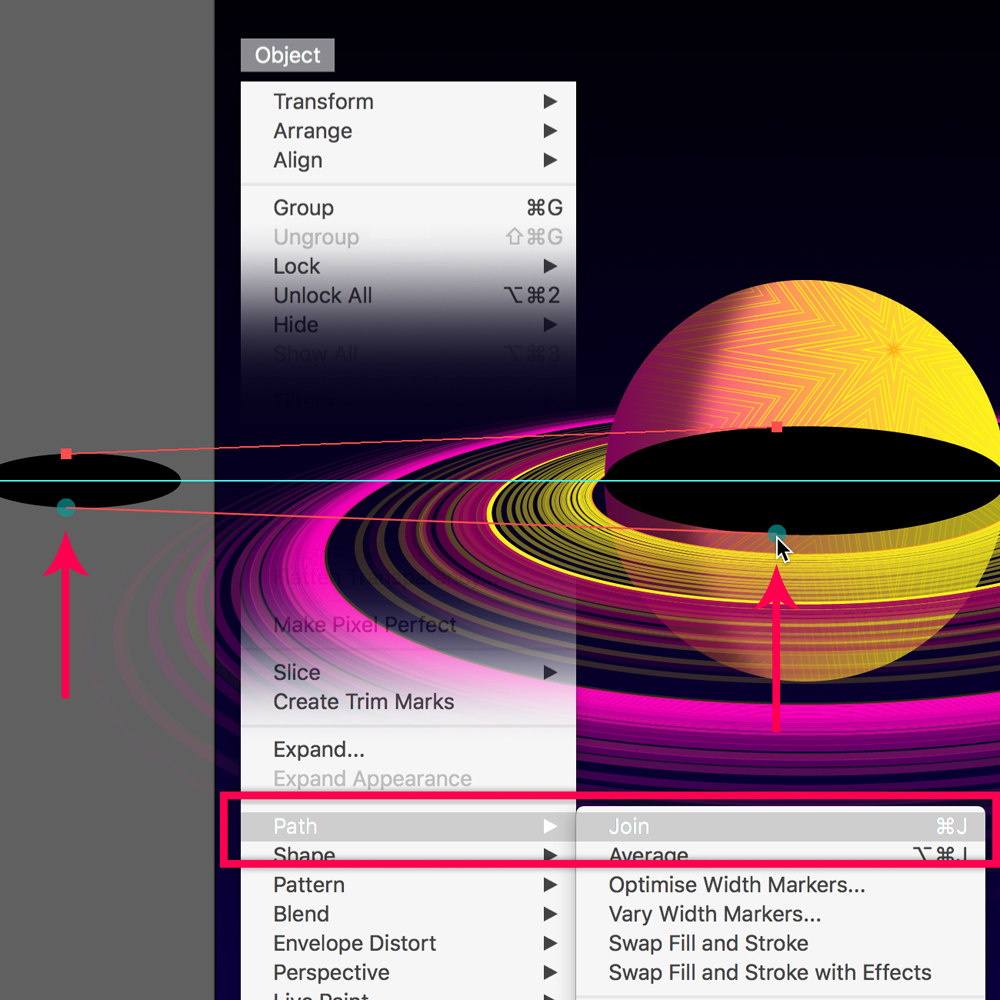
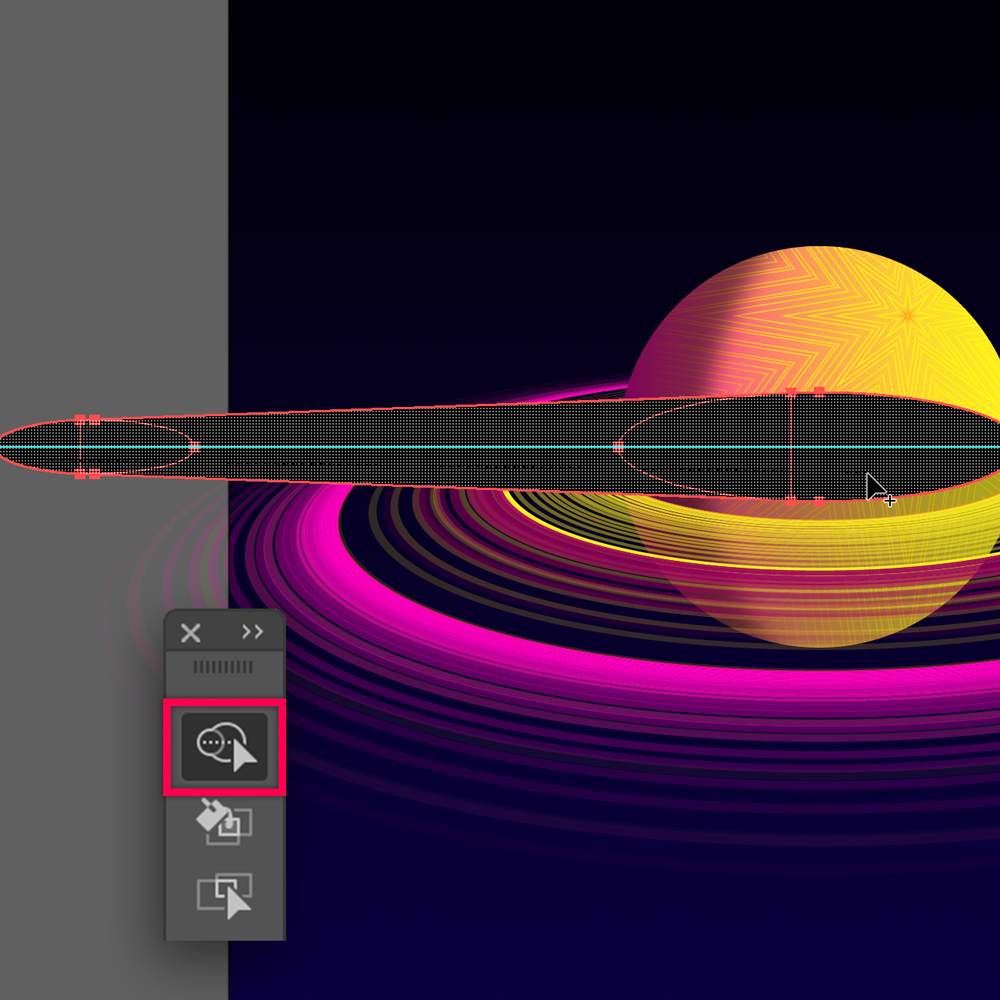
With "Shape Builder", join the ellipses with the trapezoid.
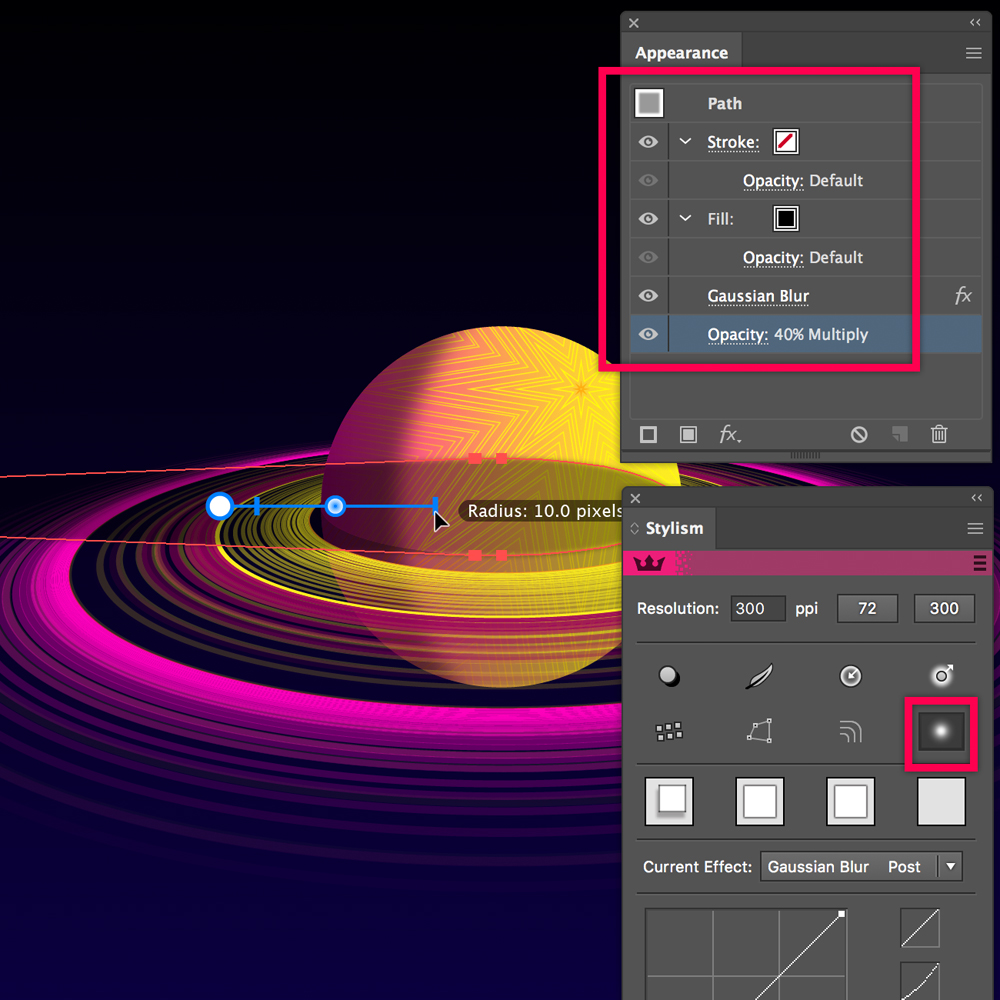
/plugins/stylismAdd a 10 px Gaussian Blur with Stylism, change the blending mode to Multiply and lower opacity to 40%.
Relocated the Shadow layer.
Create a layer on top. Draw another 1000 px square. Apply a noise texture with Texturino.

Modify the blending mode and opacity of the square: Overlay and 75%.
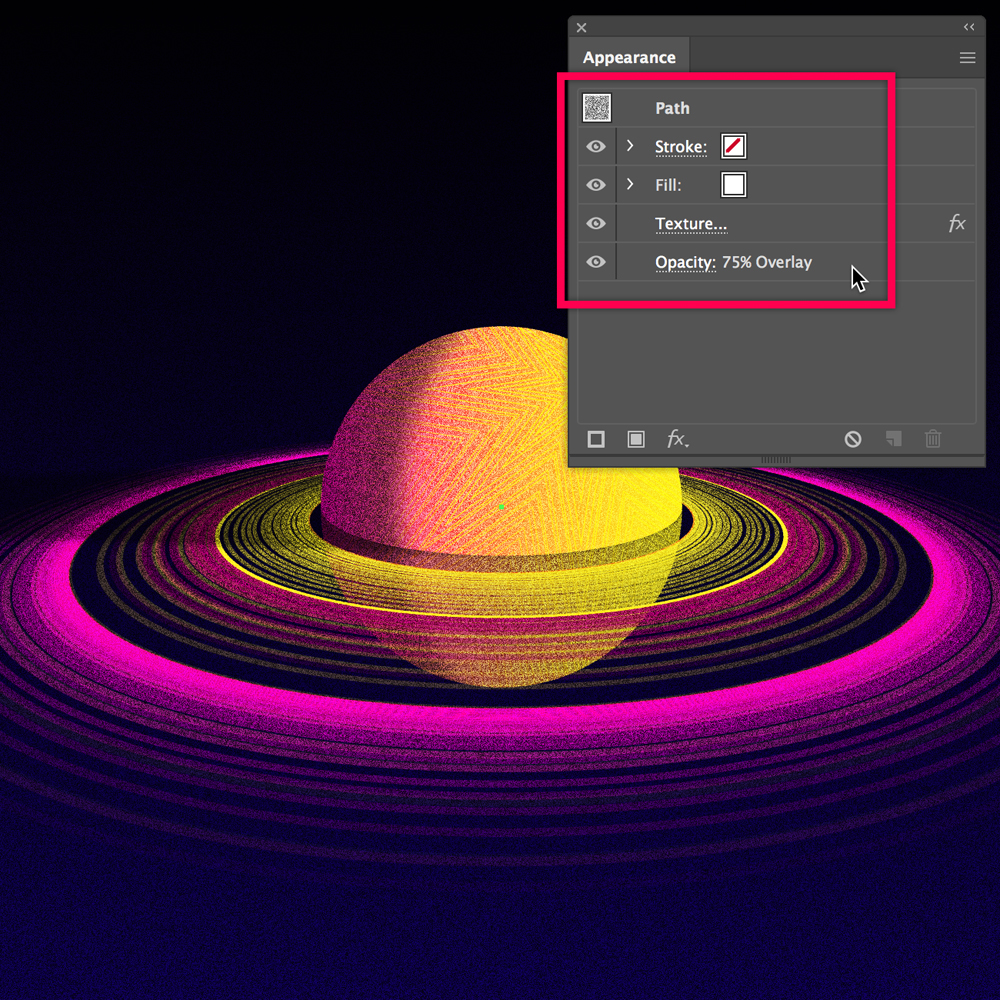
As a final adjustment, modify the opacity and blend mode of some of the Rings.
The use of the layer palette is vital in this case.
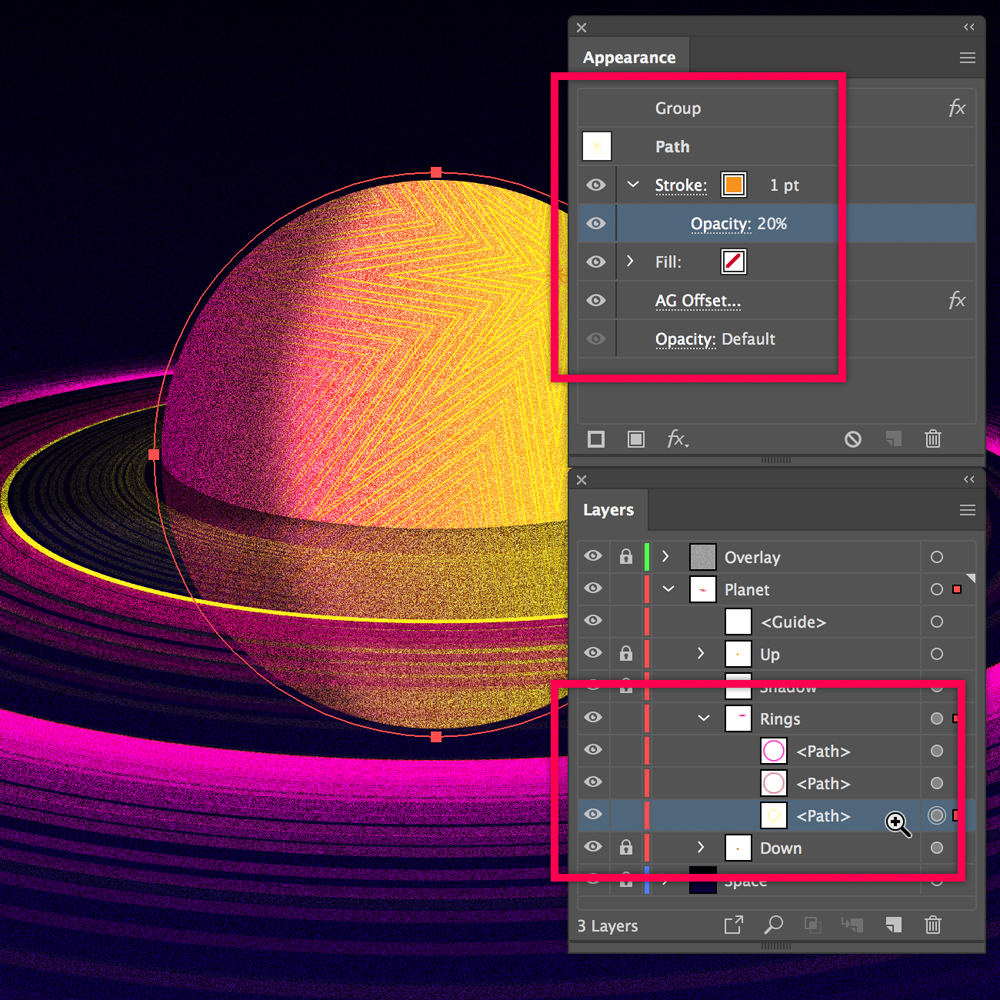
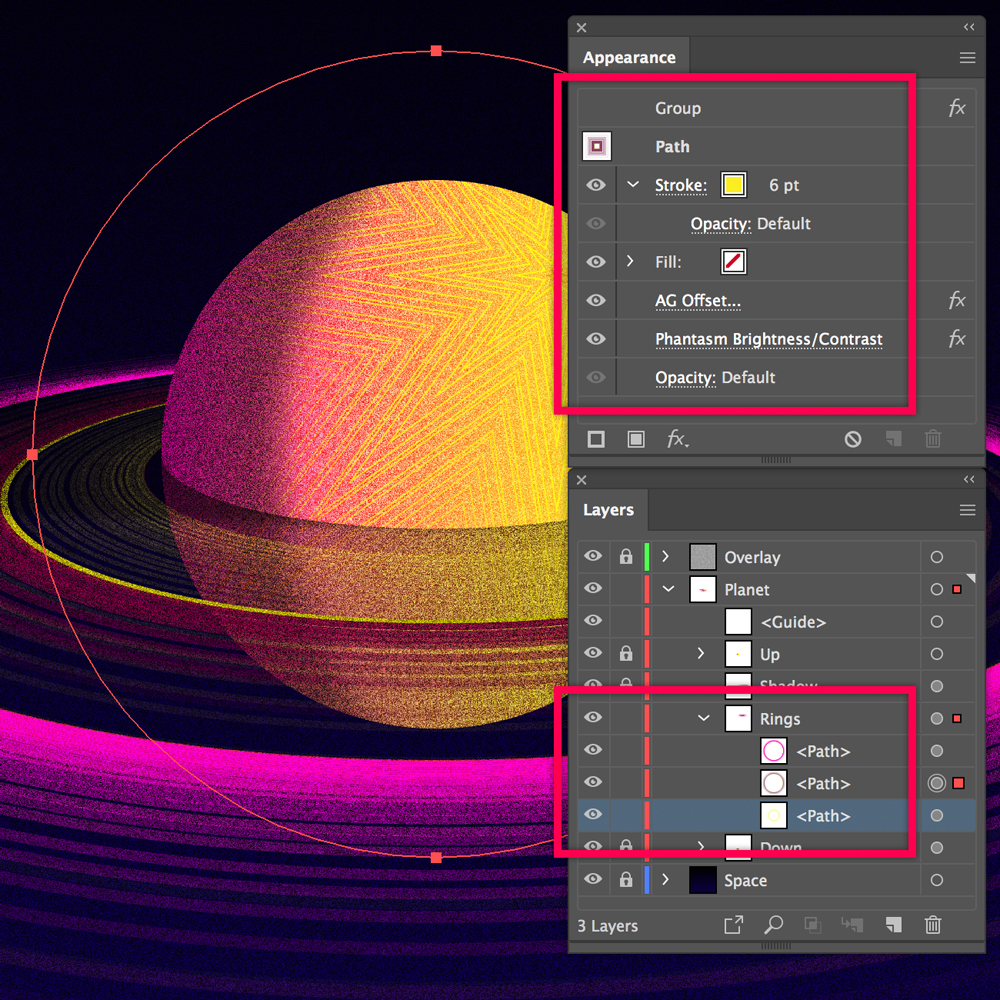
As AG Offset is a live Effect, we can experiment and modify our illustrations without invest many hours redrawing resources.
