How to create a mandala in Illustrator with MirrorMe and DynamicSketch
6 minute readIn this tutorial you will learn how to create a Mandala pattern with MirrorMe and DynamicSketch. The combination of these tools allows you to make drawing more comfortable, as you can see the reflection of the stroke preview. Here you will also find some practical recommendations that will help you to facilitate your creative process when creating similar patterns.
Begin by creating a new document with a 600x600px artboard. In the center of the artboard, draw a circle with a 6px wide stroke. This will be the first object of our pattern.

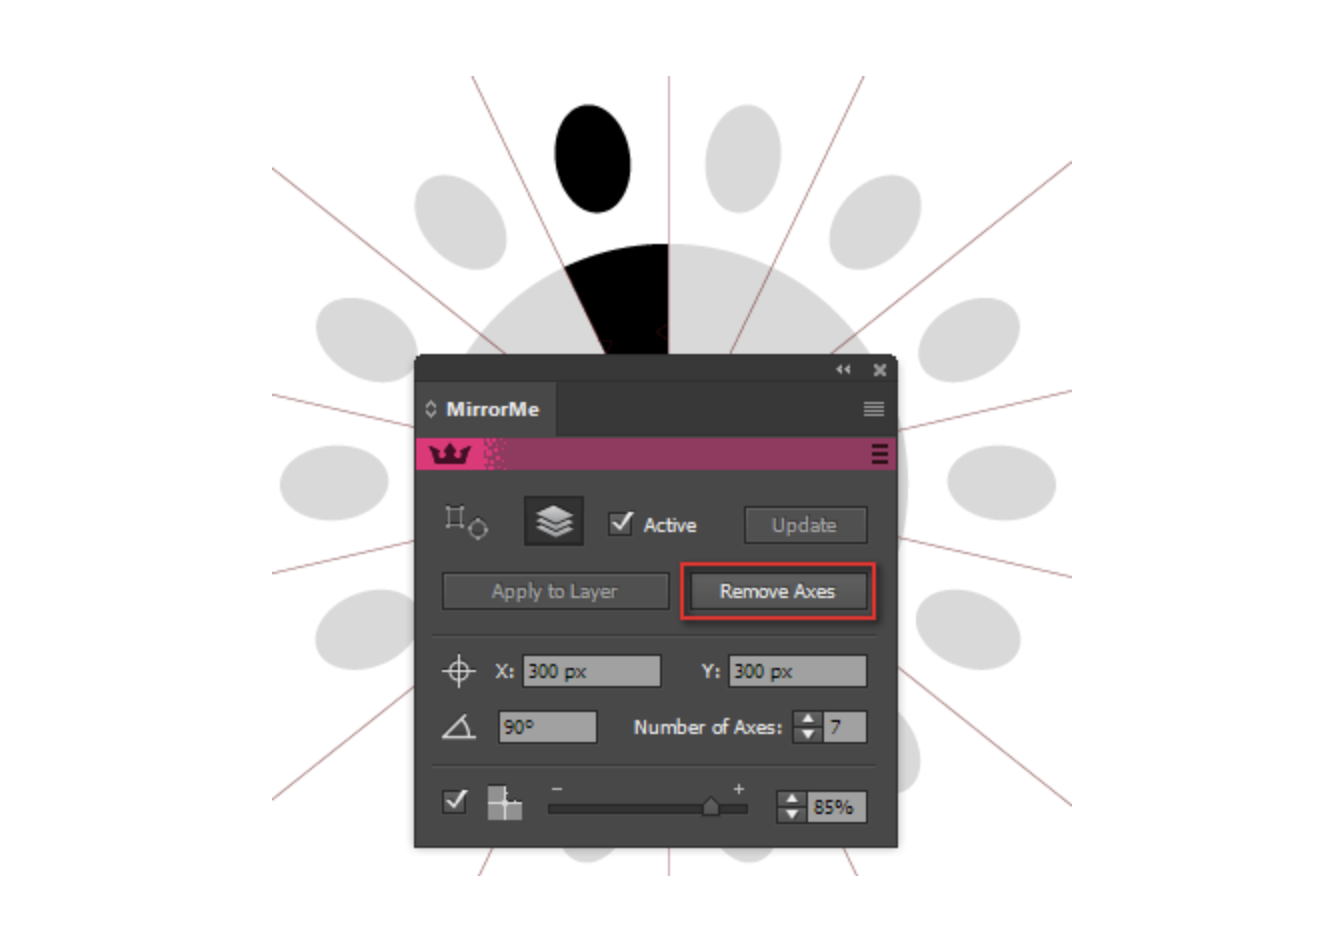
We will be using MirrorMe to build other symmetric objects also. Lock the circle in the Layers panel, then take MirrorMe and set the center of symmetry in the center of the artboard. Set the Number of Axes to 7 in the MirrorMe panel.

Next, click Apply to Layer in the annotation or in the panel, then create an ellipse in the active sector, as shown in the picture below. As you can see, this object is immediately reflected in other sectors.

Now click on the Remove Axes button in the MirrorMe panel.
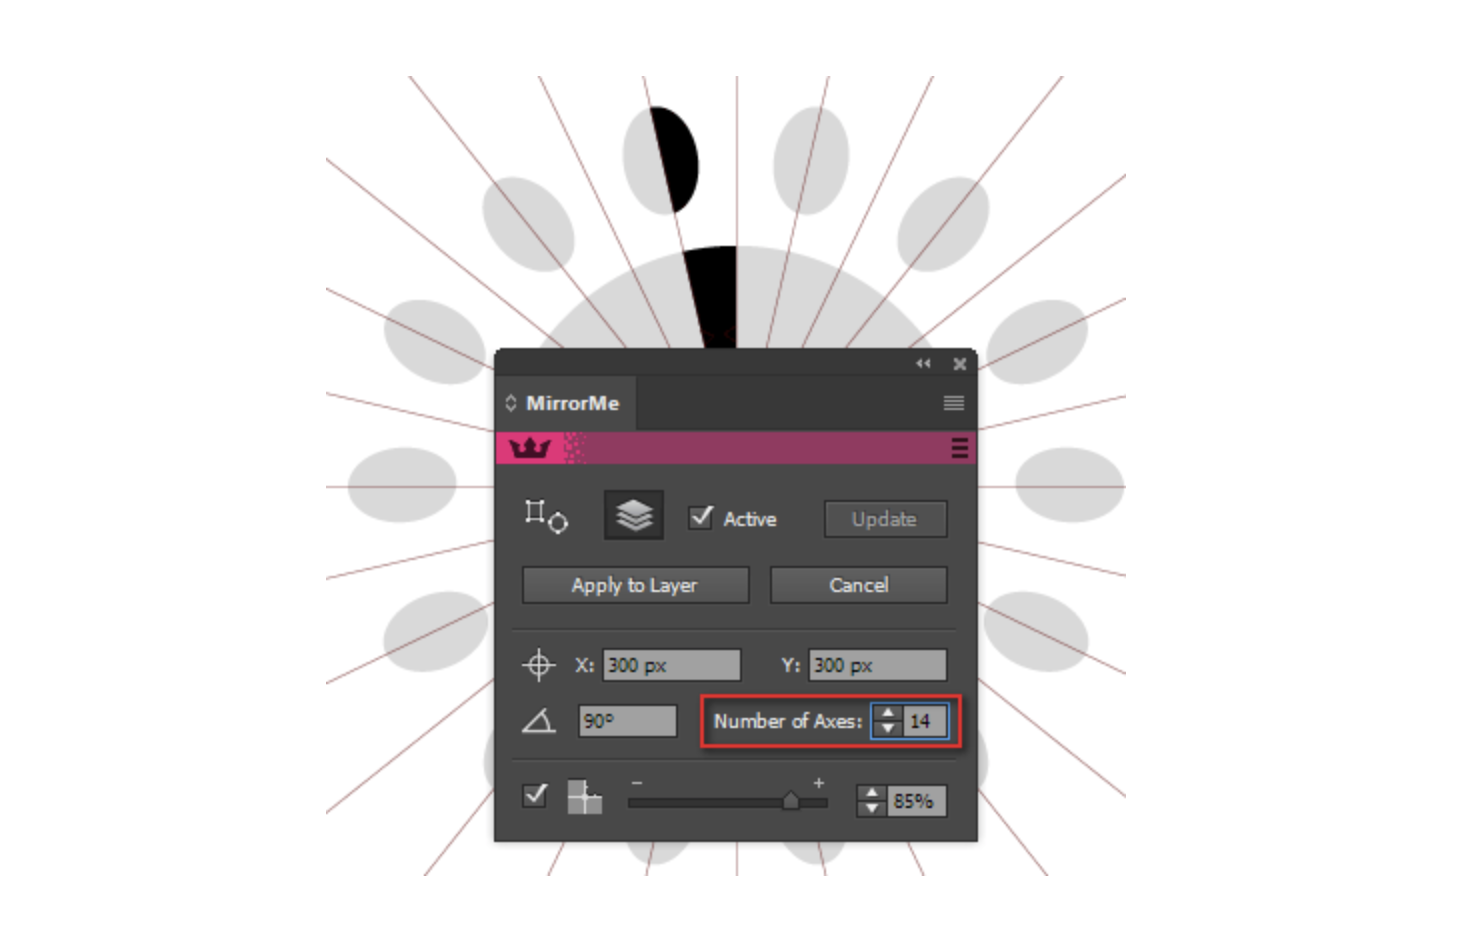
The next step will be to select and group up all the ellipses, then lock the group in the Layers panel. Take MirrorMe again and set the center of symmetry in the center of the artboard. Increase the number of axes to 14 and click the Apply to Layer button.
Continue creating the pattern using DynamicSketch. Select None in the DynamicSketch panel, then set the stroke width to 1.5px.
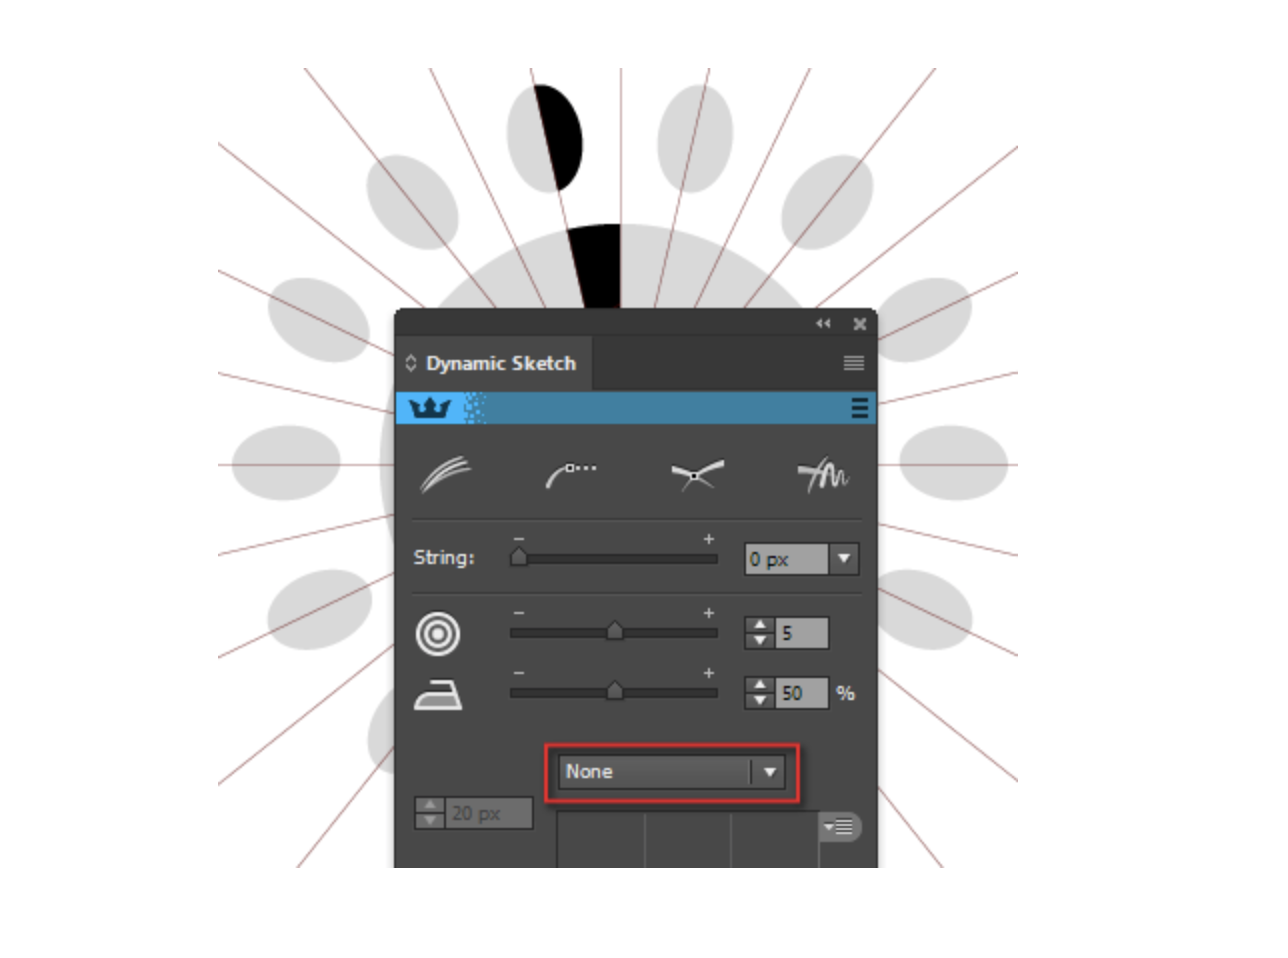
The new release of MirrorMe allows you to see the reflection of the stroke preview of DynamicSketch. Therefore, this combination of tools allows you to draw more conveniently.

Continue drawing in the active sector. Hold the Opt/ Alt key to create straight-line segments.
Of course, you can always improve the created shapes further. This can be conveniently done using InkScribe, as this plug-in has many more functions than the Direct Selection Tool.
After you have successfully created one ring of the pattern, I advise you to click on the Remove Axes button, group up and lock new objects. It's possible that this element will not fit well with others, you might want to replace it or transform its part later, and this will be easier to do if it is in the same group. In addition to this, it is necessary to delete axes and lock existing elements if you are planning to change the number of axes of symmetry.
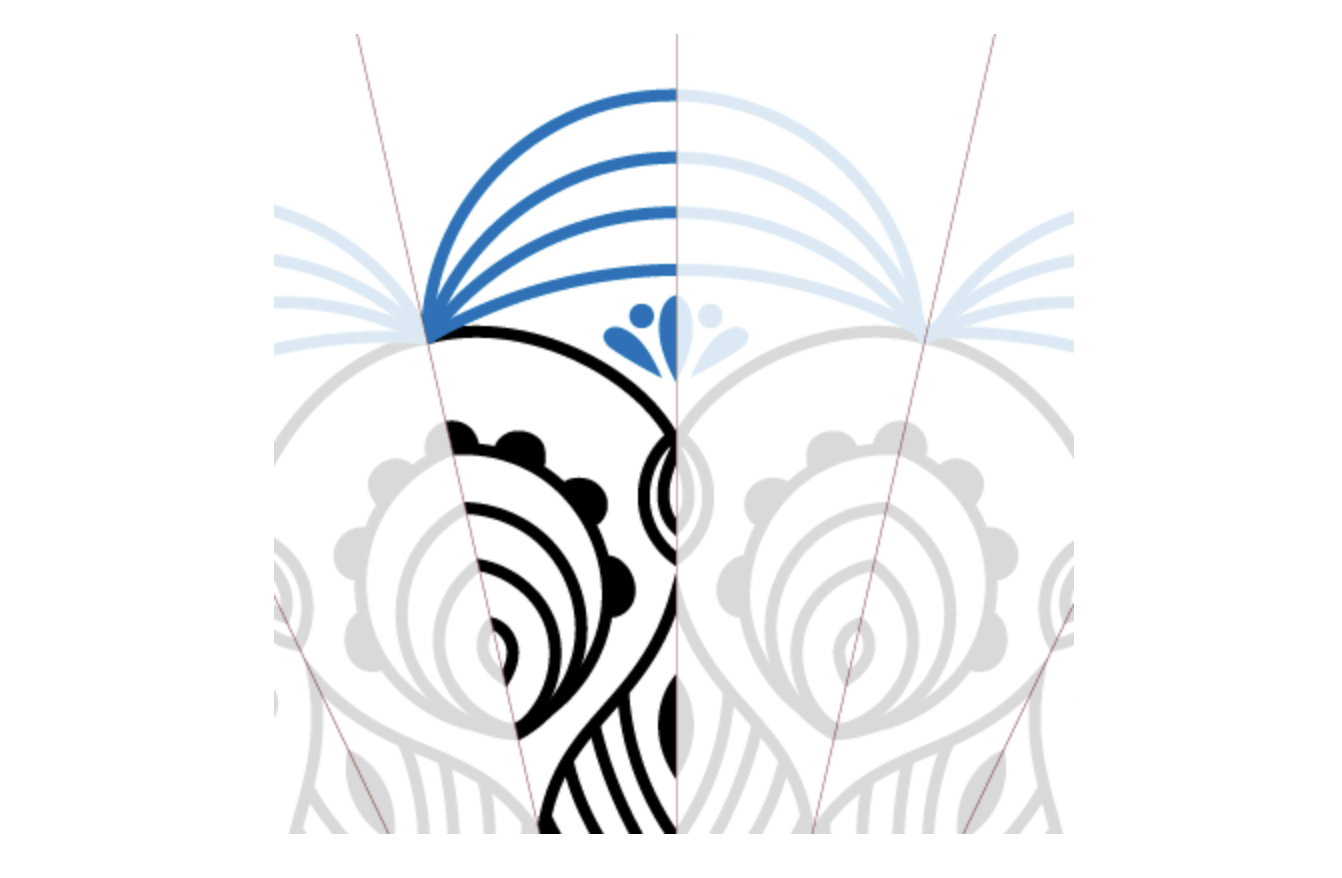
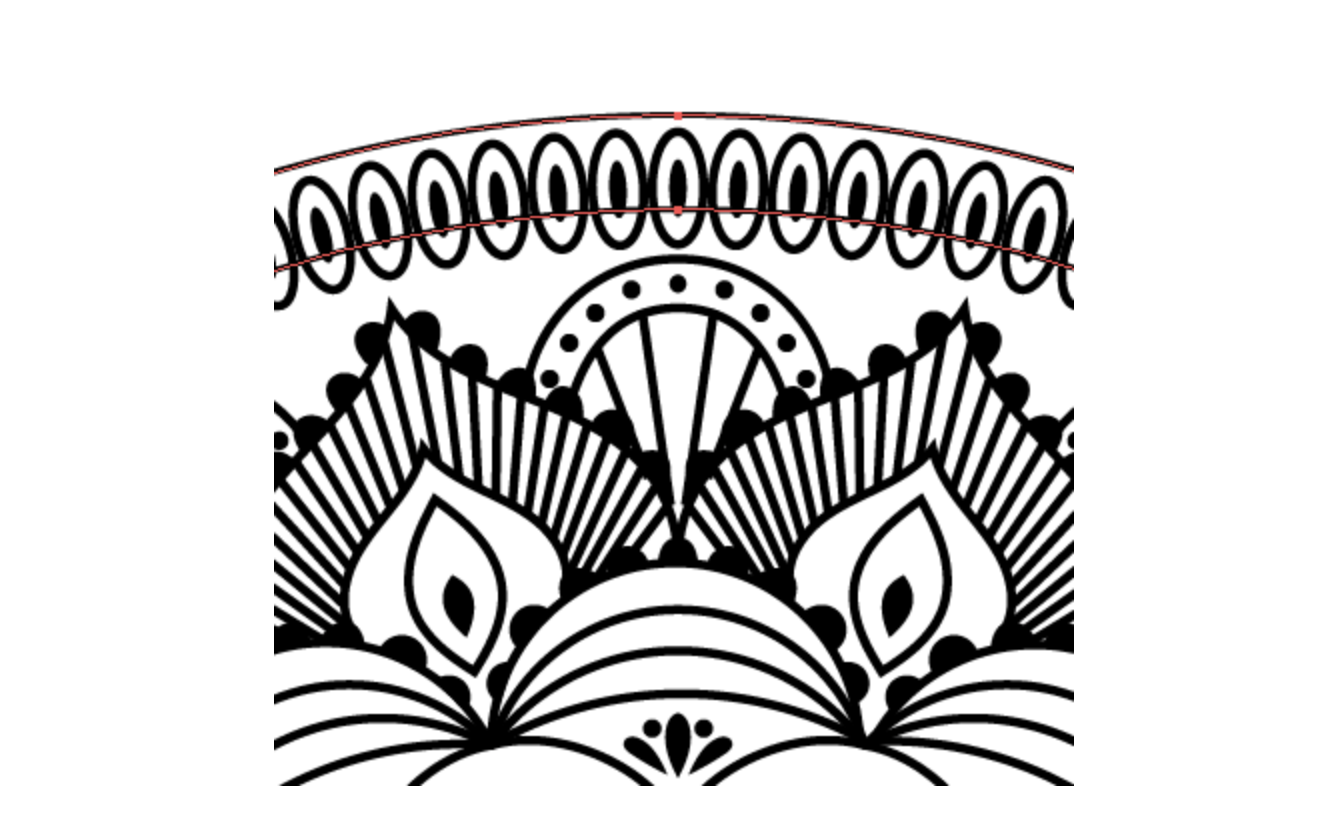
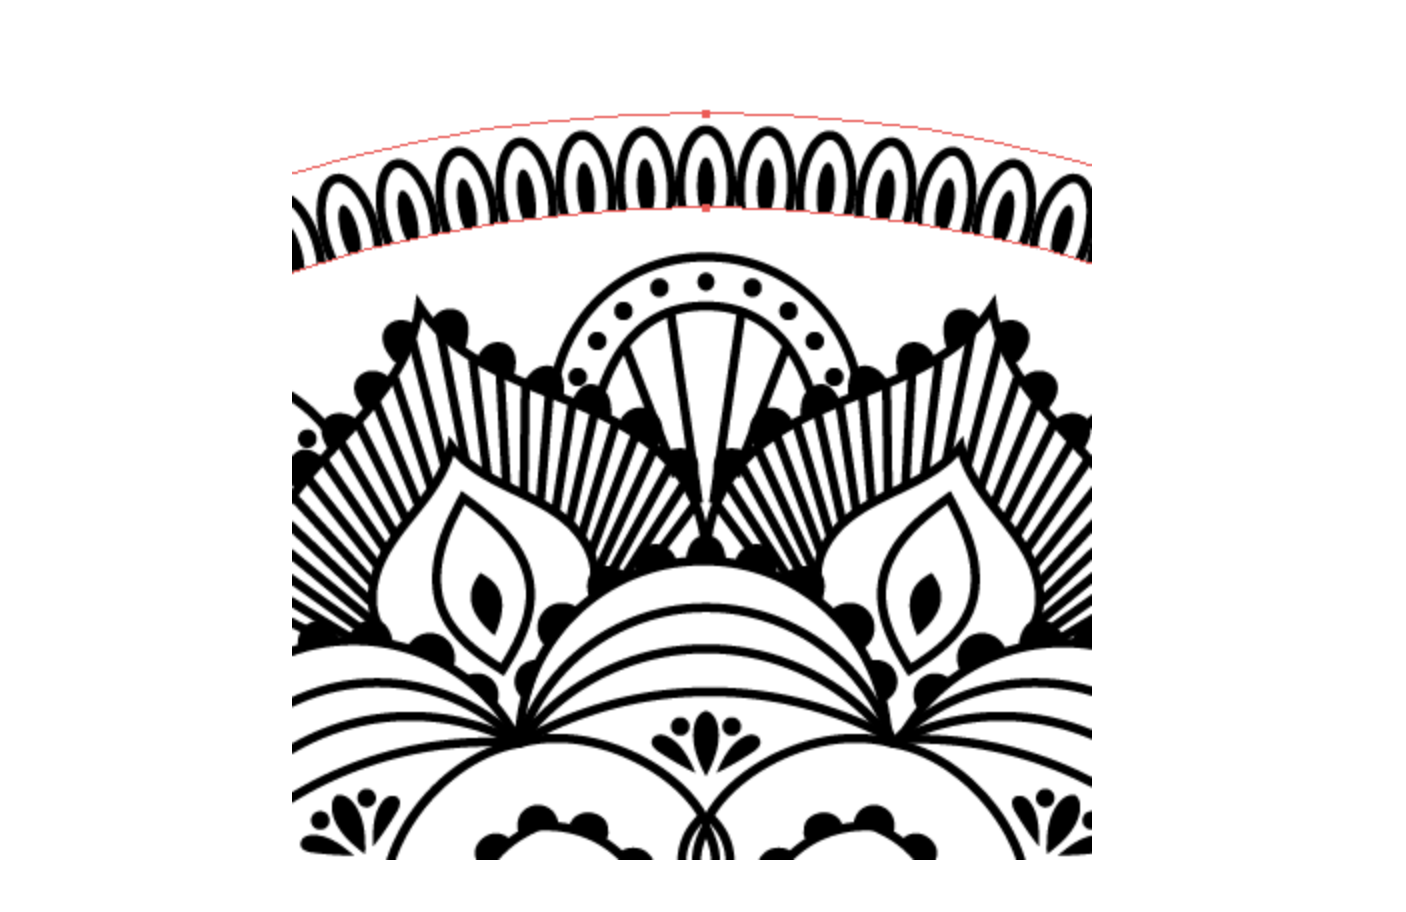
For a beautiful visual effect, try to alternate rings with both a higher and lower density of pattern. Now that the operating principle is clear, I will show the elements of the following rings that were created in the active sector. For clarity purposes, the new rings are in blue color.


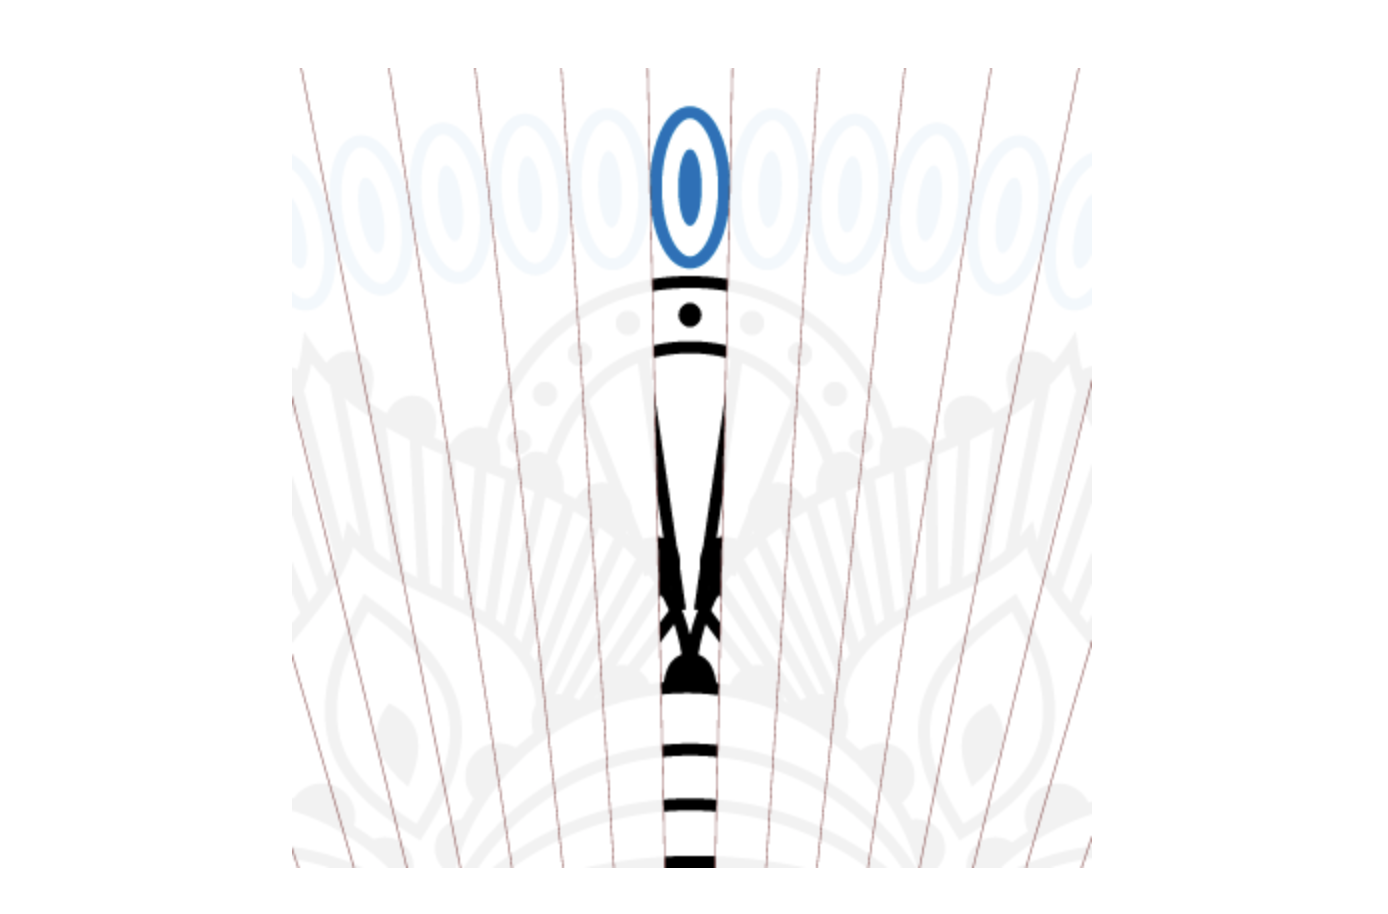
Now we will create the final ring of the mandala. Set the MirrorMe tool in the center of the artboard, set the maximum number of axes of symmetry to 72 in the panel. Now grab the middle line of the active sector and rotate it into the vertical position, while holding Shift.
Click Apply to Layer in the MirrorMe panel, then draw two ellipses, as shown in the picture below.
Remove the symmetry axis and create two circles whose centers coincide with the center of the artboard. (Note: If you wish to place the ellipses more accurately, you can temporarily untick the "Active" option in the MirrorMe panel then tick "Active" again to see the final result)
Convert these circles into a compound path (Cmd / Ctrl + 8). Then select the ring from the ellipses and compound path, and create the clipping mask (Cmd / Ctrl + 7).
Finally, create two more circles.

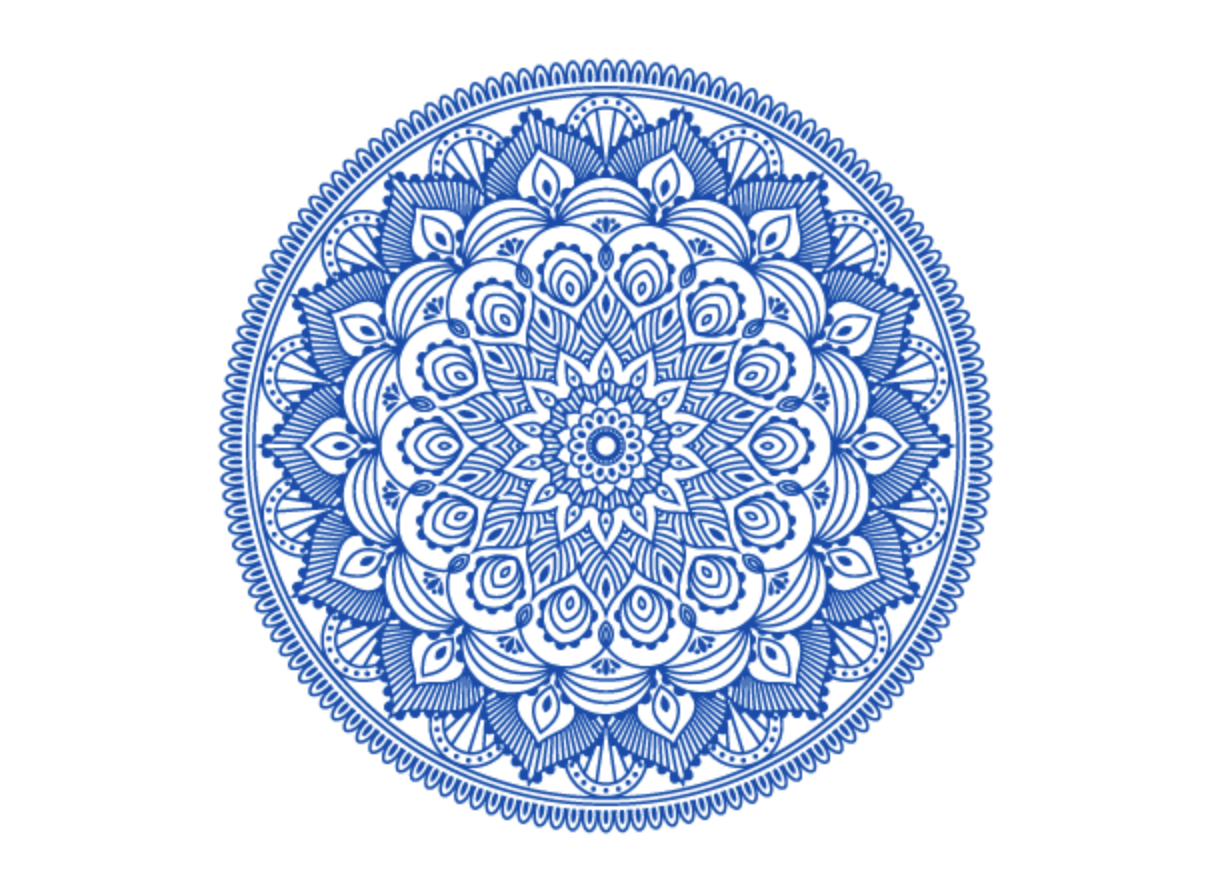
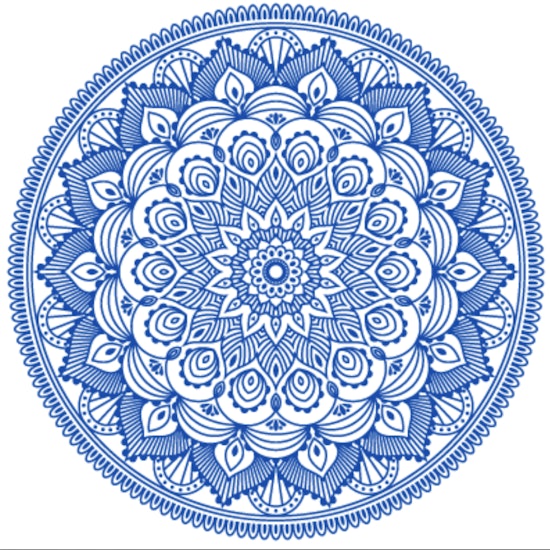
Our Mandala pattern is ready!