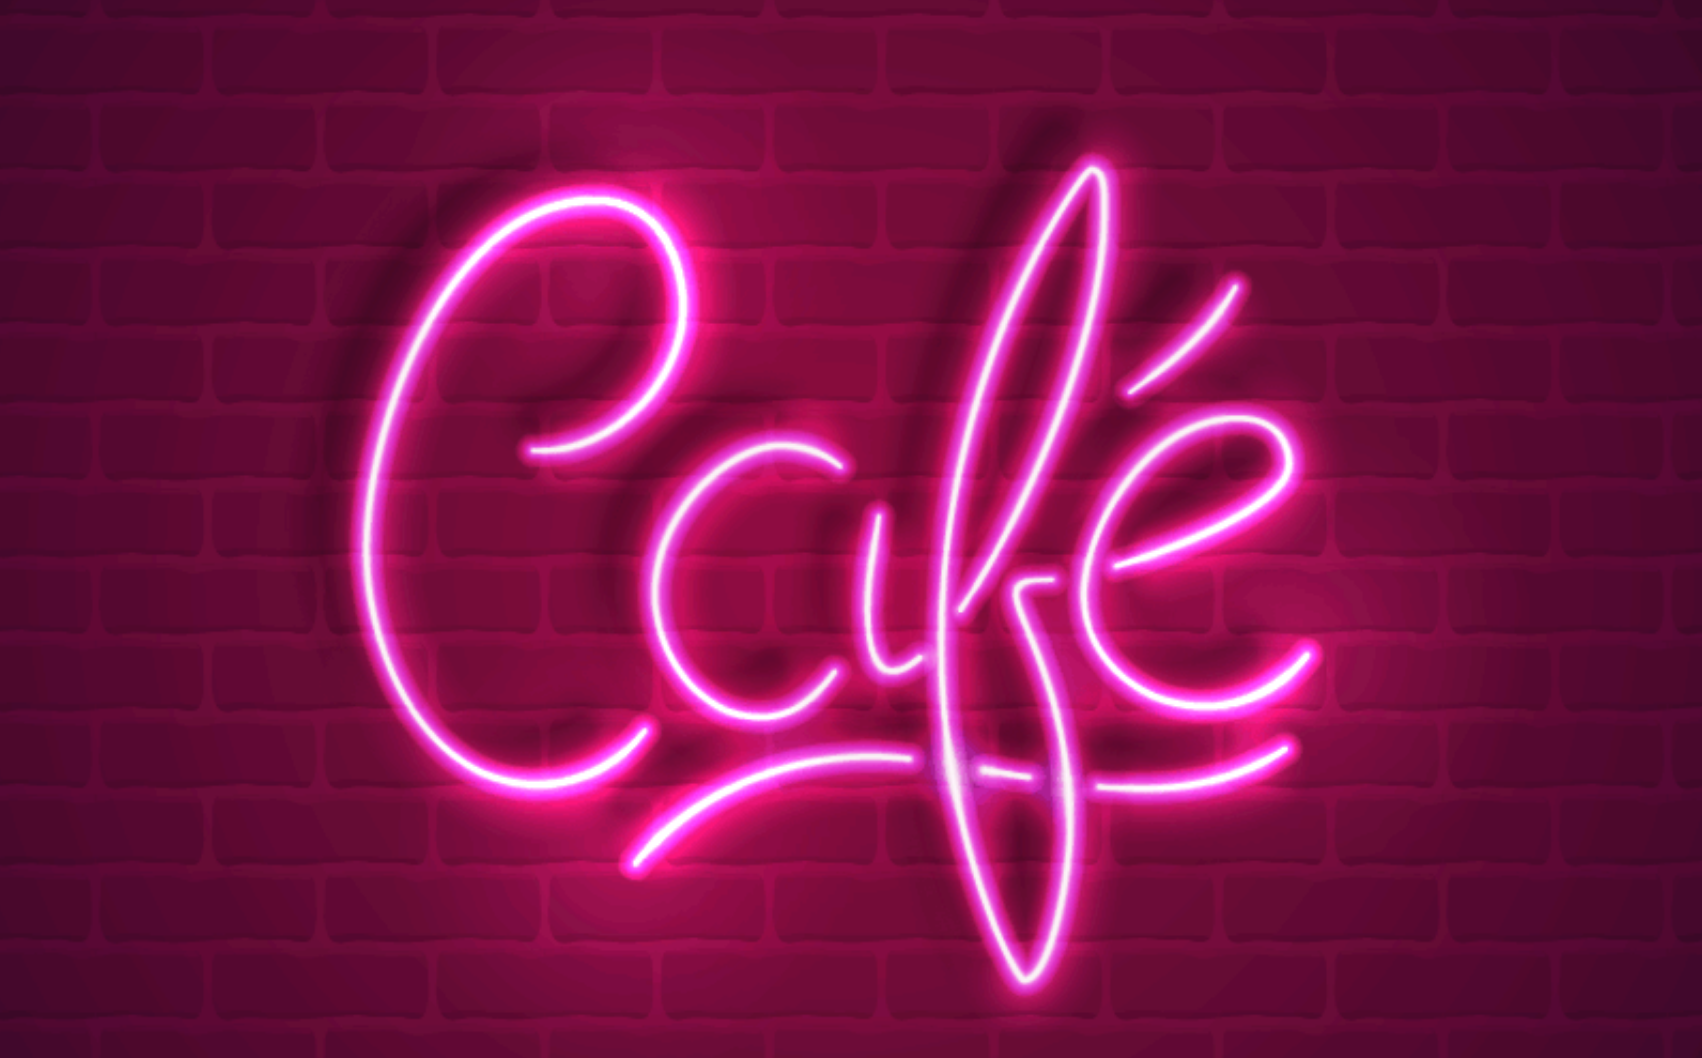
How to create a neon light text effect in Illustrator
11 minute readIn this tutorial you will learn how to create a neon text effect using blend objects, art brushes, blending modes and the DynamicSketch plug-in. Using art brushes with DynamicSketch allows us to create an accurate and easily editable path that contains fewer points. In addition to this, all of them are located at tangencies. Let's get started!
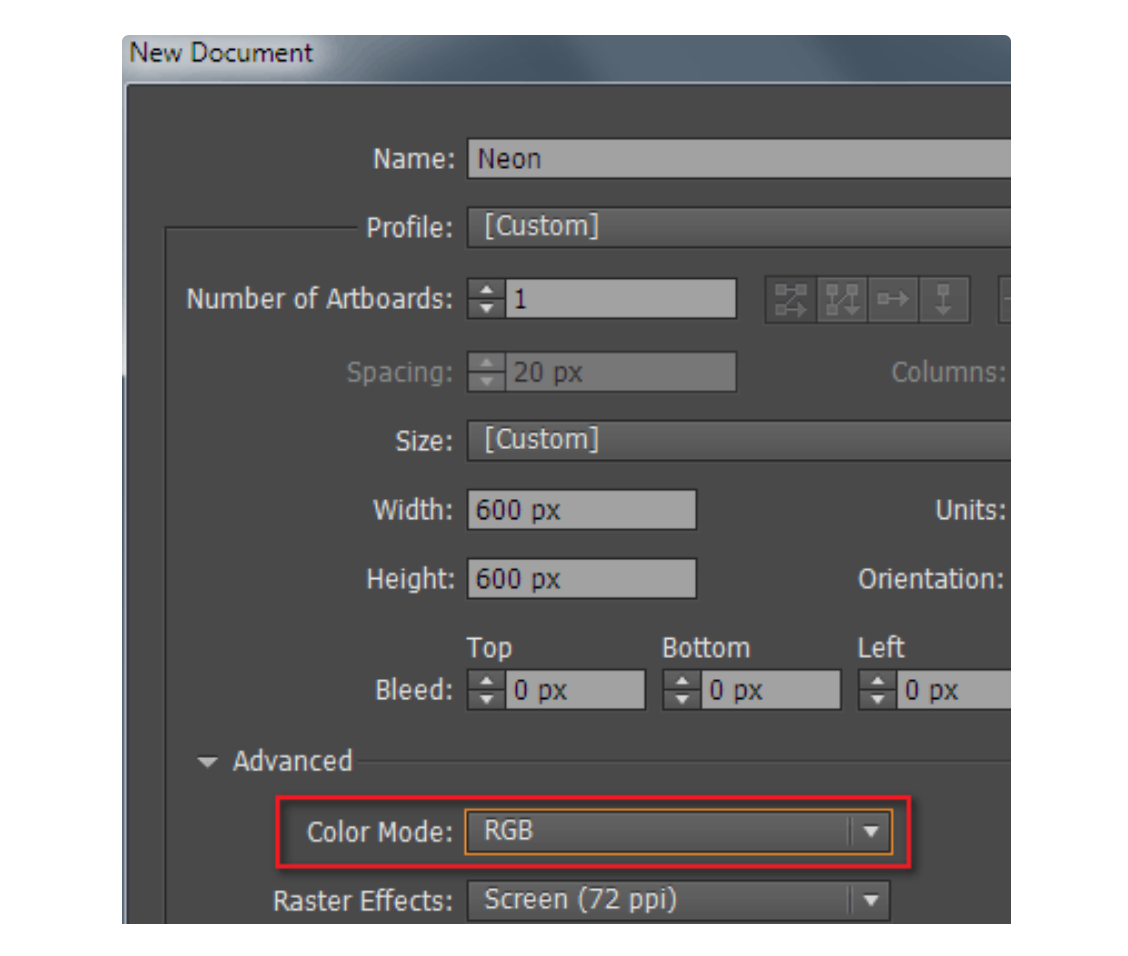
Document settings
Create a new illustrator document (Cmd / Ctrl + N). In the dialog box, select RGB color mode and set the necessary artboard size. Note that you cannot achieve the desired effect in CMYK color mode.
Note: If you're using the new New Document window it will look as shown below.
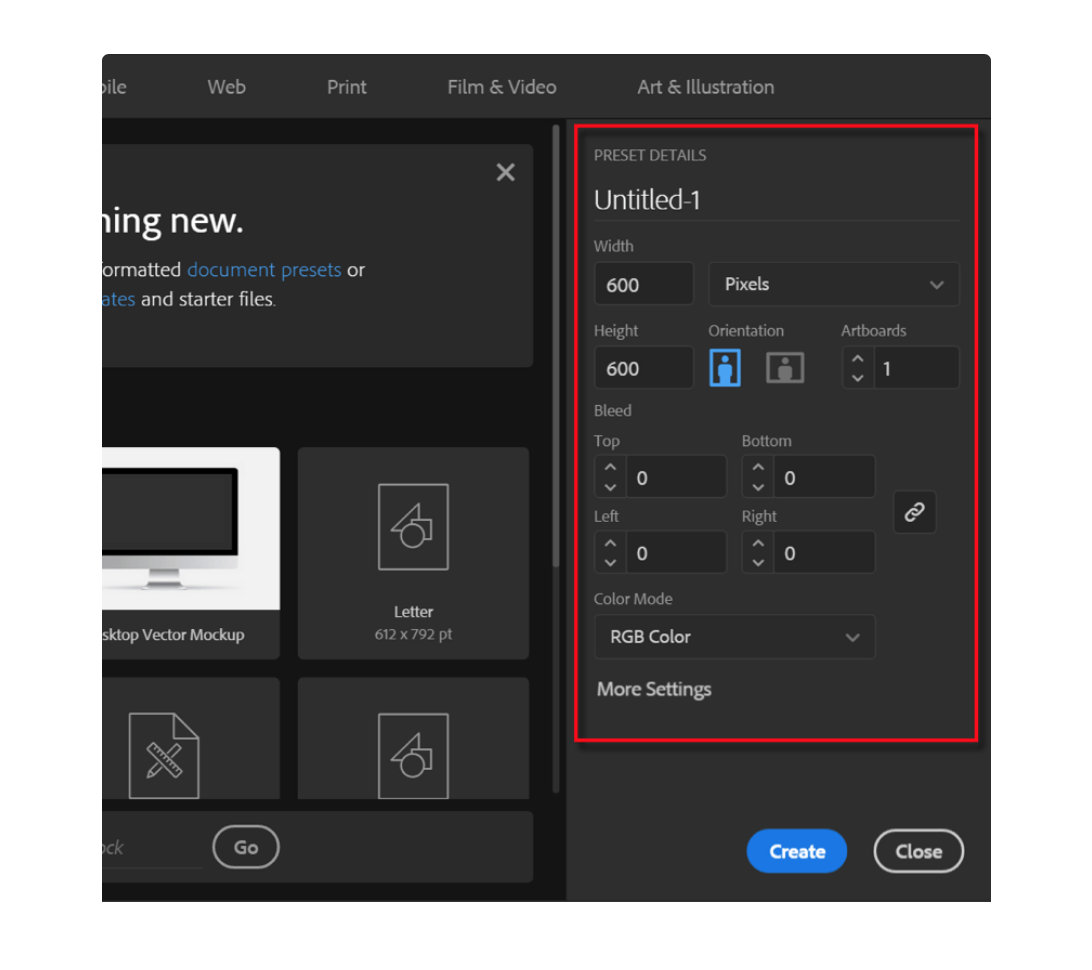
Remember to untick the Align Art to Pixel grid to prevent strange behaviours during this tutorial

Creating a sketch of inscription
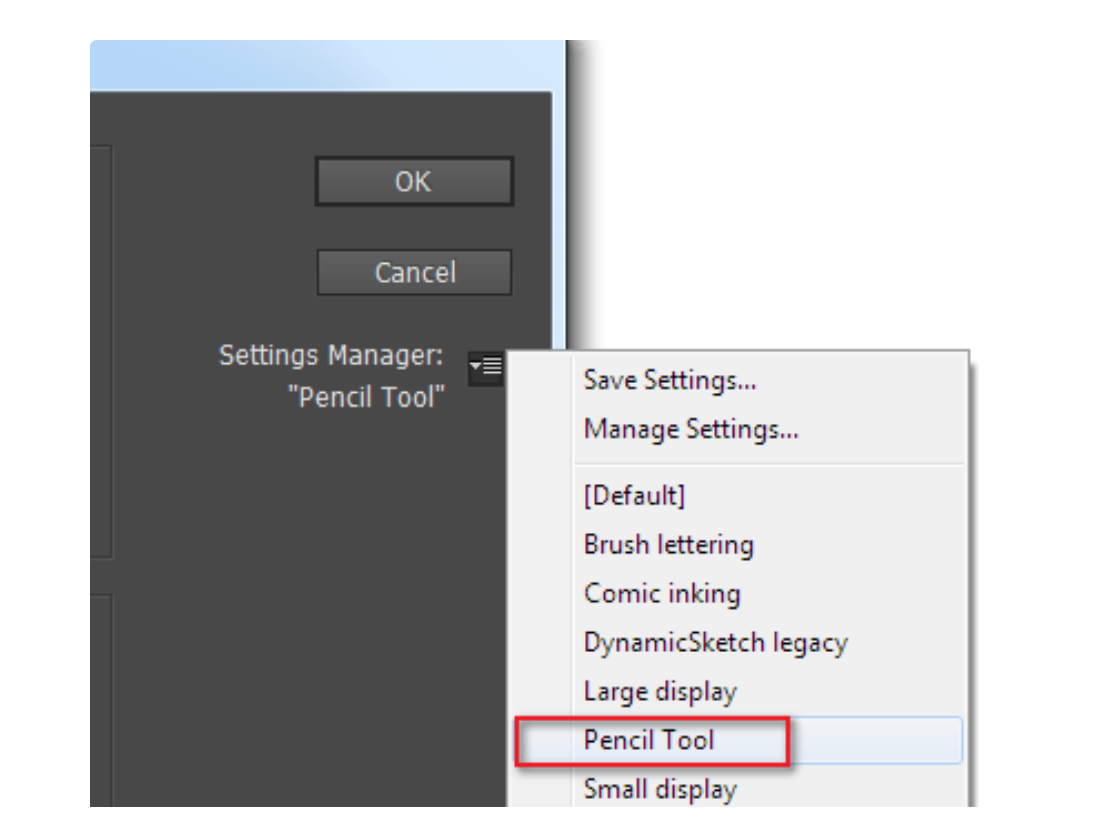
Double click on the DynamicSketch icon in the Tools panel to open the dialog box and select the Pencil Tool preset in the Settings Manager.
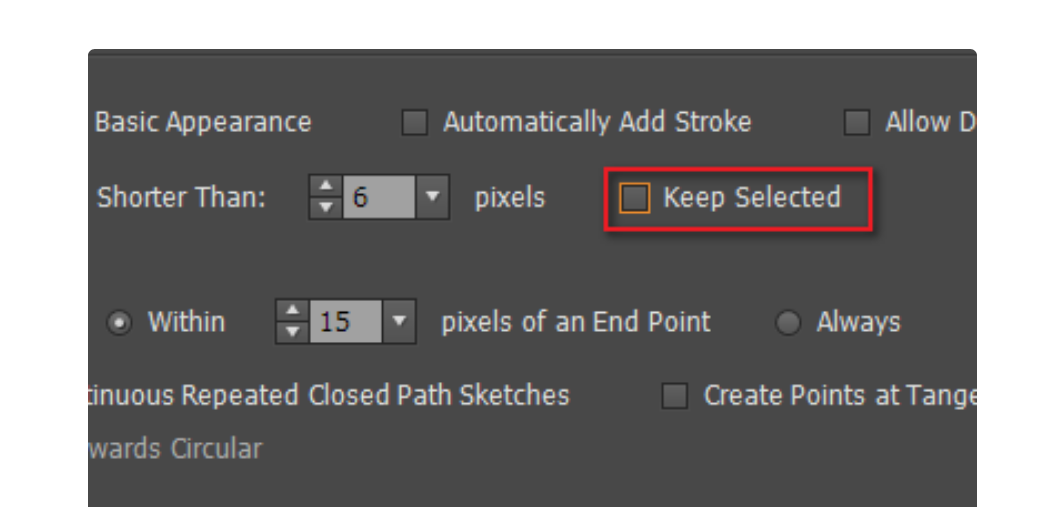
Now untick the Keep Selected option.
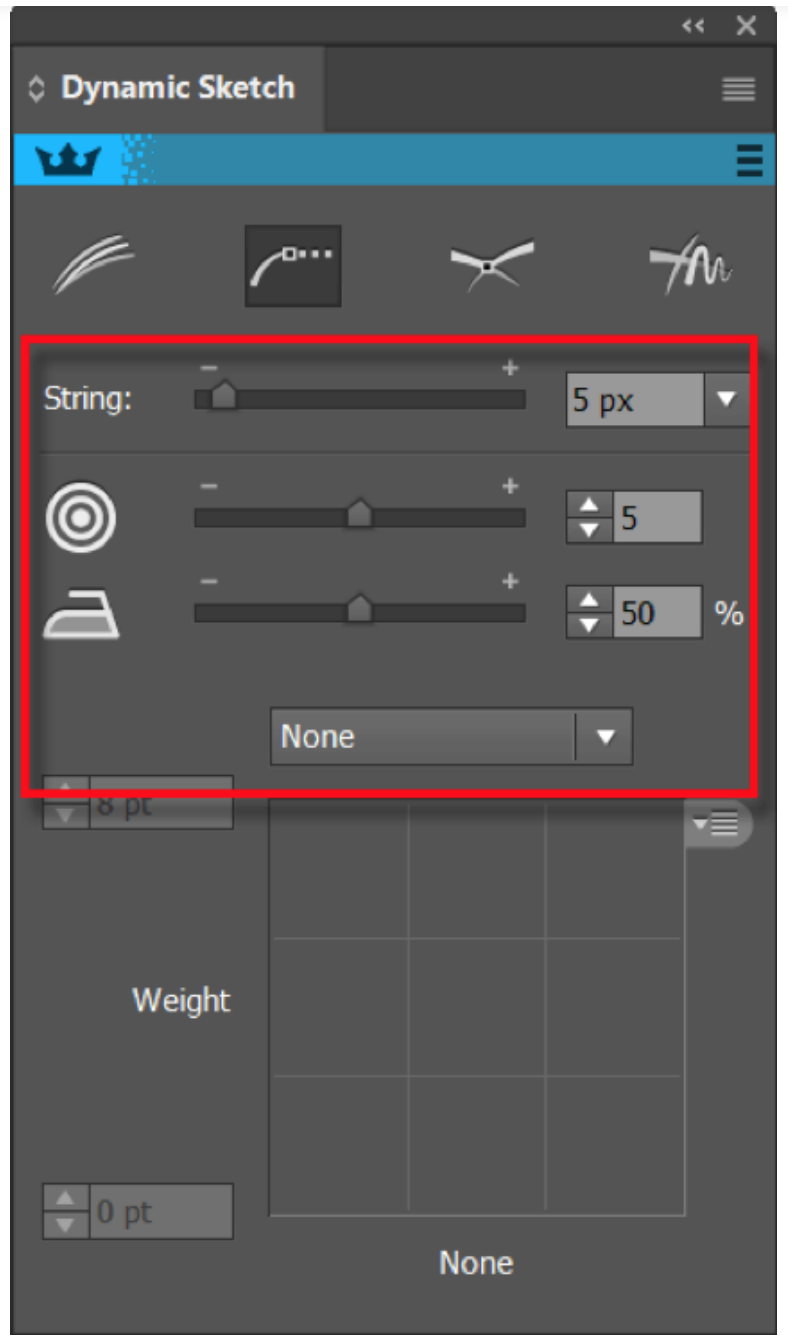
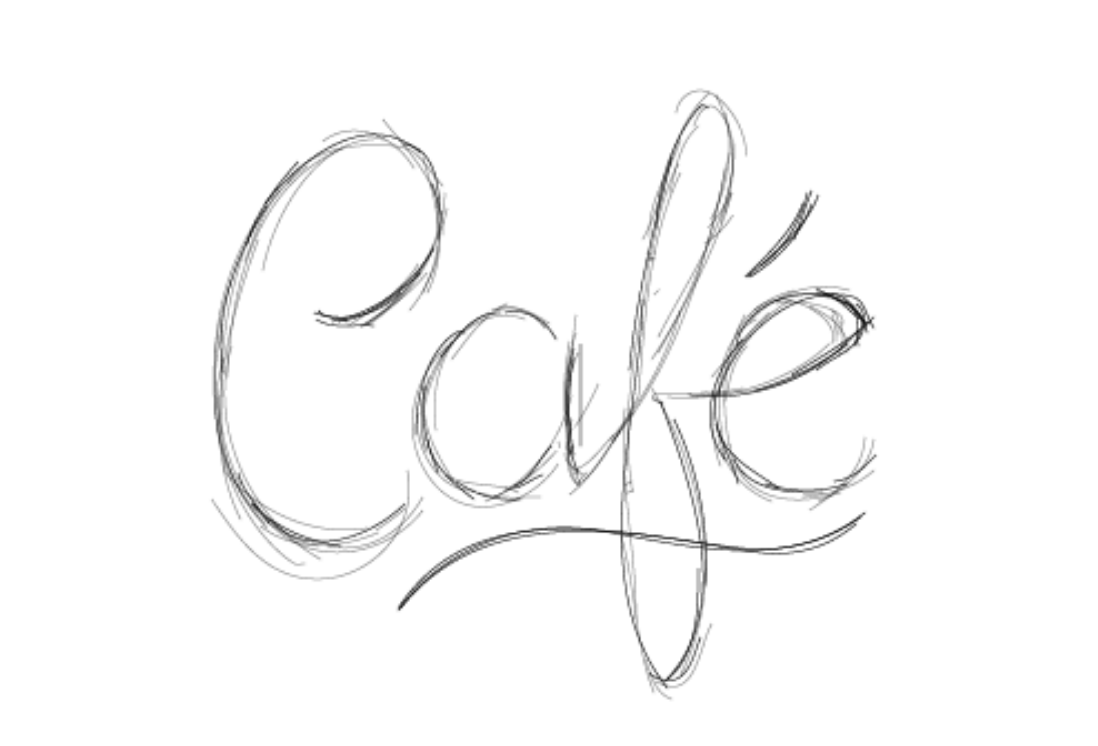
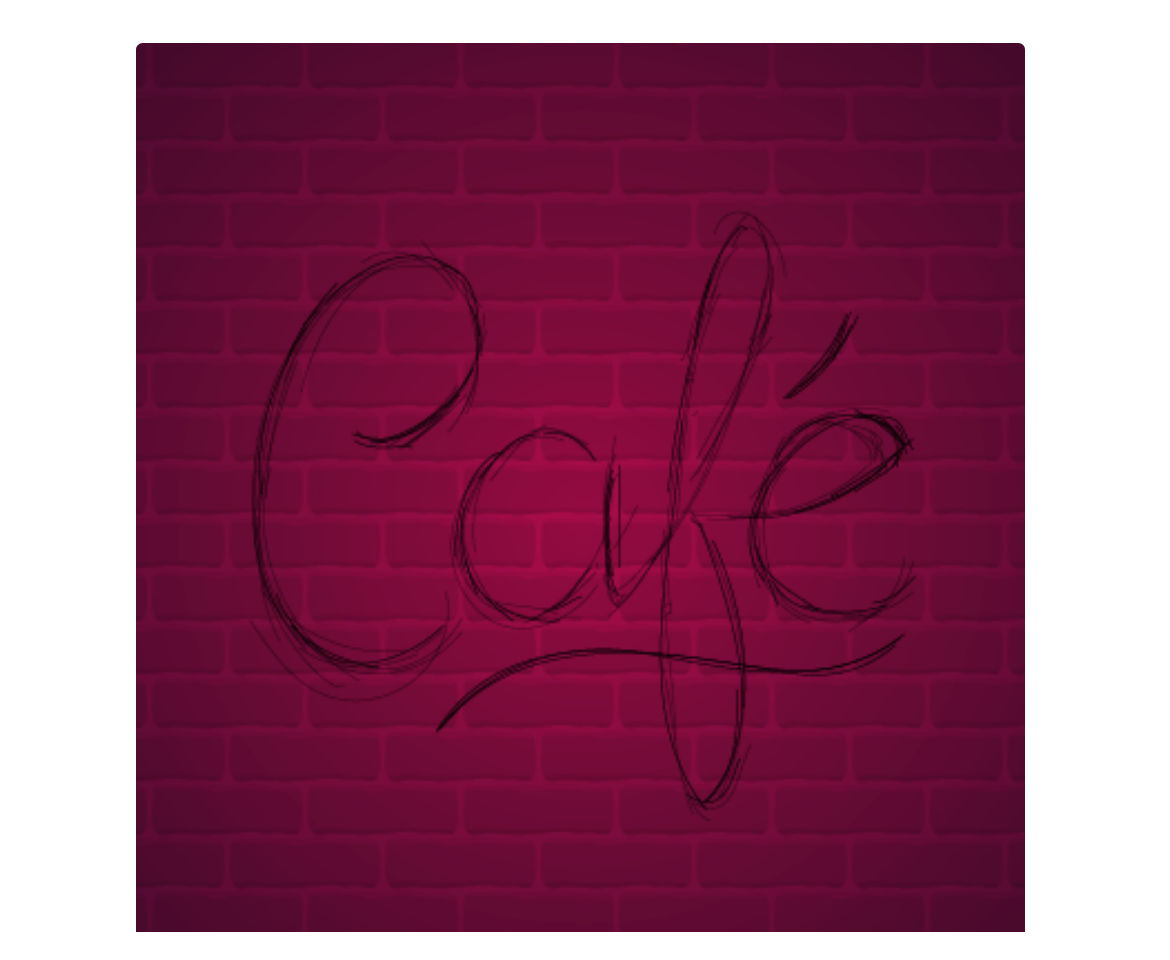
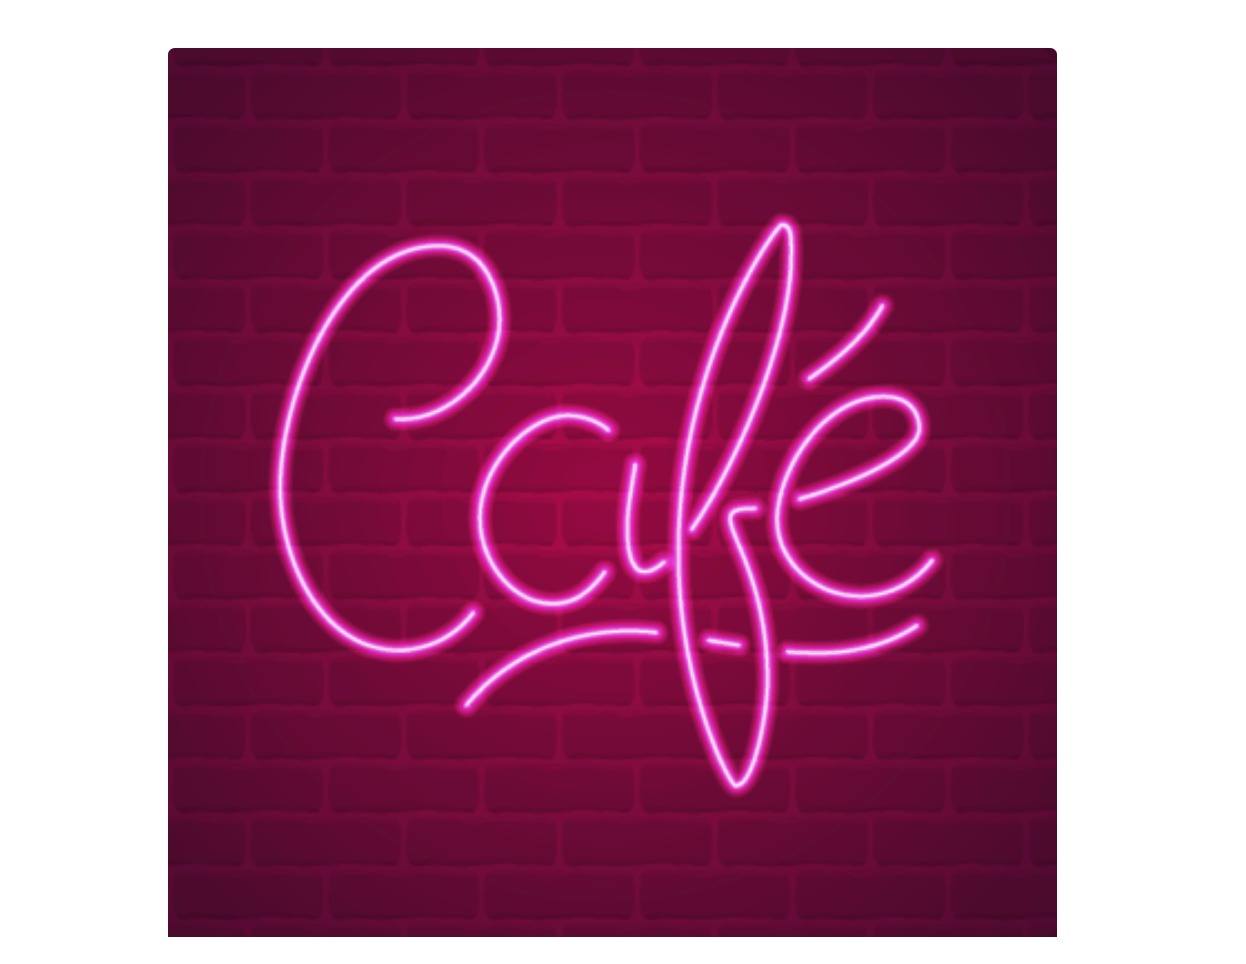
Select black color for stroke and set Stroke Weight = 0.5pt. Now draw a rough sketch of the Cafe inscription similar to the one shown in the picture below. Check your DynamicSketch preferences so that you can sketch properly. This is our suggestion.
Select and group up all the sketch paths, then turn off its visibility in the Layers panel as we will need it later.
Creating a background
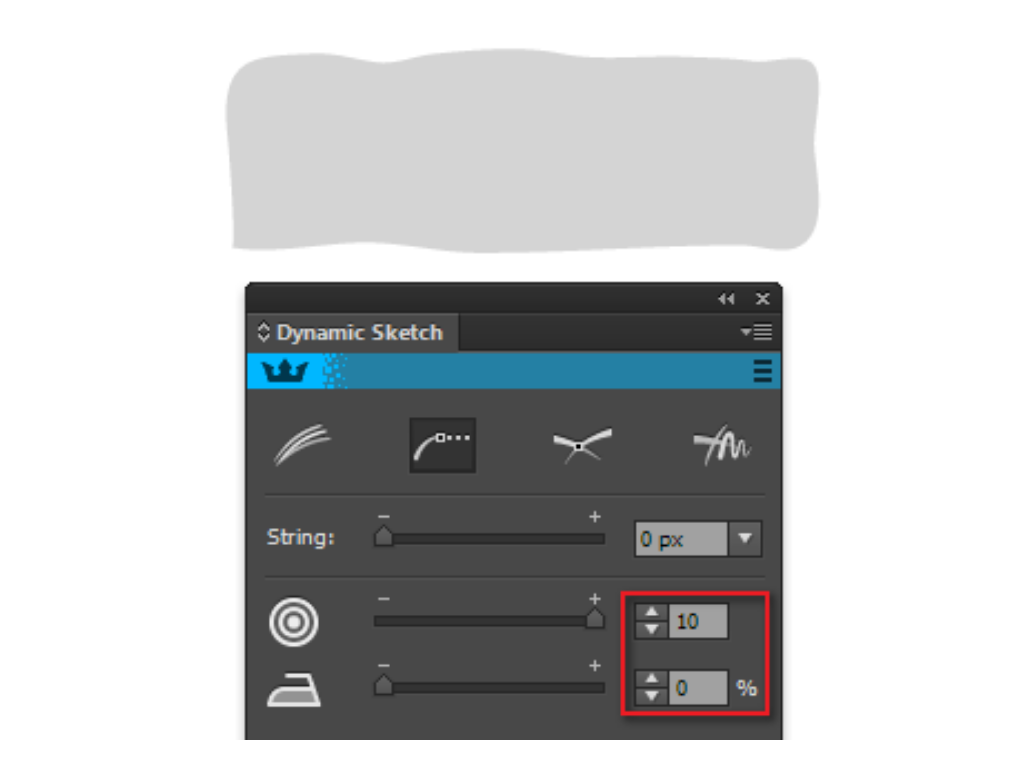
Set 10 for Accuracy Level and 0 for Smoothness Level in the DynamicSketch panel. Now draw a rectangular shaped brick with uneven edges with DynamicSketch. Select a gray color (K = 17) for the fill.
Now create a slightly lighter (K = 6) and slightly darker (K = 27) shape above and below the brick.
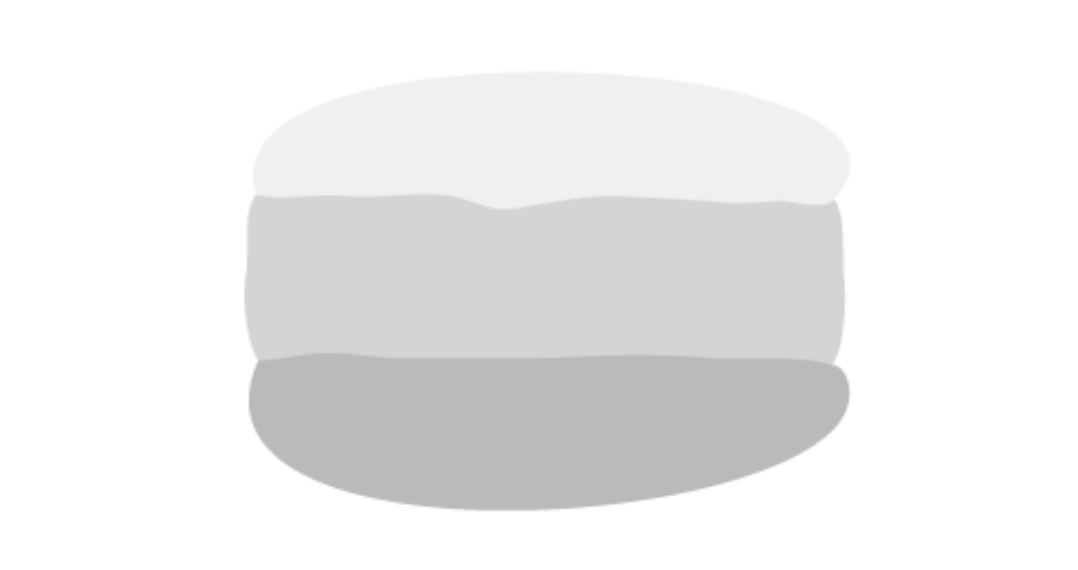
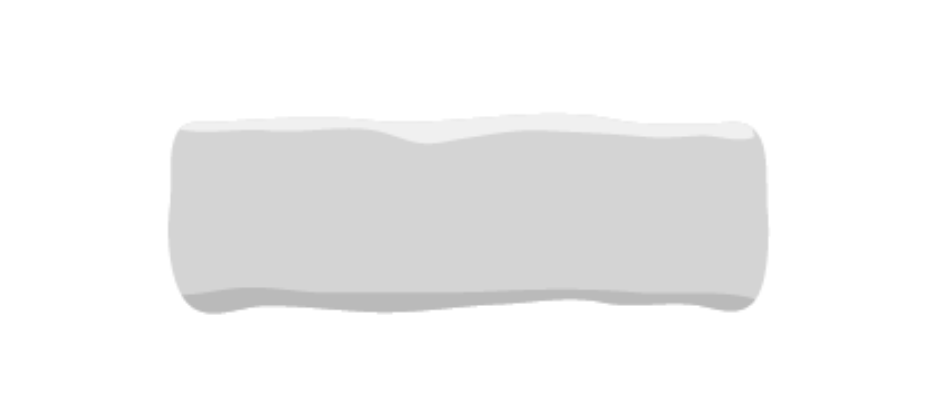
Select these three objects and remove the protruding parts of the bricks using the Shape Builder Tool, holding Opt / Alt.
Select all the elements of the brick, and go to Object > Pattern > Make. Then select the Brick by Row tile type and slightly increase the values for Width and Height in the Pattern Options panel to move the bricks.
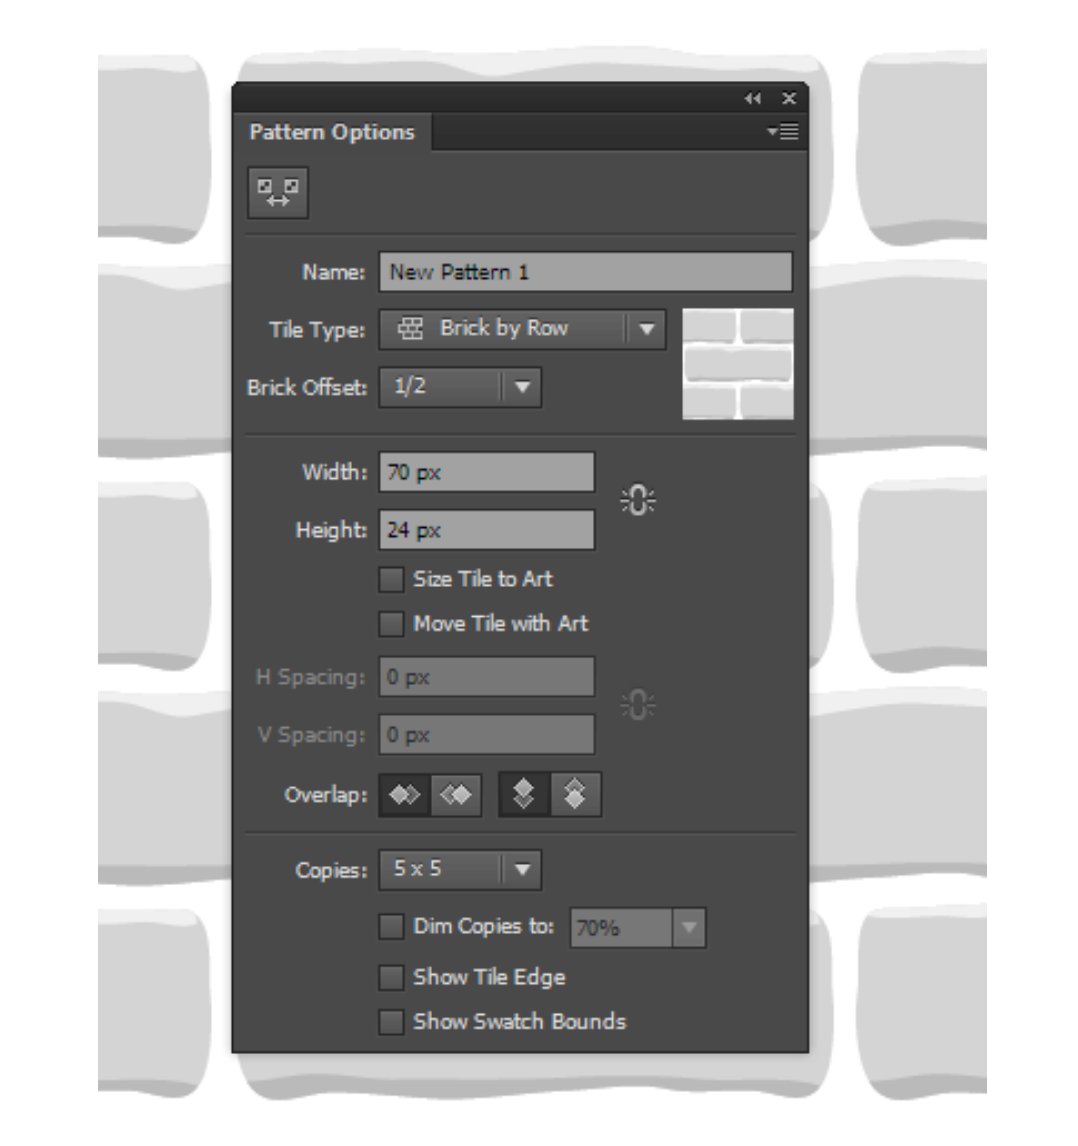
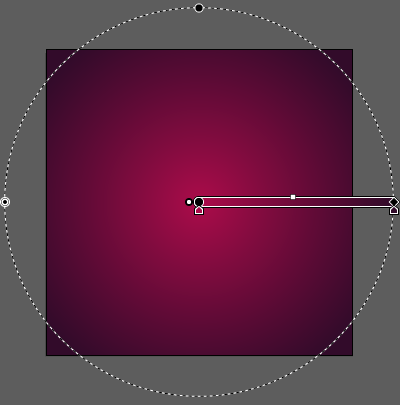
Save the seamless pattern by clicking on the word Done at the top of the workspace. Create a rectangle with a radial gradient fill from a burgundy color (R = 171, G = 12, B = 74) to a maroon color (R = 50, G = 11, B = 42).
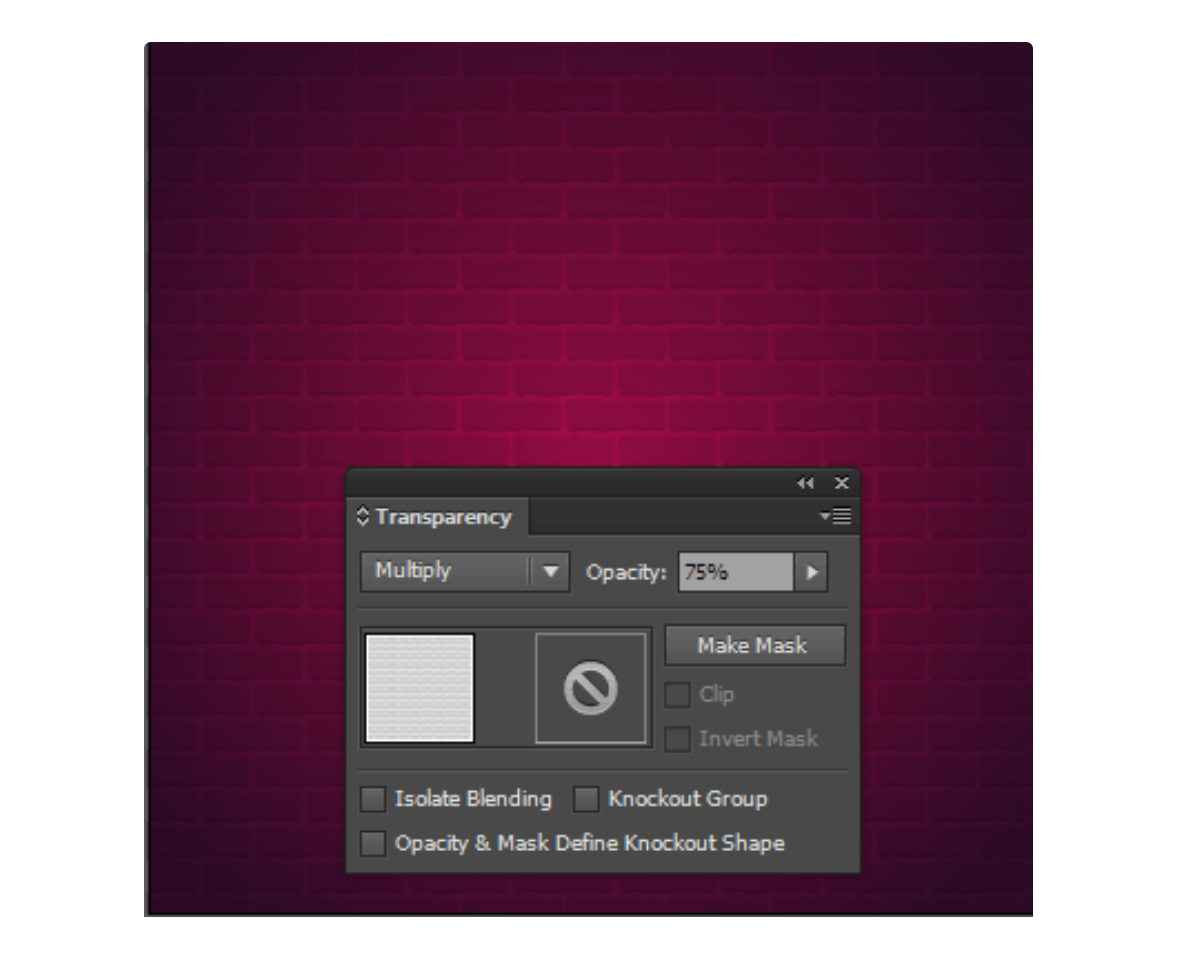
Duplicate this rectangle and apply the previously created pattern to the new object. Apply Multiply blending mode to it and set 75% for Opacity.
You can move these two objects to a new layer as a background.
Creating neon brushes
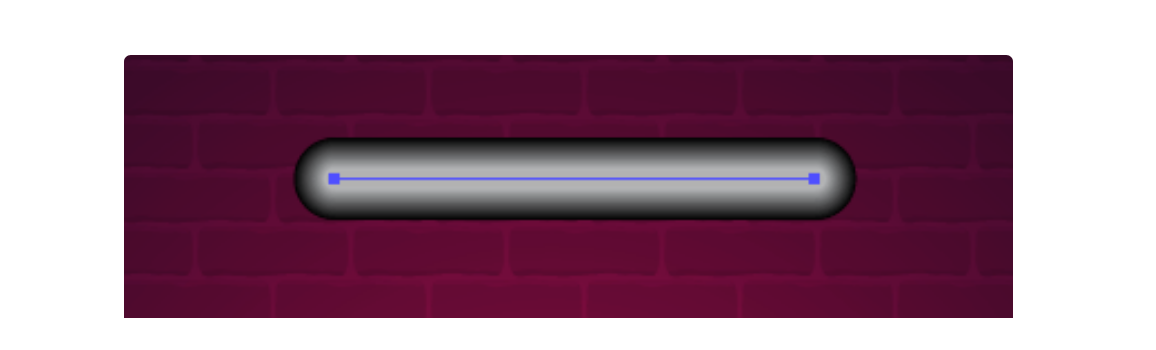
Create a straight-line segment of arbitrary length with a Stroke Weight = 37pt of black color (R = 0, G = 0, B = 0).
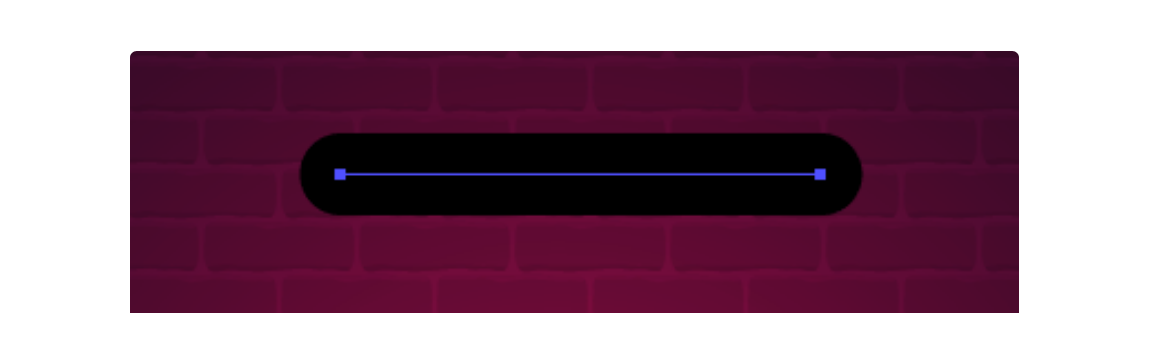
Duplicate this path, set Stroke Weight = 8pt and gray color for the new object (K = 30).
Select these paths and go to Object > Blend > Make.
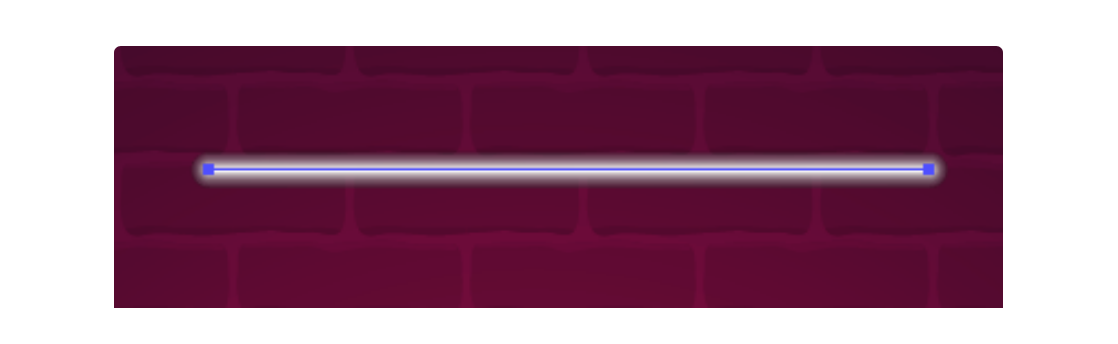
Duplicate the blend object and change the properties of the paths for the duplicate. The lower path of the blend: Stroke Weight = 11pt, Color K = 87, Opacity = 30%. The upper path of the blend: Stroke Weight = 1pt, Color K = 0, Opacity = 100%. In the picture below, visibility of the bottom blend object is disabled for clarity purposes. Use the layers panel to make it easier to select the individual paths in the blend object.

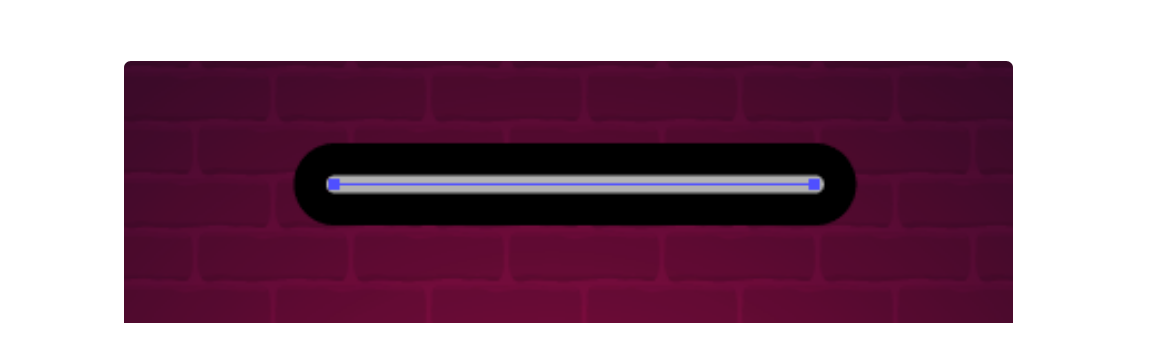
Both blend objects together look like this:
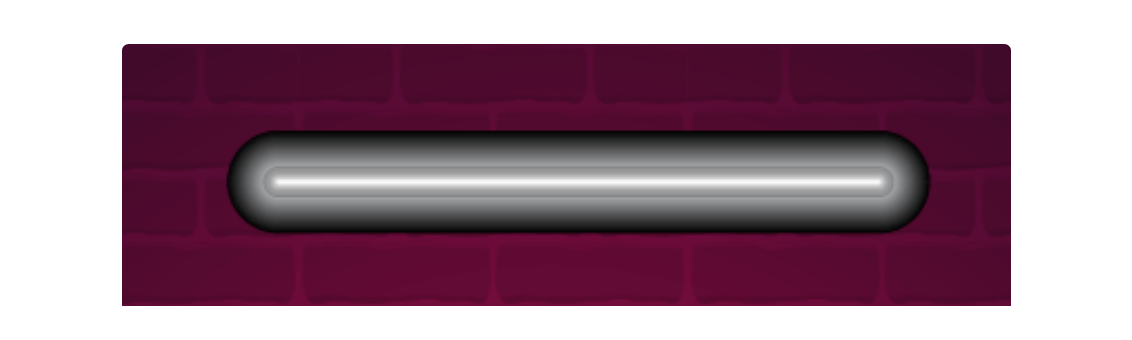
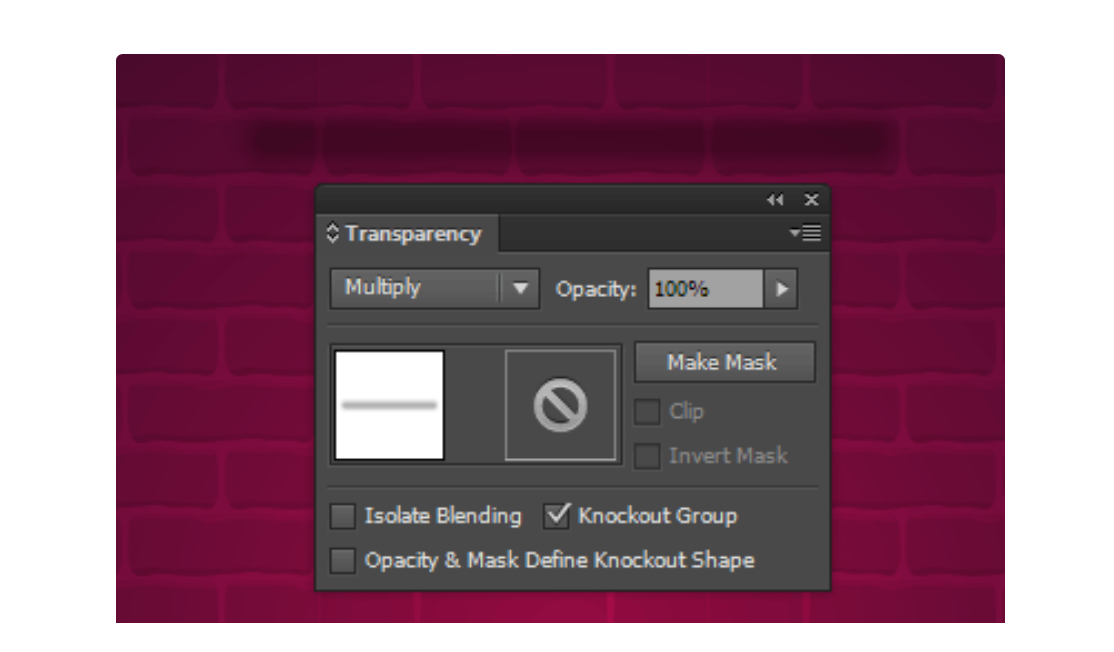
Apply the Color Dodge blending mode to them.
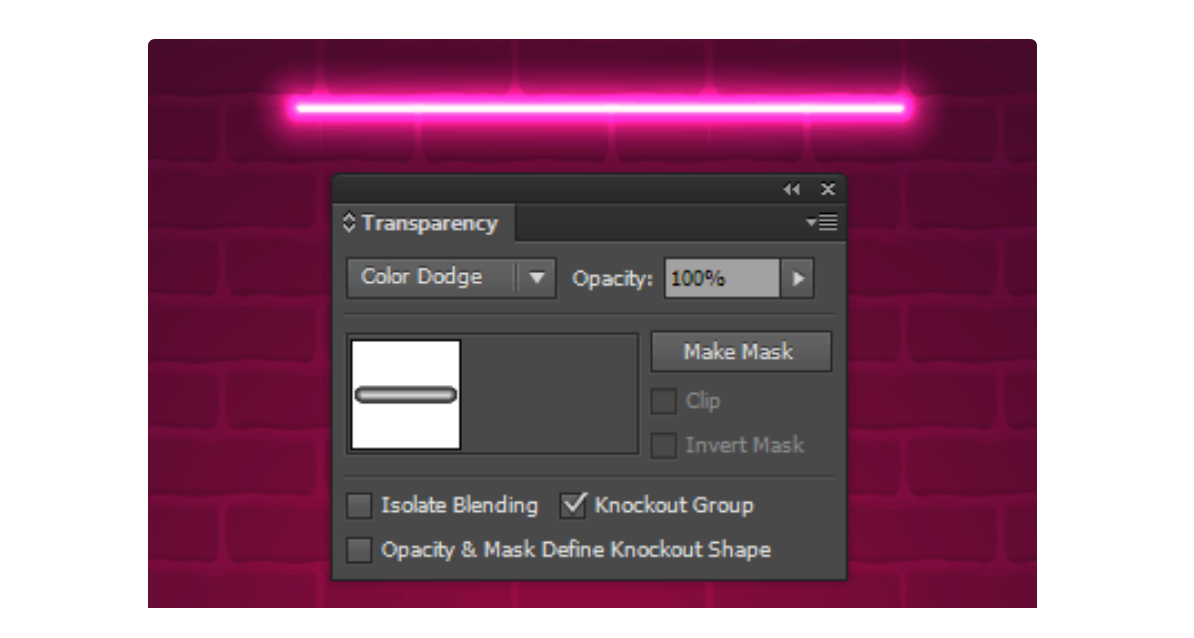
Now create another copy of the blend object that will be a shadow in the future. It will also consist of two straight-line segments of the same length. The lower path of the blend: Stroke Weight = 37pt, Color K = 0, Opacity = 0%. The upper path of the blend is Stroke Weight = 7pt, Color K = 30, Opacity = 100%. Apply the Multiply blending mode to this blend object.
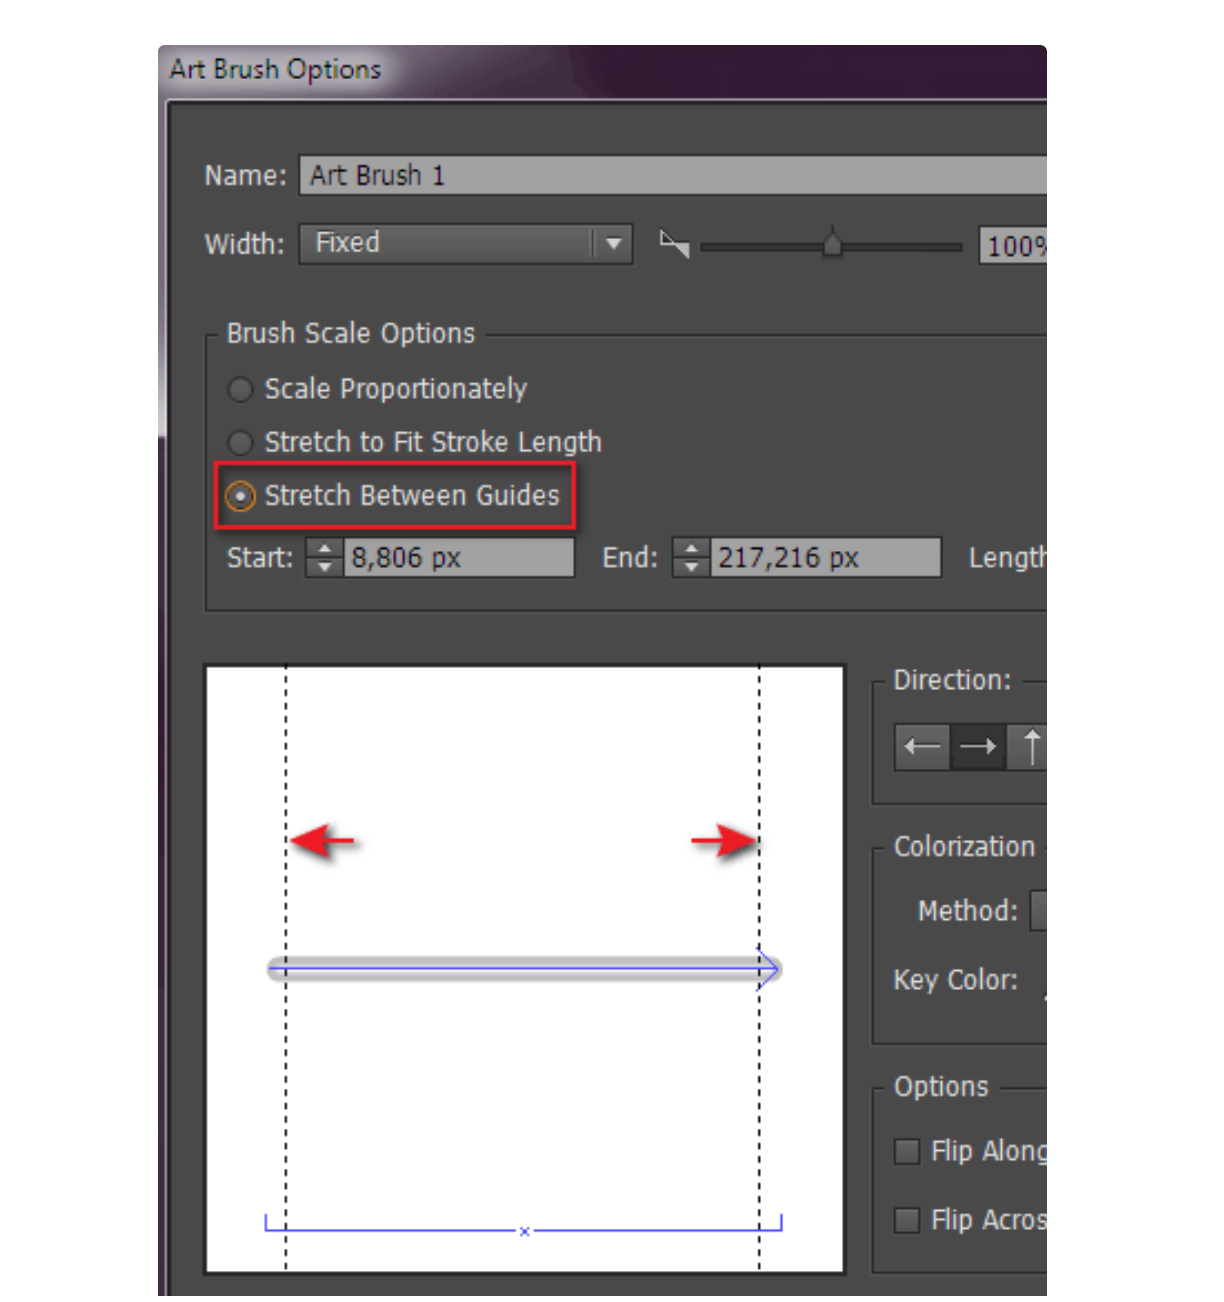
So, we have created three blend objects: two for the neon glow and one for the shadow. Save each one of them as an art brush in the brushes panel. For all the brushes, select the Stretch Between Guidesoption in the dialog box and position the guides as shown in the picture below so that the round ends of the brushes do not deform.
You can hide the base blends to continue.
Creating a neon text effect
Place the sketch above the background, turn on its visibility and lock it in the Layers panel.
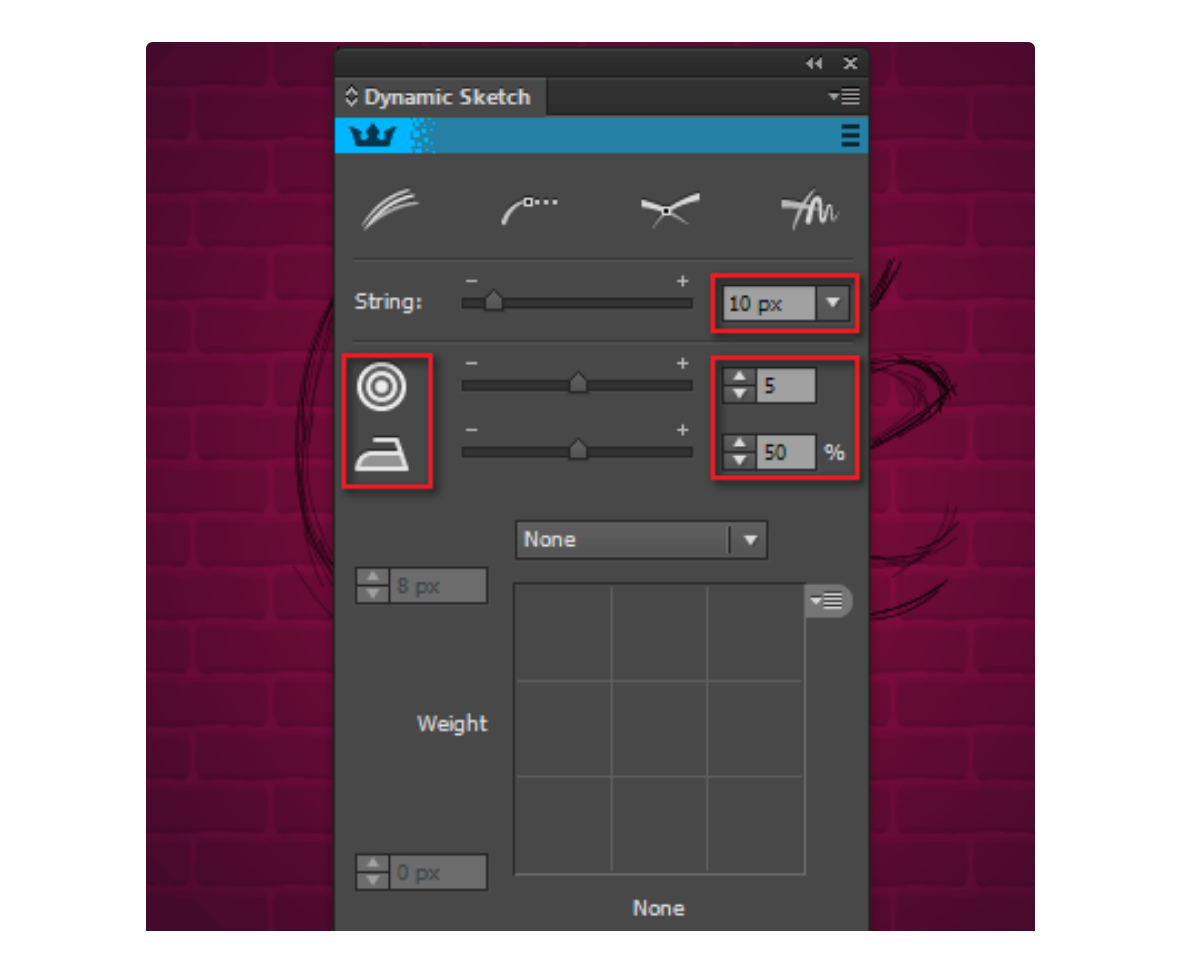
I'll be using DynamicSketch to draw with the neon brush. Therefore, we will first need to slightly change the settings of the tool and restore the default settings for Accuracy and Smoothness levels in the DynamicSketch panel. To do this, simply click on the icons to the left of the sliders. Set 10px for the String option, then disable the Edit and Continue path button.
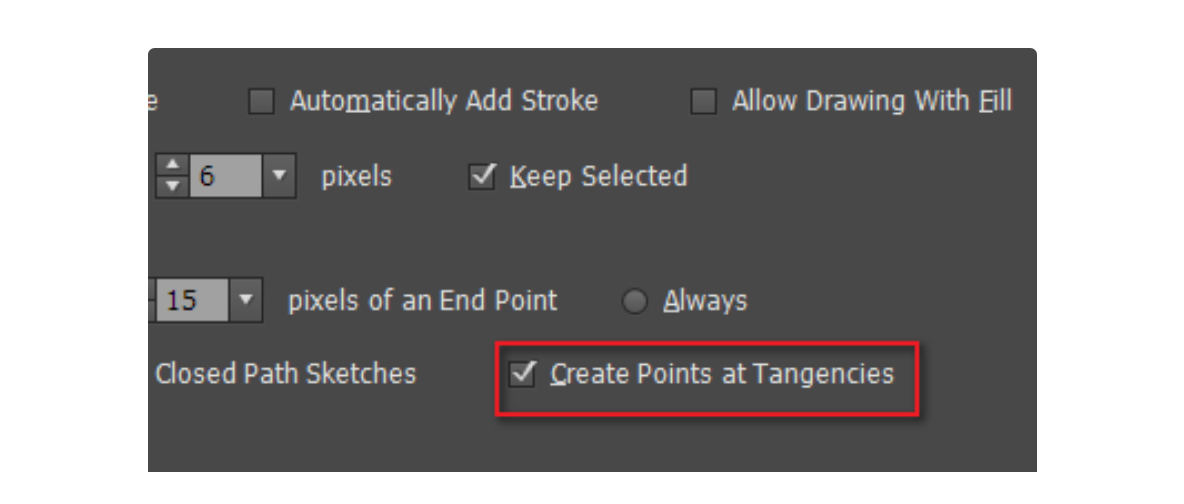
Press Enter, then in the opened dialog window, select Create Points at Tangencies.
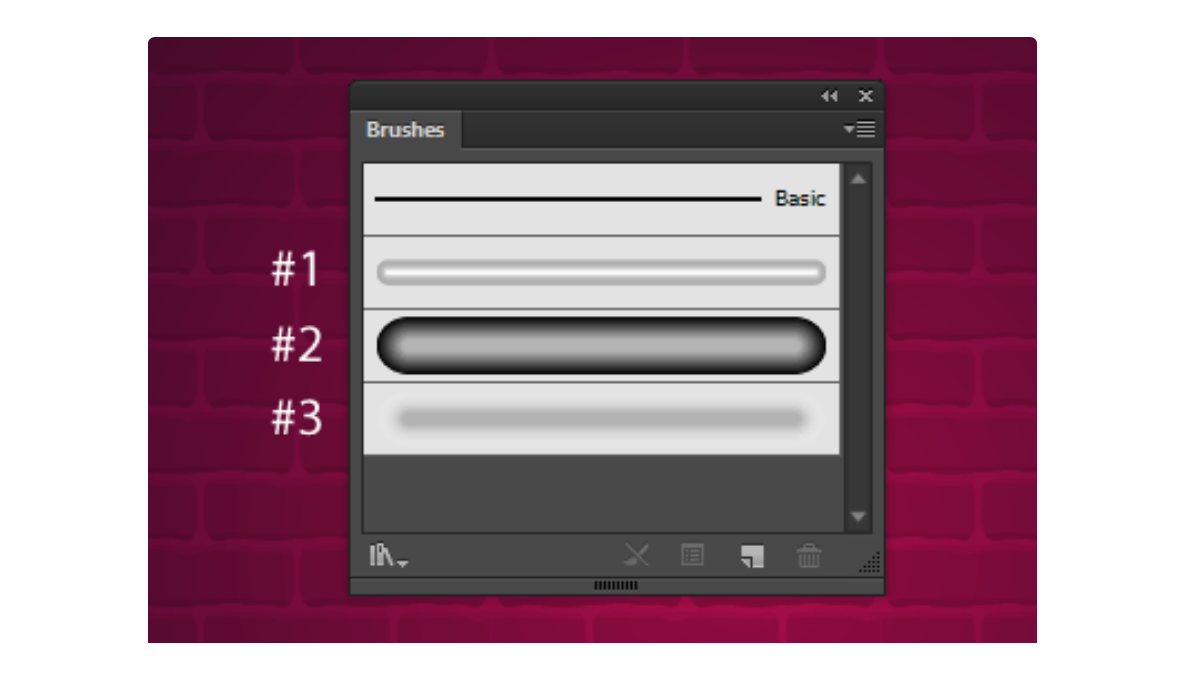
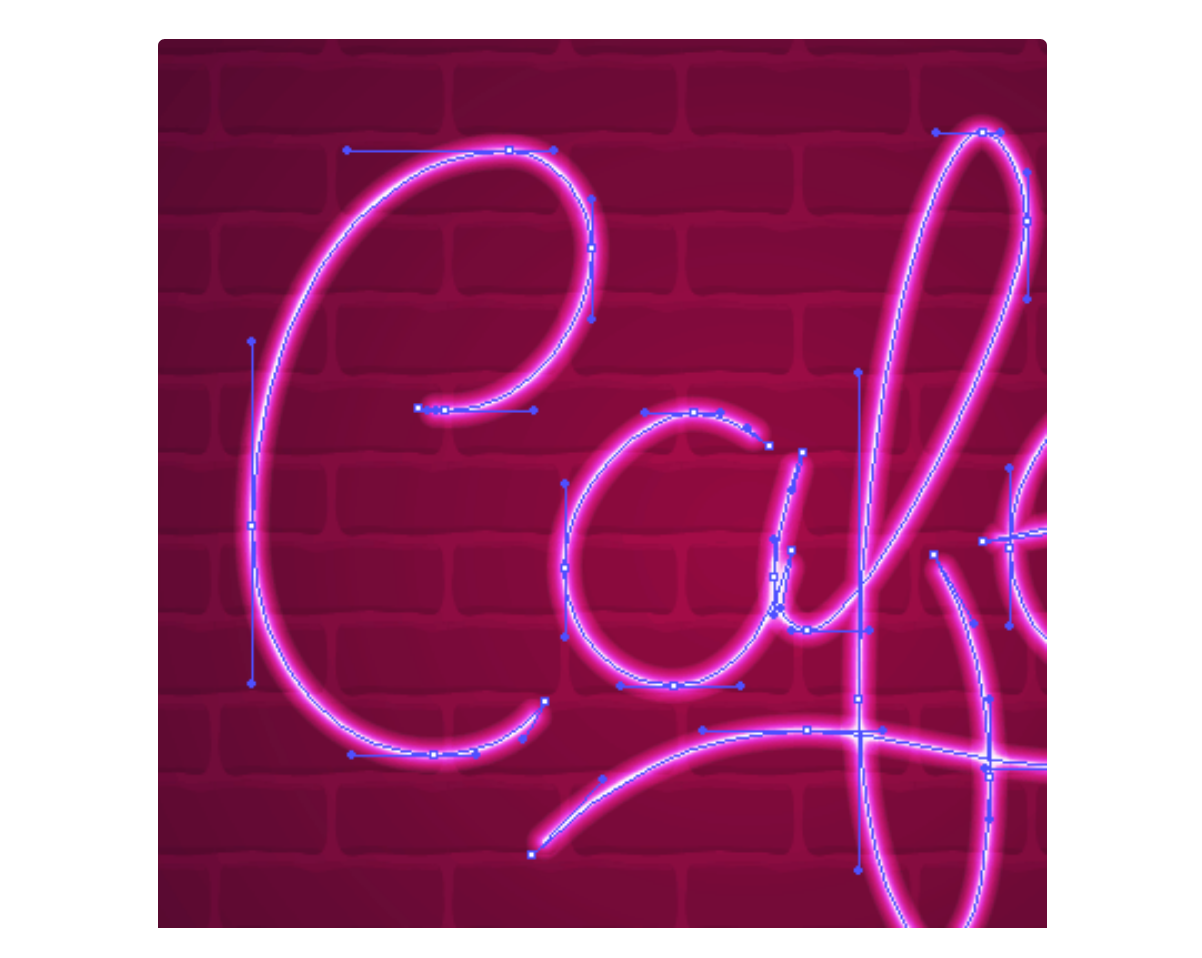
Select brush # 1 and start drawing with DynamicSketch, based on the sketch.
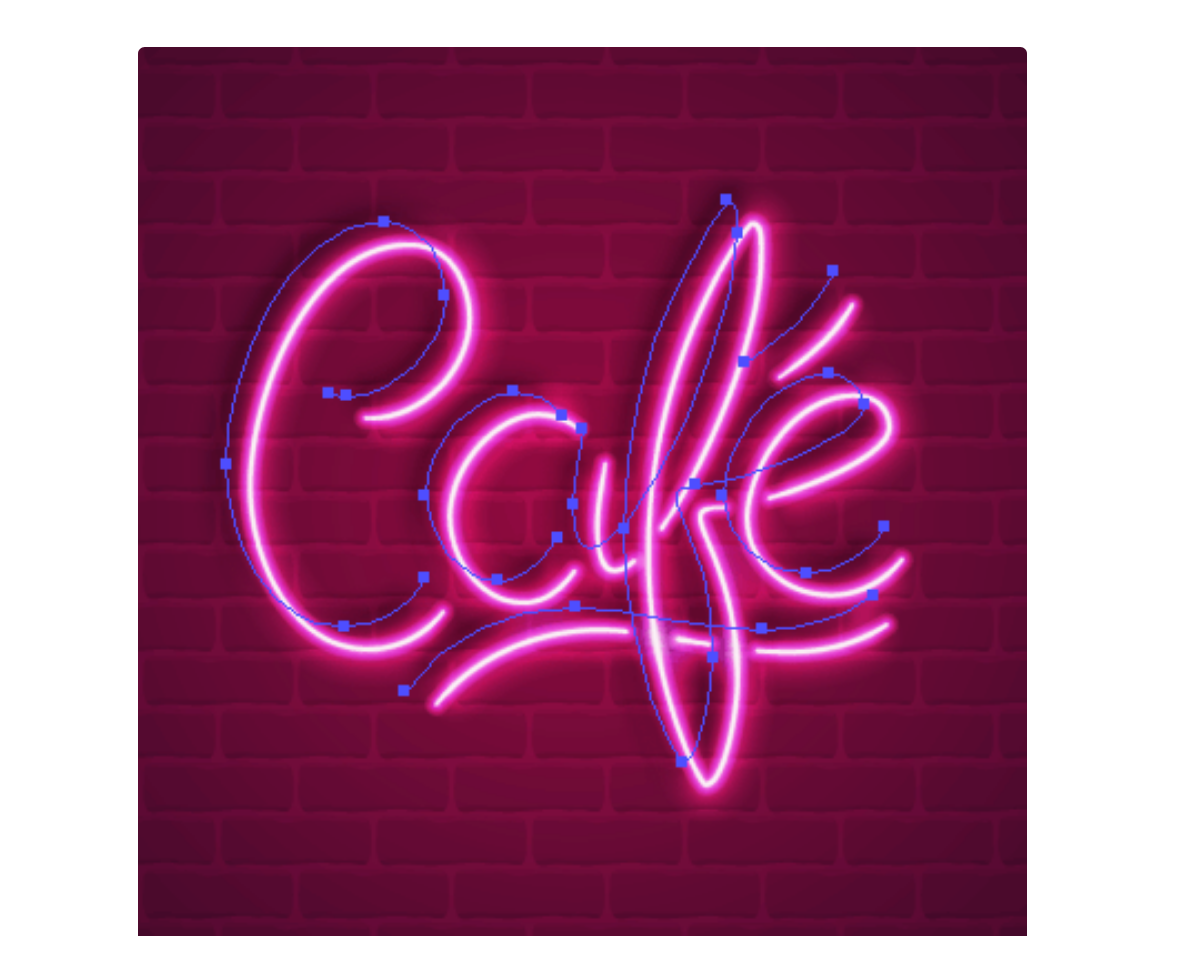
Indeed, the anchor points are located only in tangents, which means that we can easily edit the shape of the paths. This is far from perfection, but if we use native Pencil or Brush tools, we will get a bigger number of chaotically located points and editing the path will be much more complicated.
Cut the paths at the intersections using the Scissors Tool. Trimming or extending the paths at the locations of the cuts can be done with the help of the Extend Path Tool of the VectorScribe plug-in.
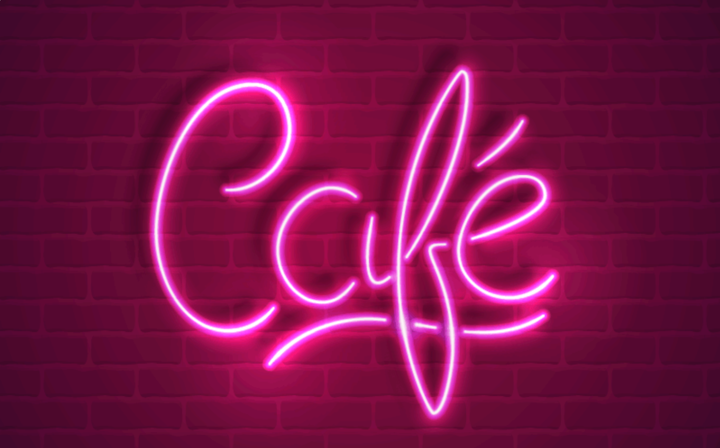
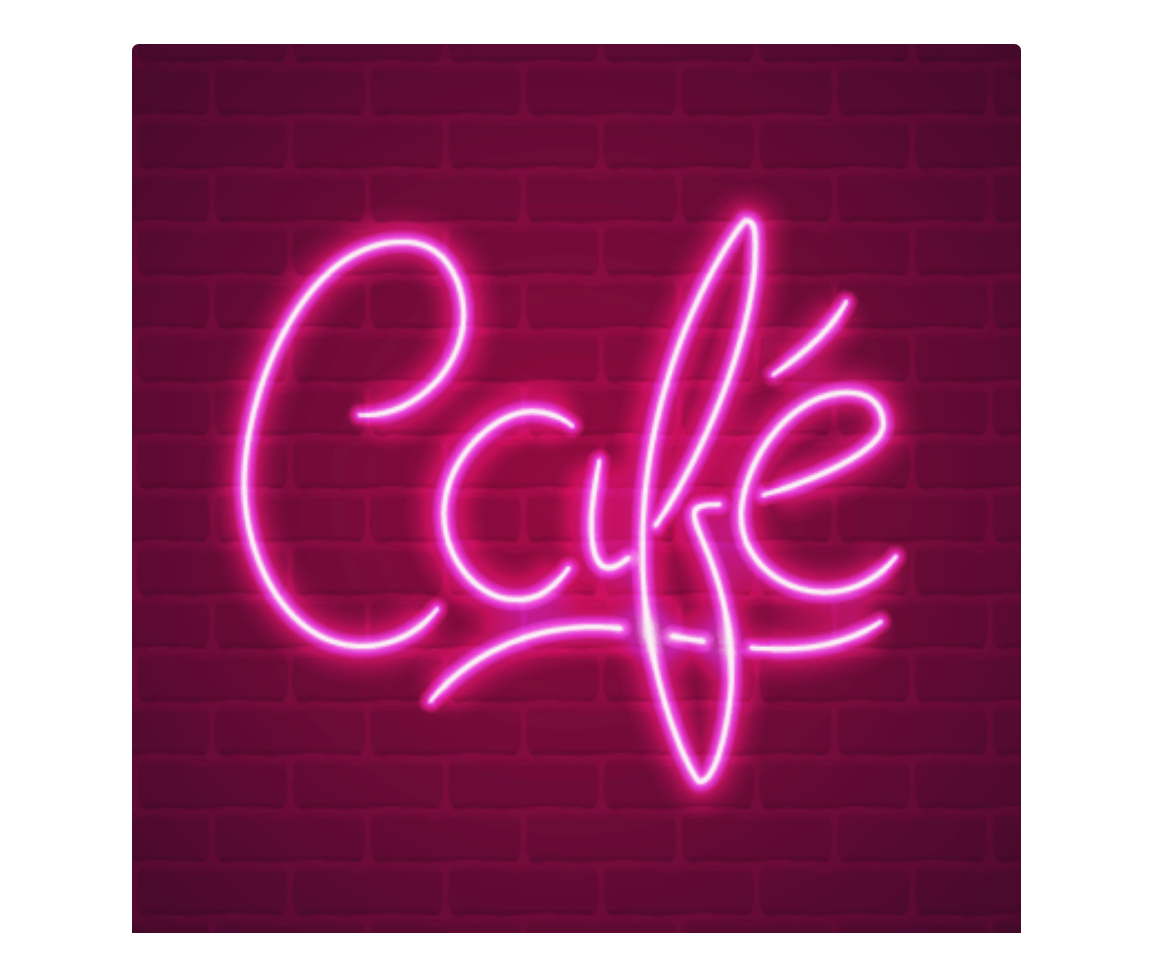
After editing, the inscription looks like this:
Group up all the neon paths, copy the group and paste it back. Now apply the neon brush # 2 to the bottom group. This will create a glow around the neon tubes.
Now duplicate the inscription again. Move the lower group aside and apply brush #3. We get a shadow on the wall.
Finally, create light accents. Draw three circles with a radial gradient fill from a dark gray color (K = 76) to a black (R = 0, G = 0, B = 0).
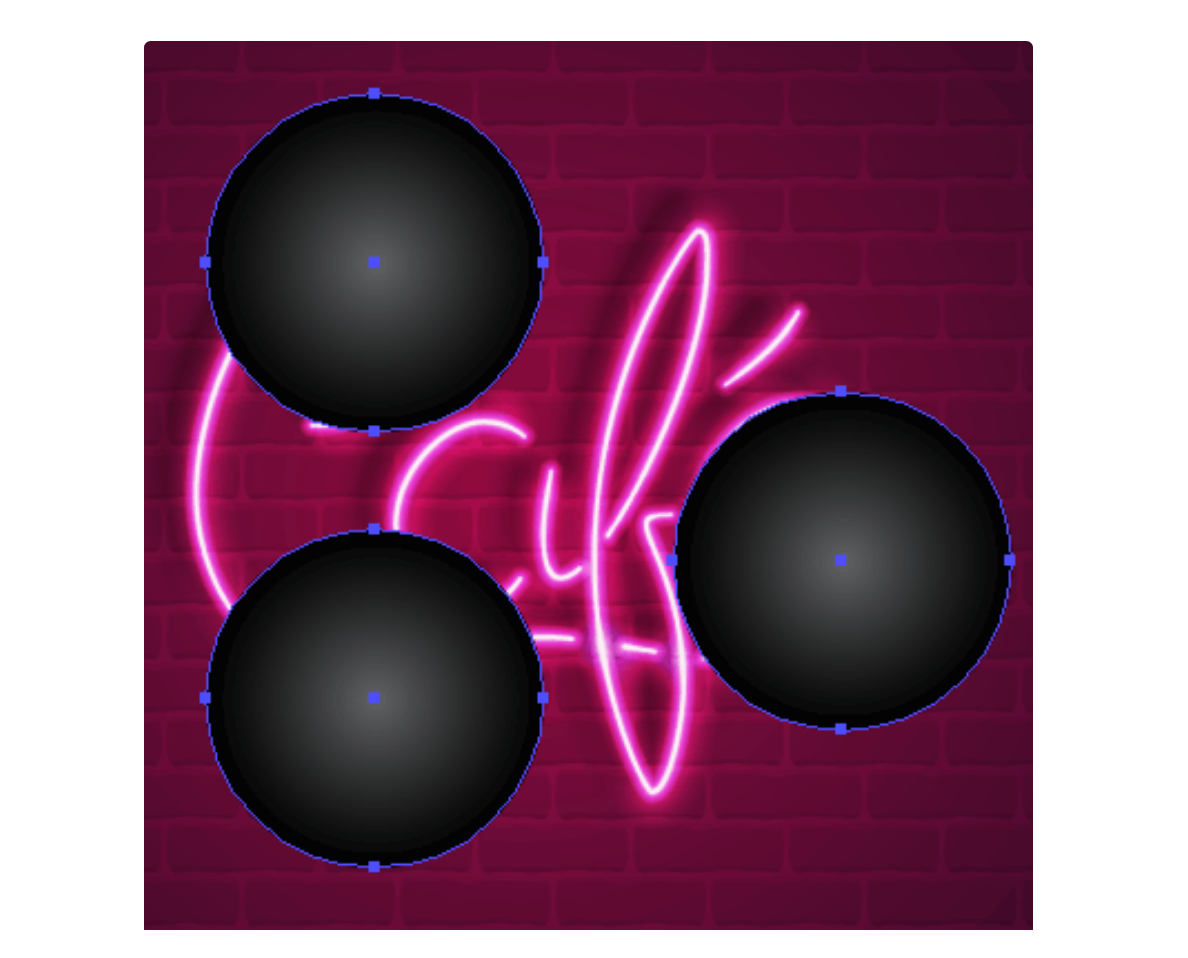
Apply the Color Dodge blending mode to the circles. Now the neon inscription is ready.