How to create Spirograph-style vector art with Roulette
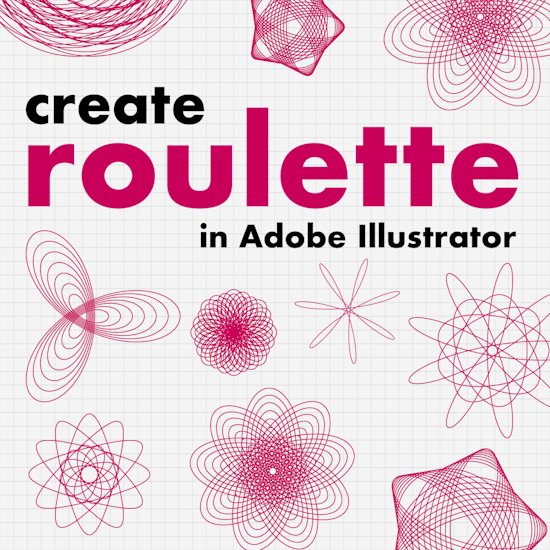
4 minute readRoulette is a feature inside the VectorScribe plugin for Adobe Illustrator that creates mathematical curves similar to the designs made with a Spirograph toy. These curves are called roulettes, and they can be simple or highly complex depending on the settings you choose. With Roulette, you can quickly build single curves or full series of colorful geometric designs without manually drawing them with the Pen tool.
This tutorial will show you how to get started, how to use the main controls, and how to create both single and series based roulettes.
Try it for free for 7 days
Roulette is part of the VectorScribe plugin and is one of the hundreds of features you can try free for 7 days with just your email address. Find out more here…
Already a subscriber?
Ensure you have the VectorScribe plugin installed through your Astute Manager. Create Roulette... appears under the Object menu. Need more help on this? Here's the full documentation…
How to use Roulette in Adobe Illustrator
How to find Roulette:
In Illustrator, open the Object menu and select Create Roulette...
Choose the curve type:
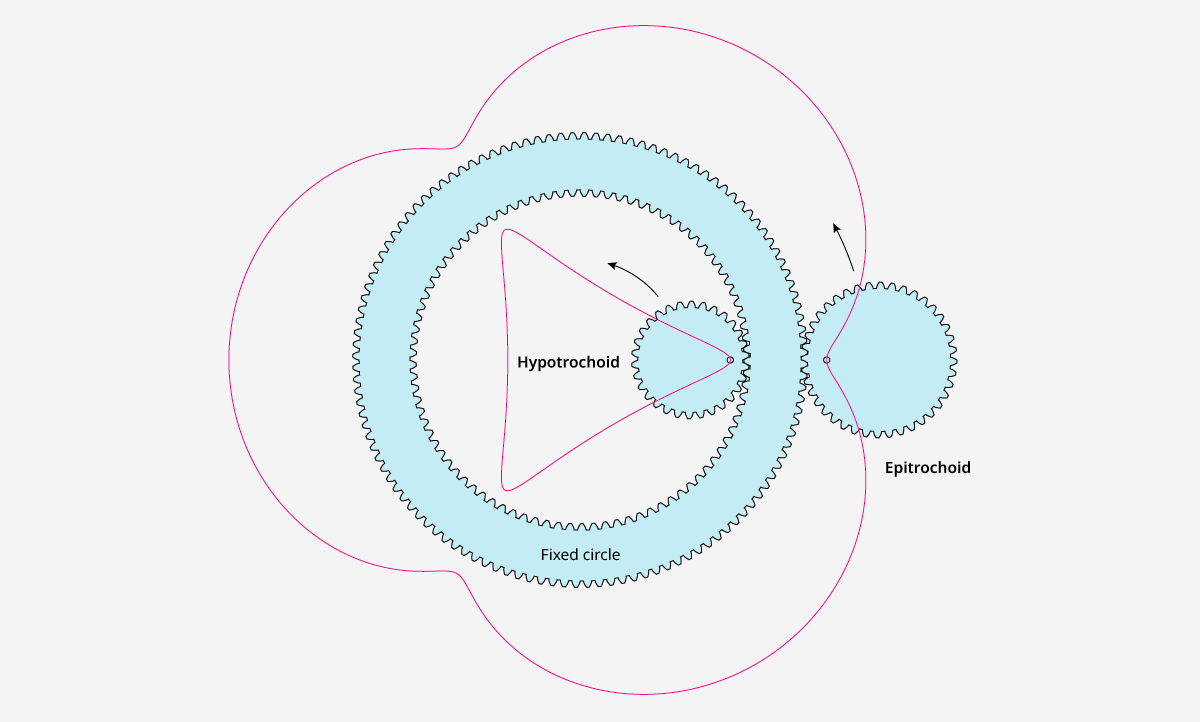
In the dialog, choose either Epitrochoid or Hypotrochoid:
Epitrochoid curves come from rolling the wheel outside the fixed circle.
Hypotrochoid curves come from rolling the wheel inside the fixed circle.
The Wikipedia articles on epitrochoids and hypotrochoids provide more information and include animations that help in visualizing the curve construction process.
Get started with a single Roulette:
Set the Roulette Type to Single.
Adjust the R:S Ratio, which controls the size relationship between the fixed circle and the moving circle.
Experiment with the values to see different styles of bends and loops.
Set the Radius value to control the overall size.
Adjust the Distance percentage to control how far the drawing point sits from the center of the moving circle. Higher values create more dramatic loops.
Create a series of Roulettes:
Change the Roulette Type to Series.
Set the Count to choose how many curves you want in the series.
Select the number of Colors, from one to five, to create gradients between the first and last curve.
Set the Radius Range to define the size of the first and last curves.
Set the Distance Range to create gradual changes from shallow bends to long sweeping loops.
Adjust the Angle Rotation to rotate each successive roulette and produce spiral style arrangements.
Use the Stroke Weight field for fine control of the line thickness.
Position and precision settings:
Choose whether the roulette is placed at the center of the artboard or at the zero zero coordinates.
Set Accuracy to Low, Medium, or High depending on how many anchor points you want.
To complete the Roulette:
Click OK to create your design on the artboard.
How to retrieve or save settings:
To view the settings used for any roulette, open the Window menu and choose Attributes.
Look in the Notes field to see the parameters used.
To save your favorite configuration, create a new Roulette (Object > Create Roulette...) and choose Save Settings, and give the preset a name.
