How to create vector smoke using WidthScribe in Adobe Illustrator
4 minute readIn this tutorial you will learn how to create a translucent vector smoke, combining WidthScribe tools with native Illustrator's features. WidthScribe successfully works with any vector matter, even with such light and ghostly one as a smoke…
Step 1
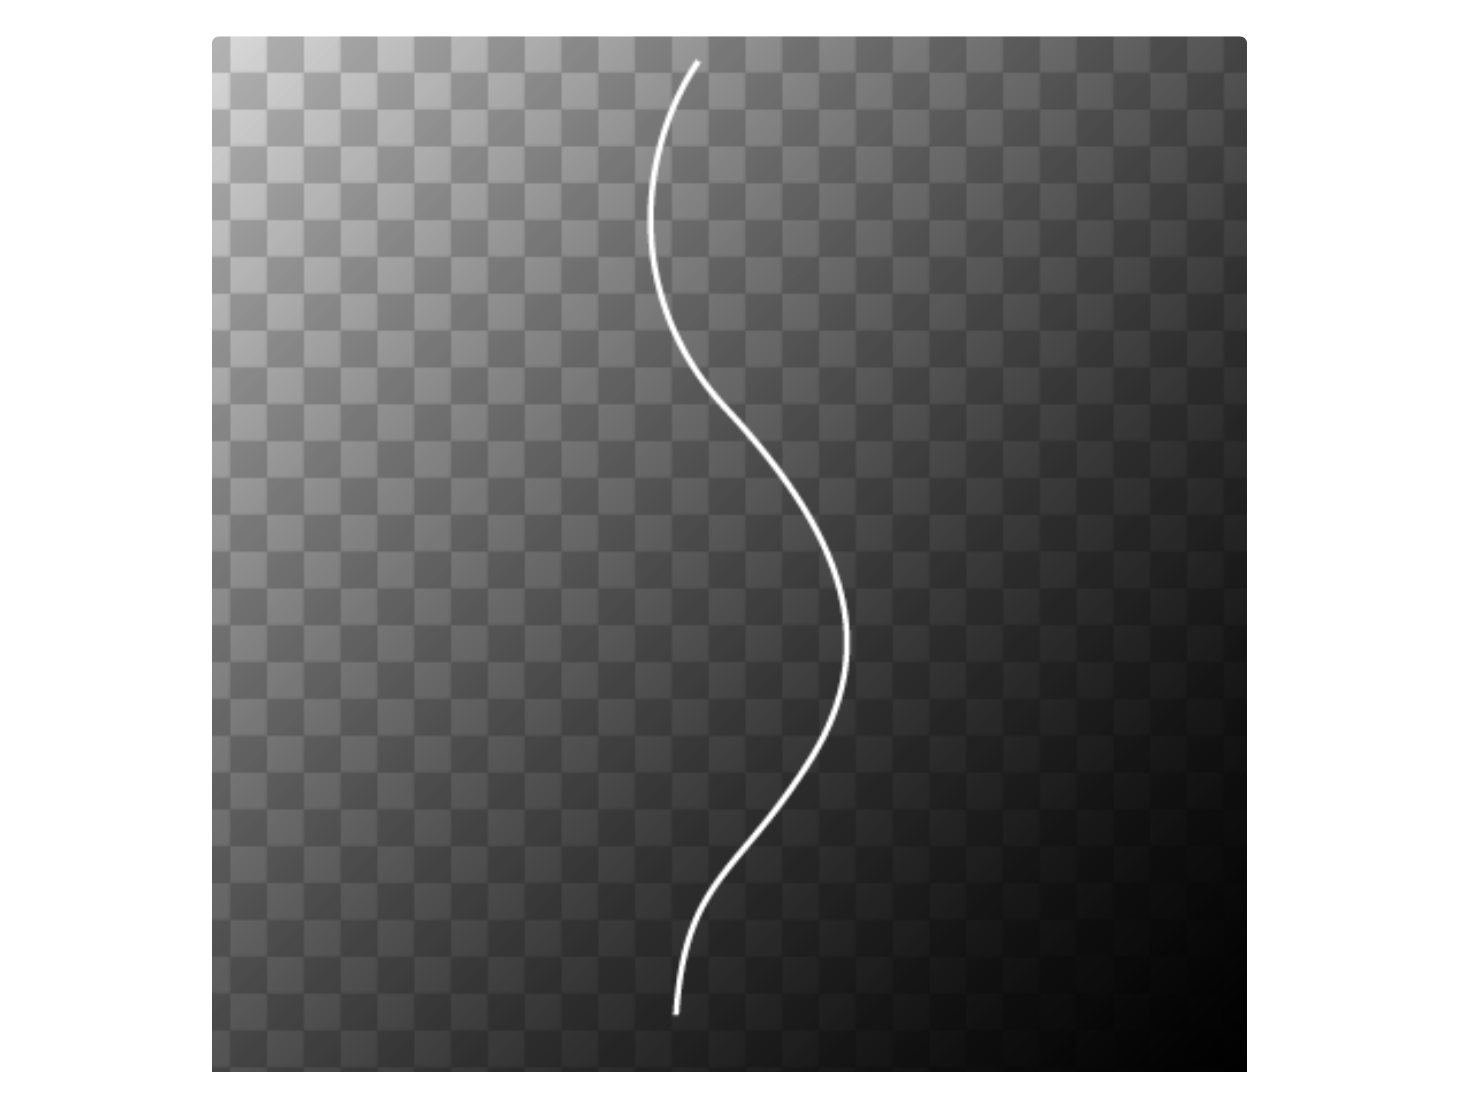
Create a semi-transparent background consisting of gray squares that are arranged in a checkerboard pattern. On top of the checkered background place a square with a black and white gradient fill and apply the Multiply blending mode to the object.

Now we can start creating a vector smoke.
Step 2
With the help of the Pen Tool or InkScribe Tool draw a wavy line, which will match the direction of the smoke wisp.
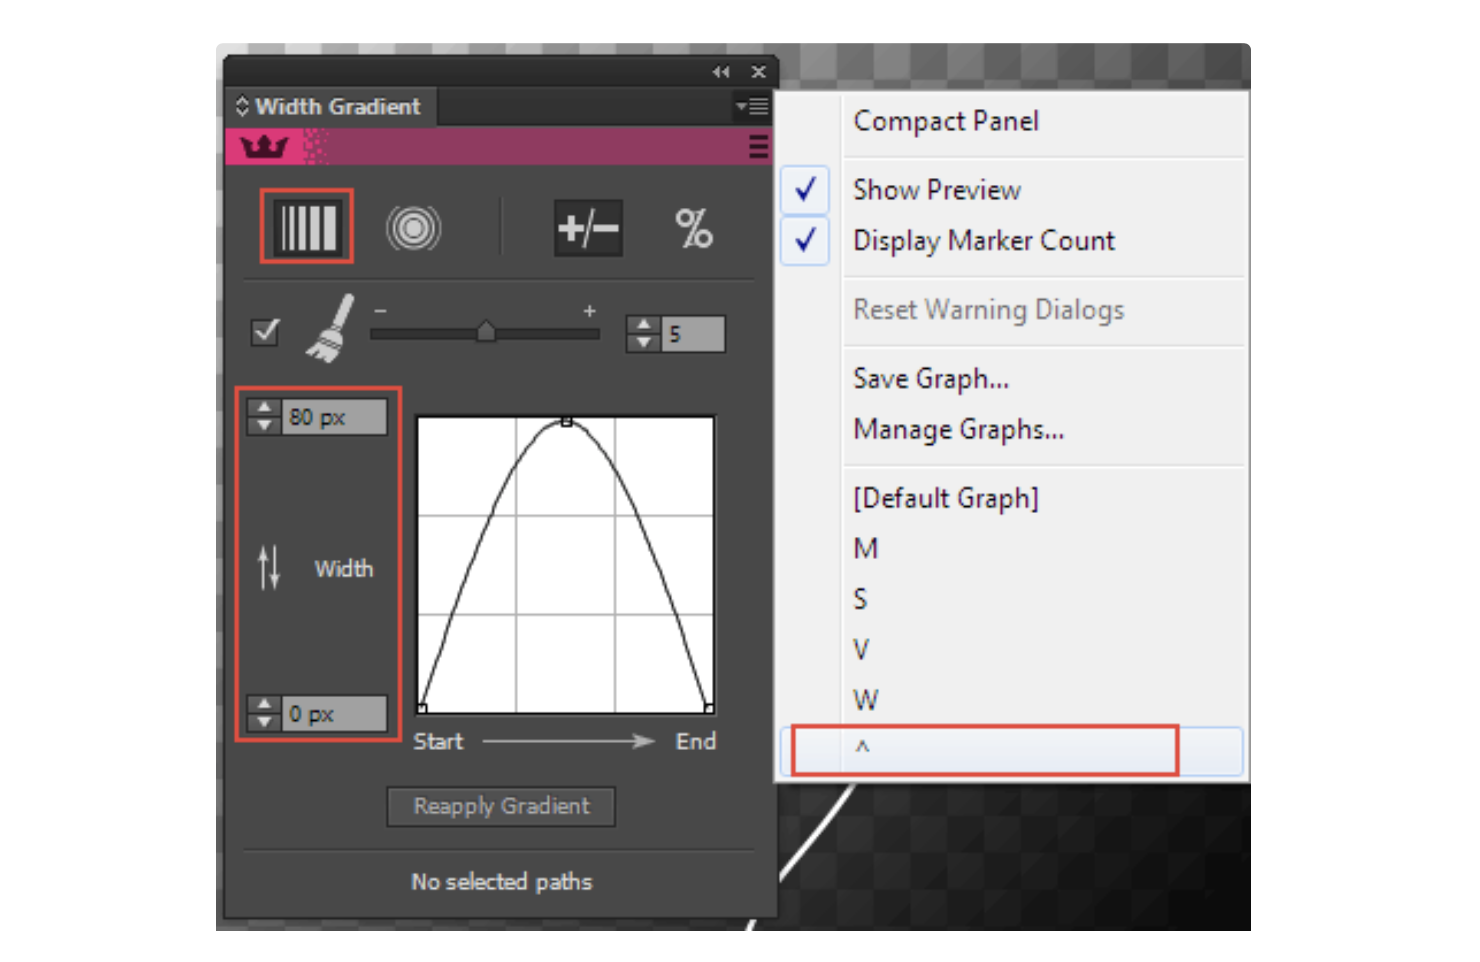
Now create the shape of the smoke using the WidthScribe plug-in. Open the Width Gradient panel (Window > WidthScribe > Width Gradient Panel), and then select A-line Graph preset menu panel, enable Linear mode and set the minimum and maximum width.
Take Width Gradient Tool and draw the pointer tool from the start to the end point of the selected path, holding the mouse button.
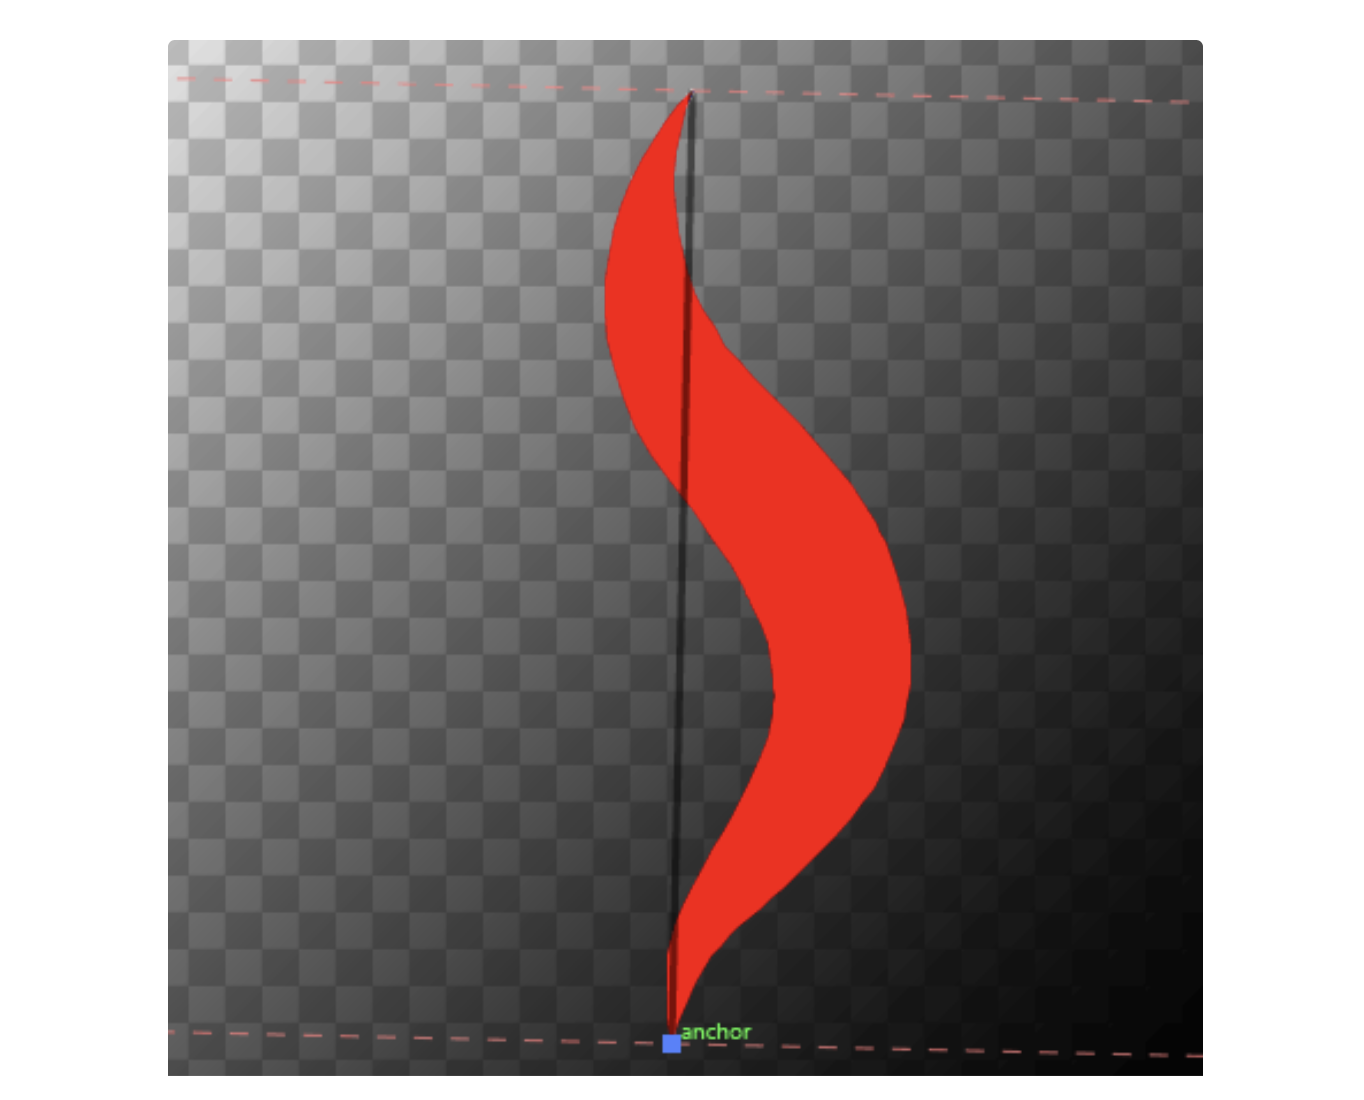
With this action we have quickly transformed a uniform path into variable width path of the shape that we need.
Step 3
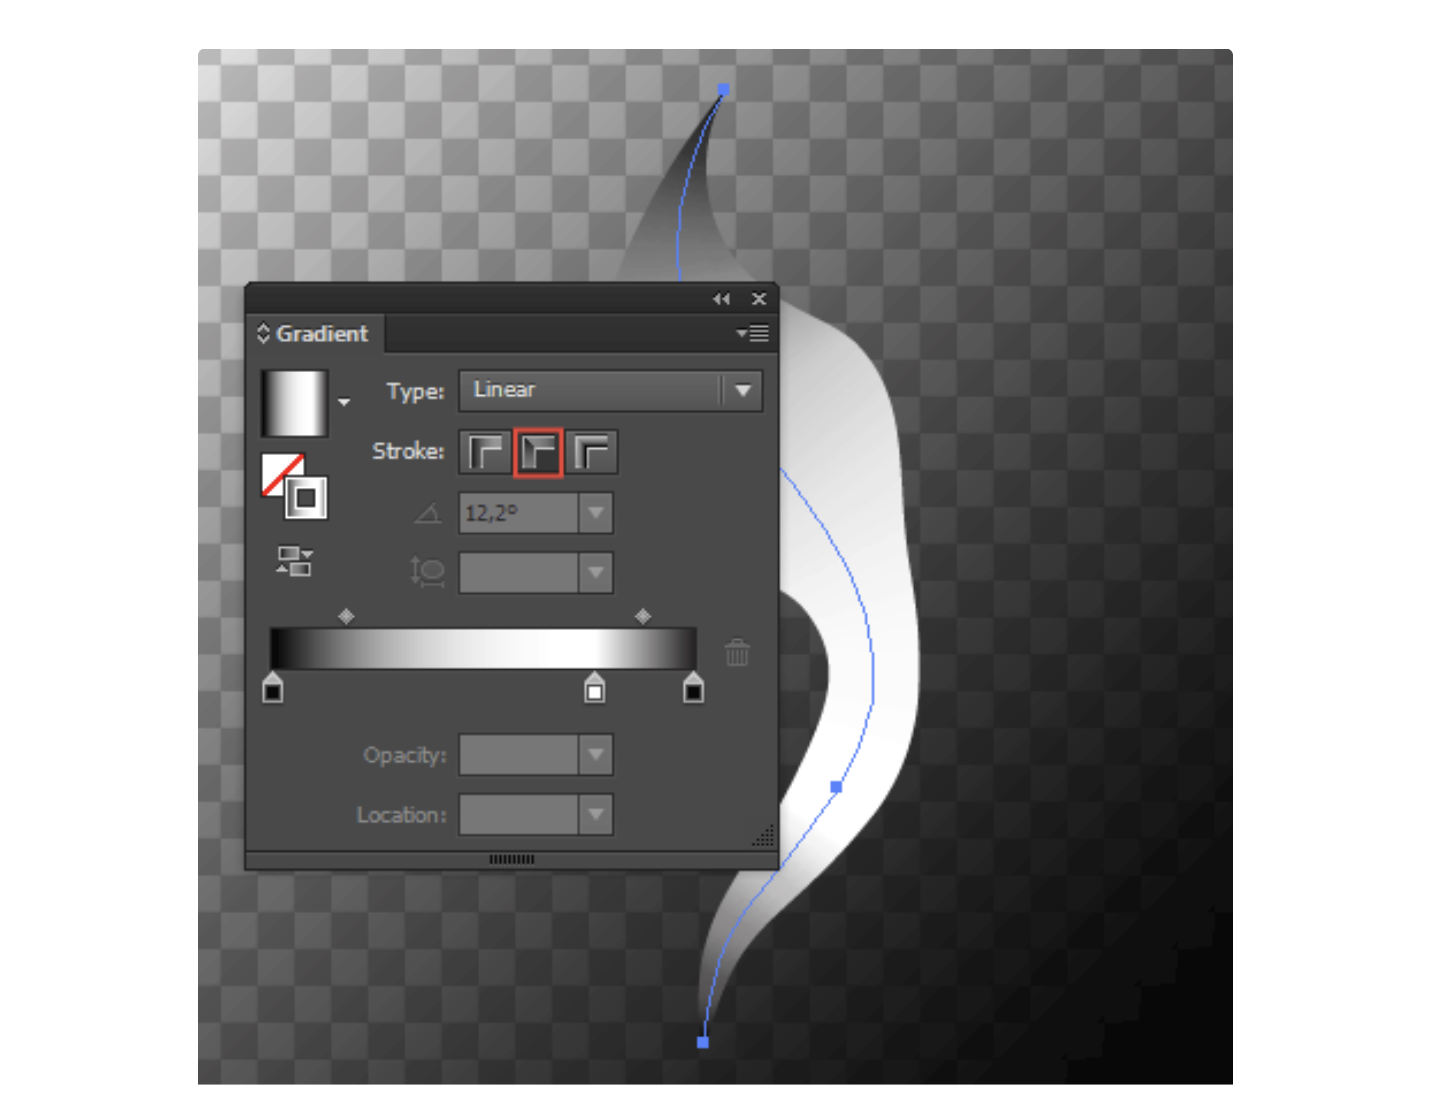
Apply the Gradient Across Stroke to the path, which consists of two black and one dark gray slider.
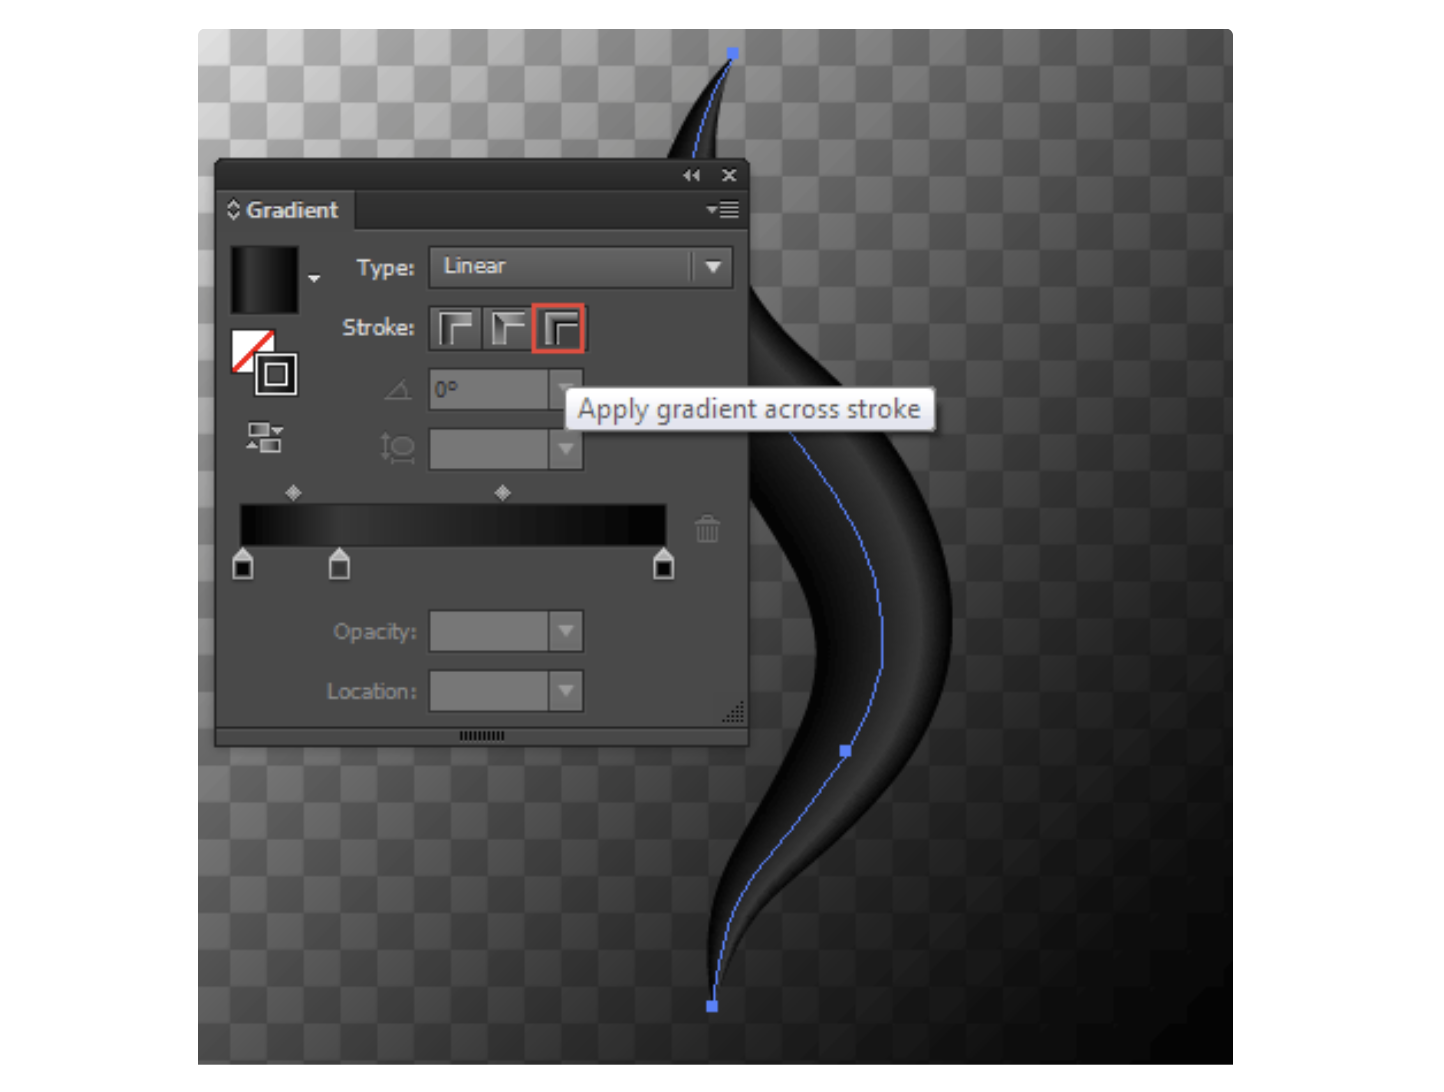
Now apply the Screen blending mode. The object has become semi-transparent.
Step 4
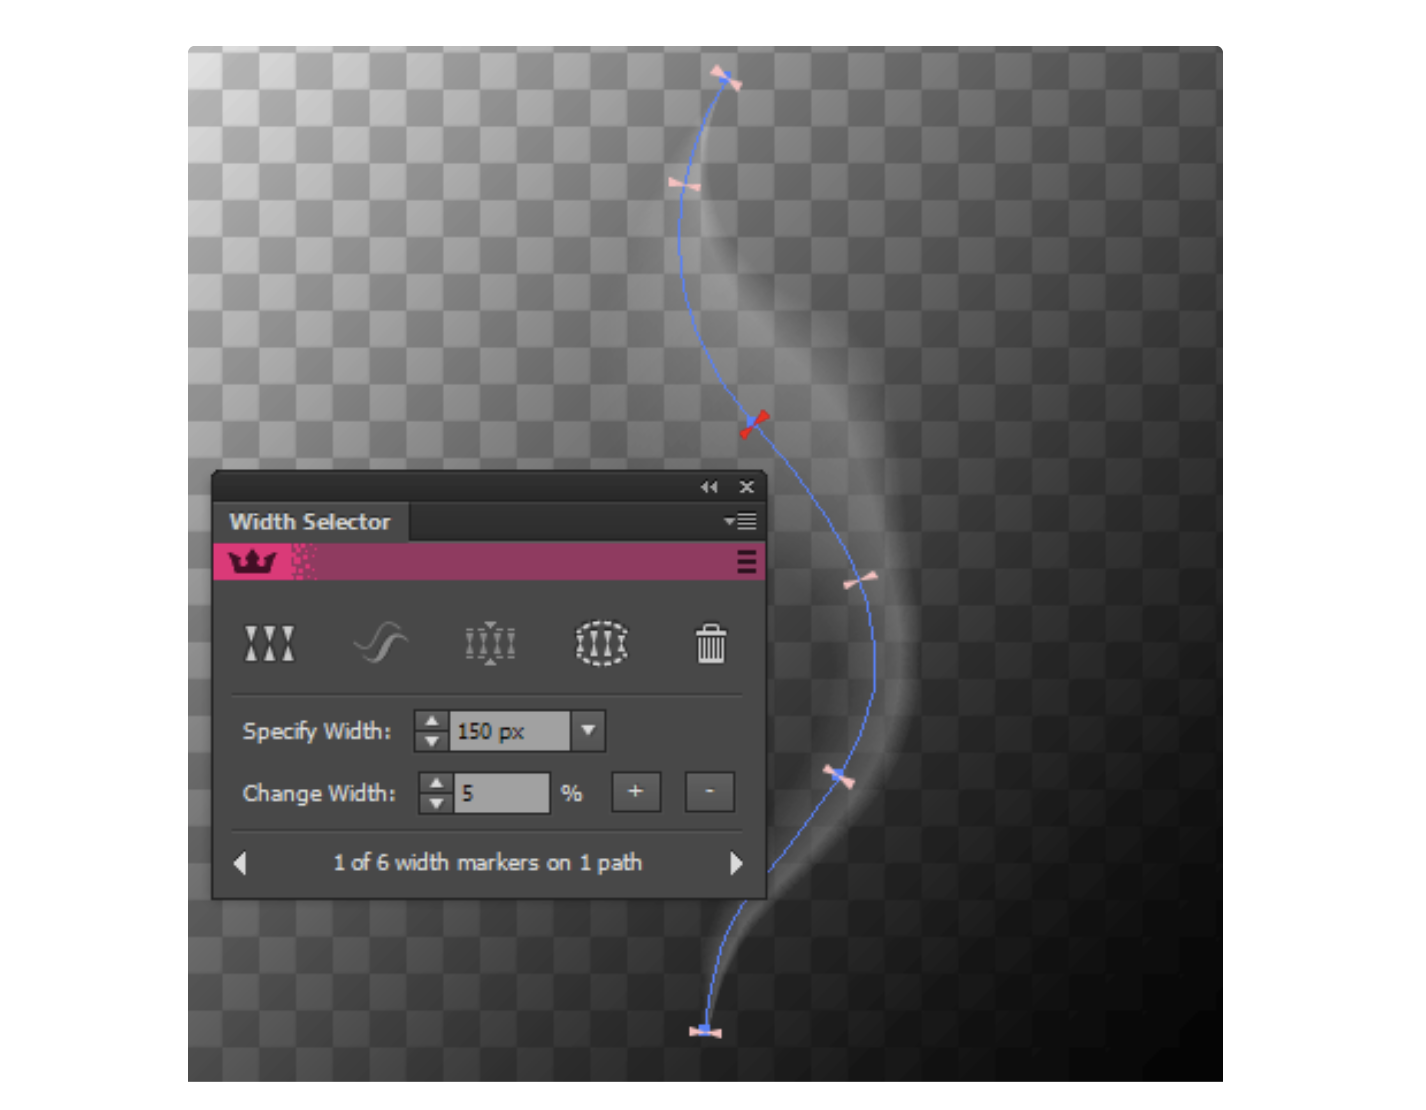
Now we can continue working on the shape of the smoke wisp in details. For these purposes it is convenient to use the Width Selector Tool (WidthScribe) and Width Selector panel (Window > WidthScribe > Width Selector Panel). Using these tools, we can quickly and easily work with width markers: add, delete, move and set their precise values.
If you are satisfied with the shape of the path and its direction and there is no need in further correction, you can proceed to the next step.
Step 5
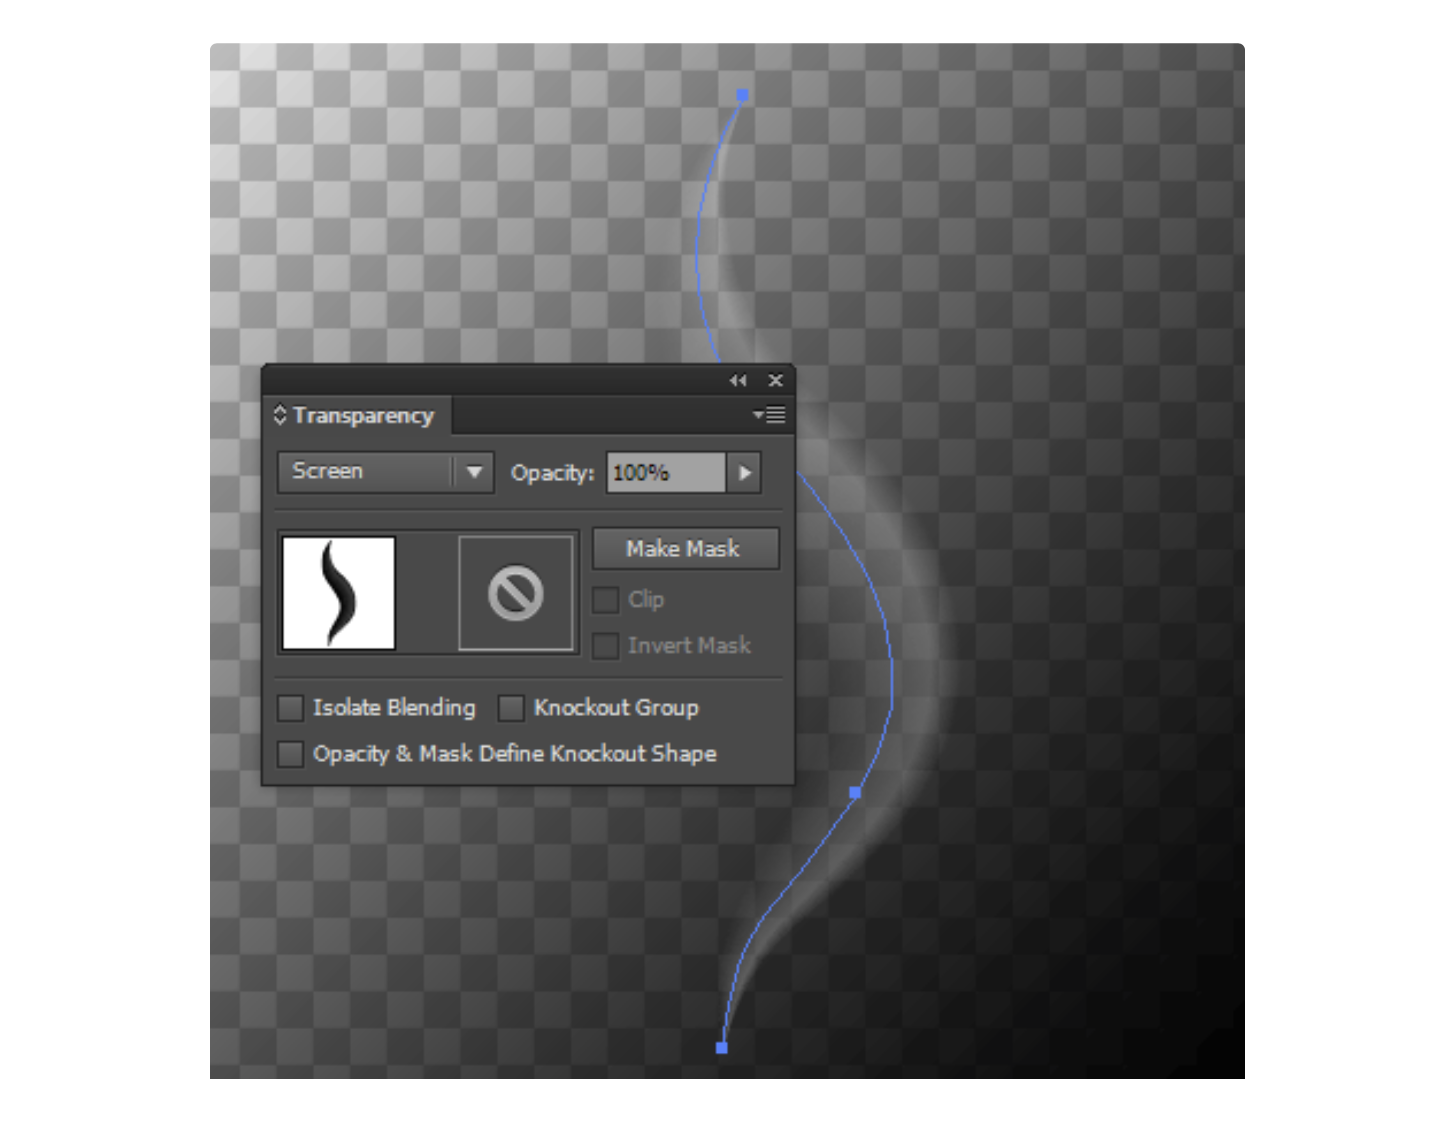
Smoke wisp are often transparent in its start and end point. To achieve this effect duplicate the path (Cmd / Ctrl + C, Cmd / Ctrl + F), set the Normal blending mode. Then apply Gradient Along Stroke, which consists of two black and one white color.
Select both paths and click on the Make Mask button in the Transparency panel. The ends of the wisp are now transparent.

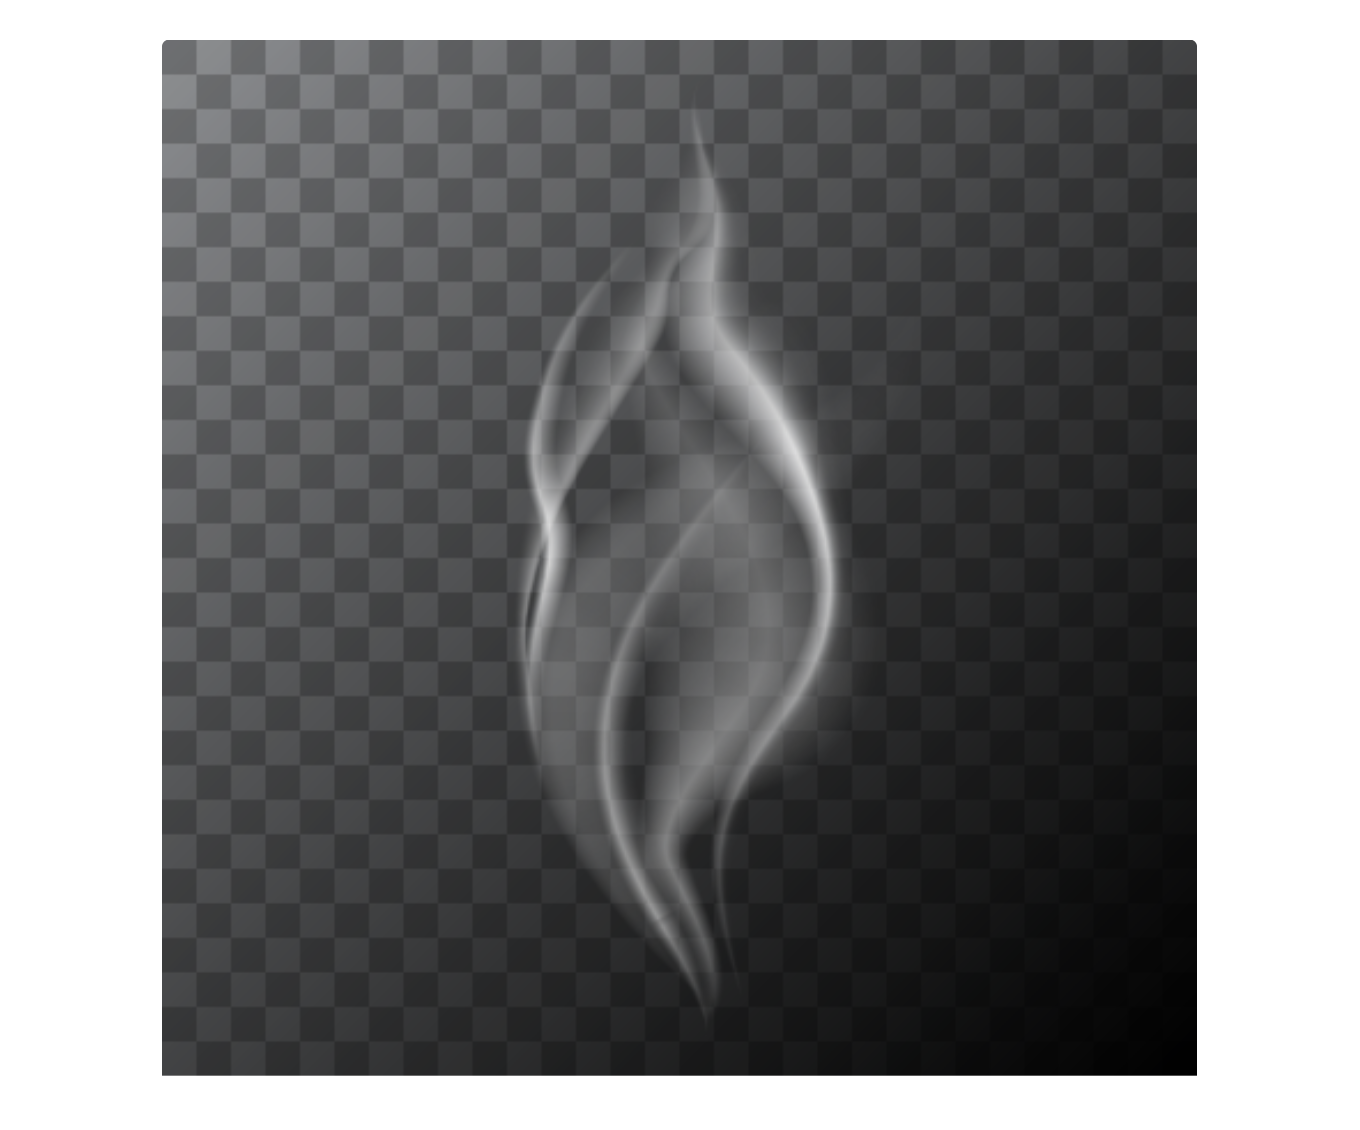
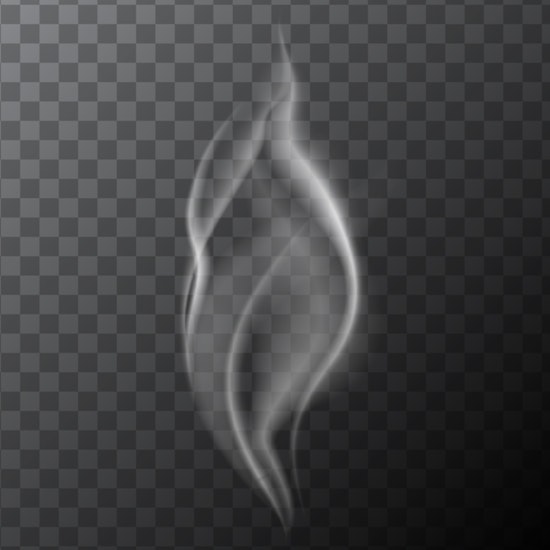
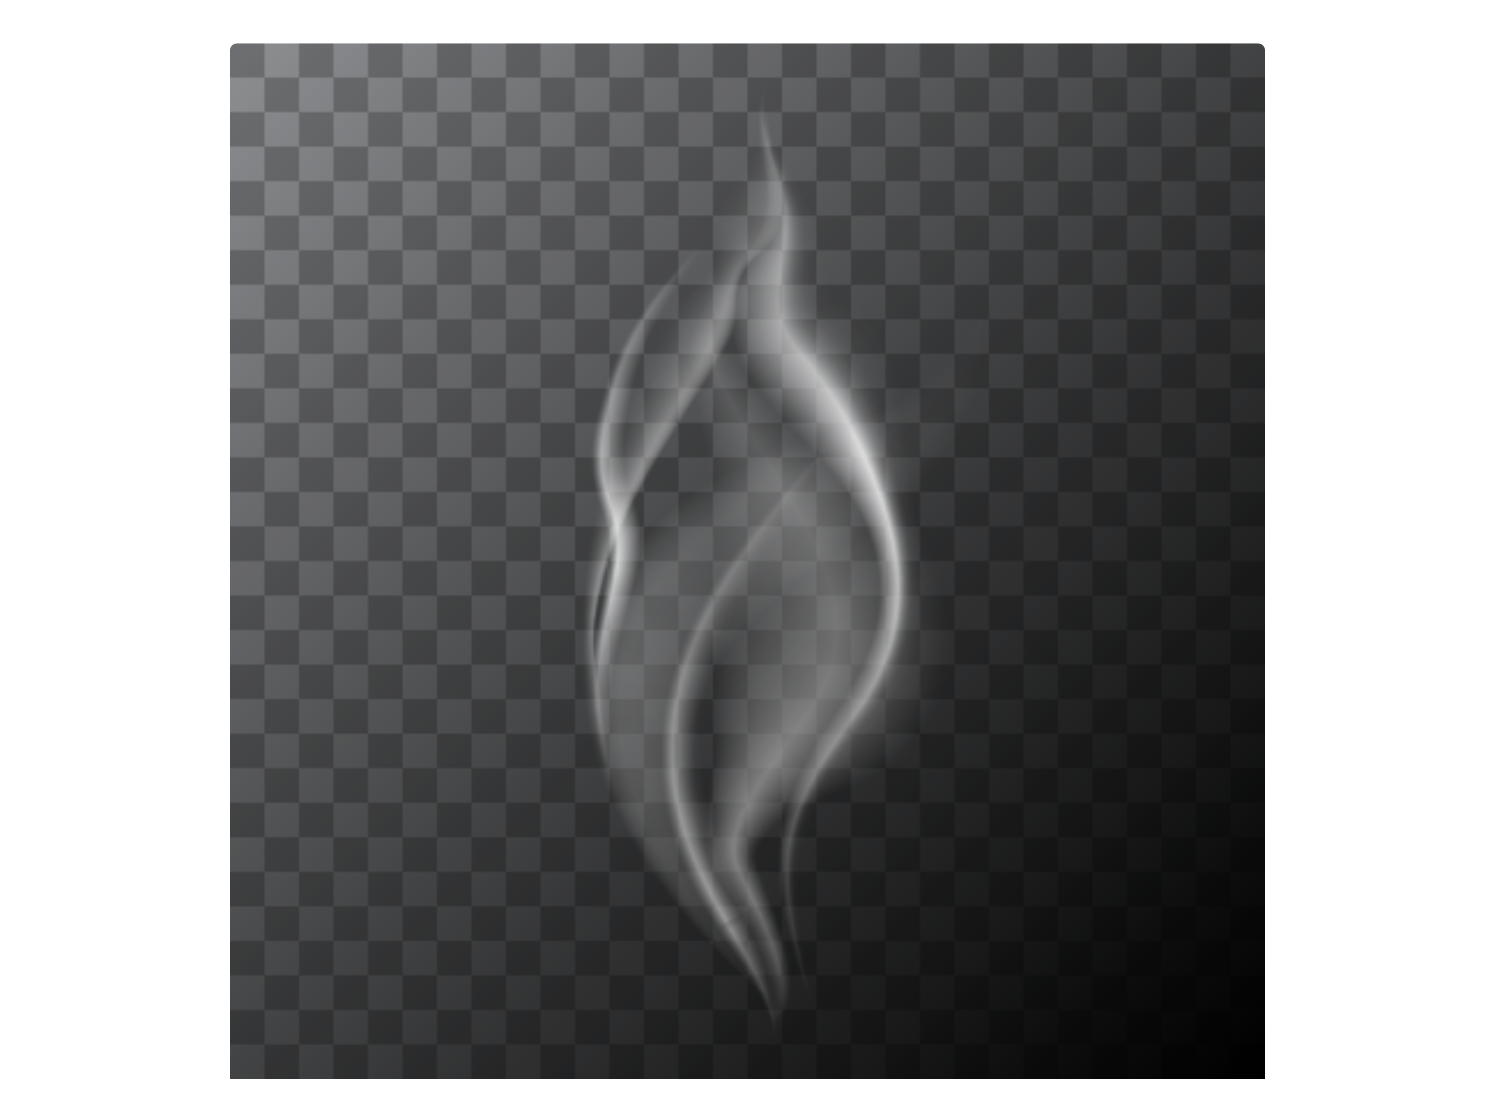
Combining work of the WidthScribe and Gradient on Stroke feature, I got a vector smoke that you can see in the image below. The translucent properties of smoke allow you to use it in any situation.