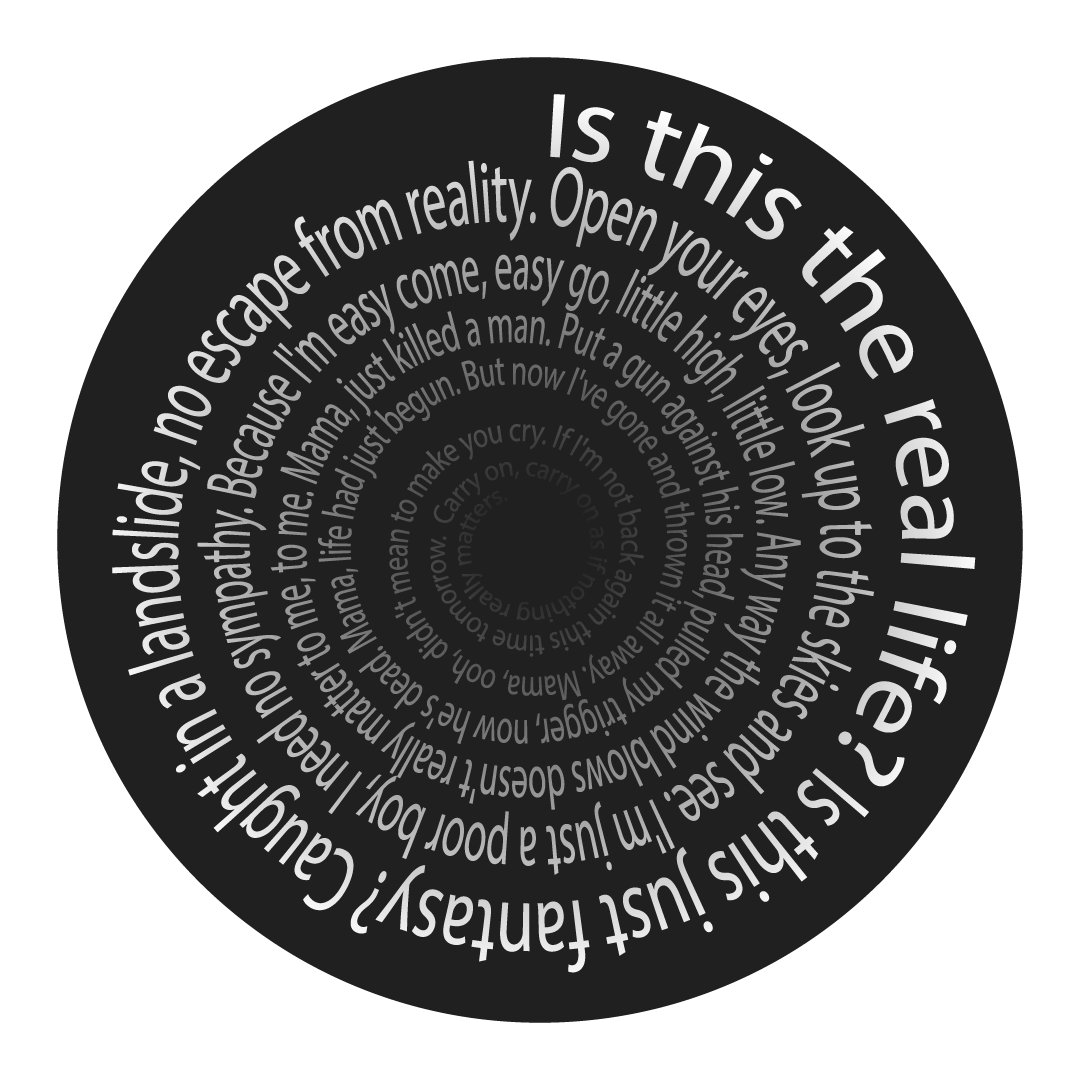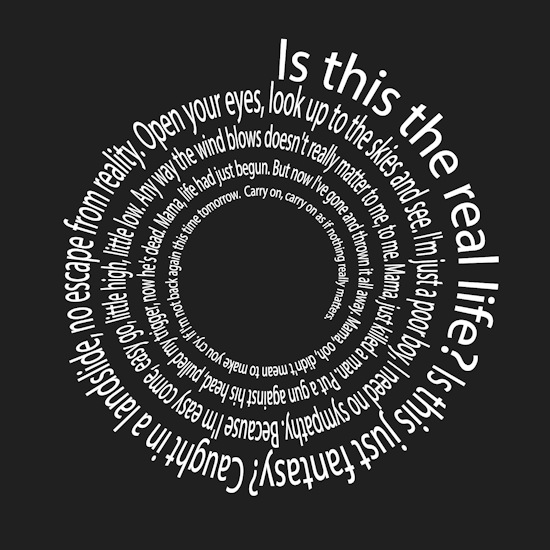
How to make spiral text in Illustrator, and keep it editable!
7 minute readWe are going to show you how to make spiral text in Illustrator that keeps the text editable, no ‘Create Outlines’ here!
To do this we will use Reform Text, part of the Reform Plugin. Reform Text allows users to place any text along any path in Illustrator. You don’t have to have a single line of point text either, as it works with paragraph text too.
First off, please note, we are showing the Advanced toolbar (Window > Toolbars > Advanced) and for this tutorial you’ll need to ensure that you have VectorScribe, SubScribe, AstuteBuddy and Reform installed.
Our artboard is 1080px square, and we will begin by using the Arc by Points tool (part of the SubScribe Plugin) to draw out a semicircle arc. Click once to mark point one, click again to mark point two, and then drag out, using the preview cross hatch as the centre marker. Now click a third time to confirm your arc.
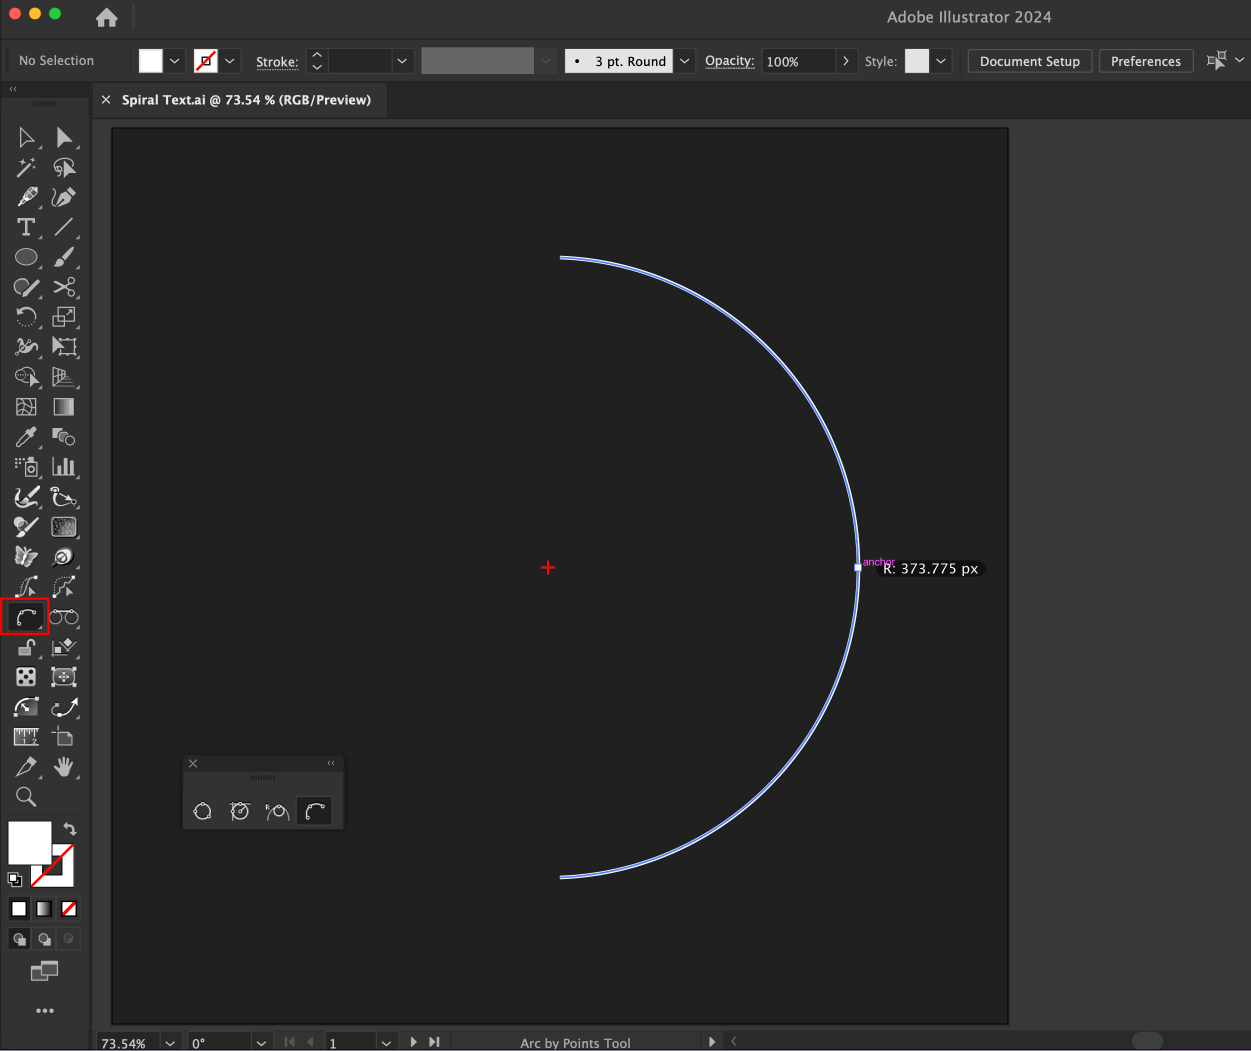
Creating the initial arc to start our spiral with the Arc by Points Tool
We are now going to navigate to the Extend Path Tool, which is part of VectorScribe plugin, and stacked under the PathScribe tool in the toolbar. We also recommend opening the Astute Buddy panel to show the quick keypresses available while using this tool. To open Astute Buddy head up to Window > Astute Graphics > Astute Buddy.
Using the Extend Path Tool, hover over the bottom end of your arc and click the cursor down to start extending. Once the tool is active, Astute Buddy will show the keypresses available. You can use the E key to change the type of extension, from a constant radius, straight, bezier to what we need, which is a spiral extension. You can adjust the spiral constant by using the up/down arrow keys, and the spiral’s radius by using the left/right arrow keys. The Extend Path Tool previews the extension for both ends of a path. If you want to temporarily disable that, then hold down the Space bar.
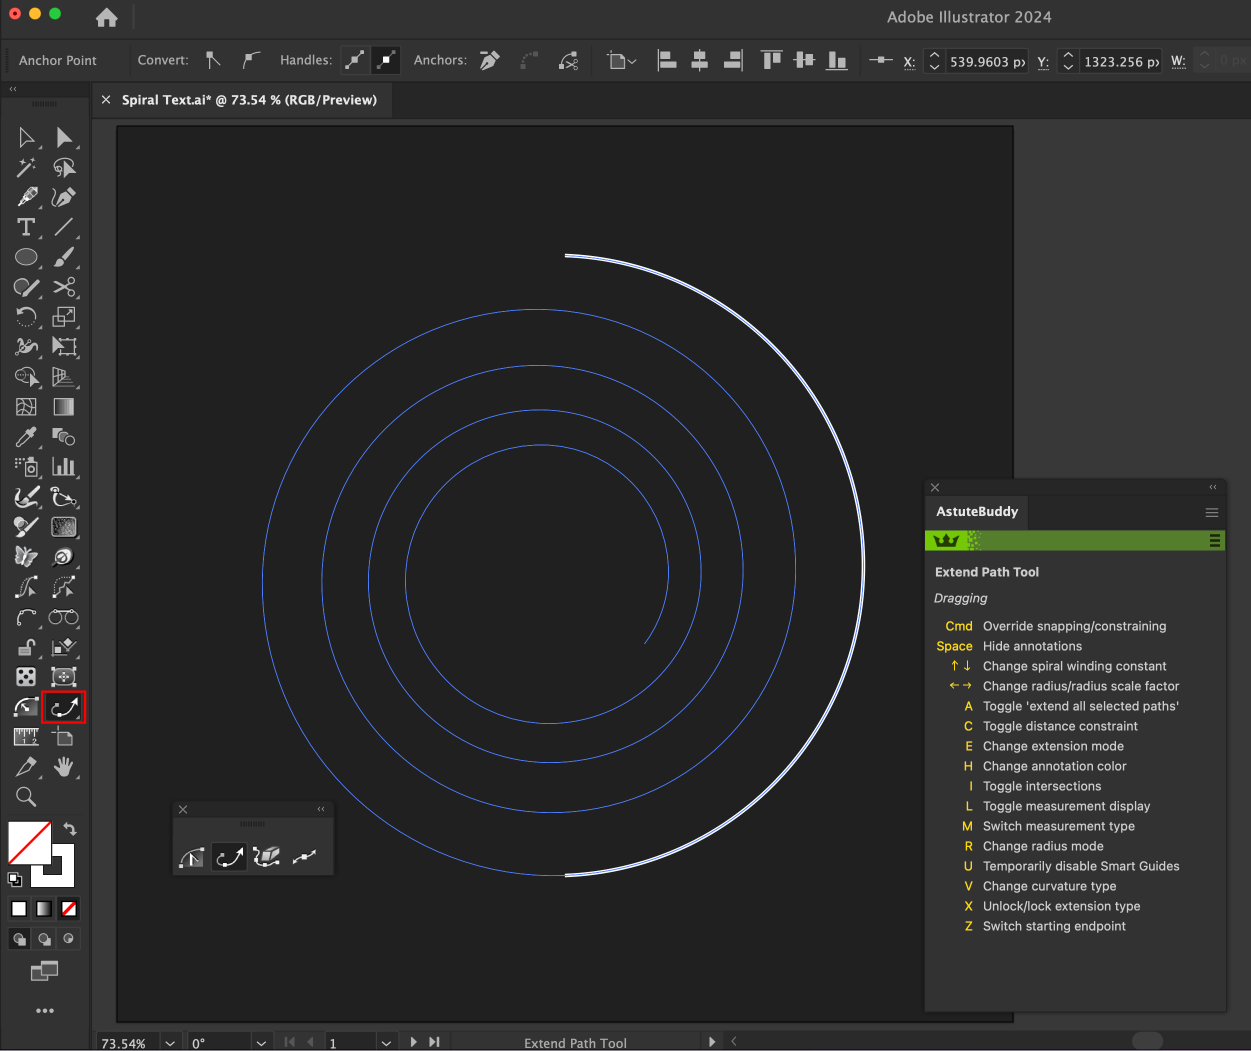
Using Extend Path in Spiral Extension Mode to make the perfect spiral path
Now that we have a spiral, we want to create our line of text. As previously mentioned, Reform Text works on paragraph text, but for this example we are going to have one single line of text to spiral inwards along the path.
Select both the path and the text and open the Reform Text Panel (Window > Astute Graphics > Reform Text) or you can find the Reform Text Tool stacked under the standard text tool in the toolbar. Once you have the text and path selected, the Make button will become active for you to press in the Reform Text panel.
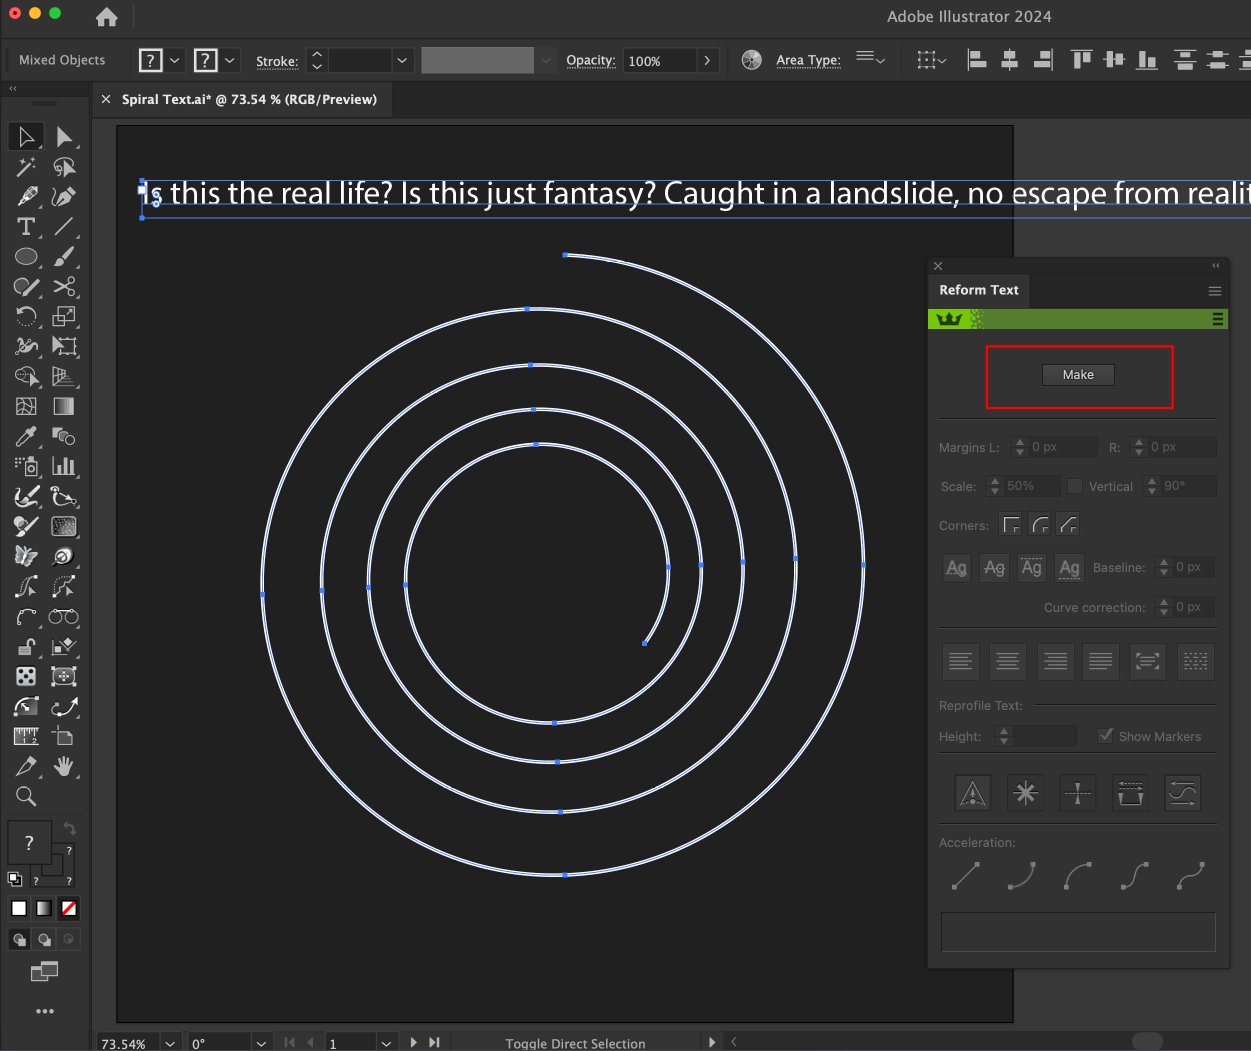
Select both text and path to reveal the Make button in the Reform Text panel
Reform Text will add your line of text along the path and 'hide' your original text object. To swap back to editing the text use the T button in the panel, and be sure to switch back to the Path button to edit the Reform Text handles.
Initially Reform Text will place the text at a uniform height. If you want to create a variable height then ensure you turn on the Show Markers option in the panel. This allows you to select each height marker individually and adjust it, or you can use the values in the panel to be more precise. For this example we are going to make the outside of the spiral quite tall, and then reduce the height of the text as we enter the spiral. Just like Reform and Reprofile, height markers can be sharp or smooth, and to remove a marker double-click it.
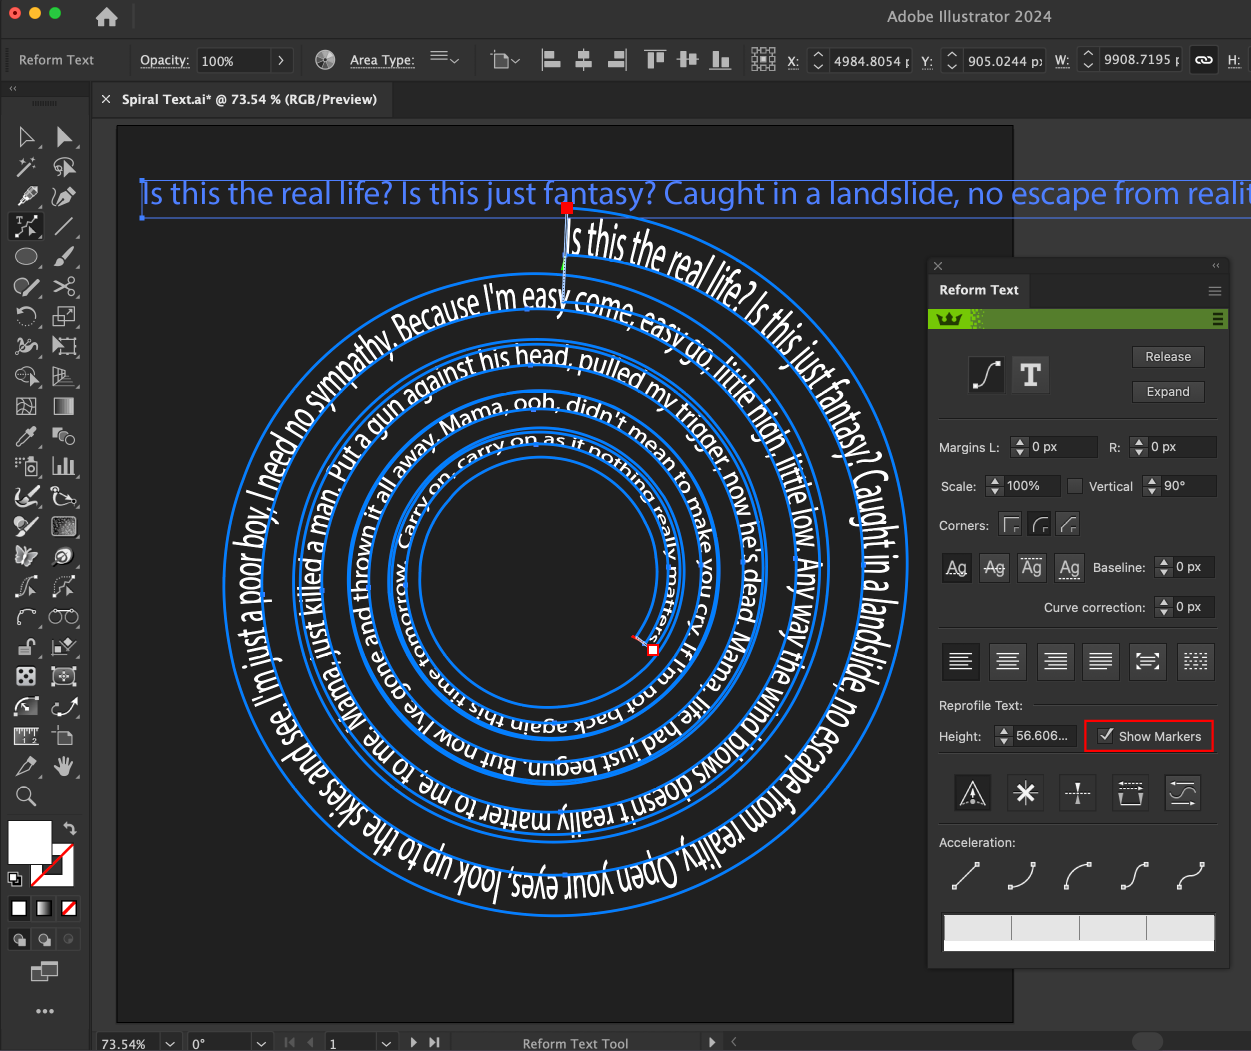
Enable show markers option in the panel to turn on variable height mode
Reform Text has lots of text alignment options, from left/right/center to justify, and justify text and scale (which is what we have used in our example). We highly recommend taking time to explore these different buttons, so you can see how your text reacts. The same applies for the baseline adjustments. Continue to refine these adjustments until you are happy with your text appearance along the spiral. Tip: Temporarily disable the Show Markers option to hide the annotation preview lines and see your final results better.
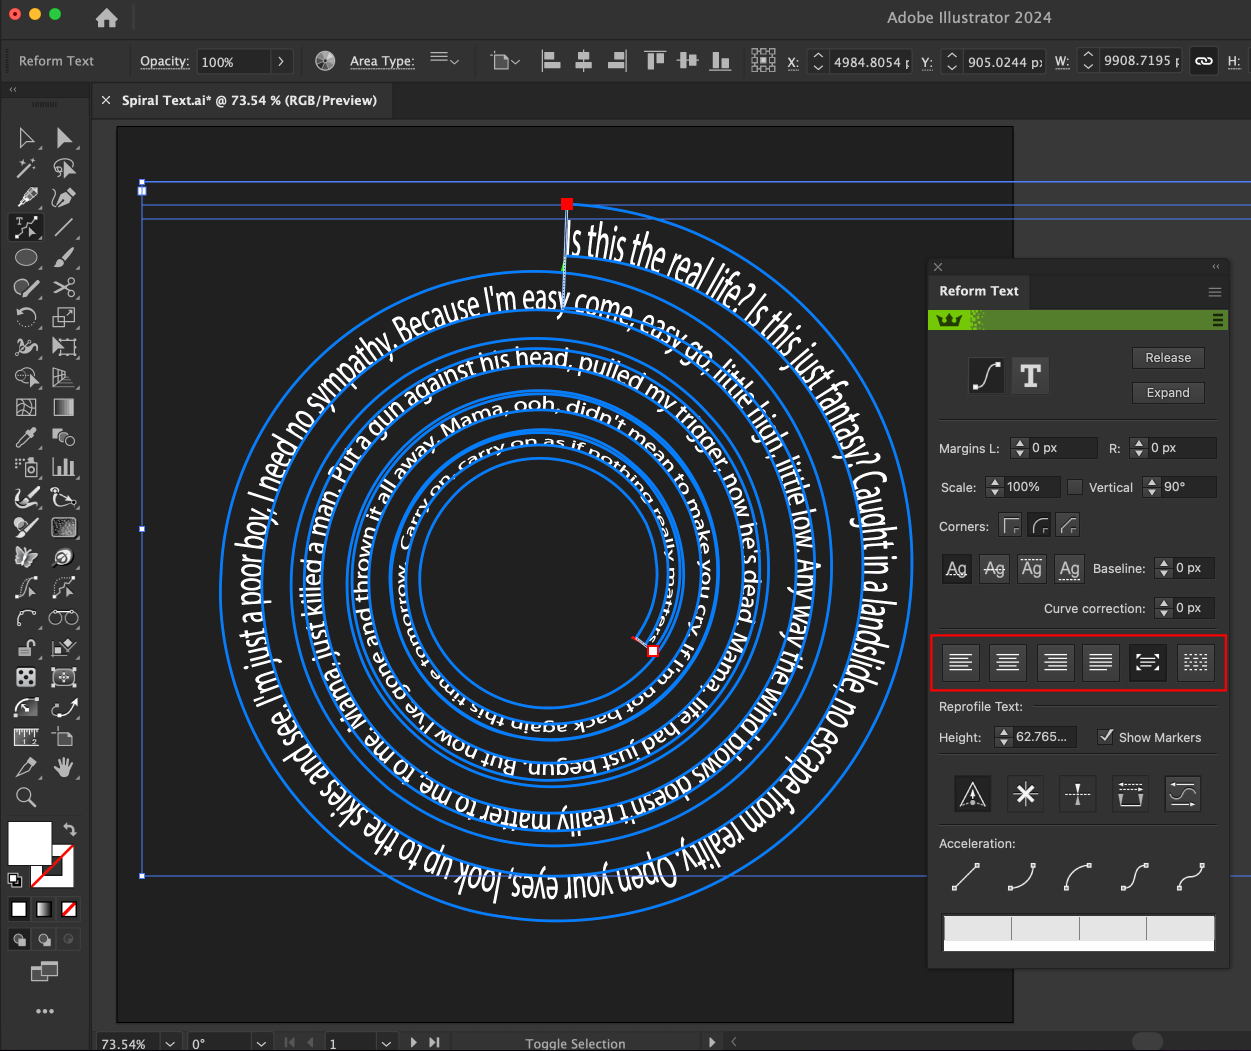
Use the text alignment buttons and adjust the baseline to get your desired text placement
The bottom of the Reform Text panel is the Acceleration section. You can choose from Ease in, Ease out, Sigmoid distortions or no acceleration at all. Once you have selected an acceleration option, the widget below will show the slider marker(s), and you can move them to alter the in/out acceleration. We have selected an Ease In acceleration, it means our text starts slower and then quickens as it spirals inwards, but visually it seems 'normal speed' because of the height of the type.
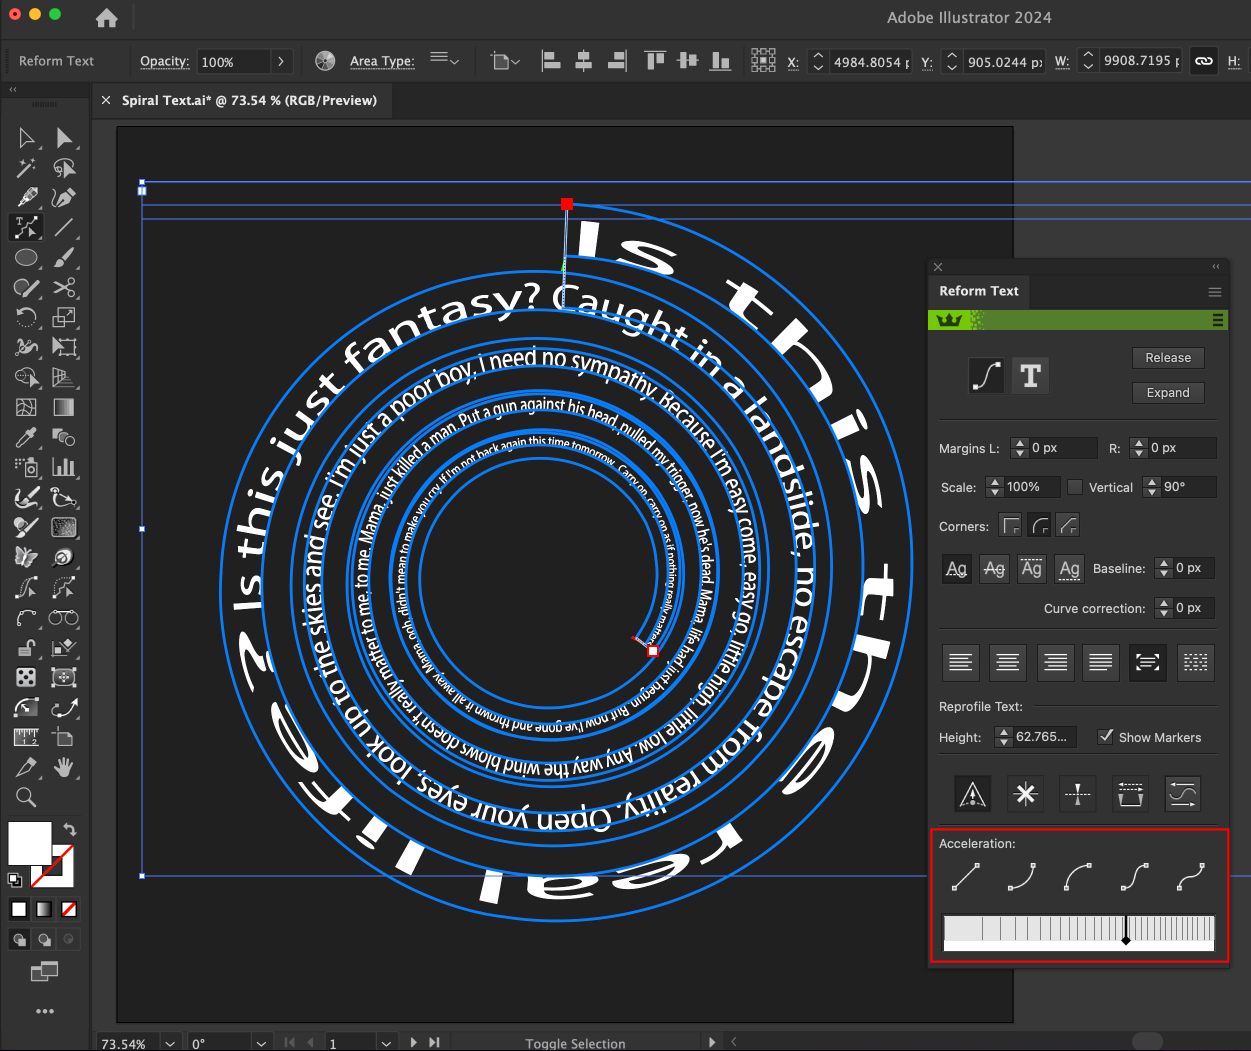
Reform Text has an acceleration widget so you can ease text in and out
The Reform Text panel has lots of fine-tuning options for you to explore. Use the Scaling value box to explore adjusting the scale of the type. The Left and Right margin value fields adjust the Reform Text's start and end points along the path. You can also use the Start and End Delimiters (green and red triangles) to manually adjust the margins in real-time. The Vertical section toggles on/off aligning the text to a vertical angle, by default it's set to 90° (North when looking at your Illustrator artboard).
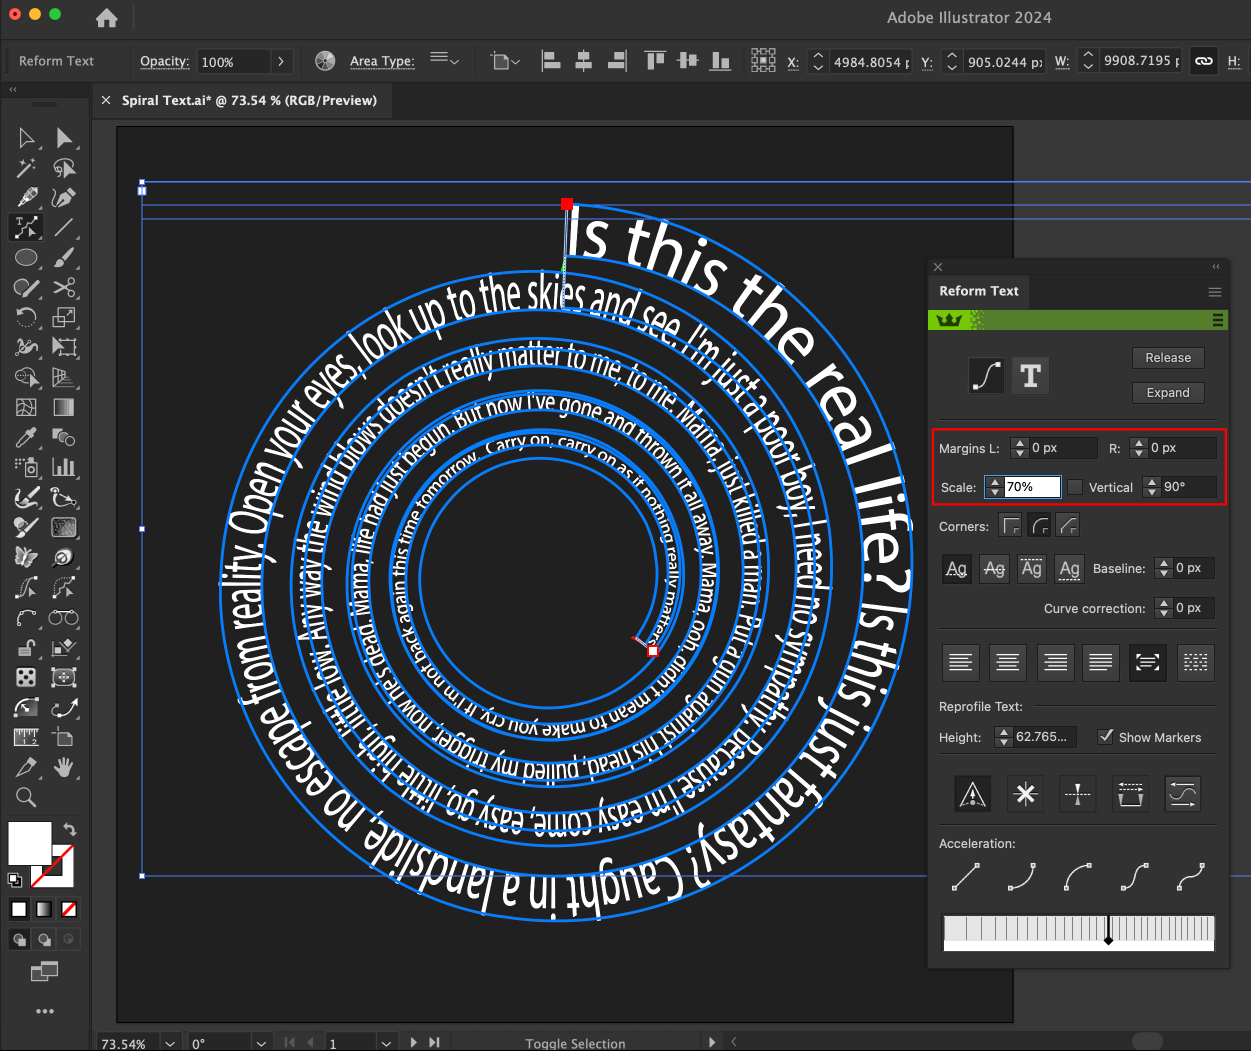
Refine your Reform Text using the other panel features including scale
You can use any other path editing tools to adjust your original spiral path. You can also click the T button in the panel to edit the original text object. Reform Text will remain 'active' until you decide to Release and remove it, or Expand your text to vector outlines.