Getting to grips with InkFlow - Start drawing now!
5 minute readWith the introduction of InkFlow, the 19th plugin from Astute Graphics, we bring you a fully intuitive, new drawing and lettering tool with 4 fully customisable pen types. In this short tutorial we’ll be creating some lettering and graphics for a quick, fun, summer illustration and highlight some of the controls each pen has. We also have a full set of tutorials on our YouTube channel HERE.
So let’s start with our artwork, we’ve placed a document into Illustrator to use as a guide. You may find lettering is something you’ve not done much of so using a guide is a great way to get your artwork looking how you want it.
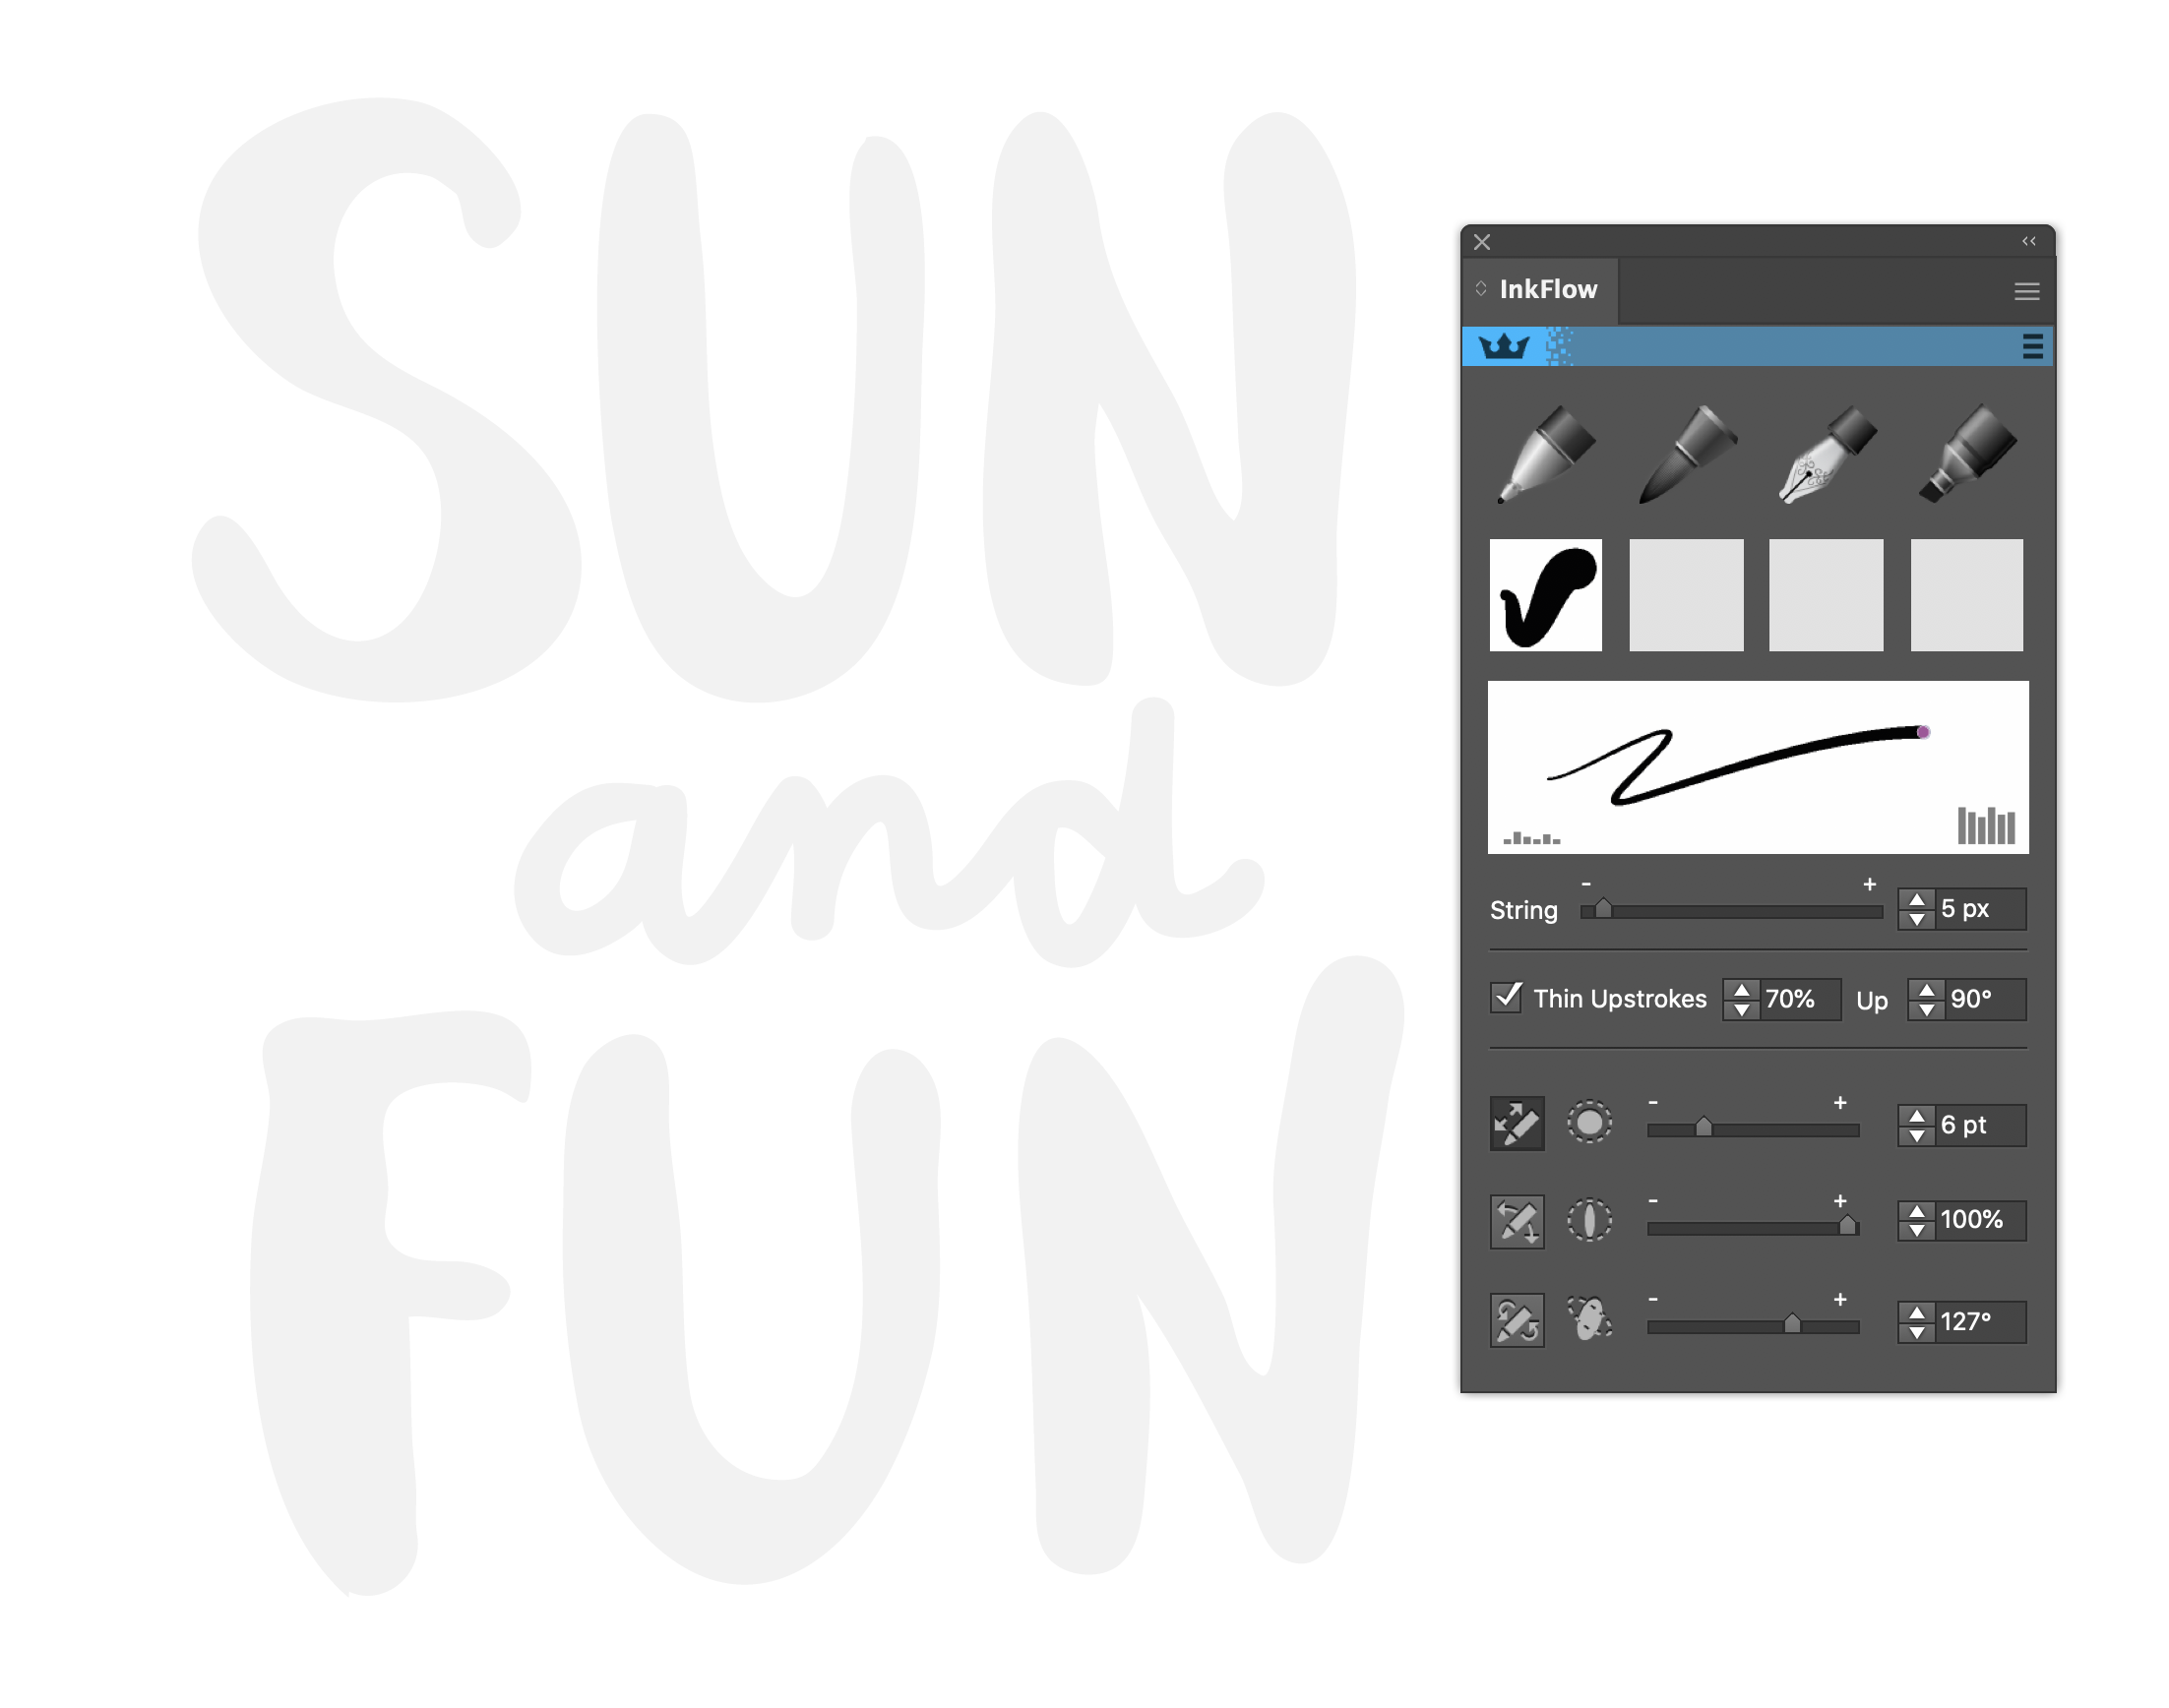
Let’s look at the InkFlow panel first. We will be using each of the four pen types:
- Ballpoint
- Brush
- Calligraphic
- Marker

Each has a set of three controls:
- Size
- Roundness
- Angle
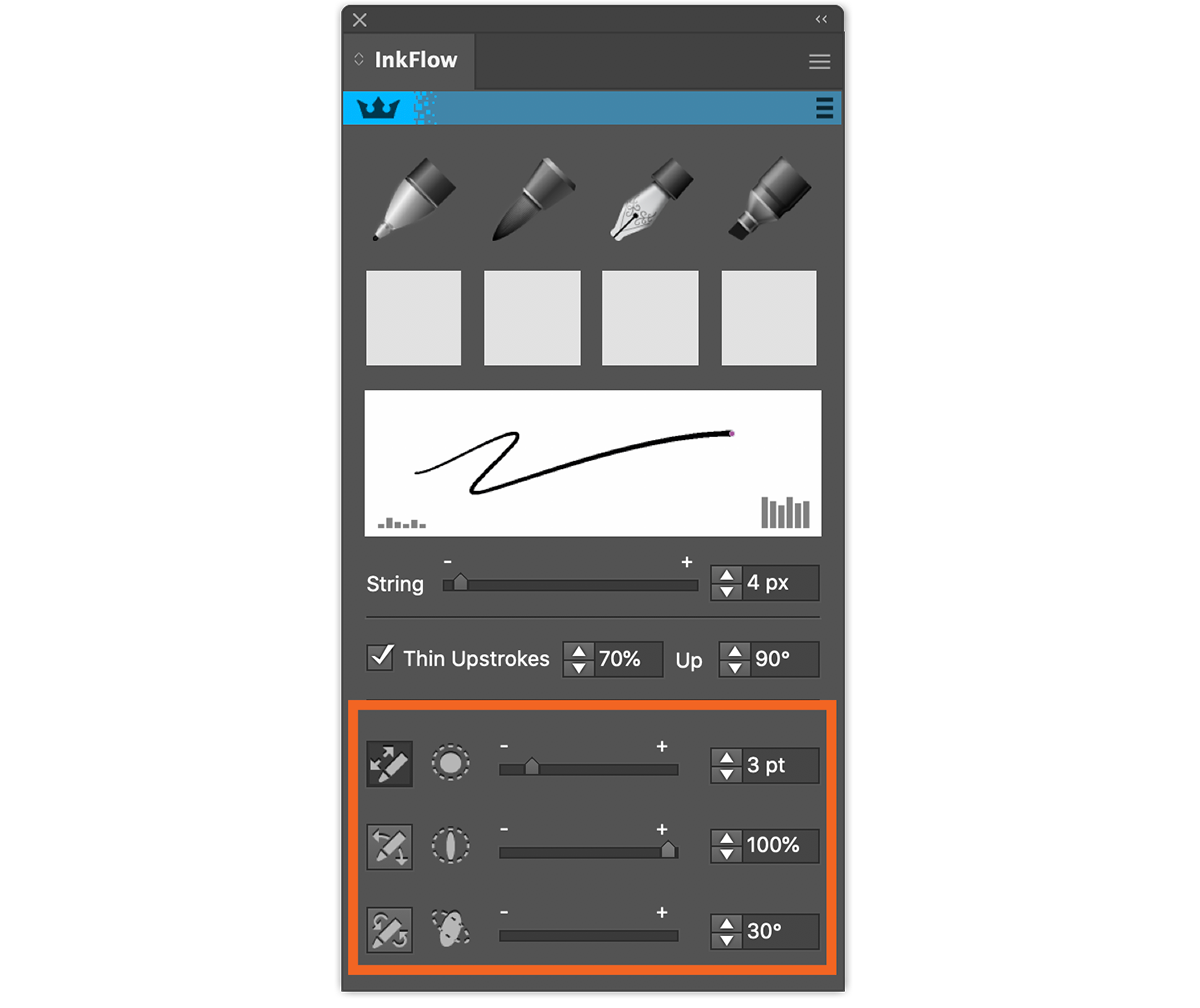
These controls are adjustable manually or by using the pressure and tilt of a stylus and tablet such as an X-Pen or Wacom device. We can use either or both tablet and mouse but in this tutorial we’ll just be looking at the basic tools, we cover the tablet options in a separate tutorial on our YouTube channel.
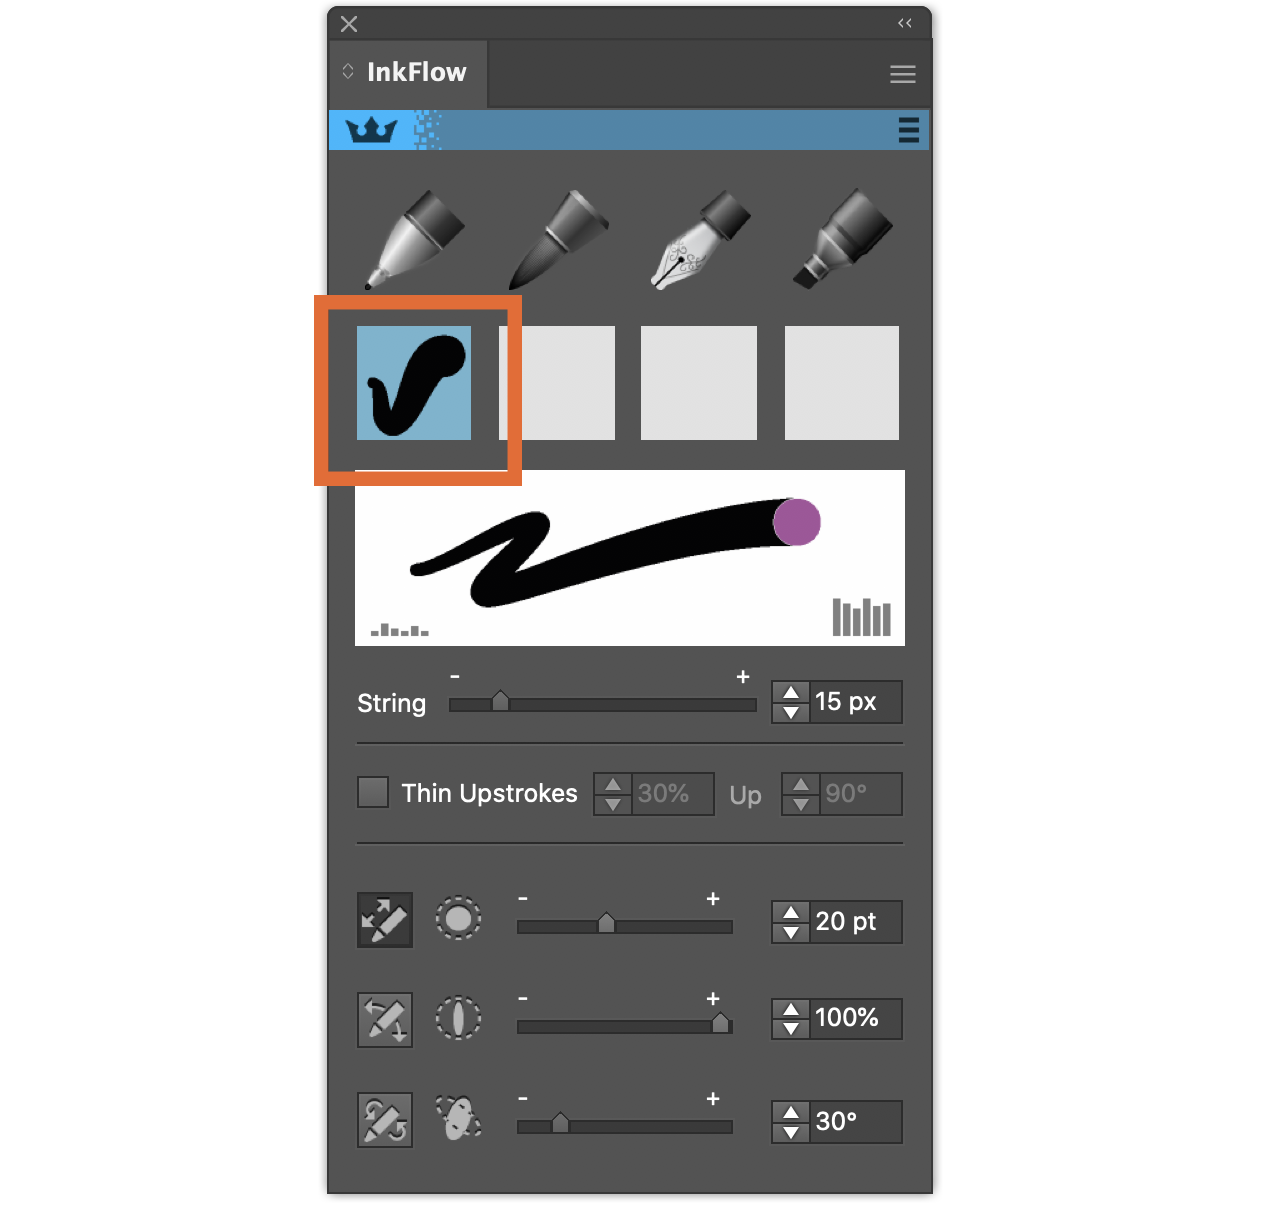
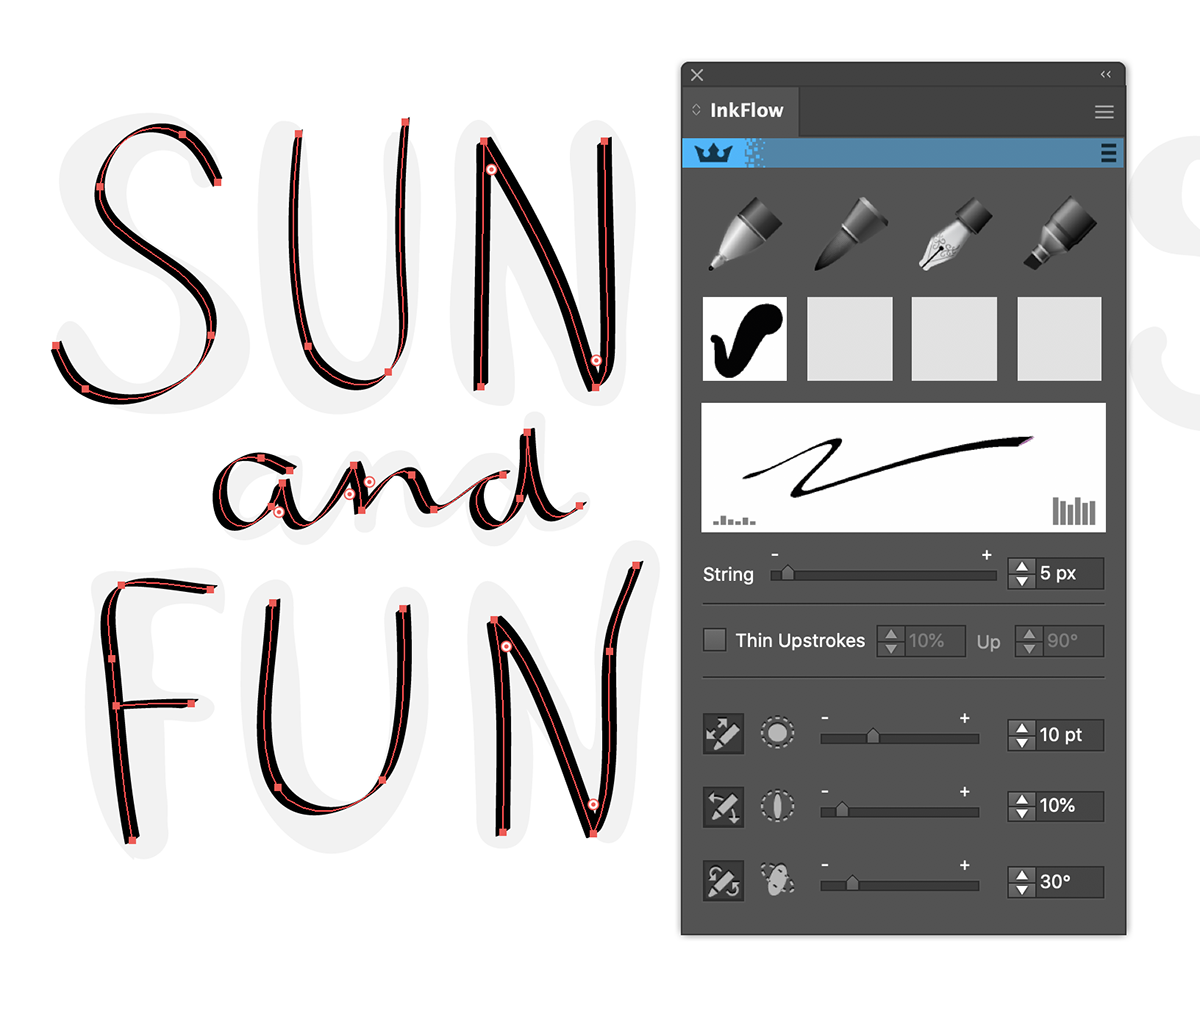
We will start with the Brush Pen with our first example, Sun and Fun. Click on the Brush Pen to bring up the factory default setting.
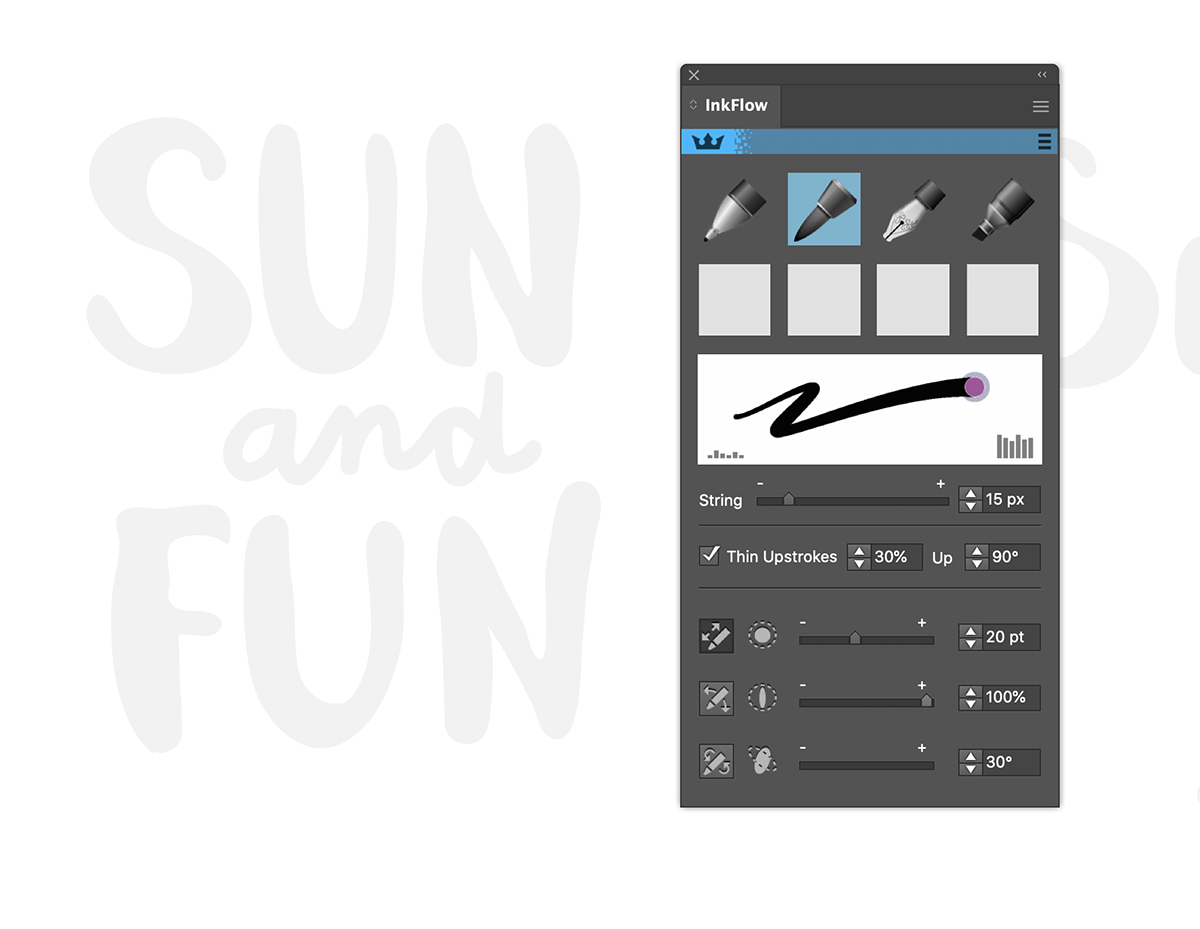
Let’s go to our first word and start to write the word SUN. You can use the string pull option if using a mouse, this gives a more accurate result and is adjustable. You may recognise the string option from its partner tool, DynamicSketch.

As you start to draw you will see that the cursor changes to a quill type icon to show you are using the InkFlow pens. Now start to draw over your template.
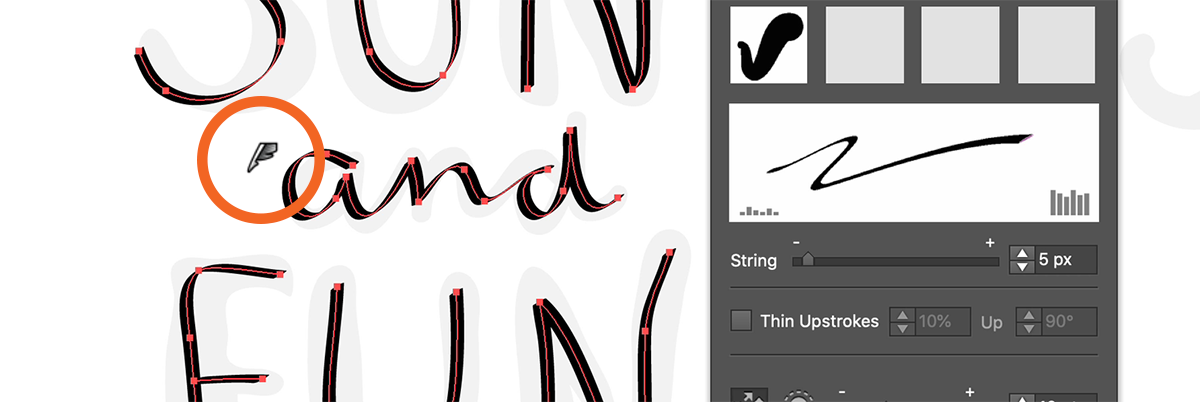
One quick tip, InkFlow automatically gives thin upstrokes like a real pen, so to get the opposite, like on the N, you may need to write it in reverse for the thicker downstrokes. But we can turn this feature on and off anyway.
Let’s look at the two versions with it on and off.
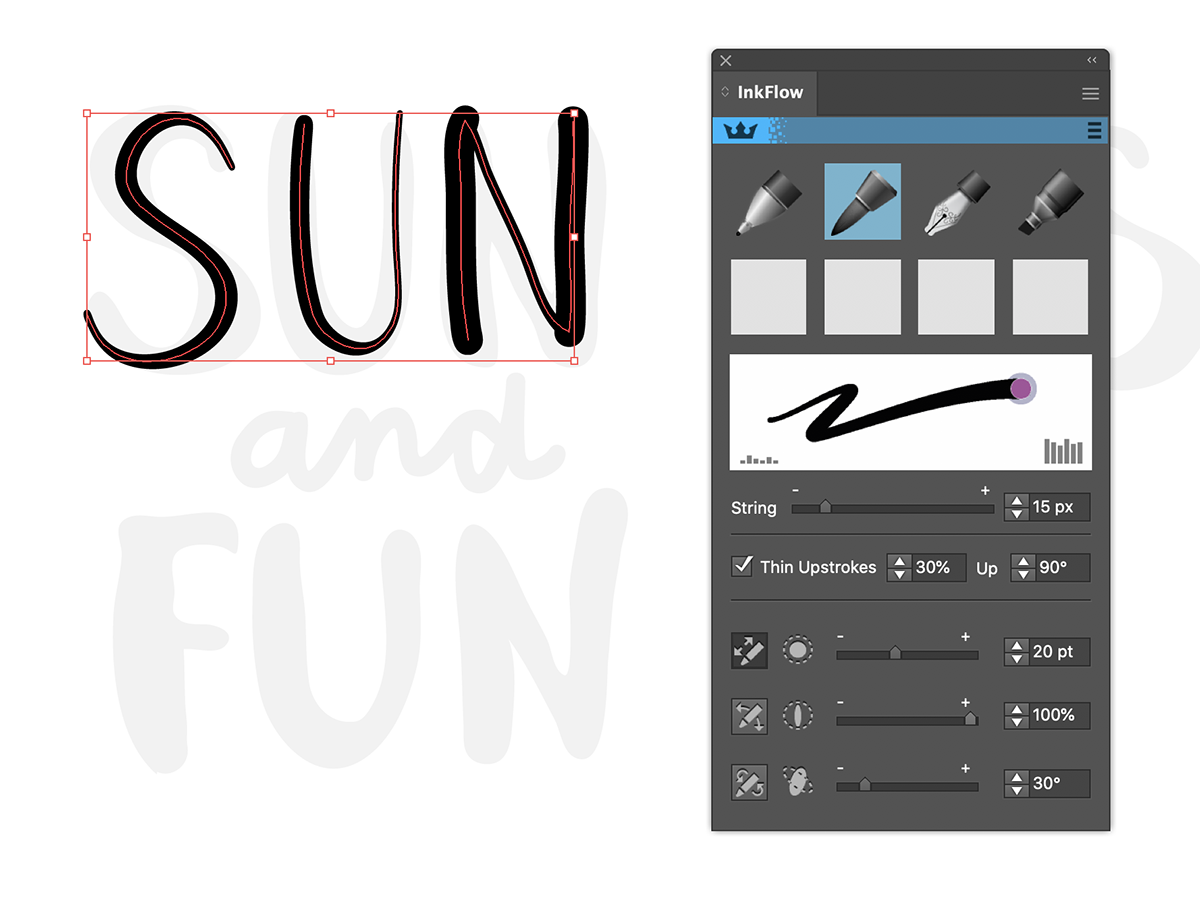
Now select the S and we’ll start to play with the settings. You will see we can adjust the brush size, the roundness and the pen angle and see immediate changes in the result.
Once you have a style you are happy with just use one of the blank squares and Option/Alt click it and this will define your preset and you can continue drawing with that pen setting.
Let’s finish the Sun and Fun and then change pens.
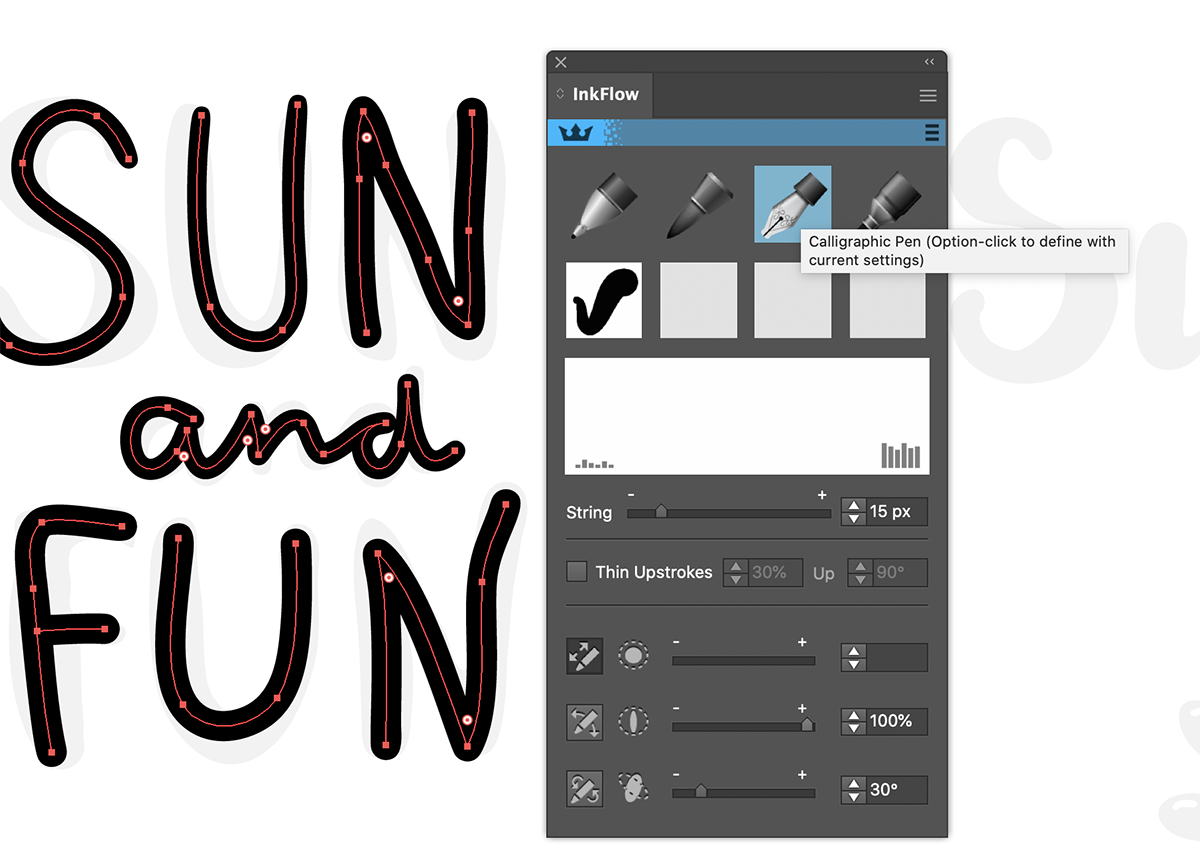
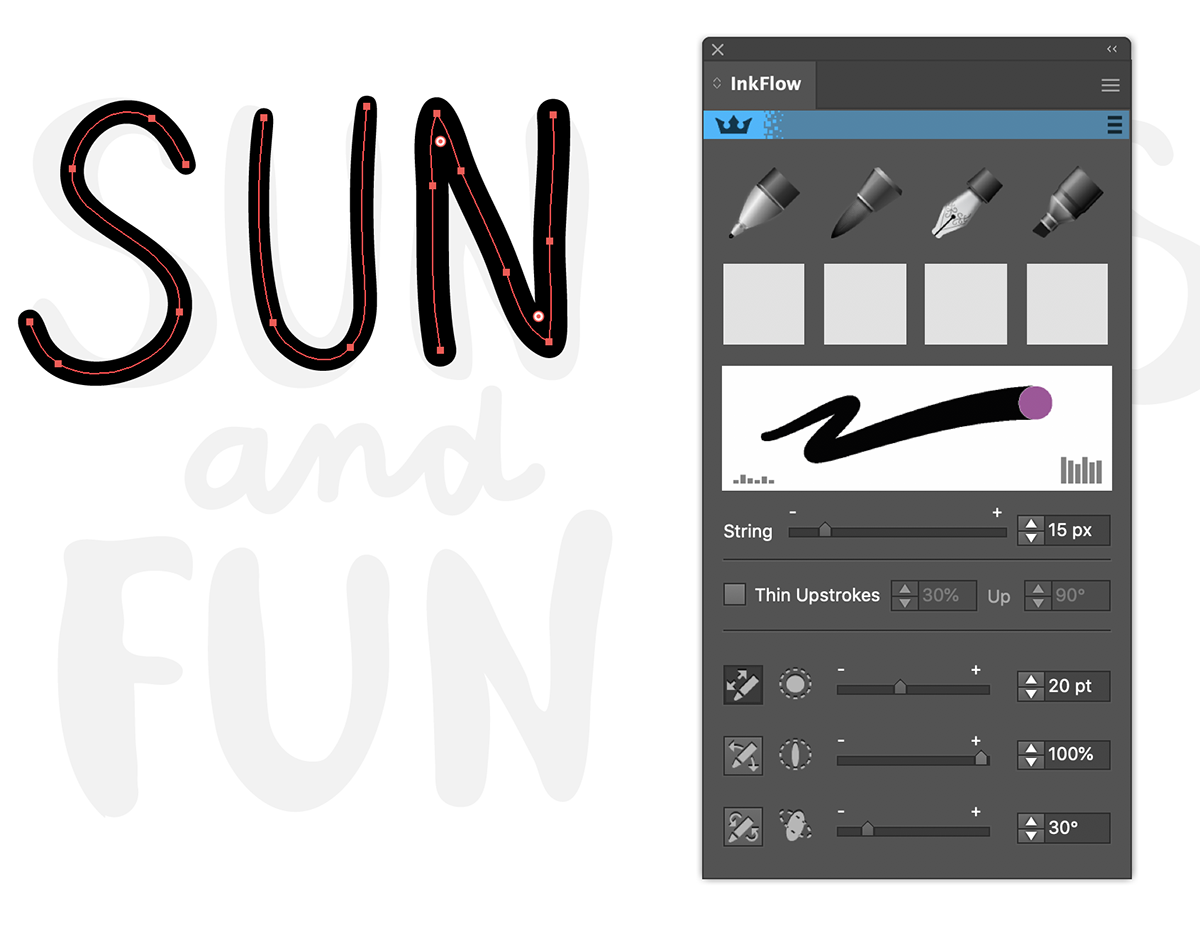
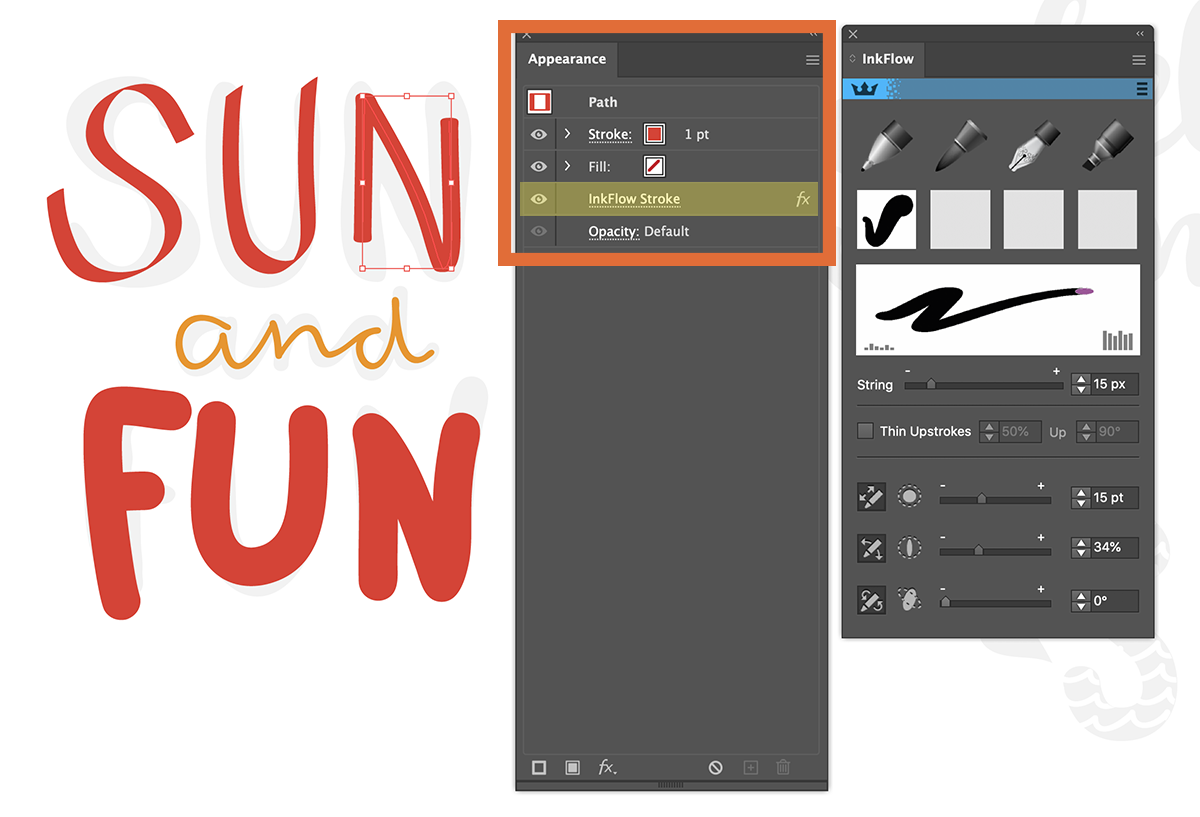
Select all the letters and then click on the Calligraphic Pen. You will see the change immediately and again, you can begin to change the settings to achieve the desired result and also save that setting if you so wish. You can try this with all the pen types and see what results match the style of artwork.
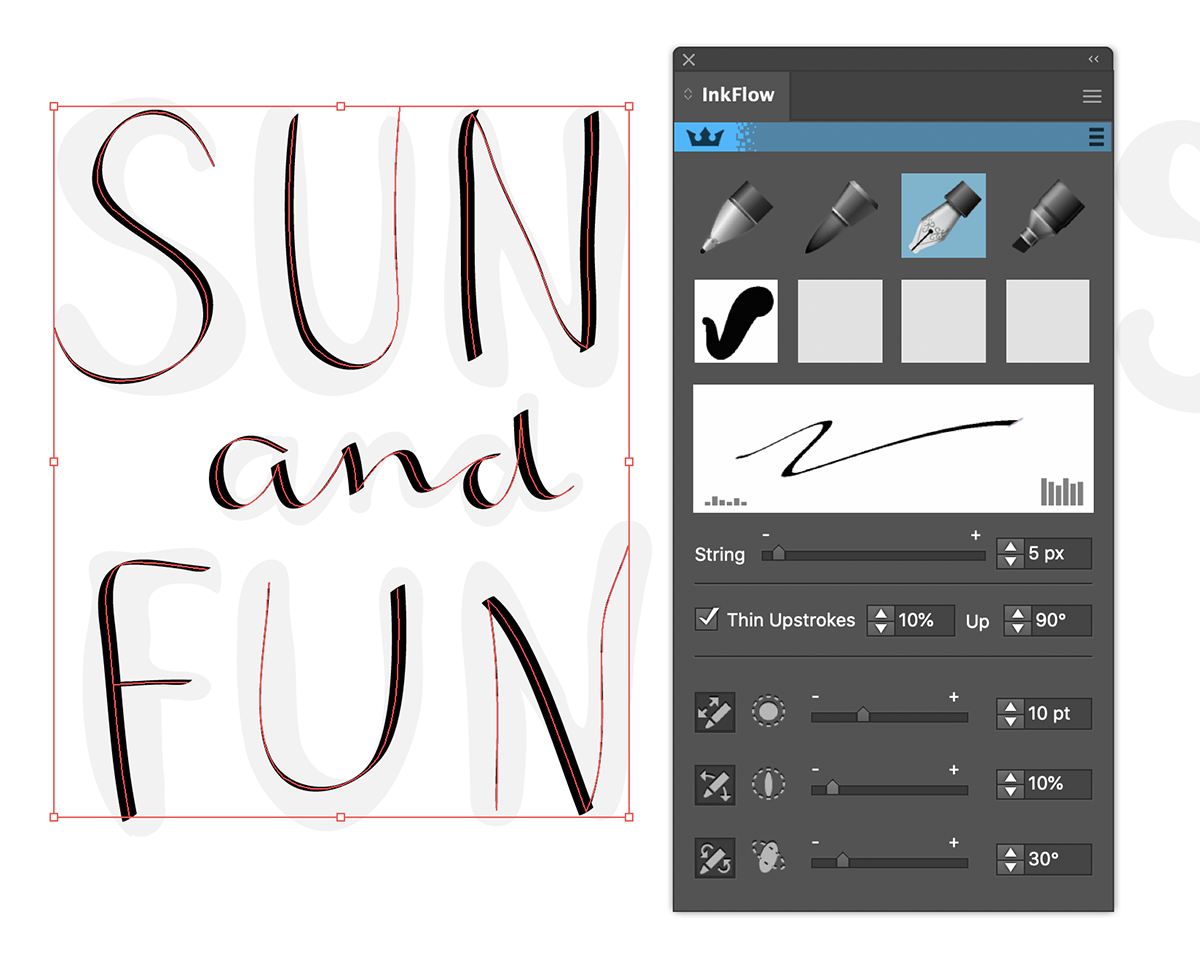
Once again we can play with the settings and easily change the stroke color. You can select each letter and tweak it individually, you don't have to select the whole word, you can even treat the paths independently. Whatever settings we show you here in this tutorial, they are all live so if you re-open the artwork again, the InkFlow settings will be live as they are visible in the appearance panel to reactive them.
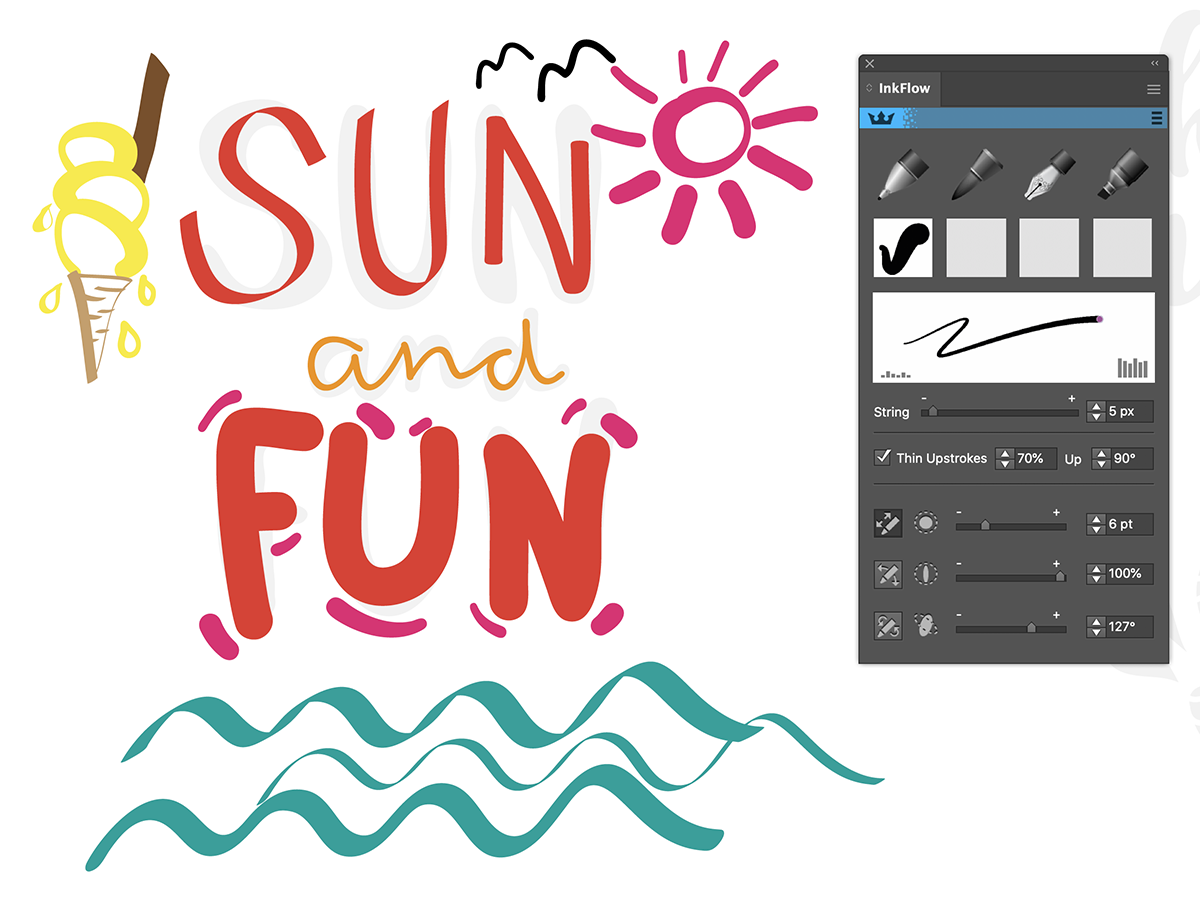
In this short screen flow I go through each of the words and letters and make some more adjustments until we have our final piece. And then we can add some sketching to the words using the same four pens.
The finished artwork is only a quick example, with a tablet, time and imagination, you can create masterpieces in Illustrator!
Try out some drawing and lettering yourself and have a play with the panel controls.
Inkflow, completely live, completely intuitive!