How to create Star Wars icons in a line art style
7 minute readIn this tutorial I will describe the process of creating a Star Wars icons in a Line Art style in Adobe Illustrator. Our vector assistants are MirrorMe, VectorScribe and ColliderScribe; they will make the work more convenient and quick.
"The Force will be with you. Always" – Obi-Wan Kenobi
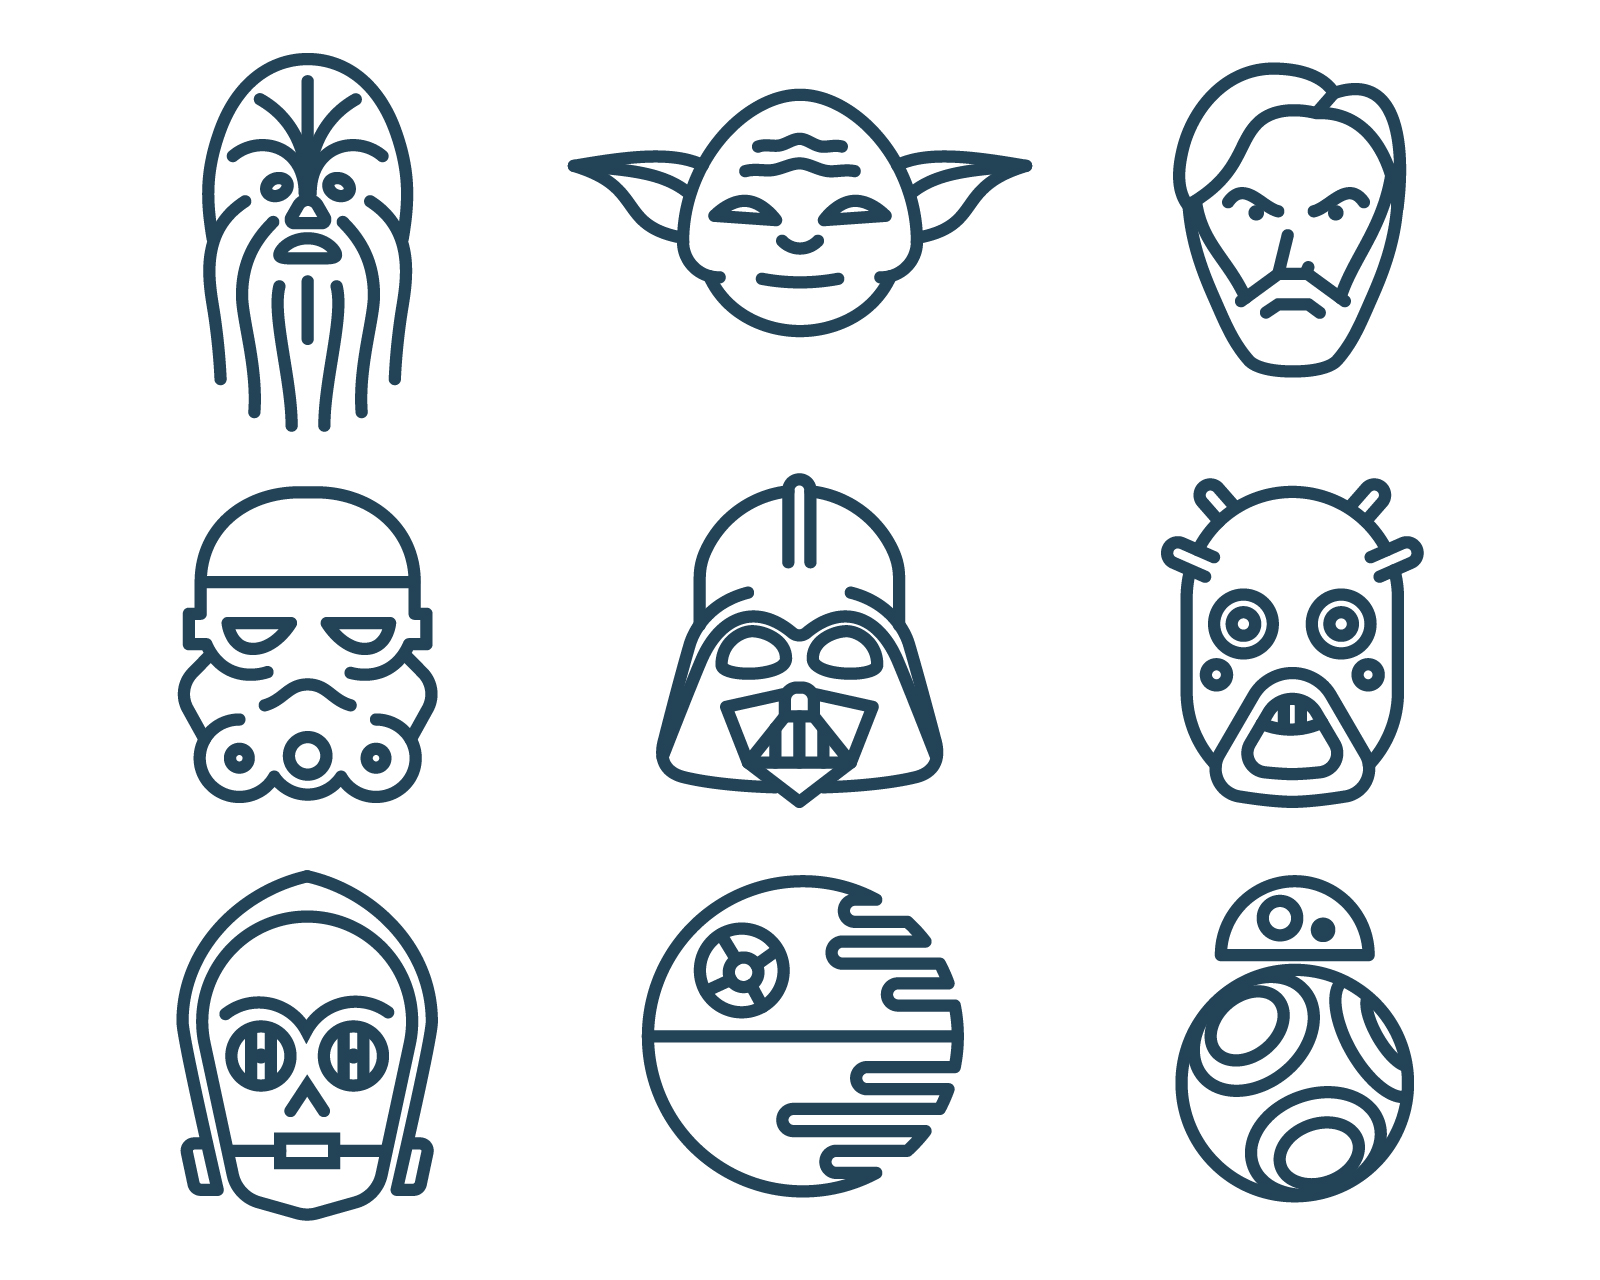
Chewbacca icon
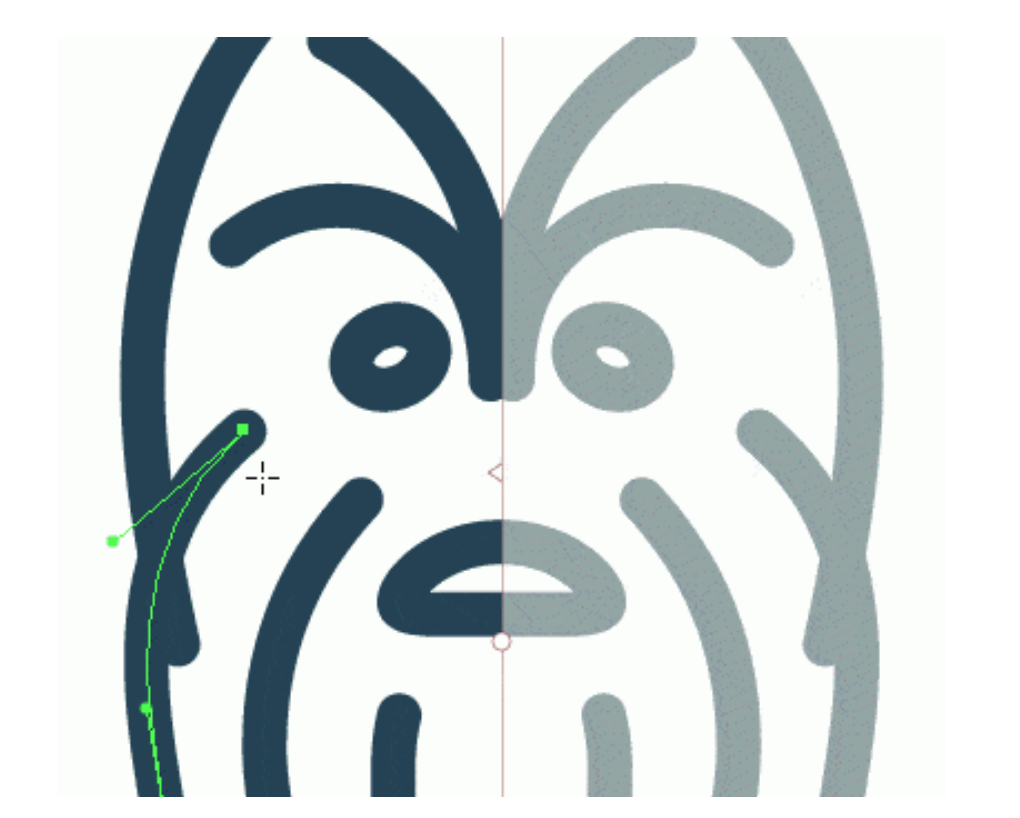
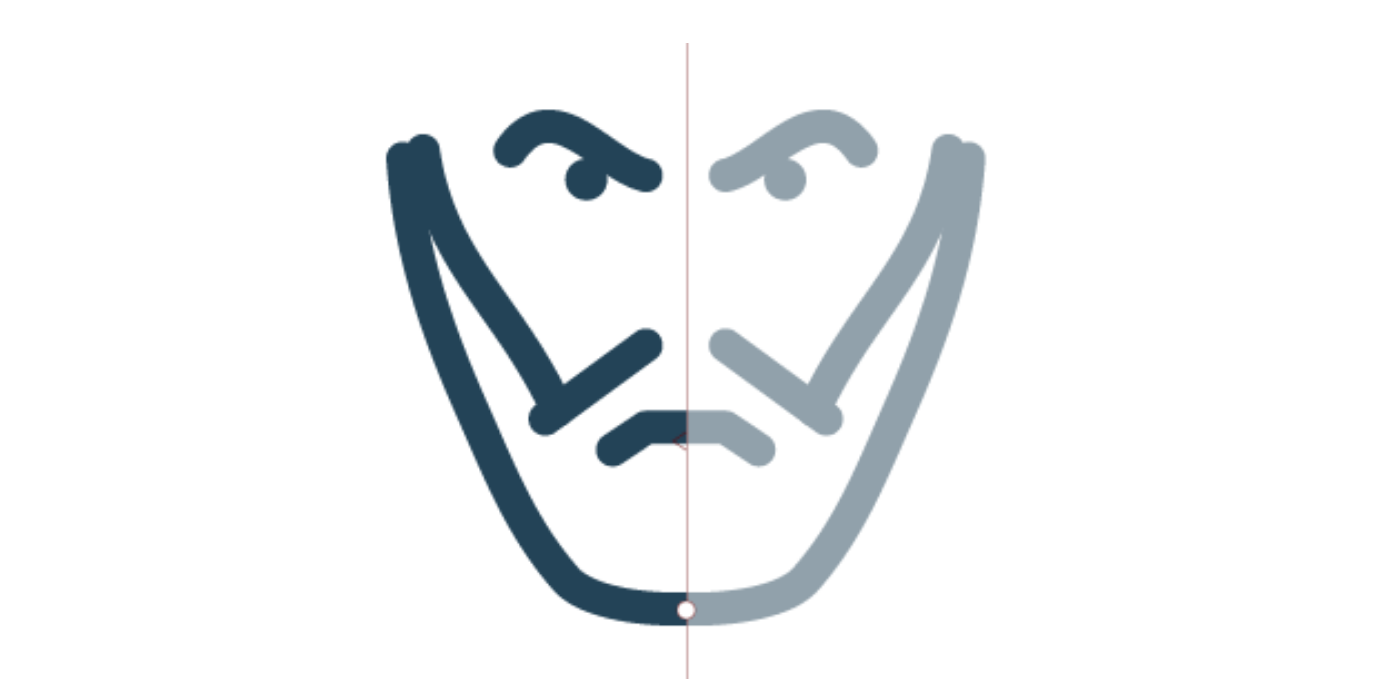
Most of the icons that we will create today are symmetrical relating to the vertical axis, and in these cases it is convenient to use MirrorMe. We take this tool and in the opened panel establish one axis and an angle of 90 degrees.
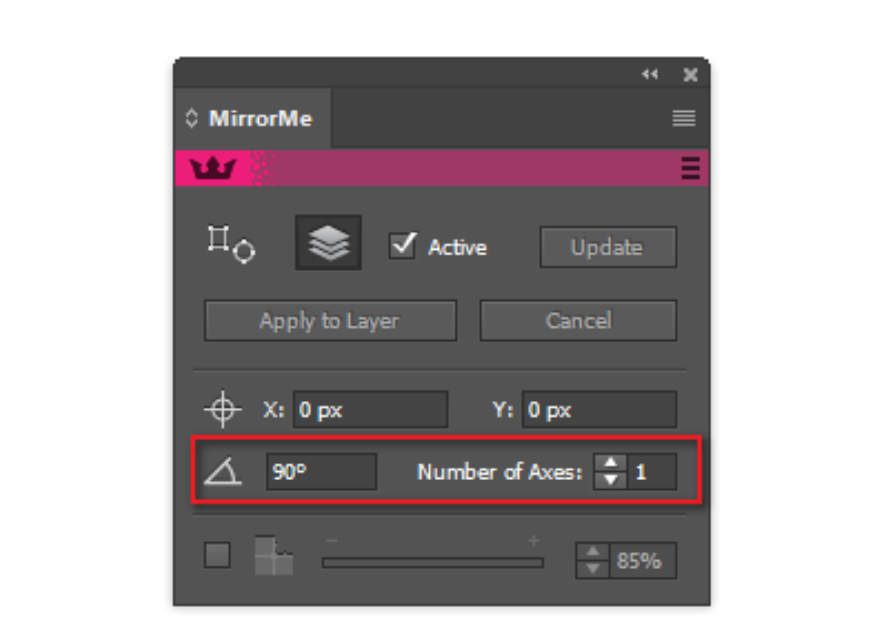
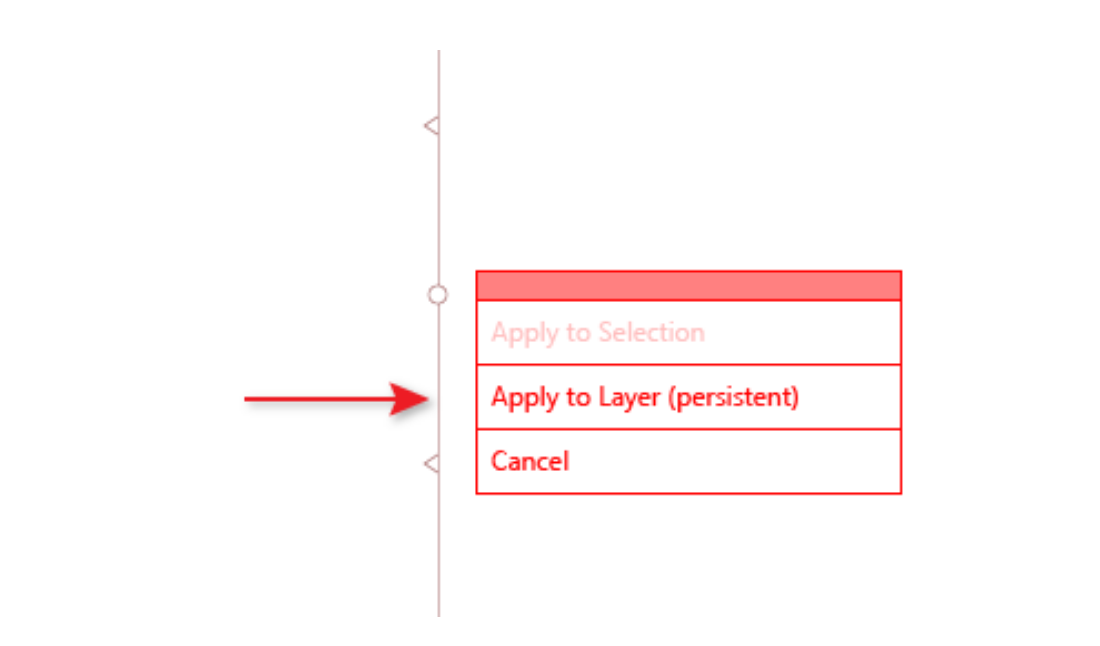
Click on the artboard and in the resulting annotation choose Apply to Layer. This mode allows you to create mirror copies of objects in the drawing process.
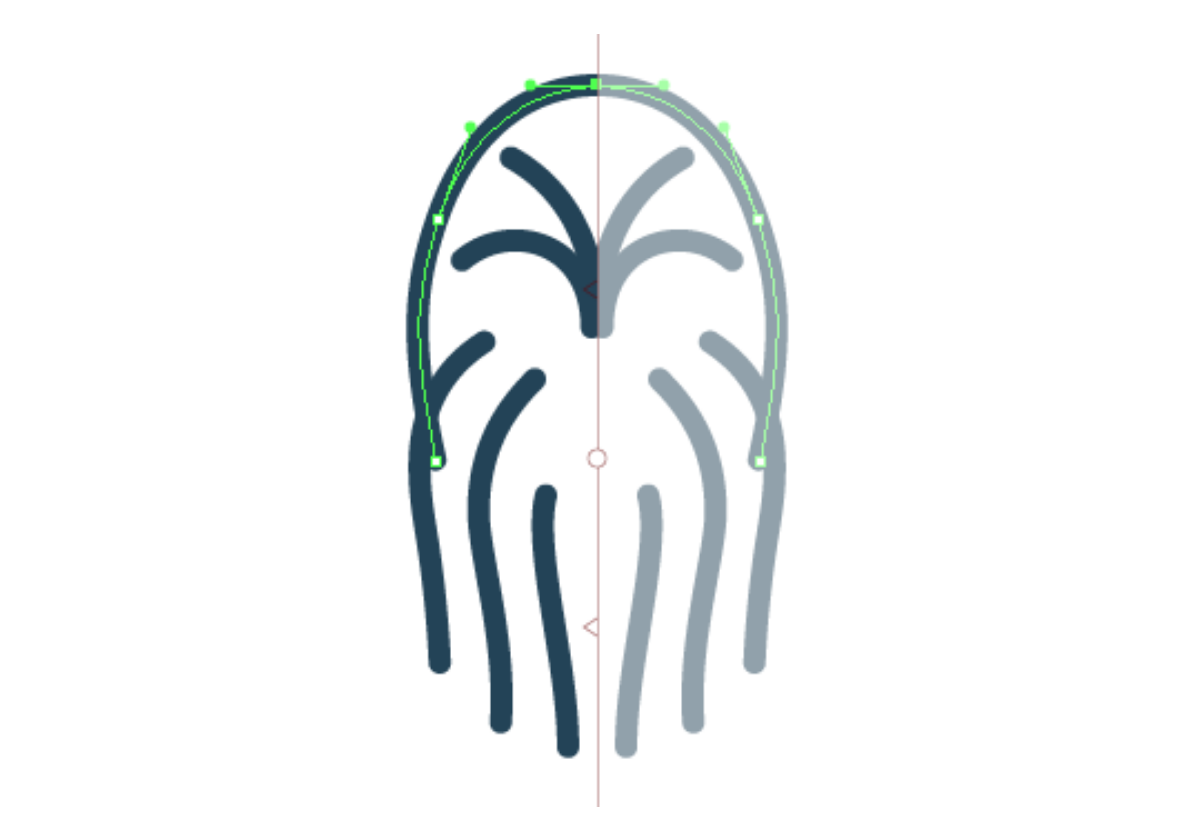
Now, with the help of the Pen Tool or InkScribe Tool, create the hair on Chewbacca's head. Using MirrorMe, we halve the number of paths created, and in addition, we see the entire character. This is very important for the rapid formation of the image and eliminates the need to correct unsuccessful actions. Such errors are inevitable if you create only half of Chewbacca's face, and then reflect objects using the Reflect Tool.
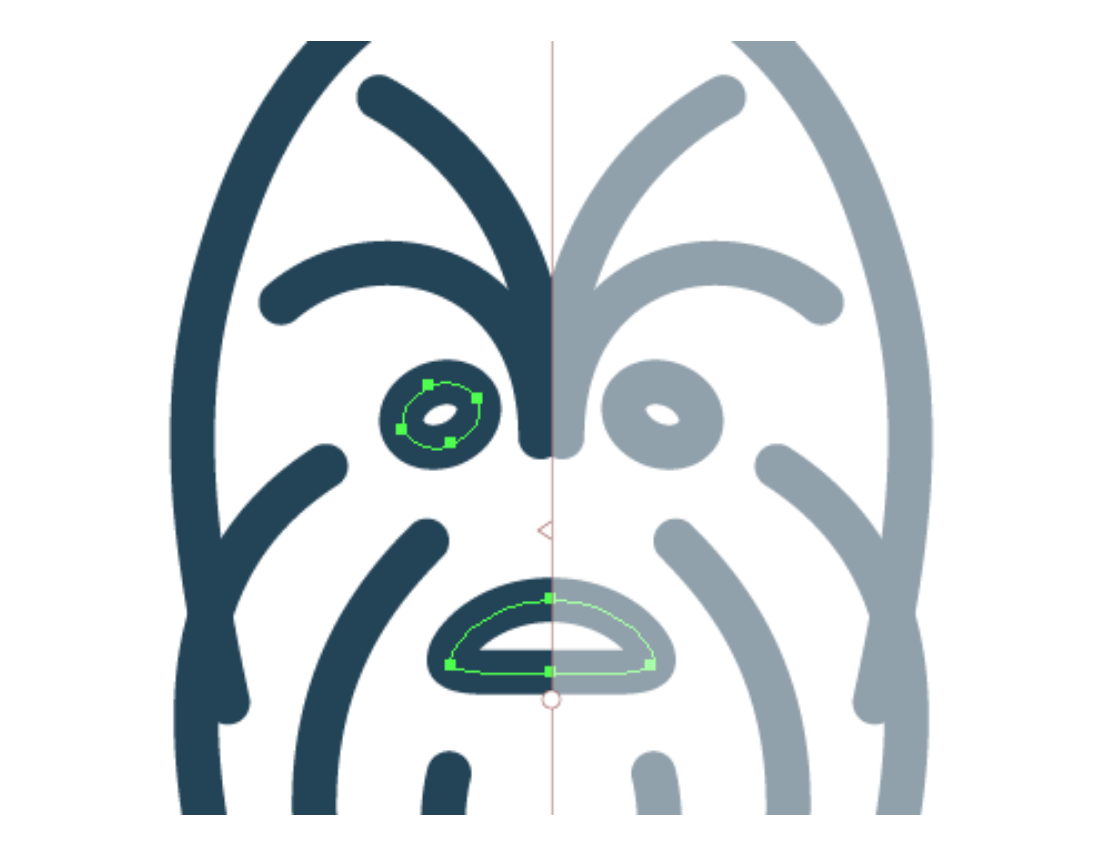
Next, create the eye and half of the mouth.
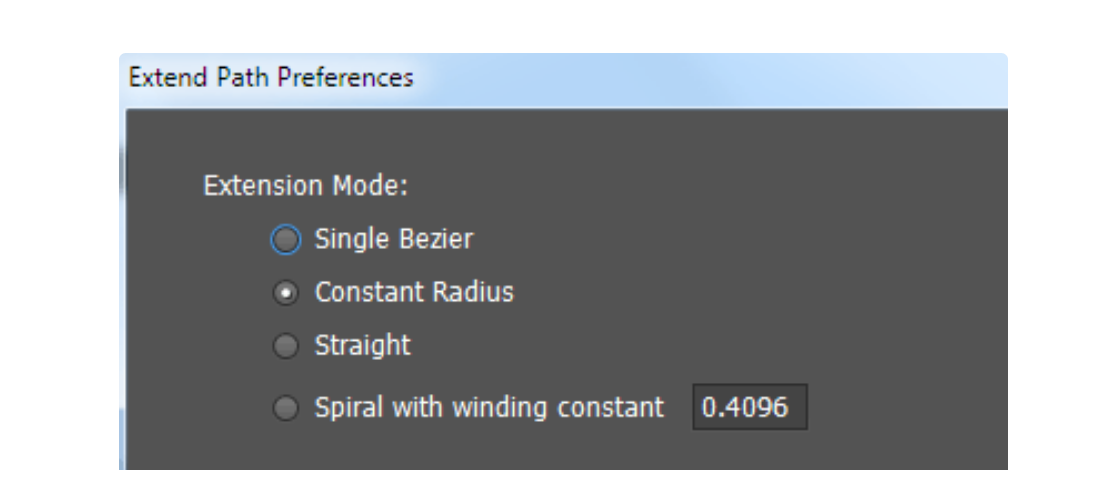
In the process of creating linear icons it is convenient to use the Extend Path Tool of the VectorScribe plug-in. This tool allows you to extend existing paths according to the previously installed modes in the dialog box. This is Single Bezier, Constant Radius, Straight and Spiral.
Also, the Extend Path Tool allows you to trim the paths.
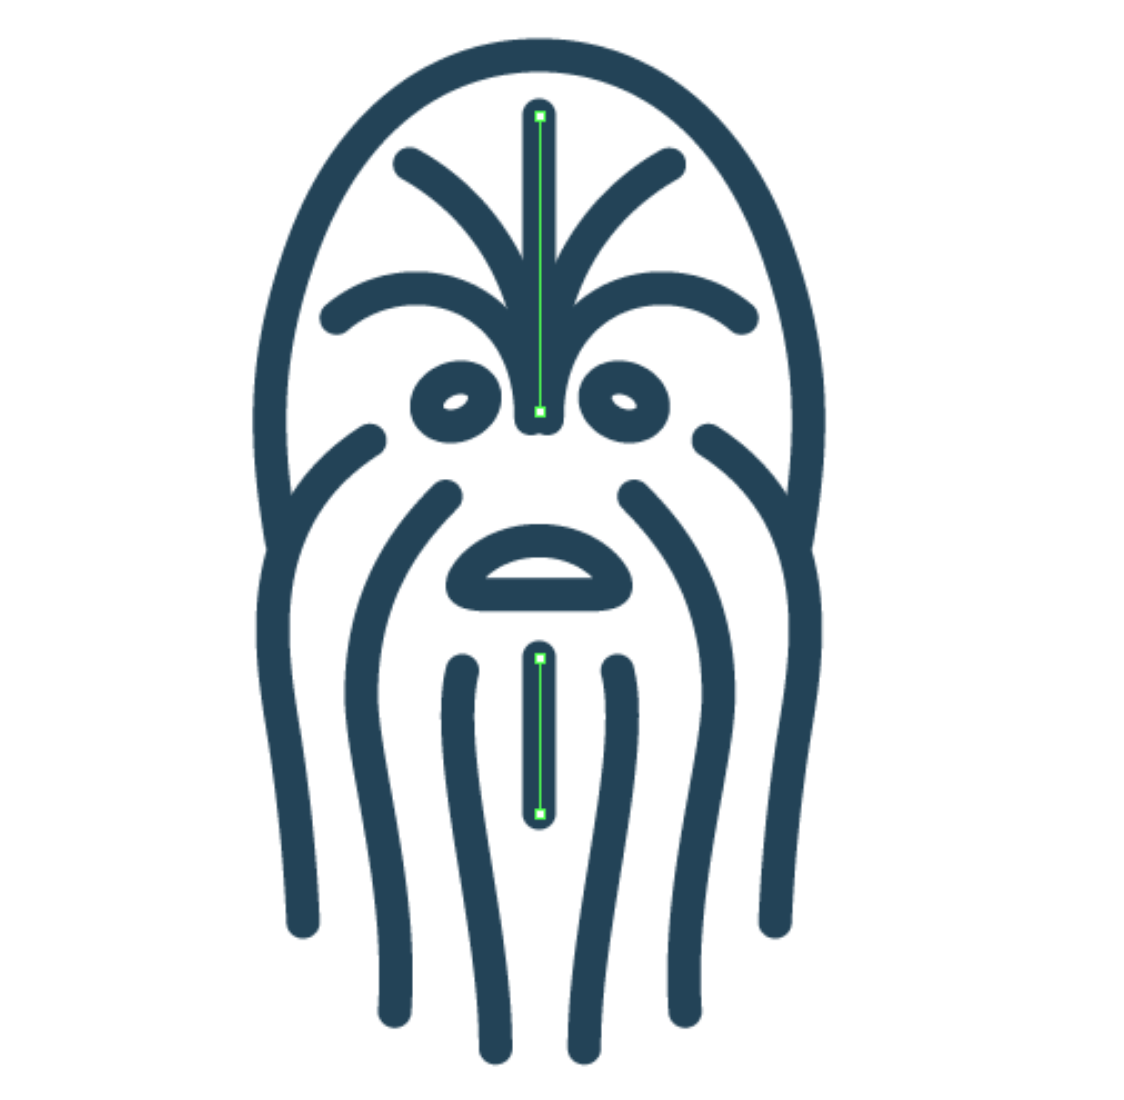
Click on Remove Axes in the MirrorMe panel button, then create two vertical lines, as shown in the picture below.
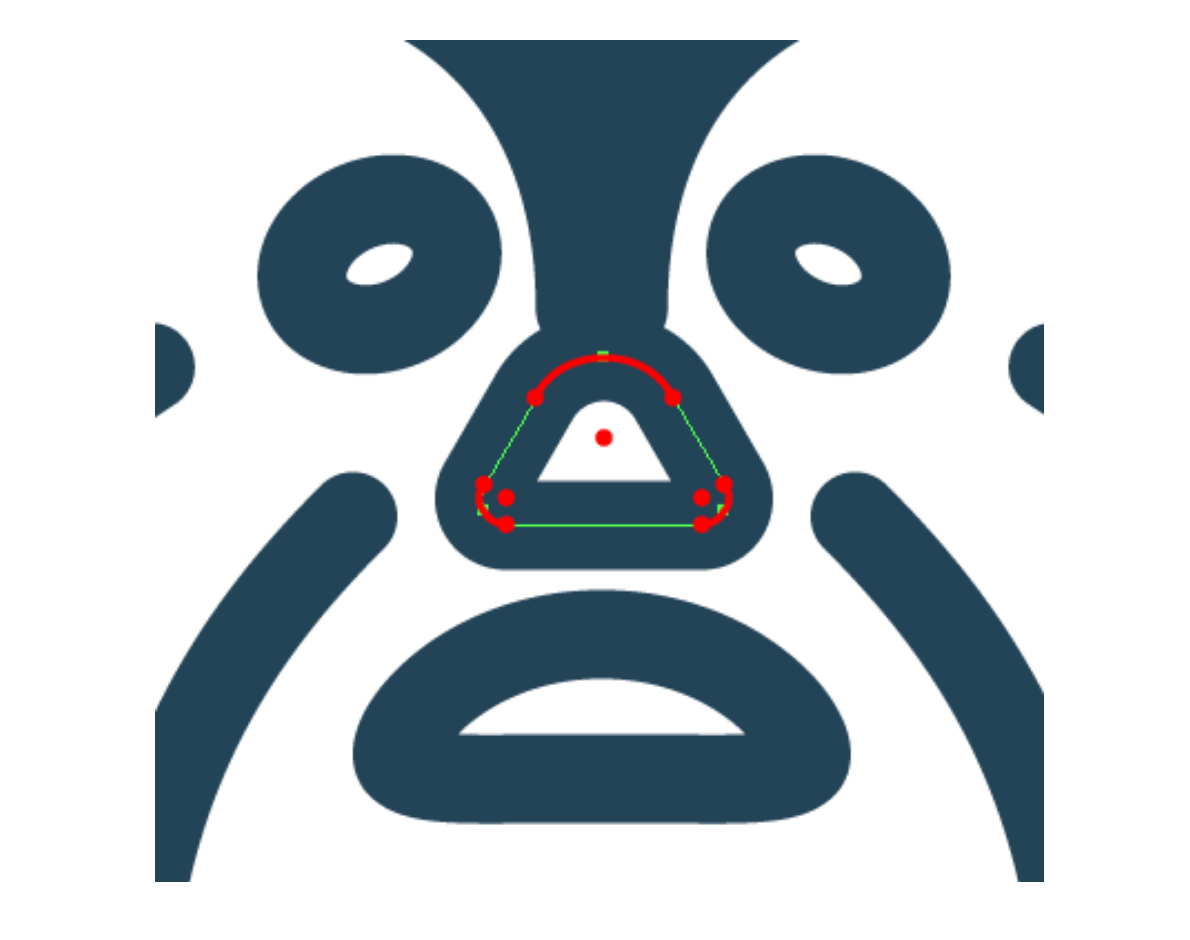
Create a nose in the shape of a triangle, then round it's corners with the help of the Dynamic Corners Tool (VectorScribe).
Yoda icon
Set the symmetry axis with MirrorMe, select the Apply to Layer option, and then draw the upper part of the Yoda head.
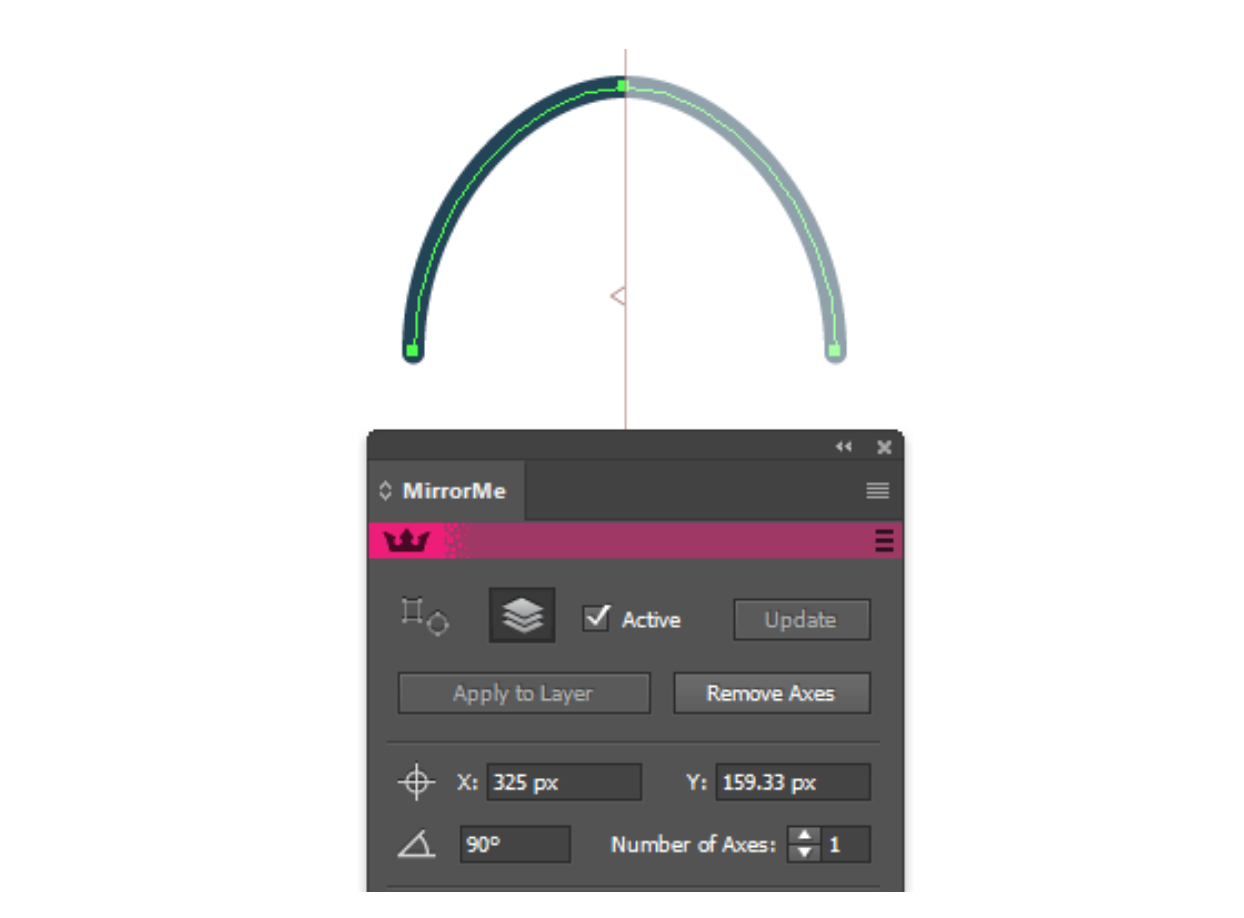
Paths in the shape of an arch are quickly and conveniently created using the Arc-start-end-direction Tool of SubScribe. Now create an arch, extending the existing path as it is shown below.
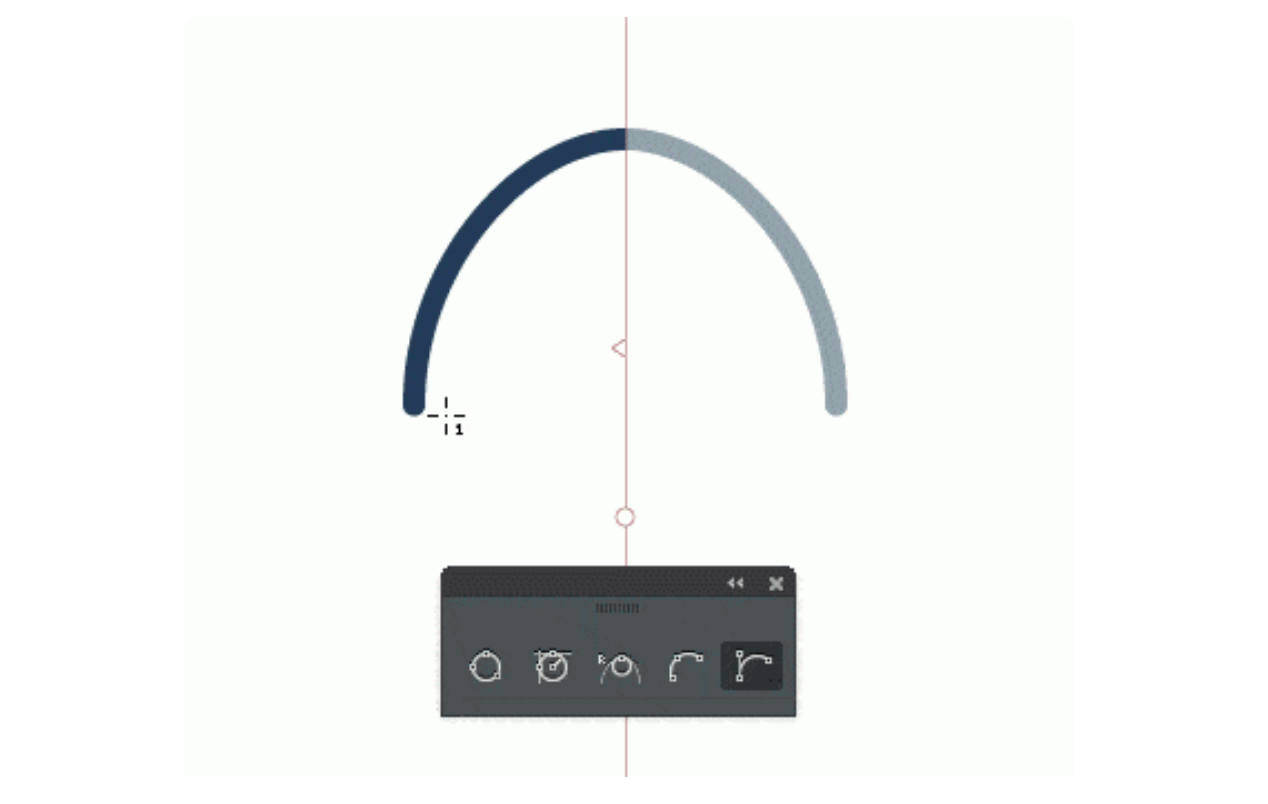
Draw 5 more arches on Yoda’s head, they correspond to the chin, mouth, nose and wrinkles on the forehead.
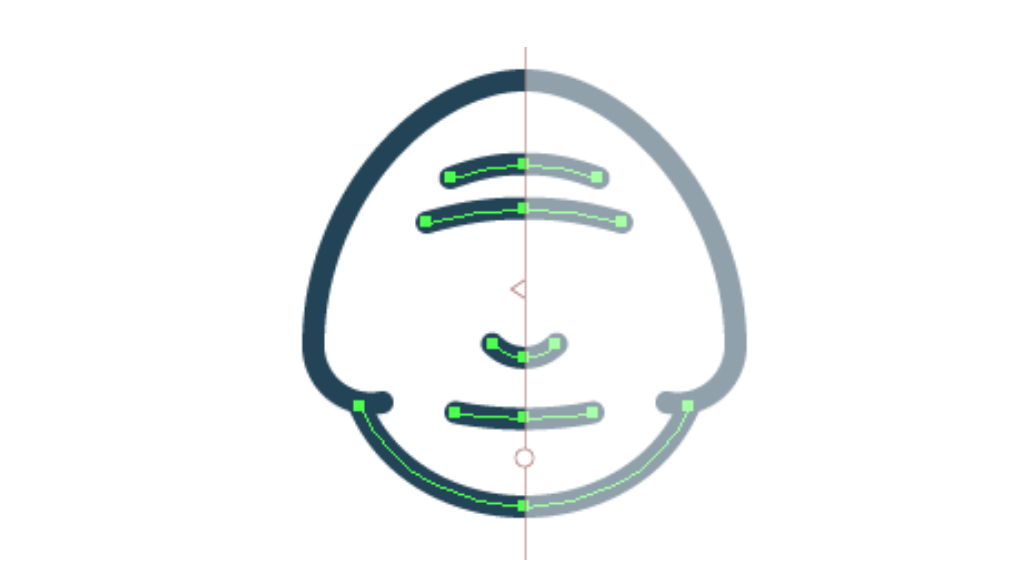
Draw the shape of an eye and ear.
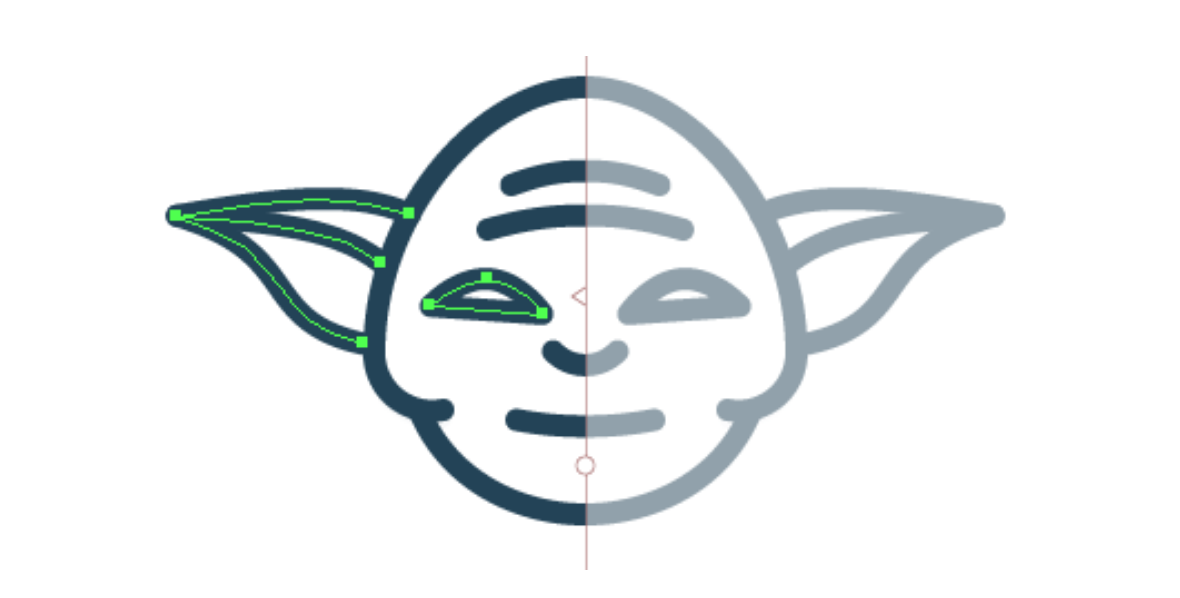
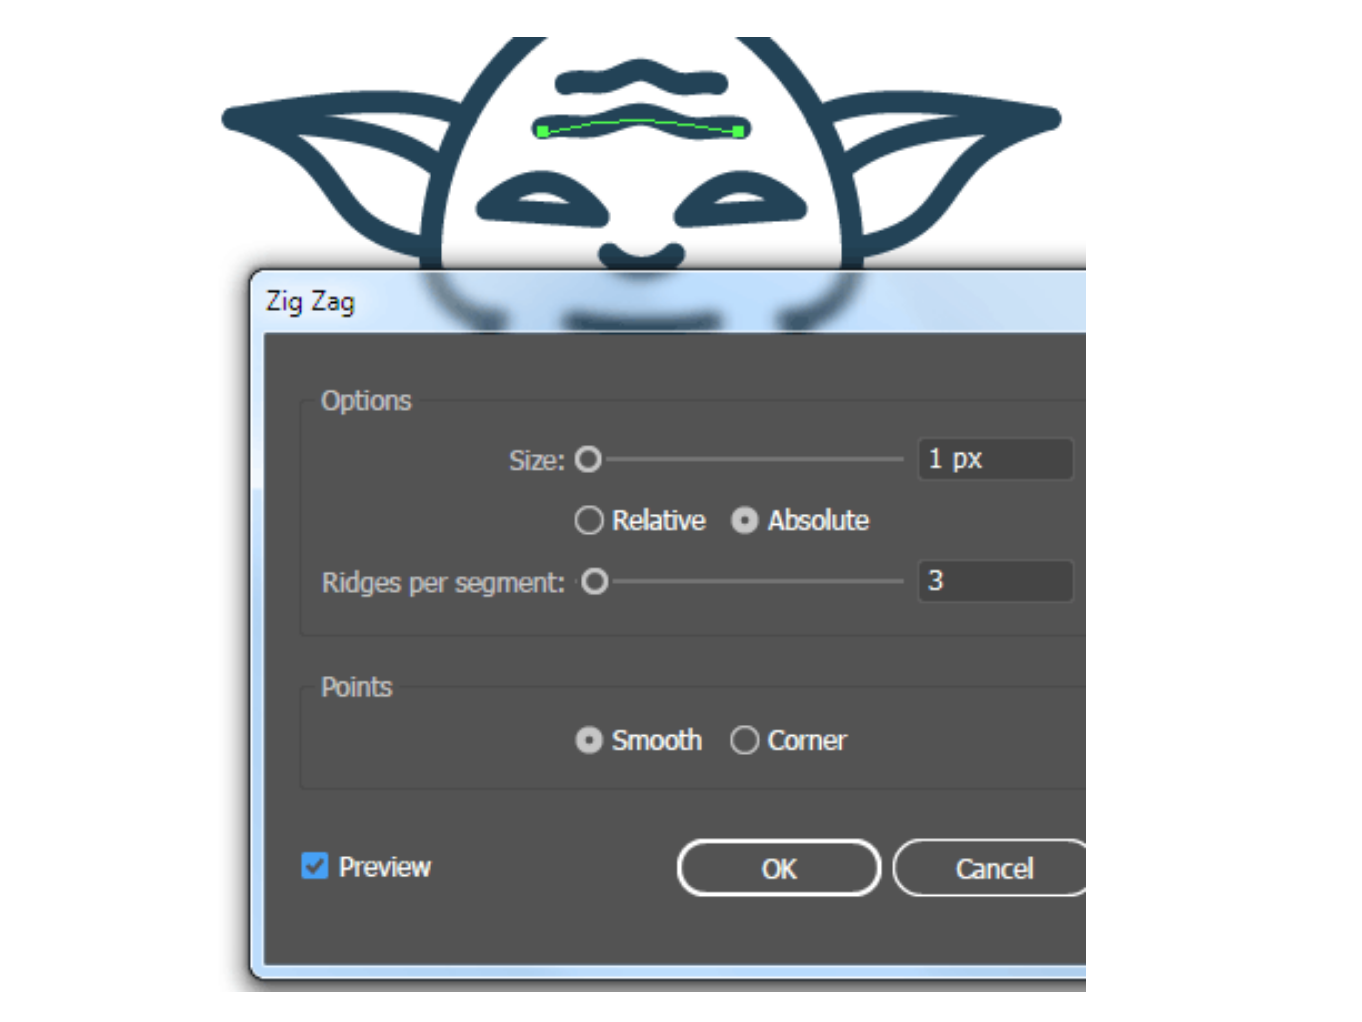
Click on Remove Axes in the MirrorMe panel button. Now apply the Zig Zag effect to the wrinkles on the forehead (Effect > Distort & Transform > Zig Zag…).
Obi Wan Kenobi icon
Create symmetric parts of the face using MirrorMe.
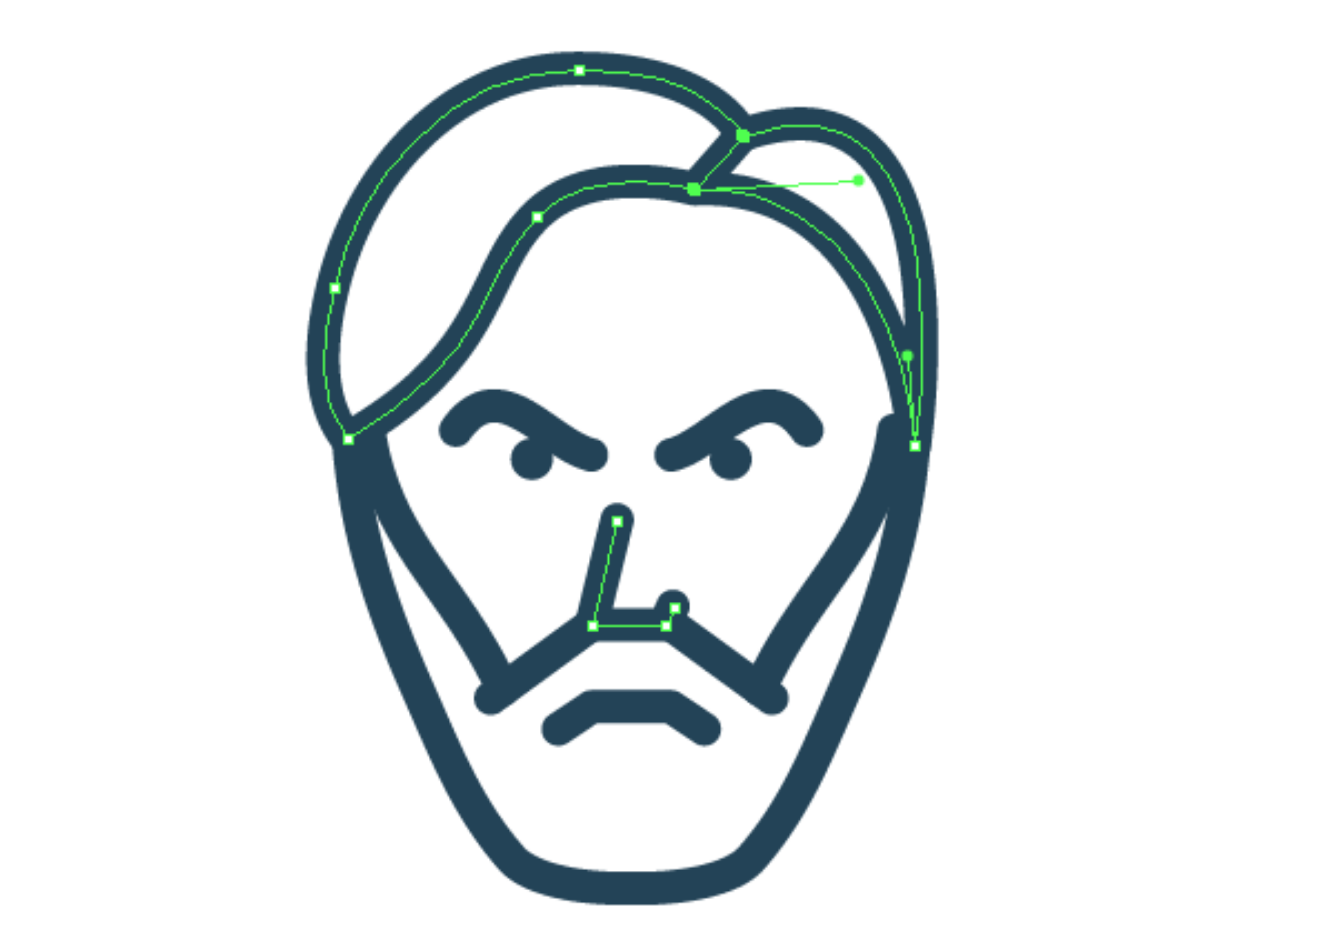
Remove the axis of symmetry and draw asymmetrical objects: nose and hairstyle.
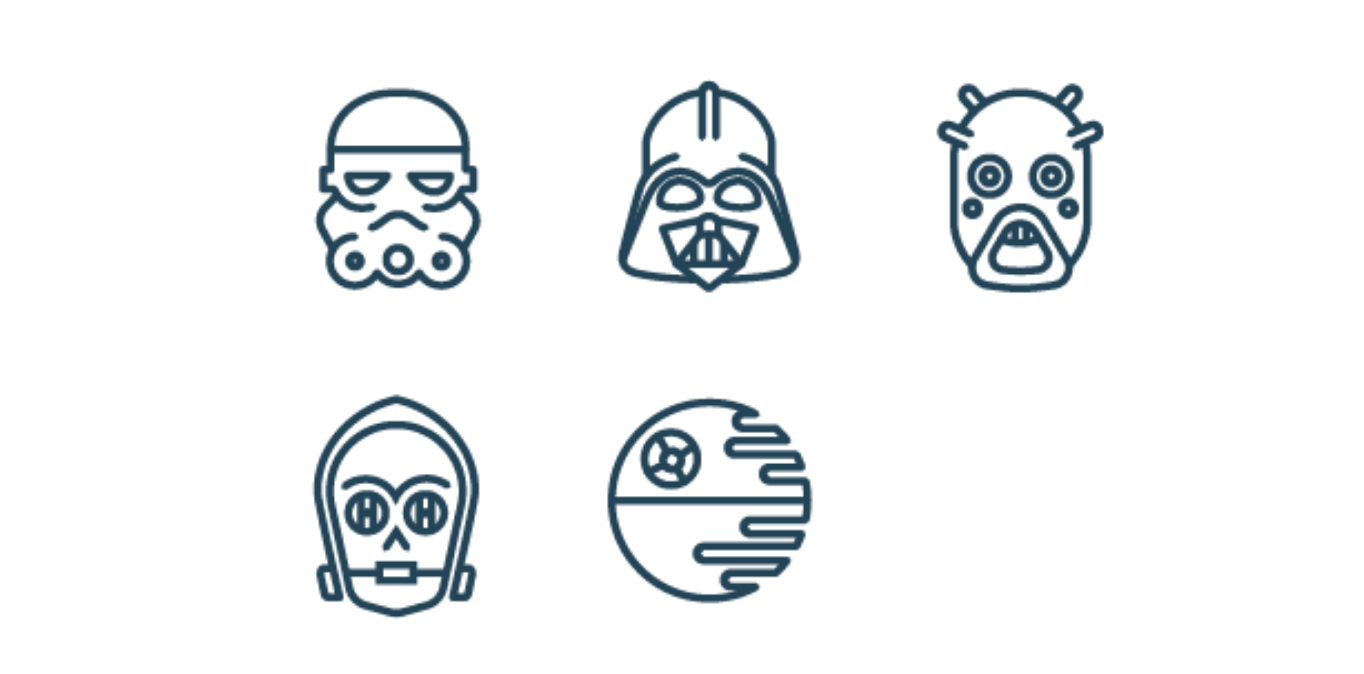
Storm Trooper, Darth Vader, C-3PO, Death Star and Tusken Raider icons
Using the above described techniques, I created 5 new icons.
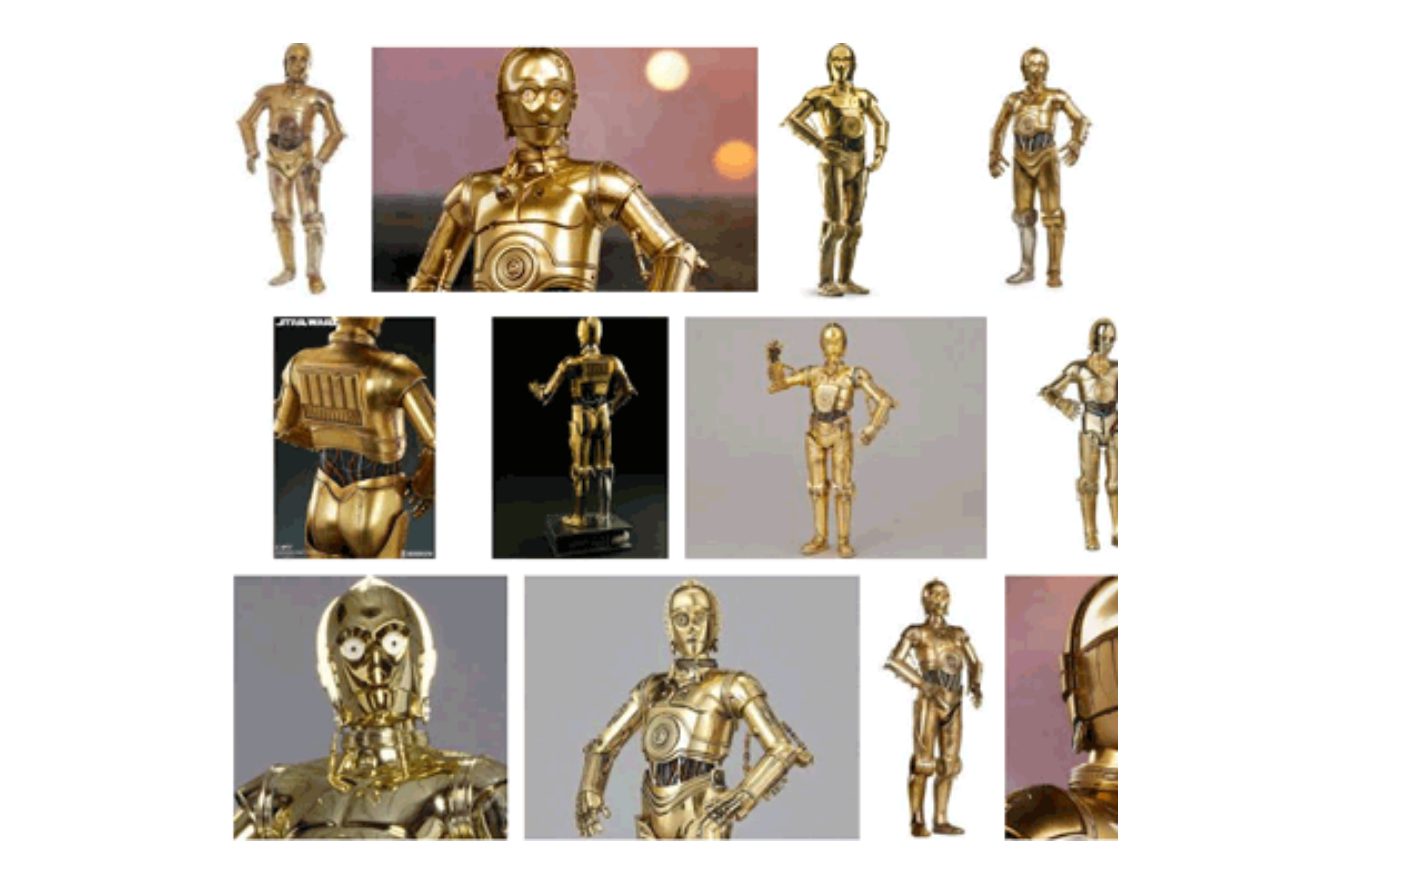
In order to create recognizable images, I advise studying photos of Star Wars characters and trying to stylize the icons, observing the proportions and using the minimum amount of lines.
BB-8 icon
We will go into more detail with this icon, as I used a new tool to create it. Begin by drawing a circle and two ellipses, as shown in the picture below.

In my opinion, it is necessary that the ellipses touch the circle somewhere at the upper left point and that at the same time they are correctly rotated. This action can be done with the help of the Rotate at Collision Tool of the ColliderScribe plug-in. "Space" keyboard shortcut – use the alternate rotation orientation.
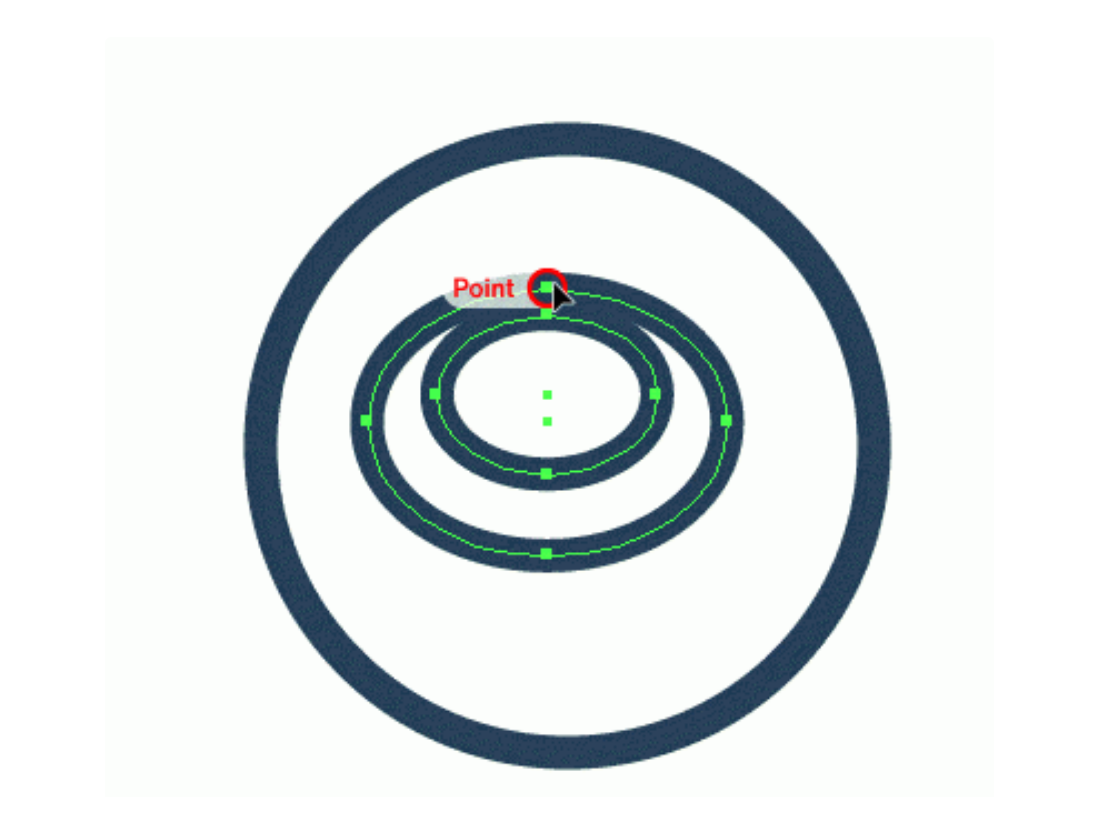
Similarly, place a copy of the ellipses in the lower part of the circle.

The visibility of another group of ellipses is limited using the clipping mask.
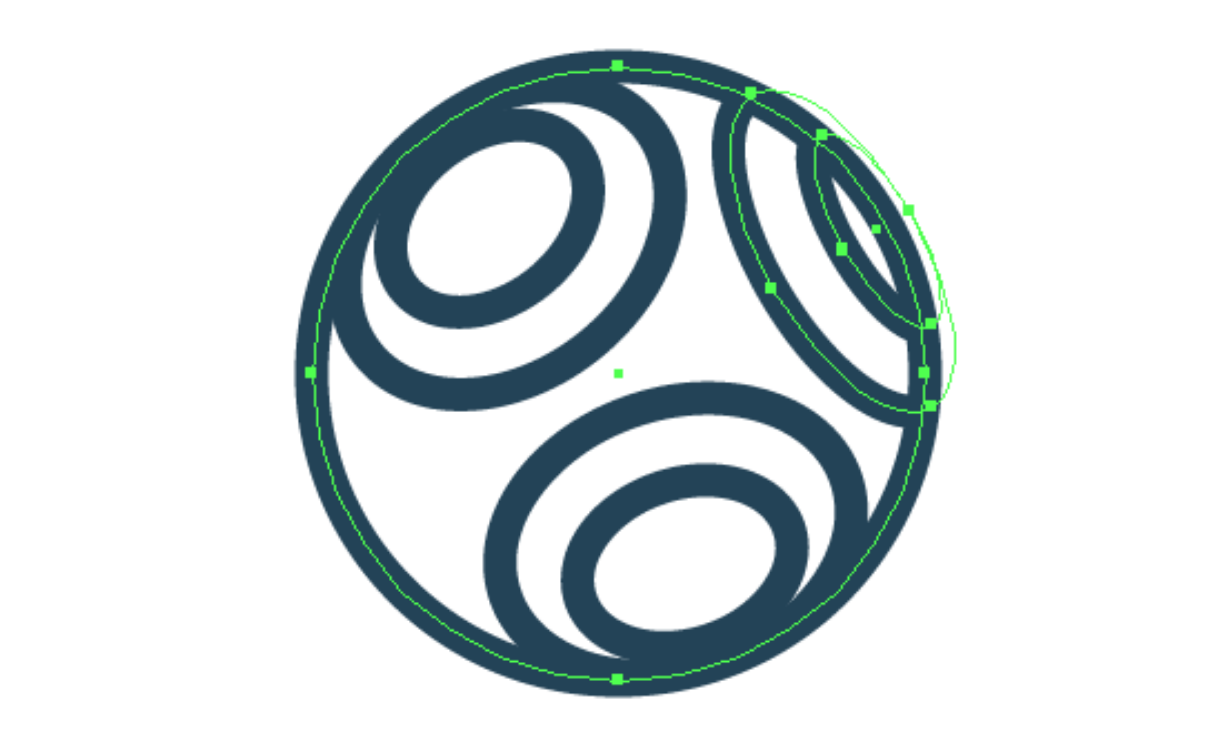
Add half of the circle above and two circles inside.
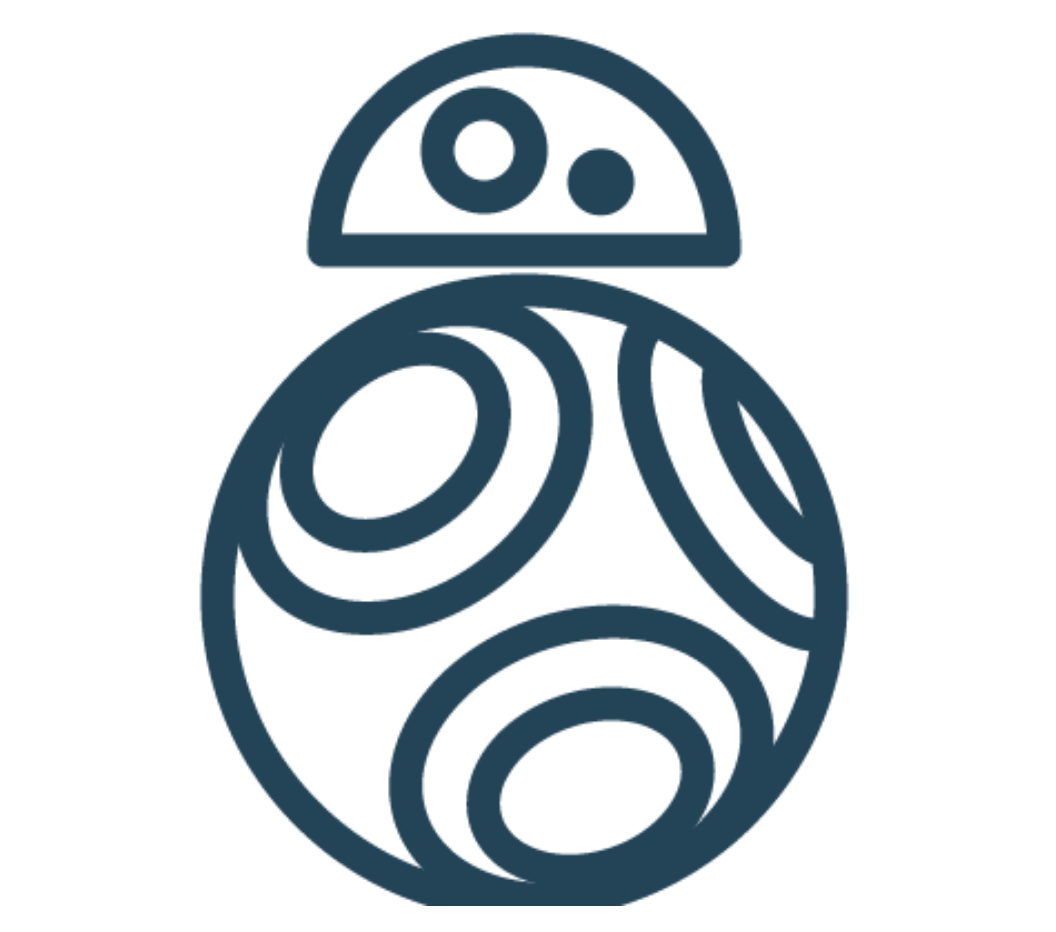
Now the Star Wars icons are ready.
