Making gift tags with our FREE resource packs
9 minute readJust this month we released four brand new resource packs:
- Pen and Paper Styles
- Vintage Effect Styles
- Glitter Brushes
- Christmas Styles
In this tutorial we are going to make four simple gift tag designs using a style and brush from each pack. Then you can download them all and explore and make your own designs using this huge selection of graphic styles and brushes.
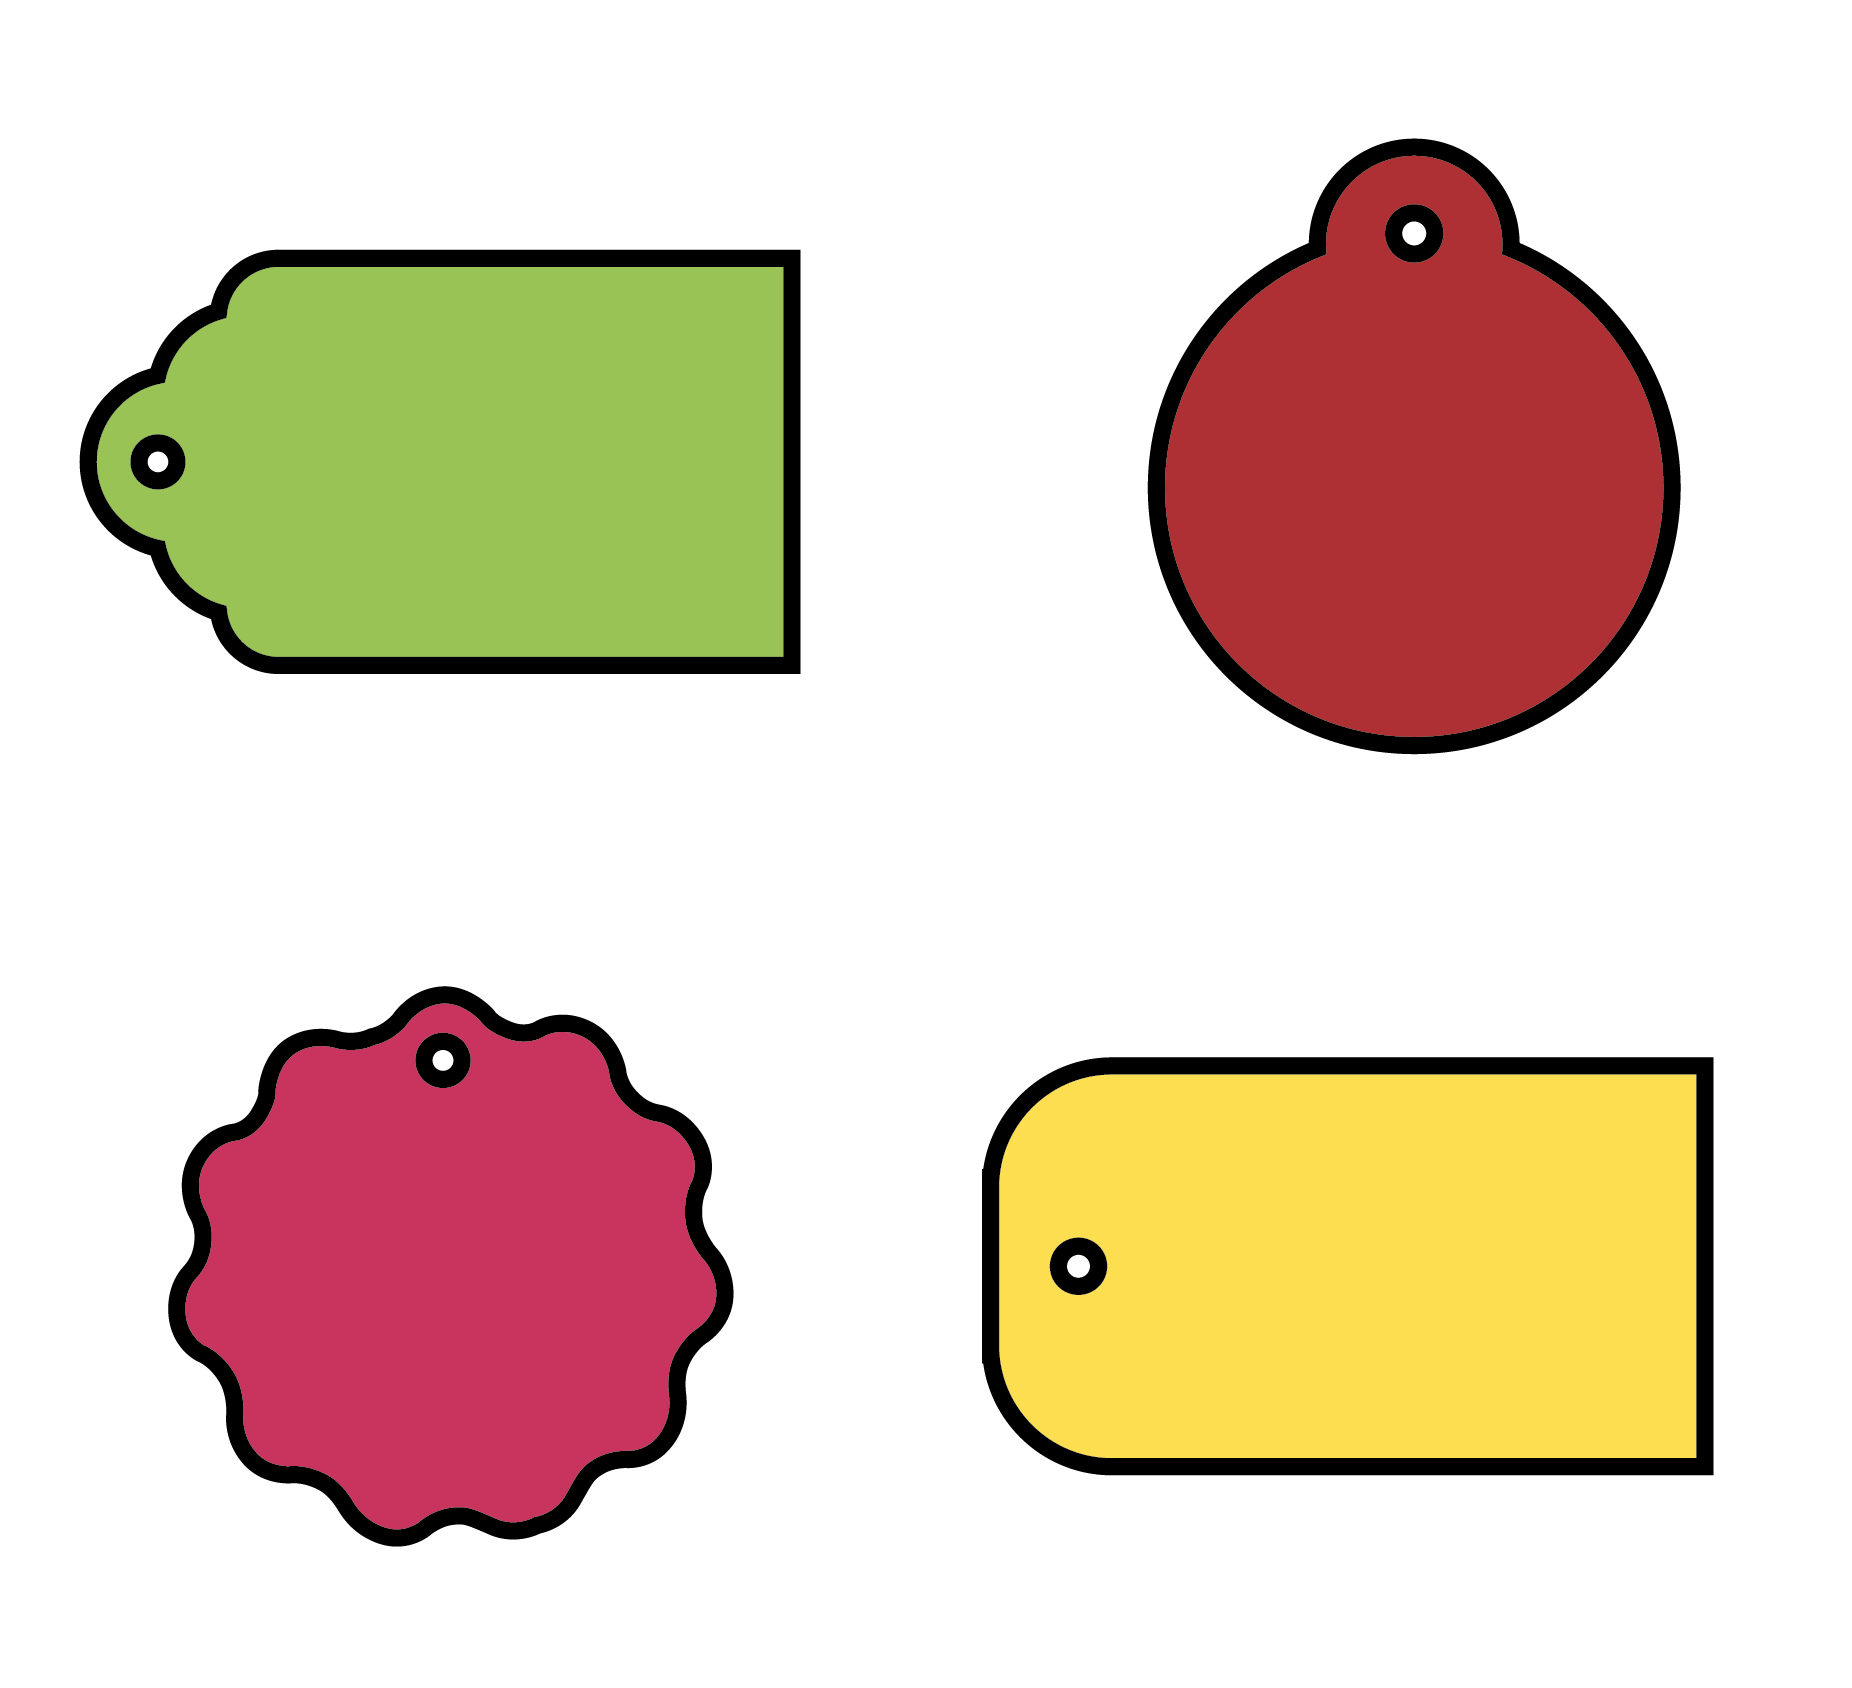
Here are the blank gift tags, just simple shapes, a fill and stroke applied and ready to have some design added.
VINTAGE
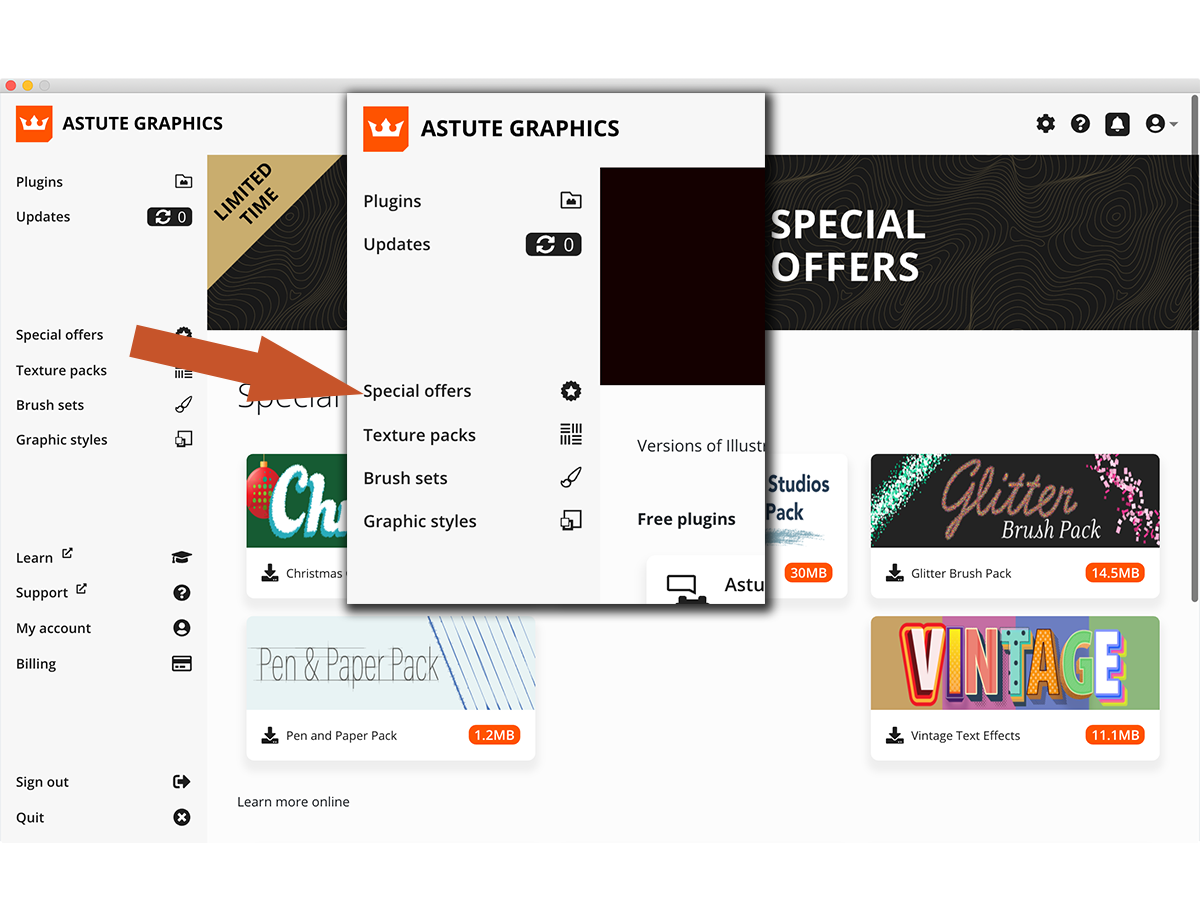
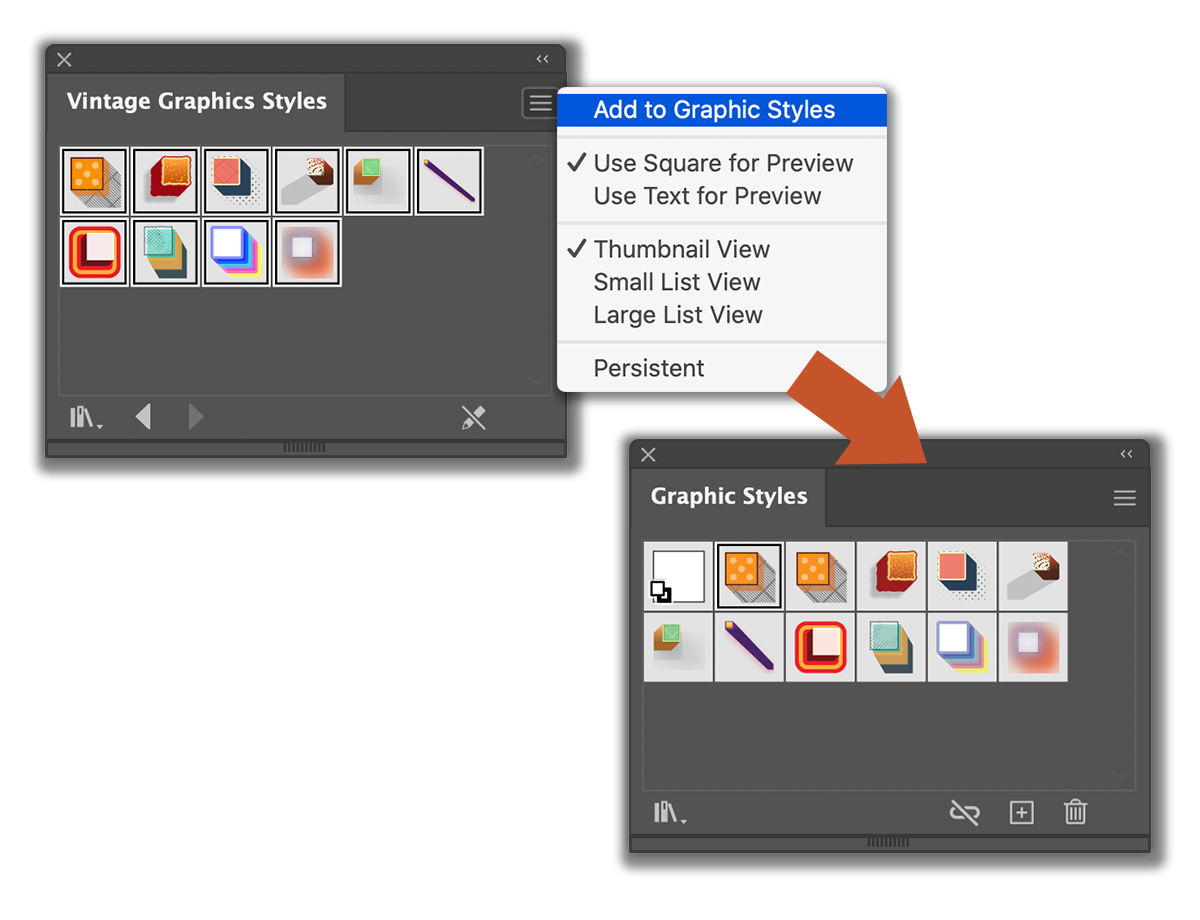
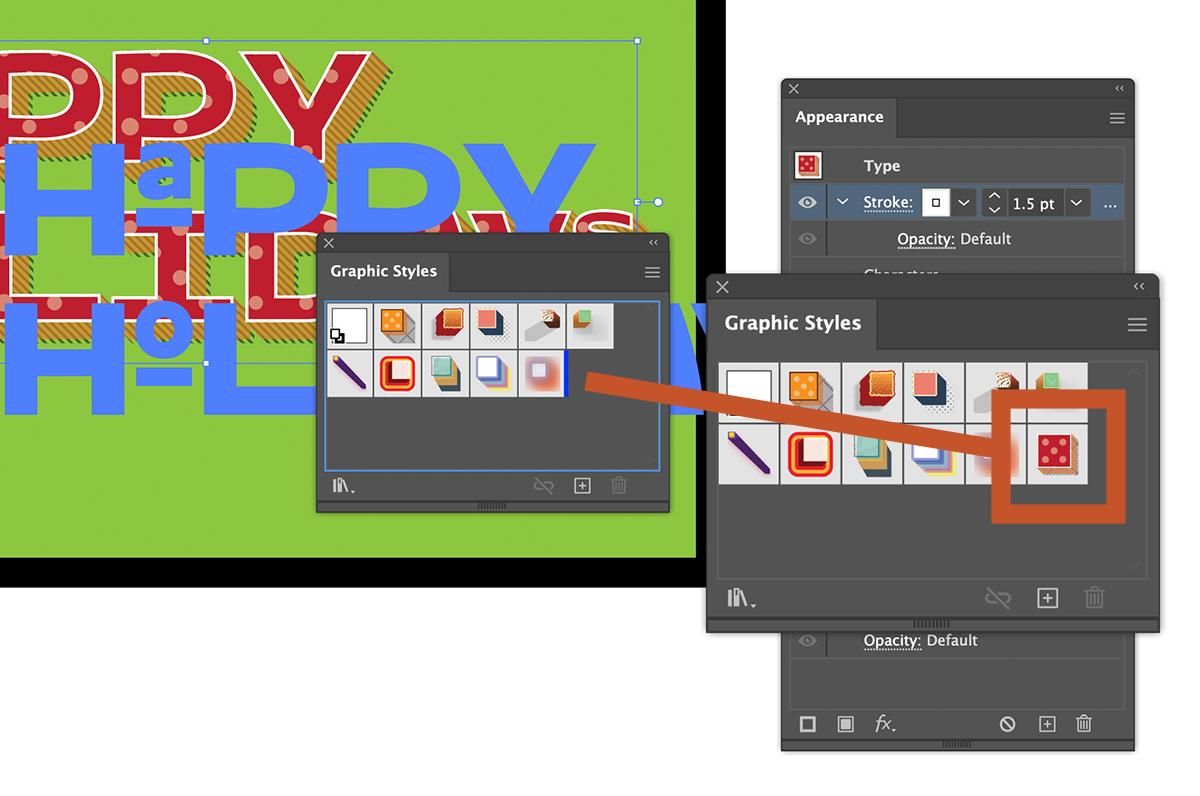
First, we need to access our downloaded graphic styles available from the Special Offers tab in Astute Manager.
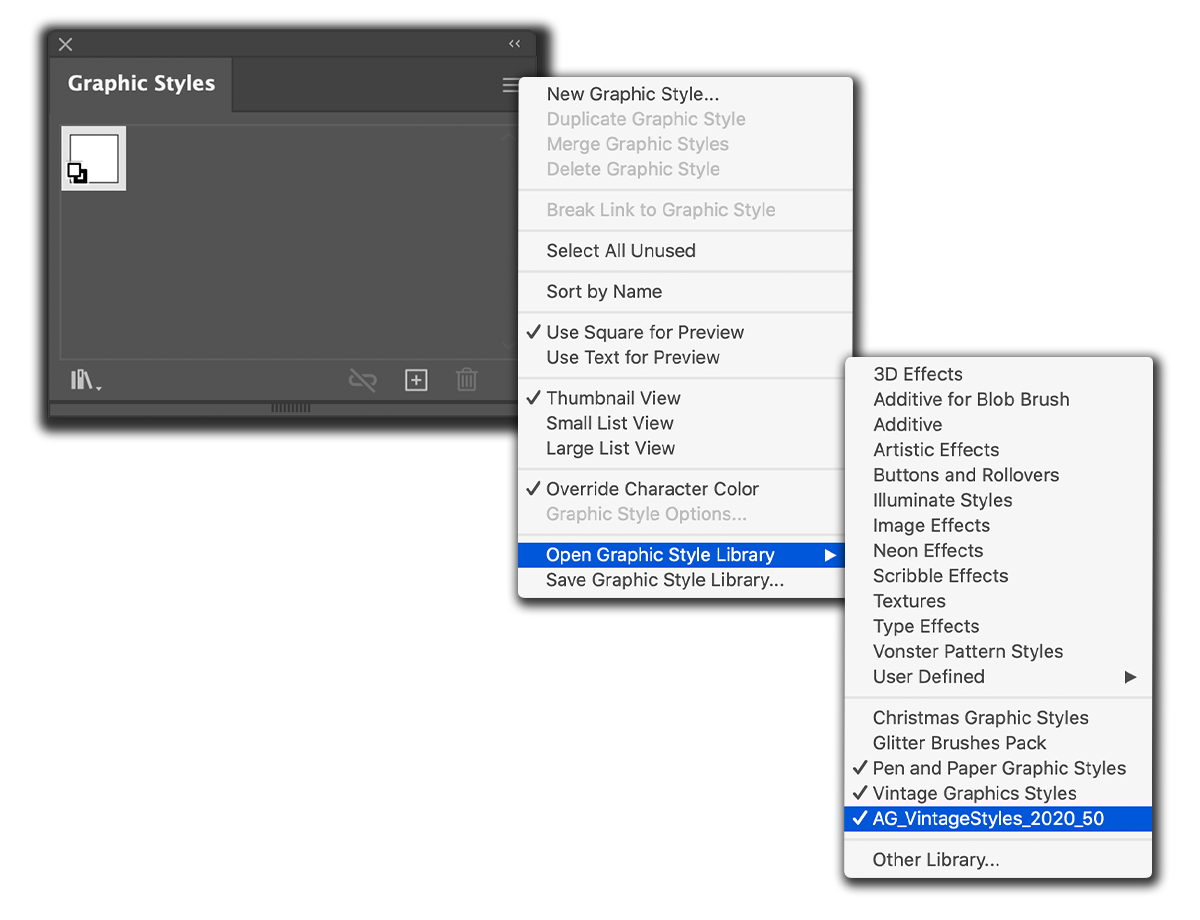
Once downloaded we now need to open up the Graphic Styles panel (Window > Graphic Styles). It's always ideal to clear the existing styles out first which you can do by clicking on the flyout, choose Select All Unused and delete. Now go back to the flyout and go to 'Open Graphic Style Library' and 'Other Library' to locate your downloaded Vintage styles. You are going to repeat this step for the Pen & Paper and Christmas Styles so remember this part for later on in the tutorial.
Once selected you now need to add the styles to the Graphic Styles panel, the reason for doing so is so that if you make any changes to the styles, having them loaded into the Graphic Styles panel means you can overwrite the existing or add the amended. To do this just click on the first and shift click on the last, go to the flyout and select "Add to Graphic Styles".
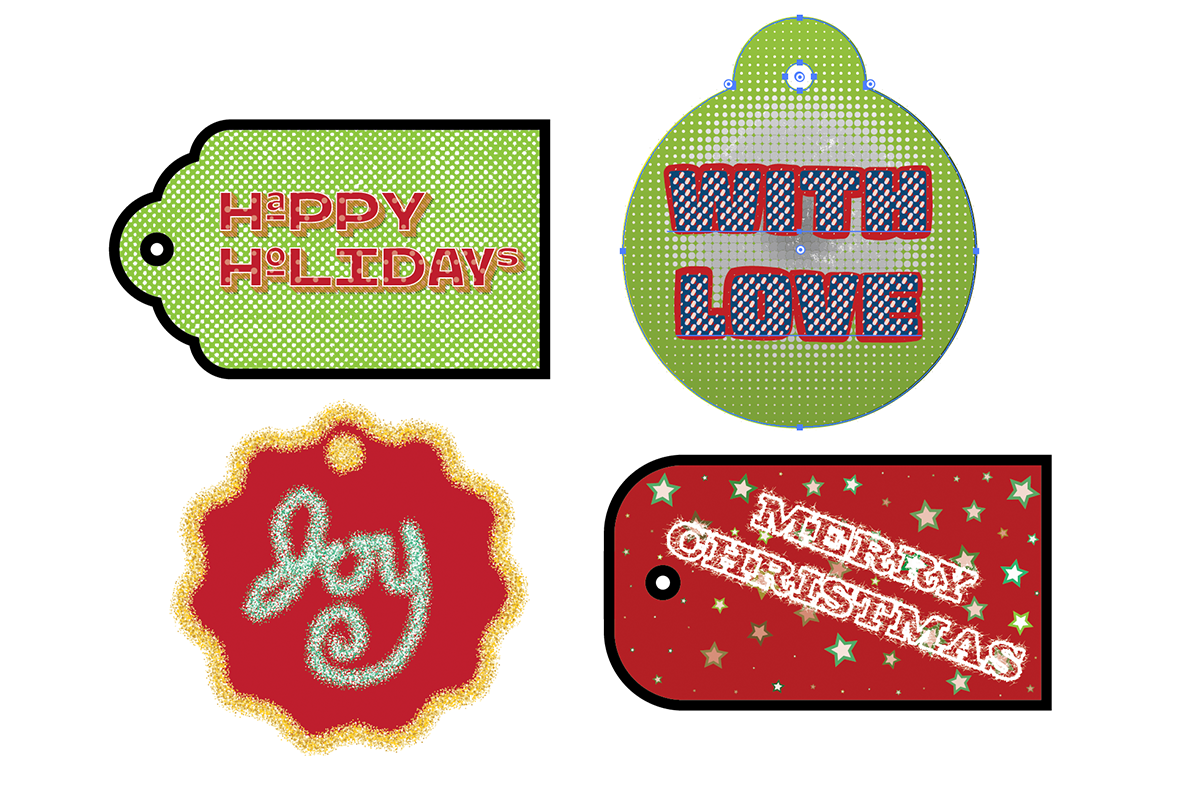
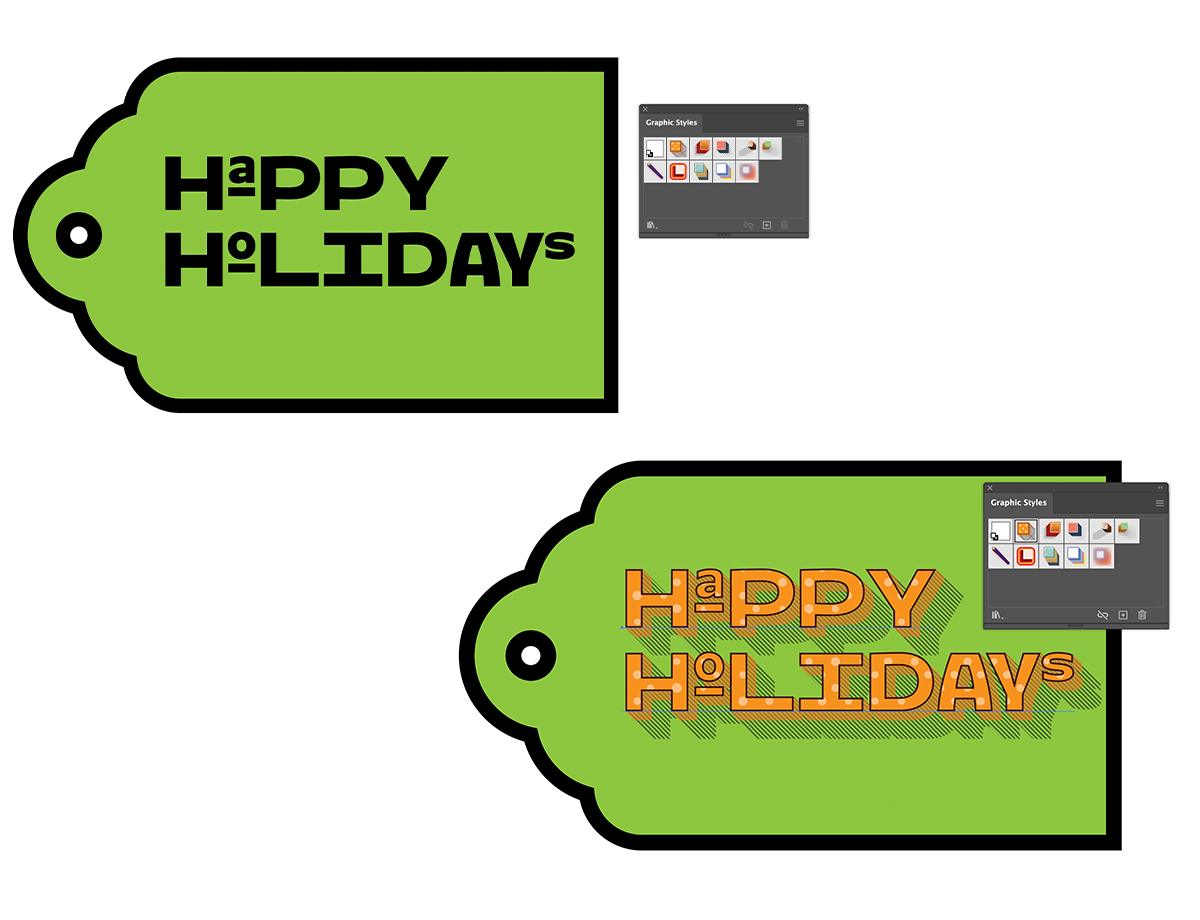
We now have our styles ready to use, let's add some text and shapes to our first gift tags. Choose an appropriate font, I have used Hothouse, available through Adobe Fonts. To get the small letters just highlight that letter and you will have a variant presented to you, click on that and it will replace the larger letter. Type HAPPY HOLIDAYS.
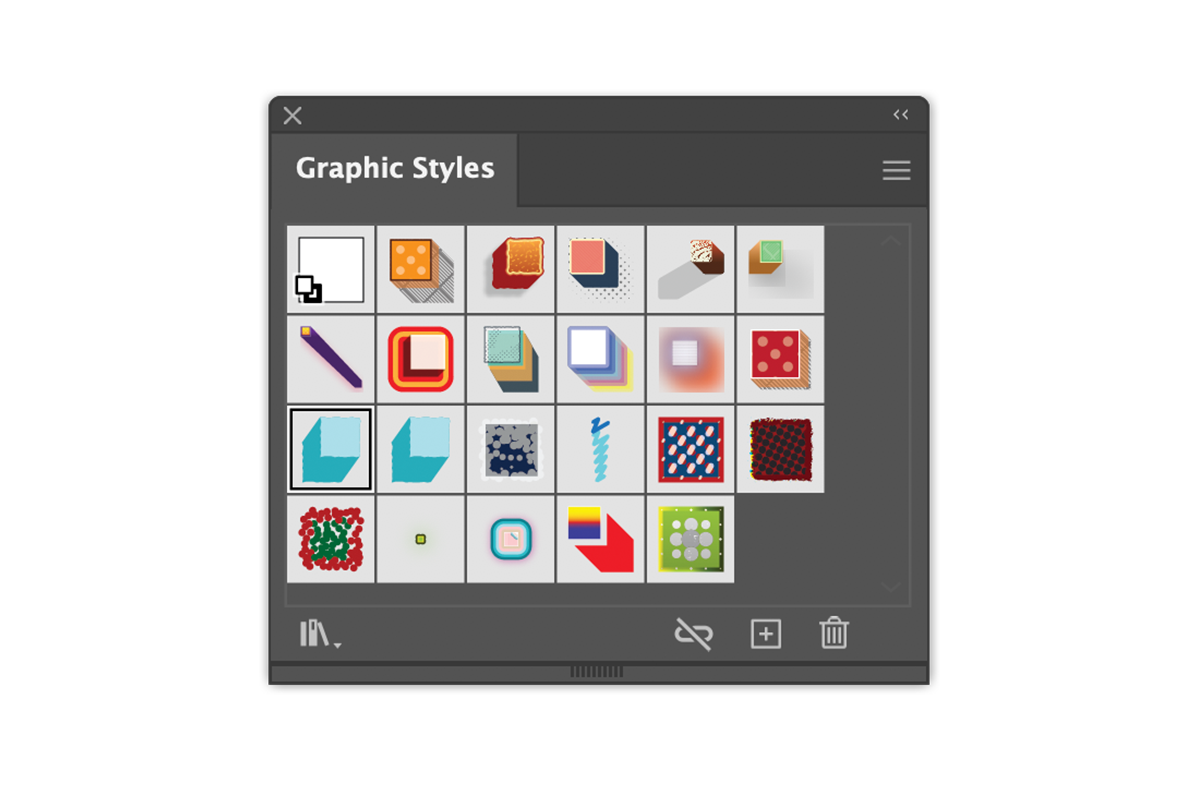
Next go over to the Graphic Styles panel and we are going to use Style 01. Now that may have seemed pretty quick and easy, and it was, that's why we love graphic styles. But let's make a little change to the style as it's not quite what I am looking for. Open up the Appearance Panel (Window > Appearance)
Open up all the instances of effects and at the bottom we are looking to reduce the length of the lined block shadow. We can see that AG Block Shadow is applied to that fill so click on "AG Block Shadow" to open up the panel for this. Change the length from 37.5pt to 15pt to reduce the length of that shadow.
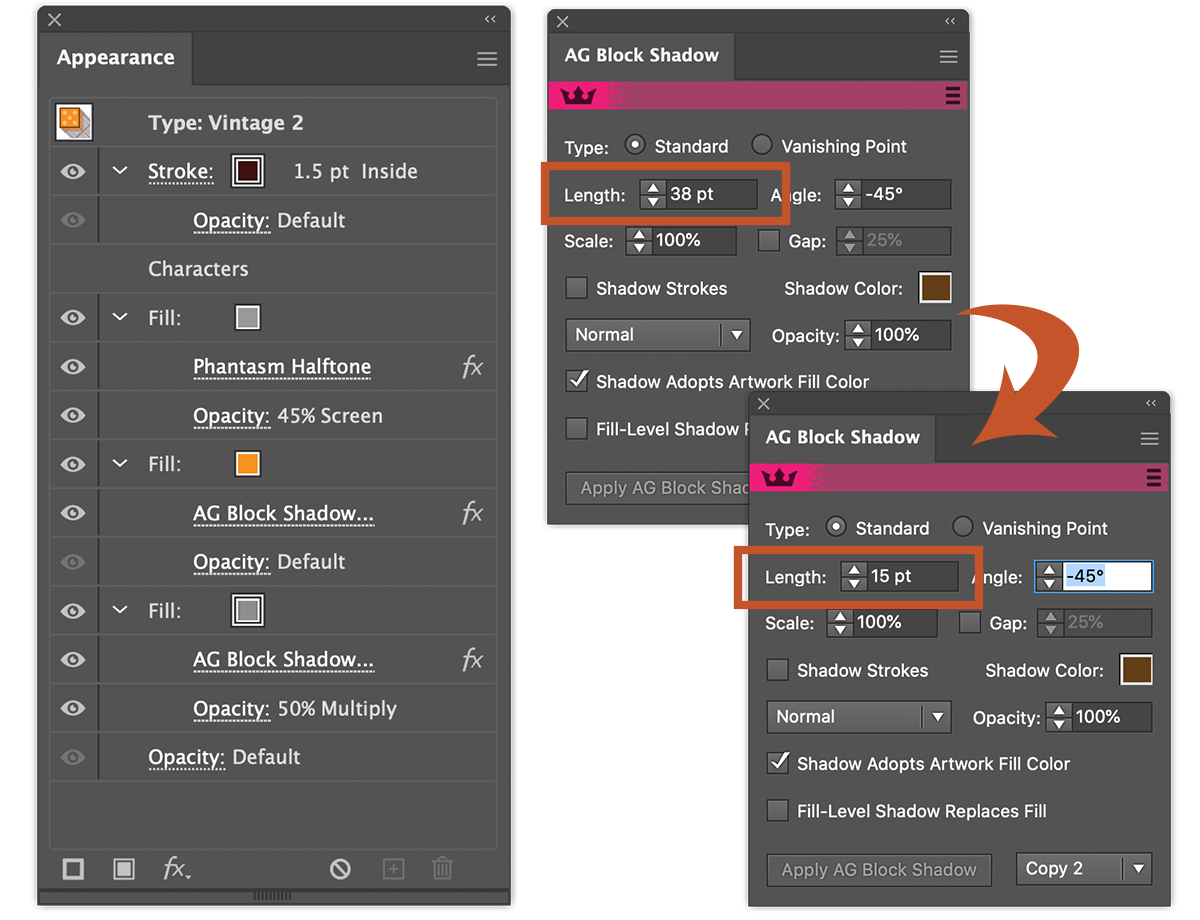
Now go to the Orange Fill and we'll change that to any red. And lastly go to the top most Stroke and change that to white.
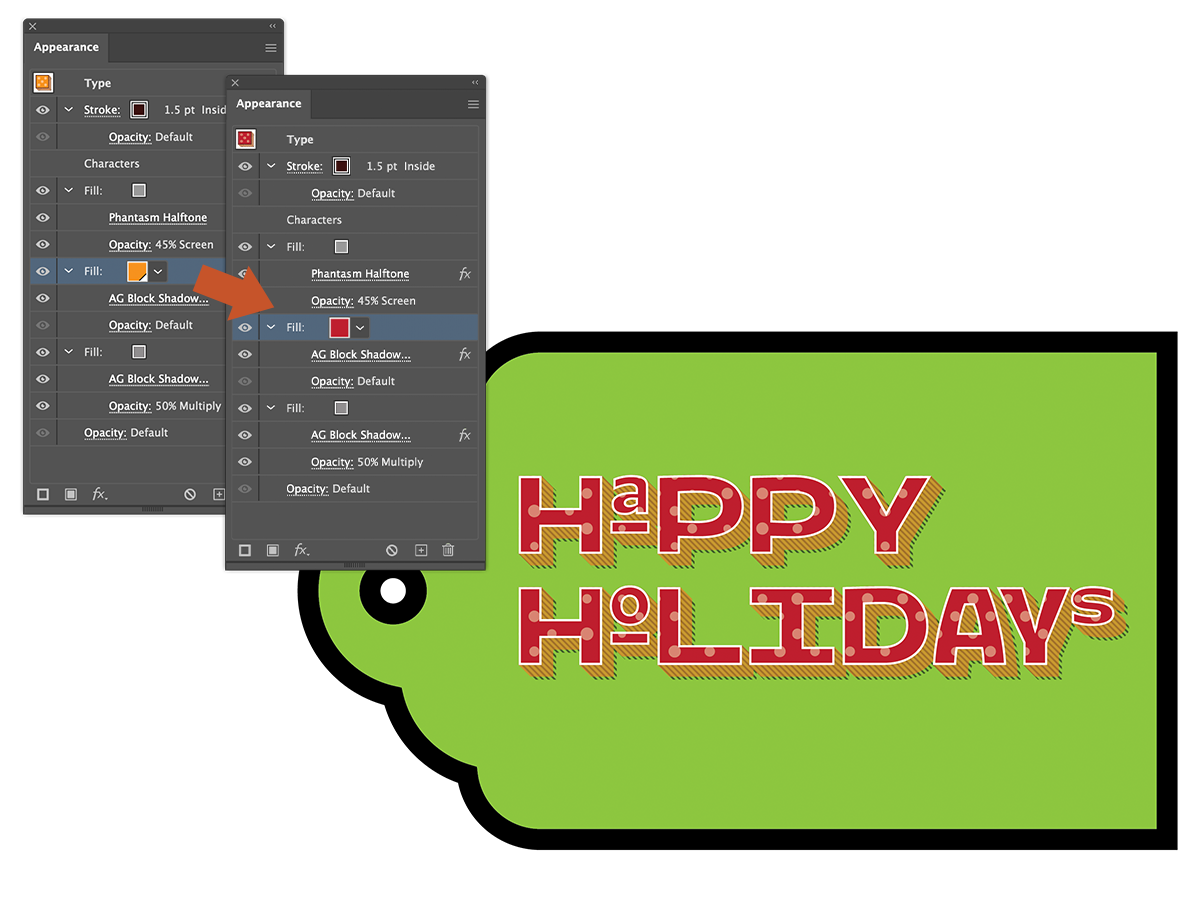
So what we have done here is apply a style, changed it to suit our artwork, now let's save that new style. I don't like to overwrite styles but you did want to just click on the artwork and as you drag it to the panel, hold ALT/OPTION and drop it onto the existing style, otherwise just drag the artwork the end of the styles and add it as a new one.
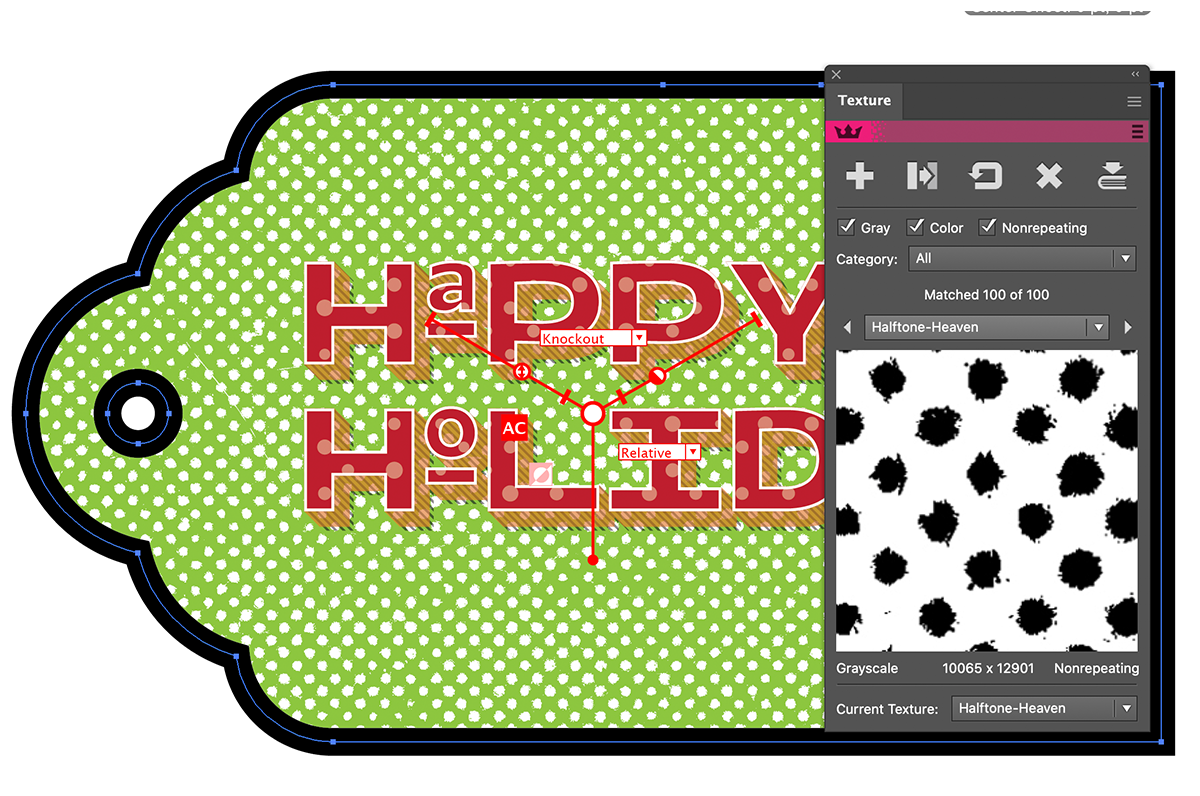
We'll add a little texture to the label using Texturino (Window > Texturino) and with the tag selected choose Halftone Heaven, click the + to add to the label, scale accordingly and use Knockout as the blend mode and you've added some snow to your tag.
That's our first tag styled, let's move onto Christmas!
CHRISTMAS
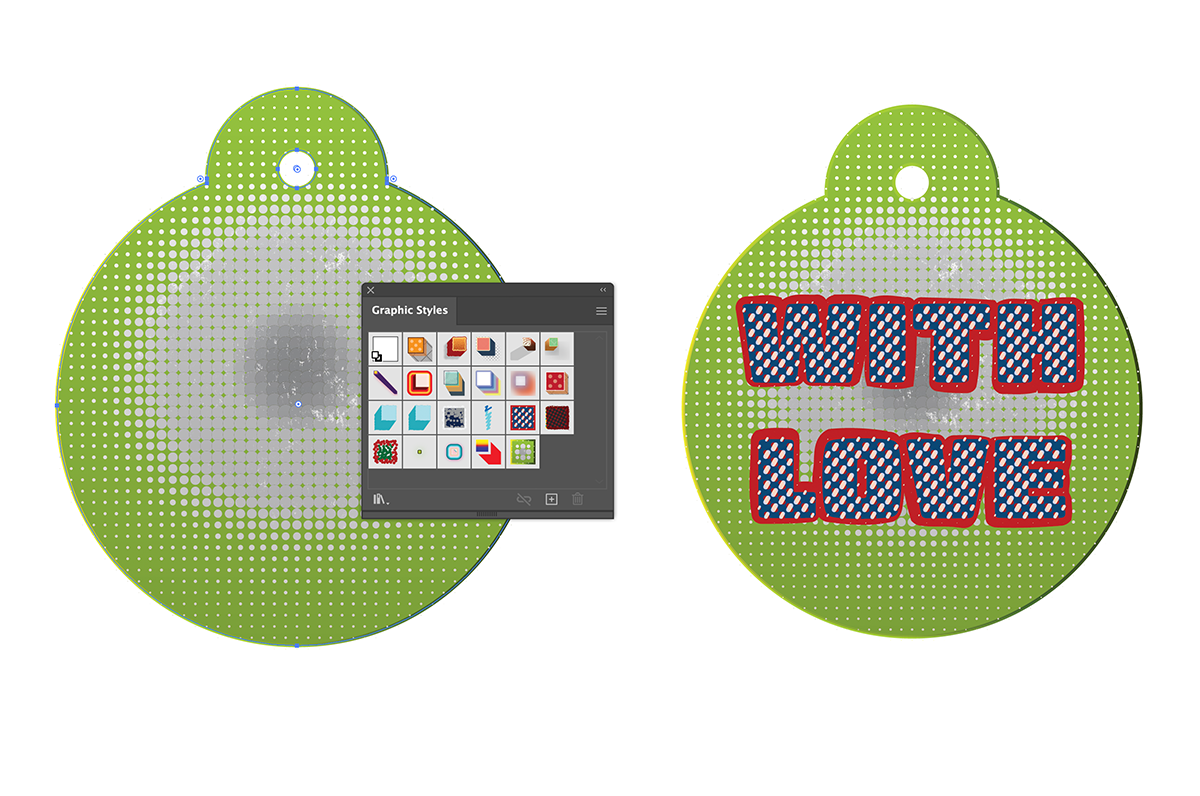
For the next tag we are going to use a couple of styles from our Christmas Pack. Repeat the same process to open and access the Christmas styles as before. You can leave the Vintage Styles in the Graphic Styles panel, the Christmas Styles will just be added next to them.
With the tag selected, choose the Bauble Grunge style and apply it to the tag, we're not going to alter this. Now select your Type Tool and we'll add some text "WITH LOVE" using the Gigalypse font from Adobe Fonts. Next apply the 'Sweater' style to the type and in a couple of simple steps we've created tag number two with two styles.
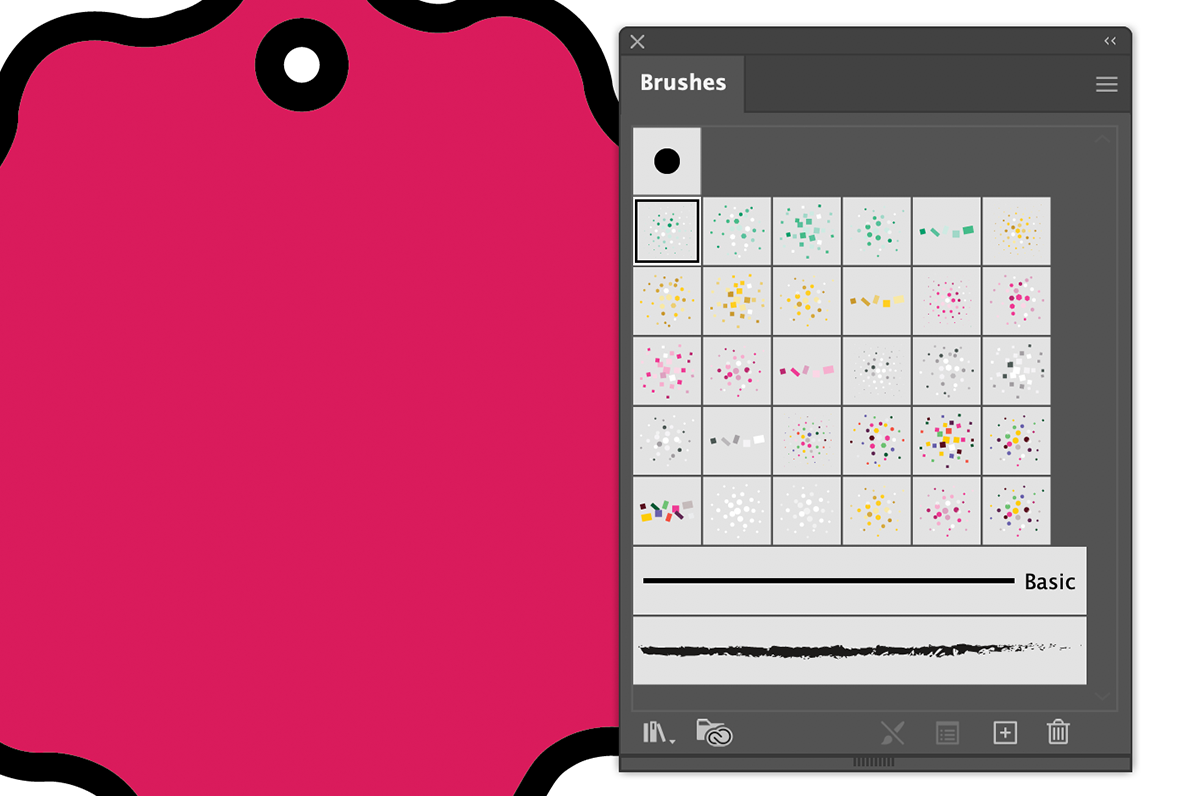
GLITTER BRUSH
For our next tag we're going to switch to the Glitter Brush Set. To load the brushes we follow the same steps as loading the styles but this time we are doing it from the Brush Panel (Window > Brushes).
Also open up InkFlow (Window > Astute Graphics > InkFlow). Choose the Brush Pen (you may have to adjust the thickness) and in your best handwriting write the word JOY (joy) in a lowercase style.
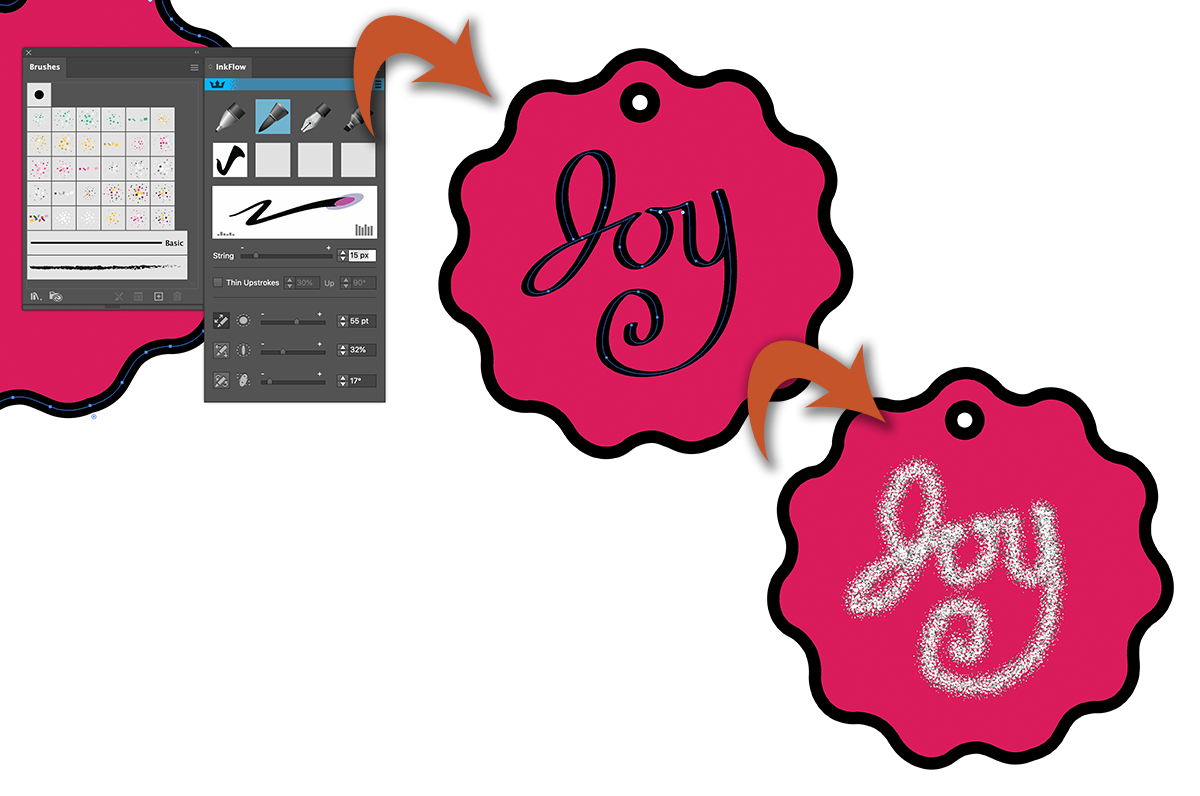
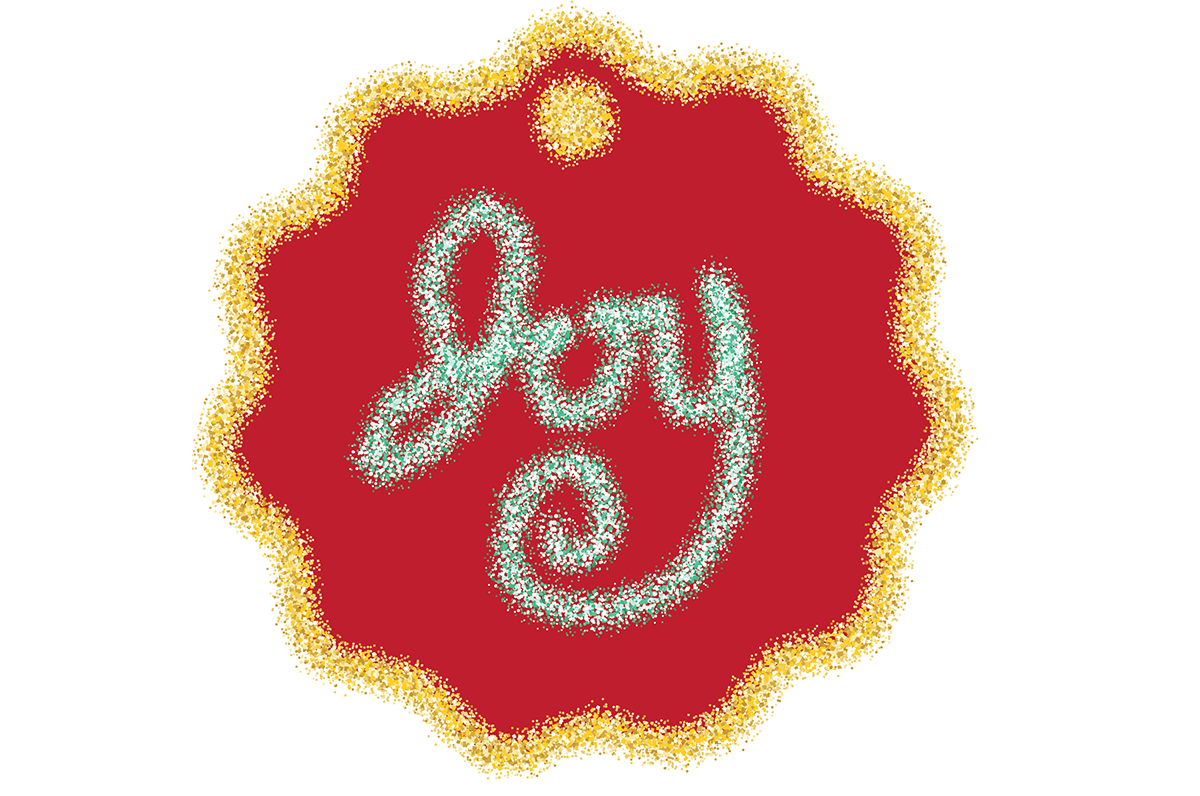
Now we'll apply a glitter brush to our type, and here is a good time to experiment, just click through the different brushes until you find a suitable one, the GO2 green glitter looks great. We can also change the tag style and add some glitter, change the fill color to RED and then with the tag still selected, click on the GD03 glitter style and it applies a cool glitter stroke to the tag!
PEN & PAPER
This is our most popular pack and rightly so, you won't find a pack anywhere like this one as it's made with AG tools. When this pack was made, initially for a pen on paper style, one of the styles could also be used as a string or yarn style due to the fabric look of the style. So load up your Pen & Paper pack as before.
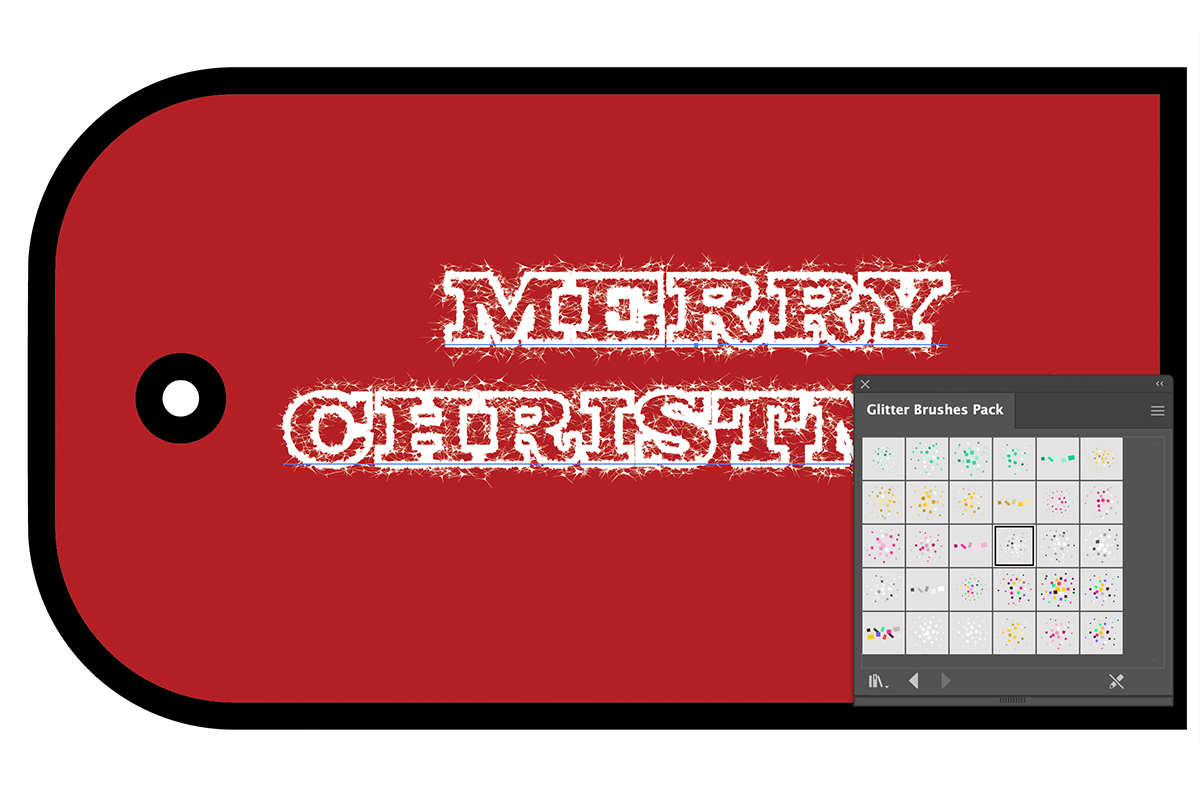
Go to the last tag and add some text "MERRY CHRISTMAS" and this time I used 'Sutro Black initials' also from Adobe Fonts. Next we'll apply the thickest Pen style 'Paper Bleed Fill' to the type. You'll see what I mean about a rope style effect. Next we need to change the fill of the tag to a dark red (#B32025). If you wanted to change the colour of the pen style you need to open up Phantasm (Window > Astute Graphics > Phantasm) and use the 'Shift to Color' option and select the color you prefer, let's just text white for now to see how this works. Now it looks very twinkly and frosty.

Here's where experimentation works so well, with the text selected, now go to the Glitter Brush panel and click on the S01 glitter brush. This adds a really cool, extra twinkle effect to the pen style.
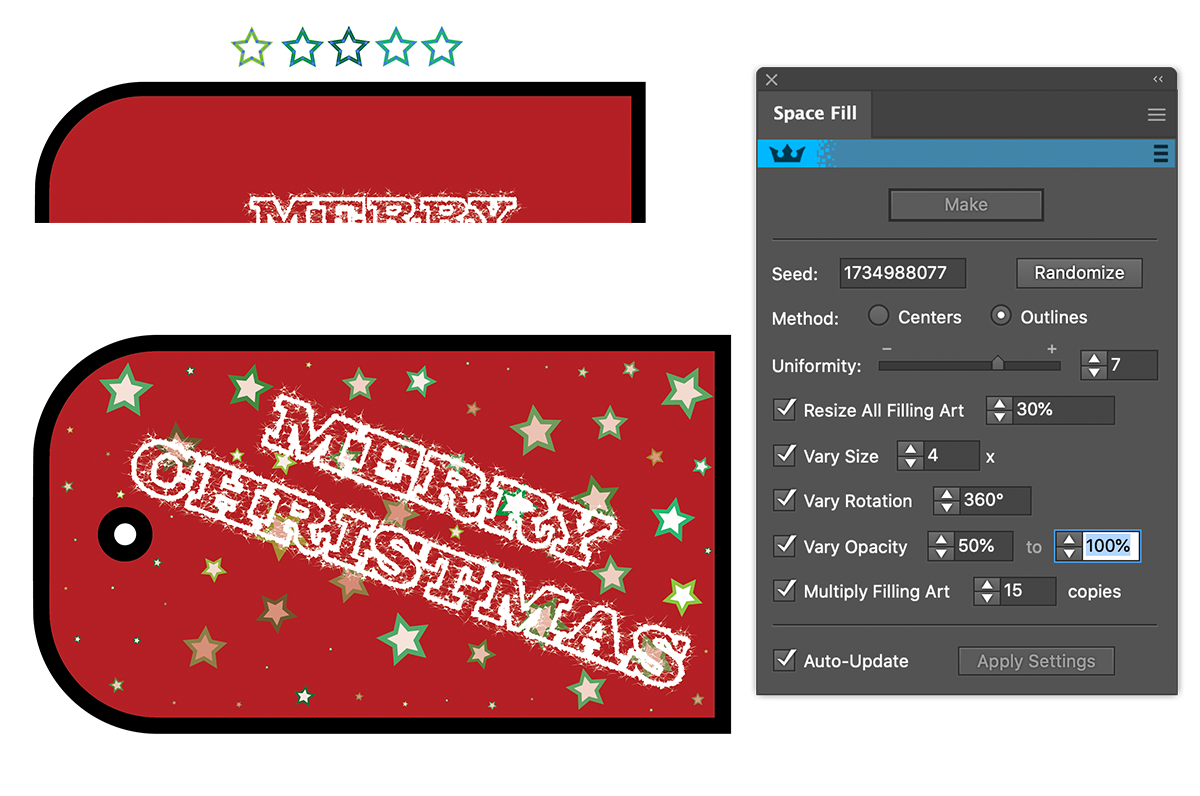
Next we're going to draw out 5 stars from the shapes tool, give each a white fill and each one a different shade of green stroke from the swatches panel, any greens will do, just five different ones.
With our five stars selected and the tag, open up the Space Fill panel (Window > Astute Graphics > Space Fill) and click Make. This will fill our tag with stars. Now make some adjustments to the settings to increase the quantity of stars and sizes as shown in the panel. Then to finish off just rotate the type a little and increase the size to fill more of the tag and now we have a sparkly Christmas tag.
As always, experiment with all and any of these settings, with all the effects tools in our suite remaining live, you can always go back and change something.