
Replace missing fonts in Adobe Illustrator
3 minute readWhen working with documents that were created on another computer, designers often face the problem of the lack of fonts in the edited text. In this article, you will learn how to replace such fonts with the help of the native Illustrator feature and with the help of VectorFirstAid with just one click.
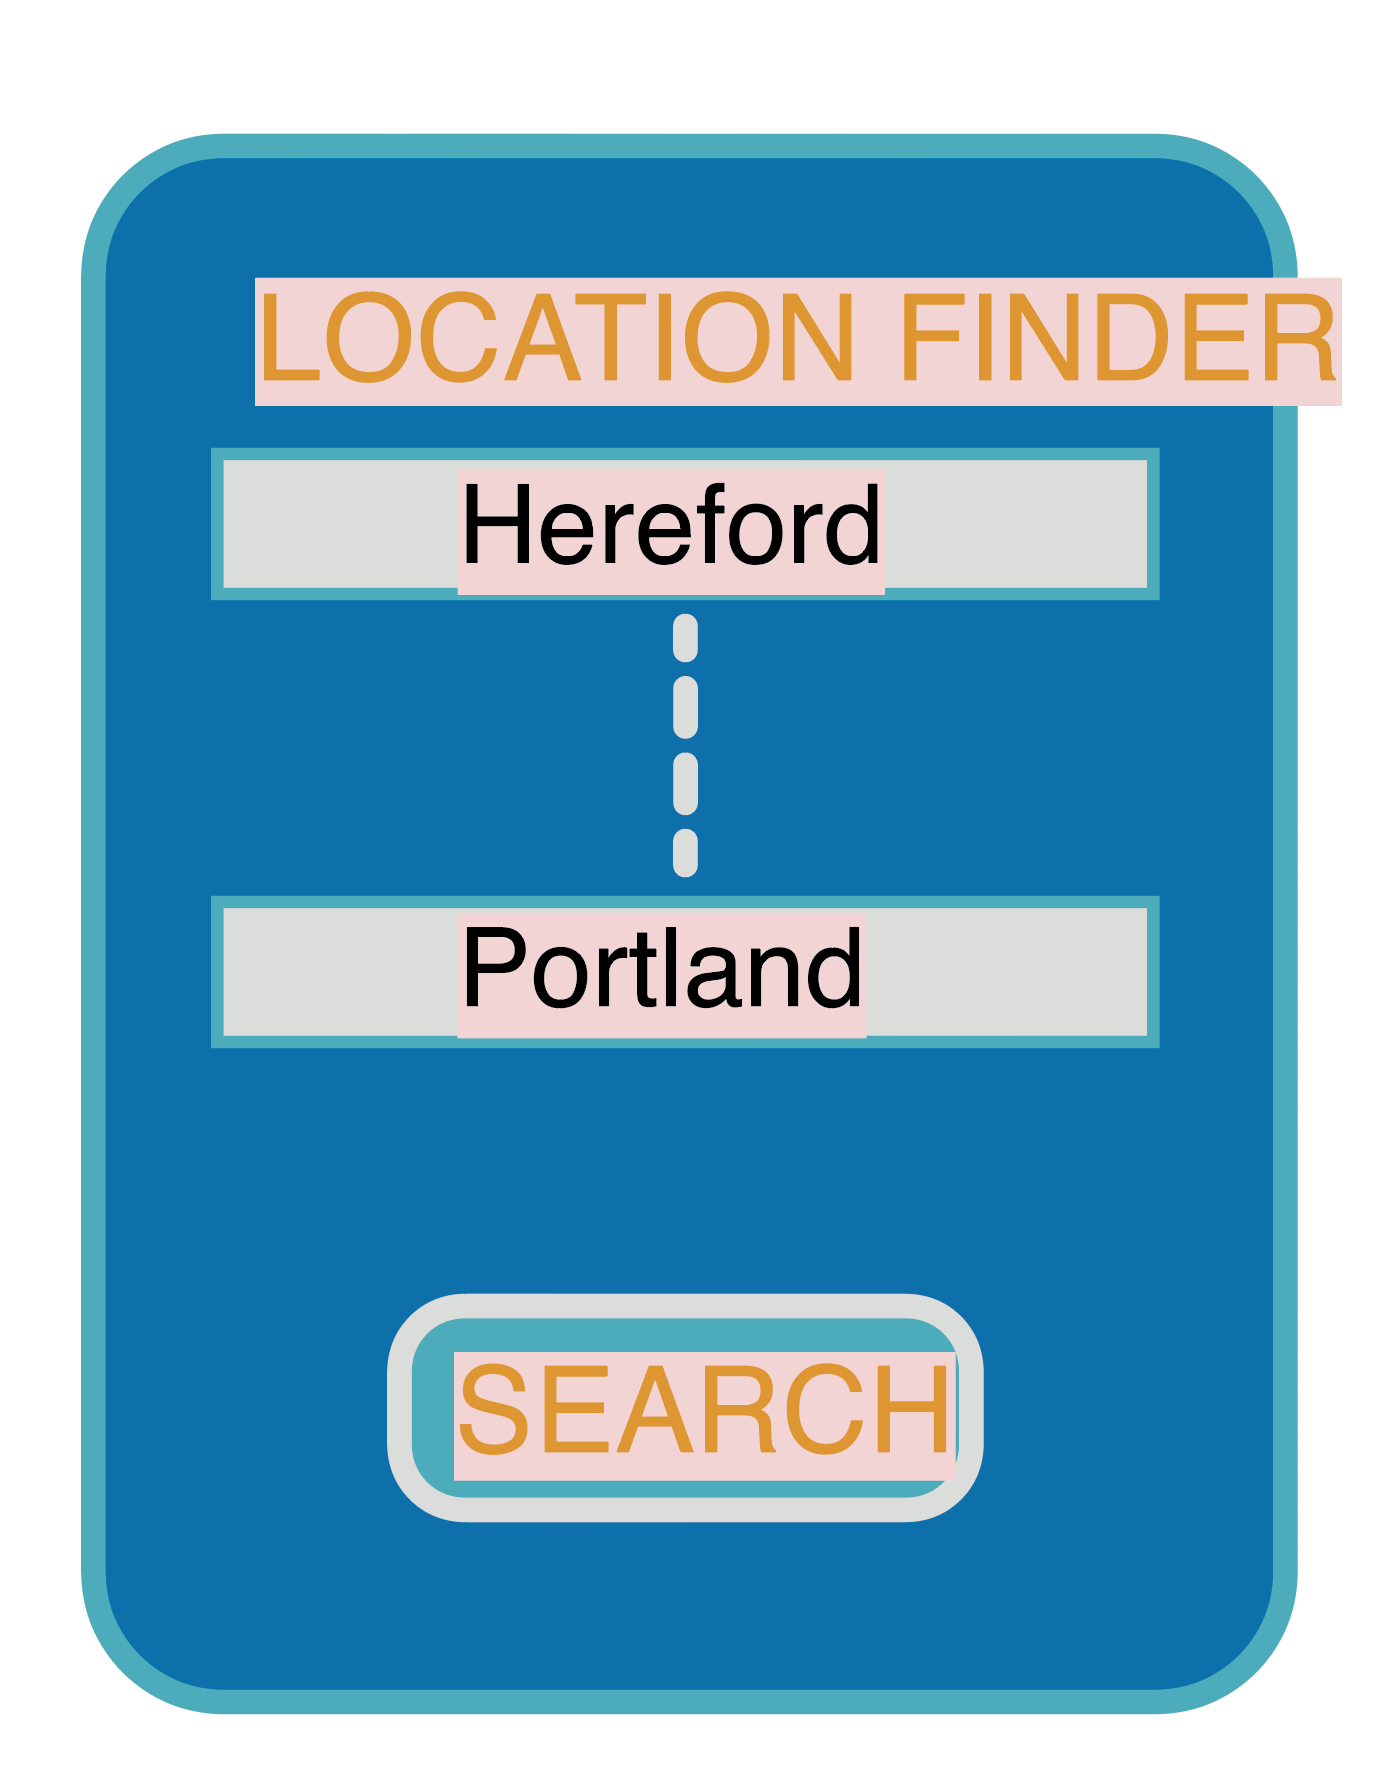
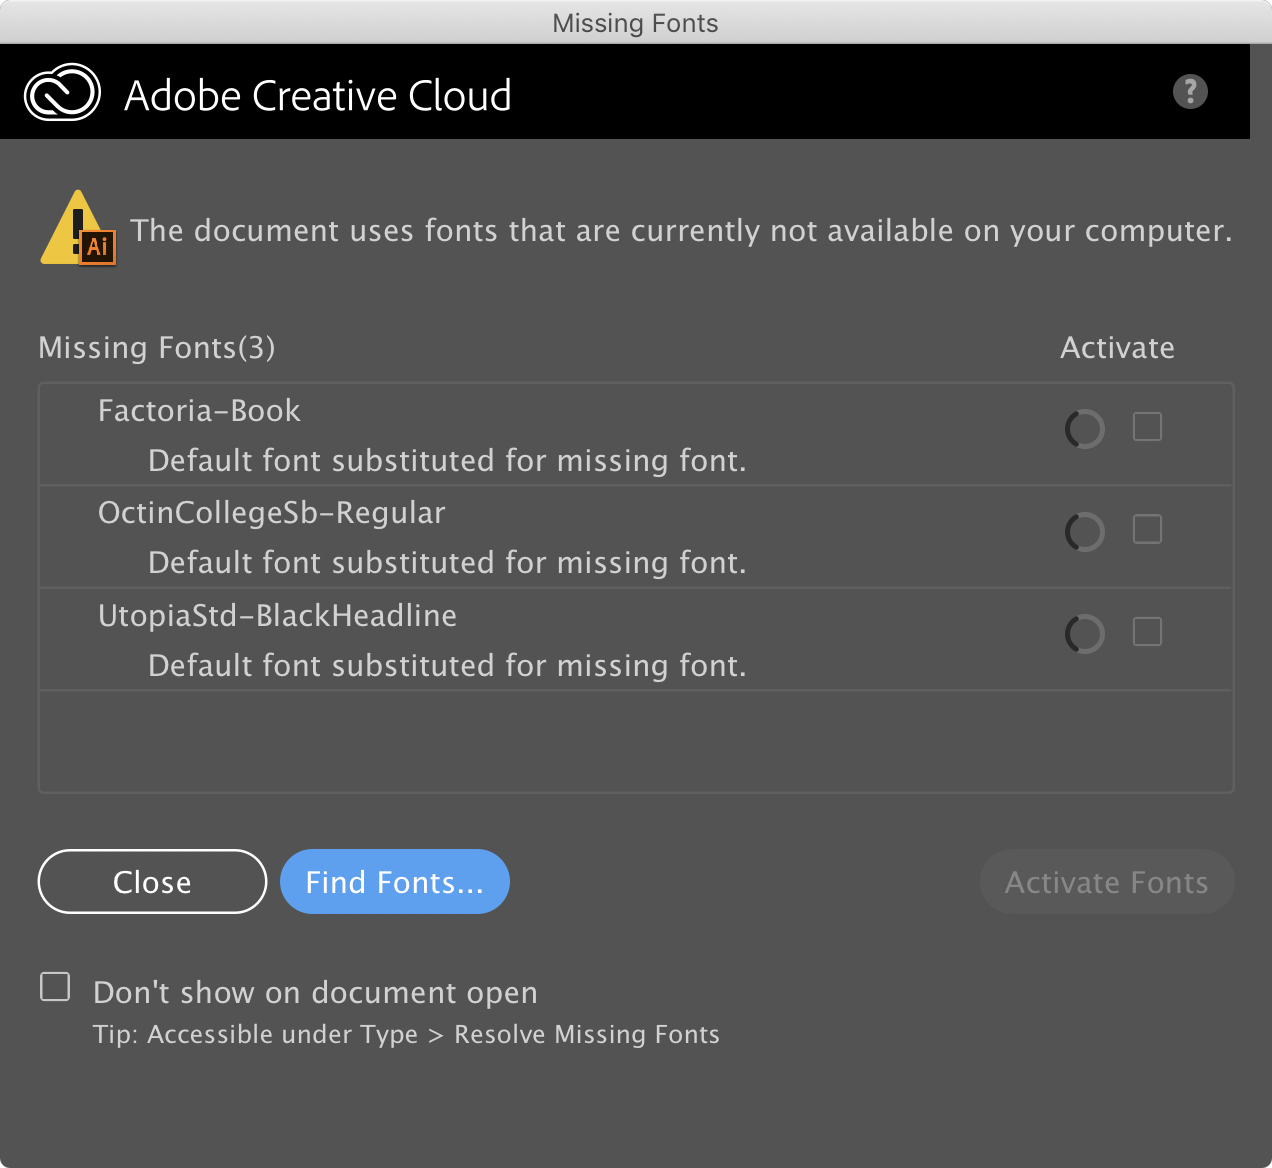
When you open a document that contains fonts that are missing in your system, the Missing Fonts dialog box appears. An alternative way to open this window is: Type > Resolve Missing Fonts. Text with missing fonts is highlighted with pink.
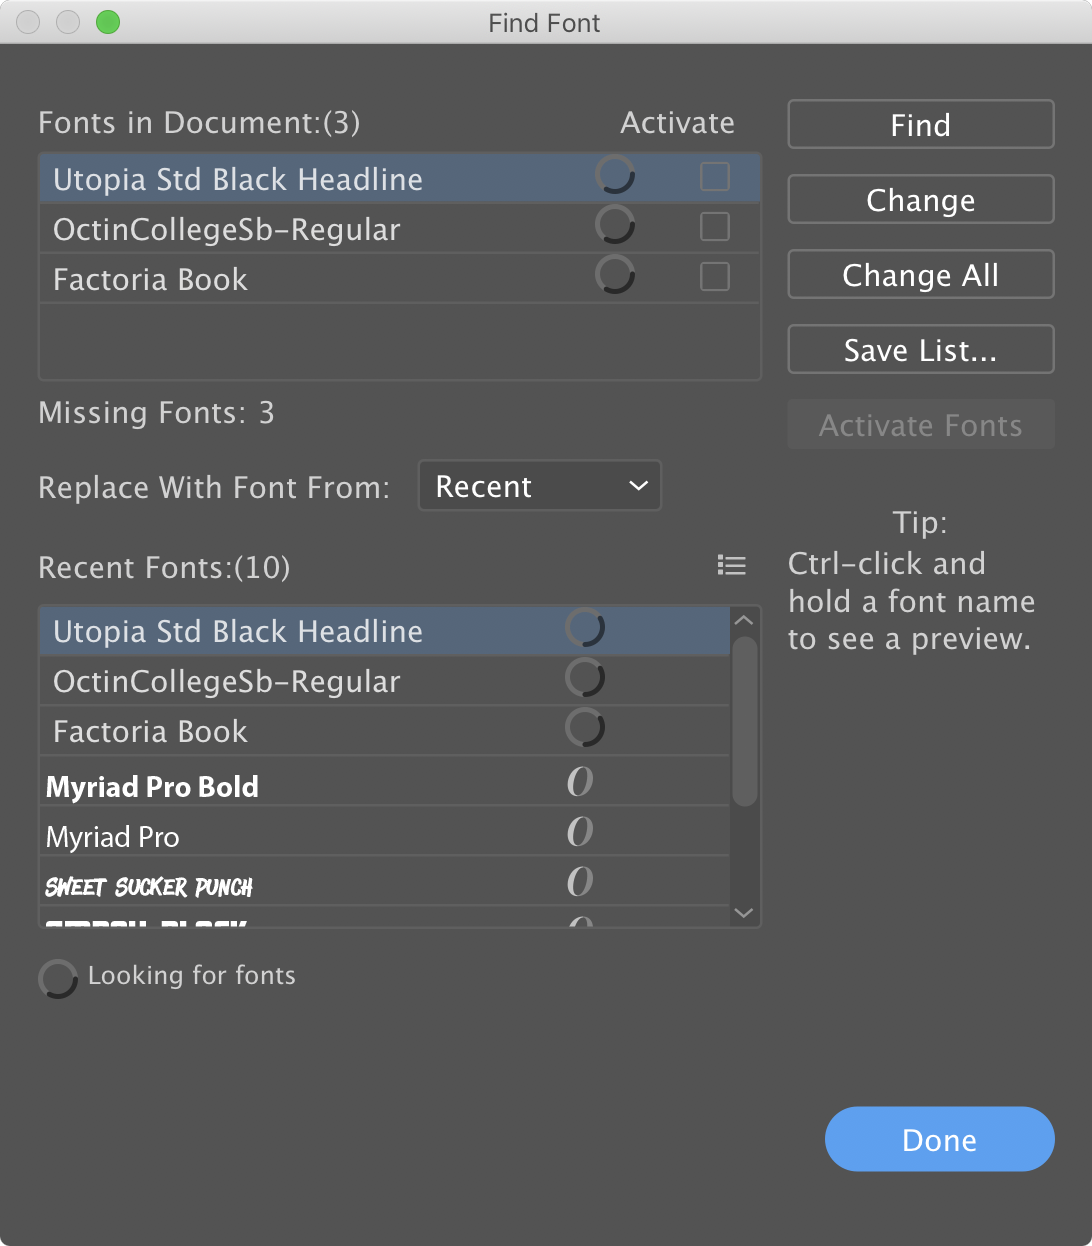
In the dialog box, you have an opportunity to sync font from Typekit if it is available or click on the Find Fonts button and replace the missing font with the ones available in the system.
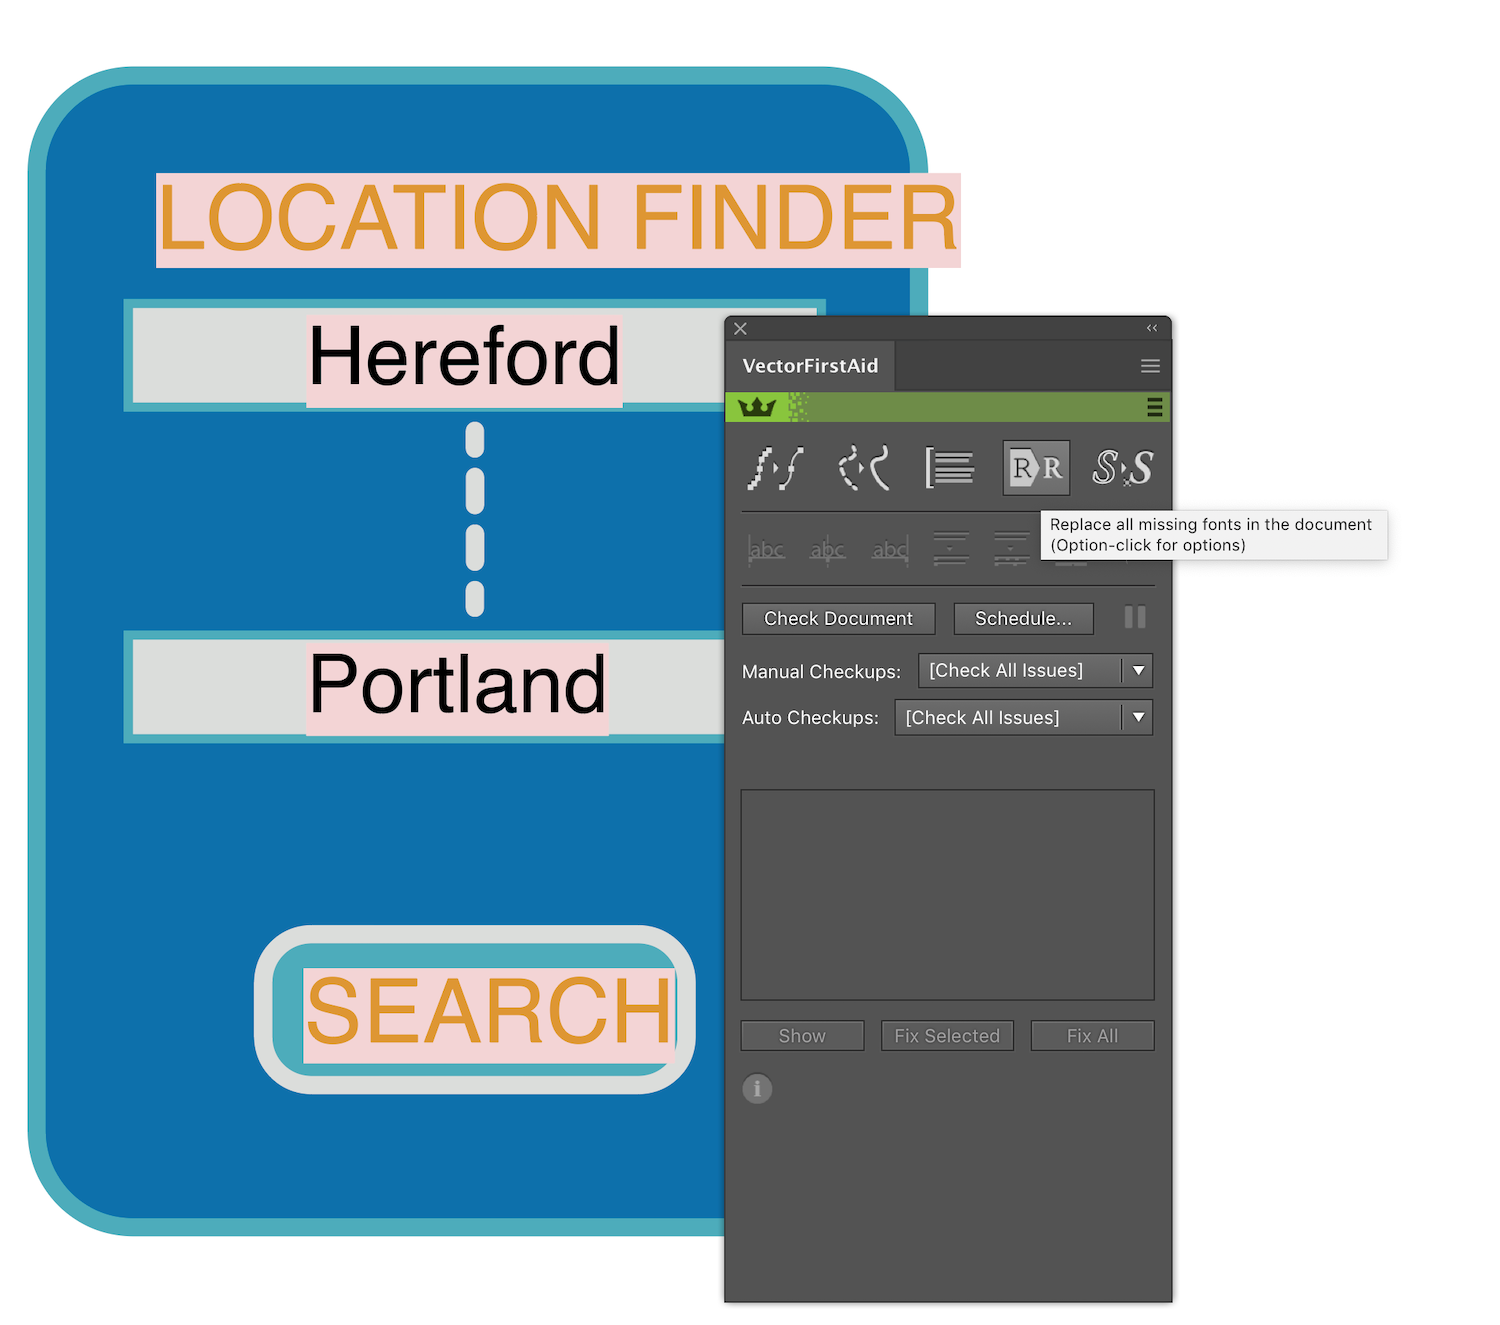
VectorFirstAid users have another opportunity to quickly replace the missing fonts in the whole document or only on the selected text object by clicking on the "Replace All Missing Fonts" button in the VectorFirstAid panel.
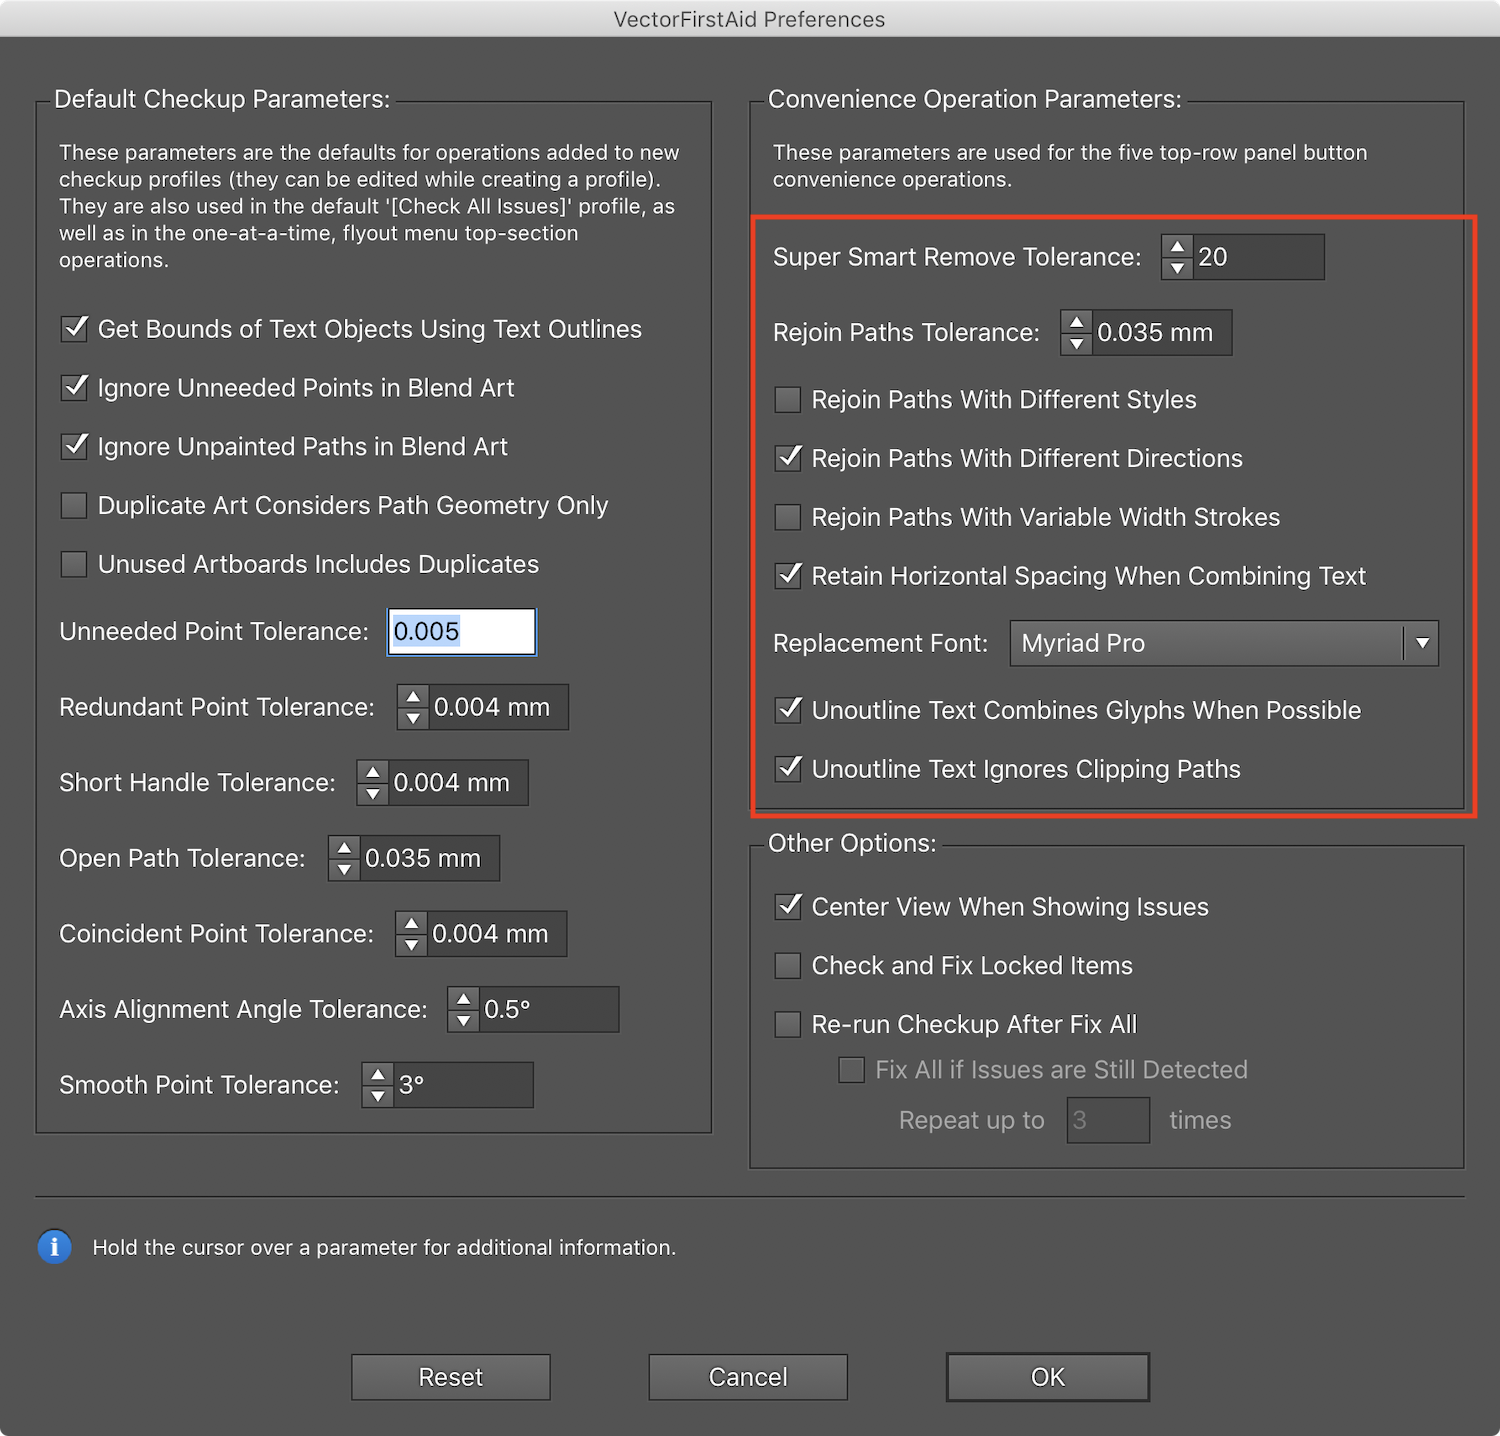
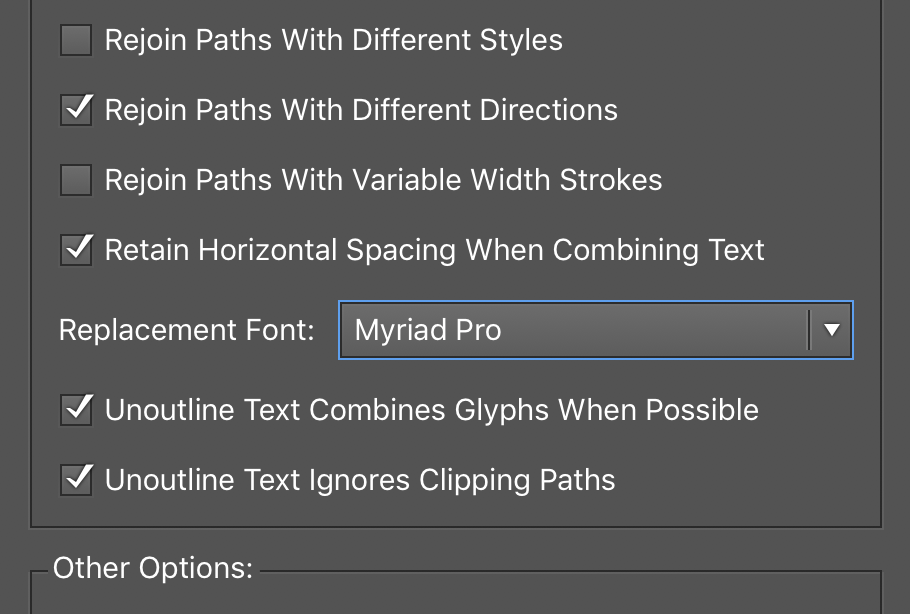
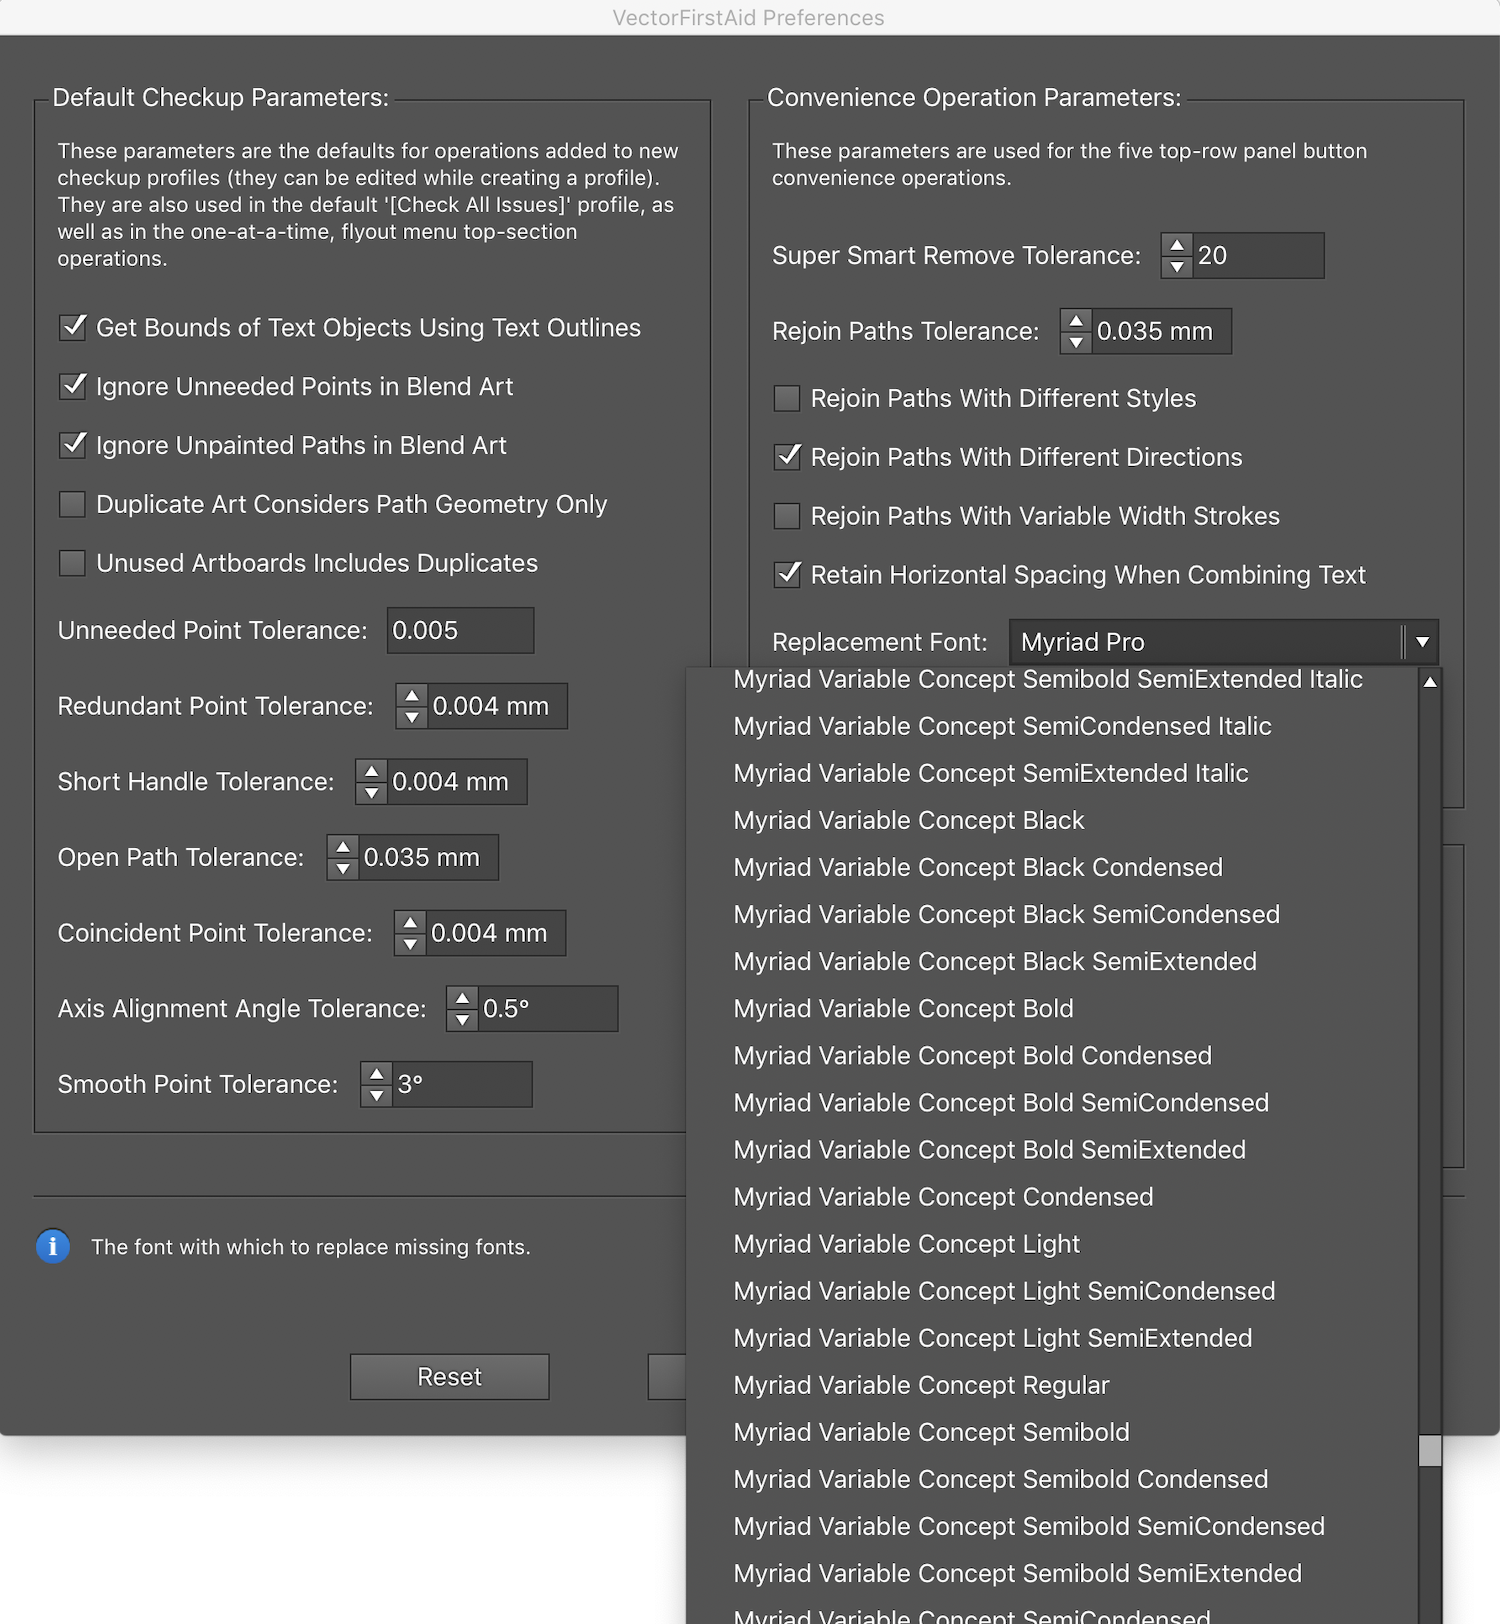
The font will be replaced with the previously installed font in the VectorFirstAid Preferences dialog box.
To quickly replace the font, set by default, you can also click on the "Replace All Missing Fonts" button in the VectorFirstAid panel, while holding down the Opt/ Alt, and select the desired font in the dialog box.

You can learn more about the useful features of VectorFirstAid on our YouTube channel