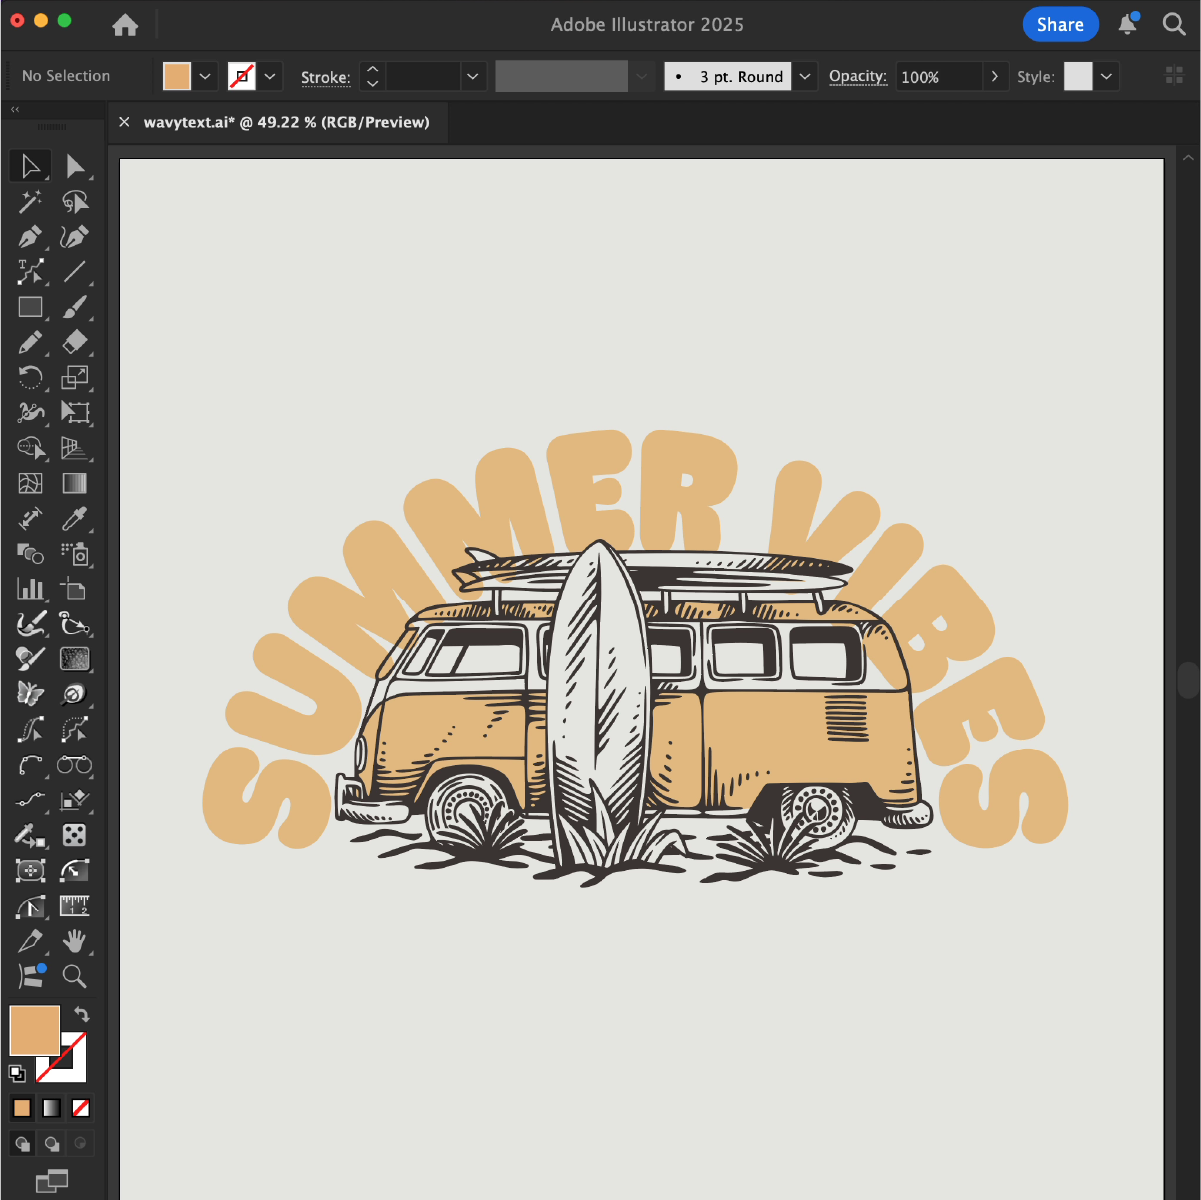
Type on a path in Adobe Illustrator
9 minute readCreating text on a path in Adobe Illustrator can be a frustrating process for many designers. Whether you're trying to make your text follow a curve, bend into an arc, or spiral around in a creative shape, getting it just right often feels like a battle. From warping text around a circular path to experimenting with wavy warped text, Illustrator’s native tools like Type on a Path and Envelope Distort can help — but they often come with their own set of challenges.
This blog is here to guide you through the struggles of making text follow a path. Offering clear steps to create smooth, distorted, and warped text with ease. We’ll dive into how to bend text into the perfect curve or fit it neatly into any shape you need. Not only will we explore Illustrator’s built-in features, but we’ll also take a look at how Astute Graphics’ Reform Text feature can make this process even simpler, giving you more control and flexibility than ever before.
Type on a Path Tool
To start using the Type on a Path tool in Adobe Illustrator, follow these steps:
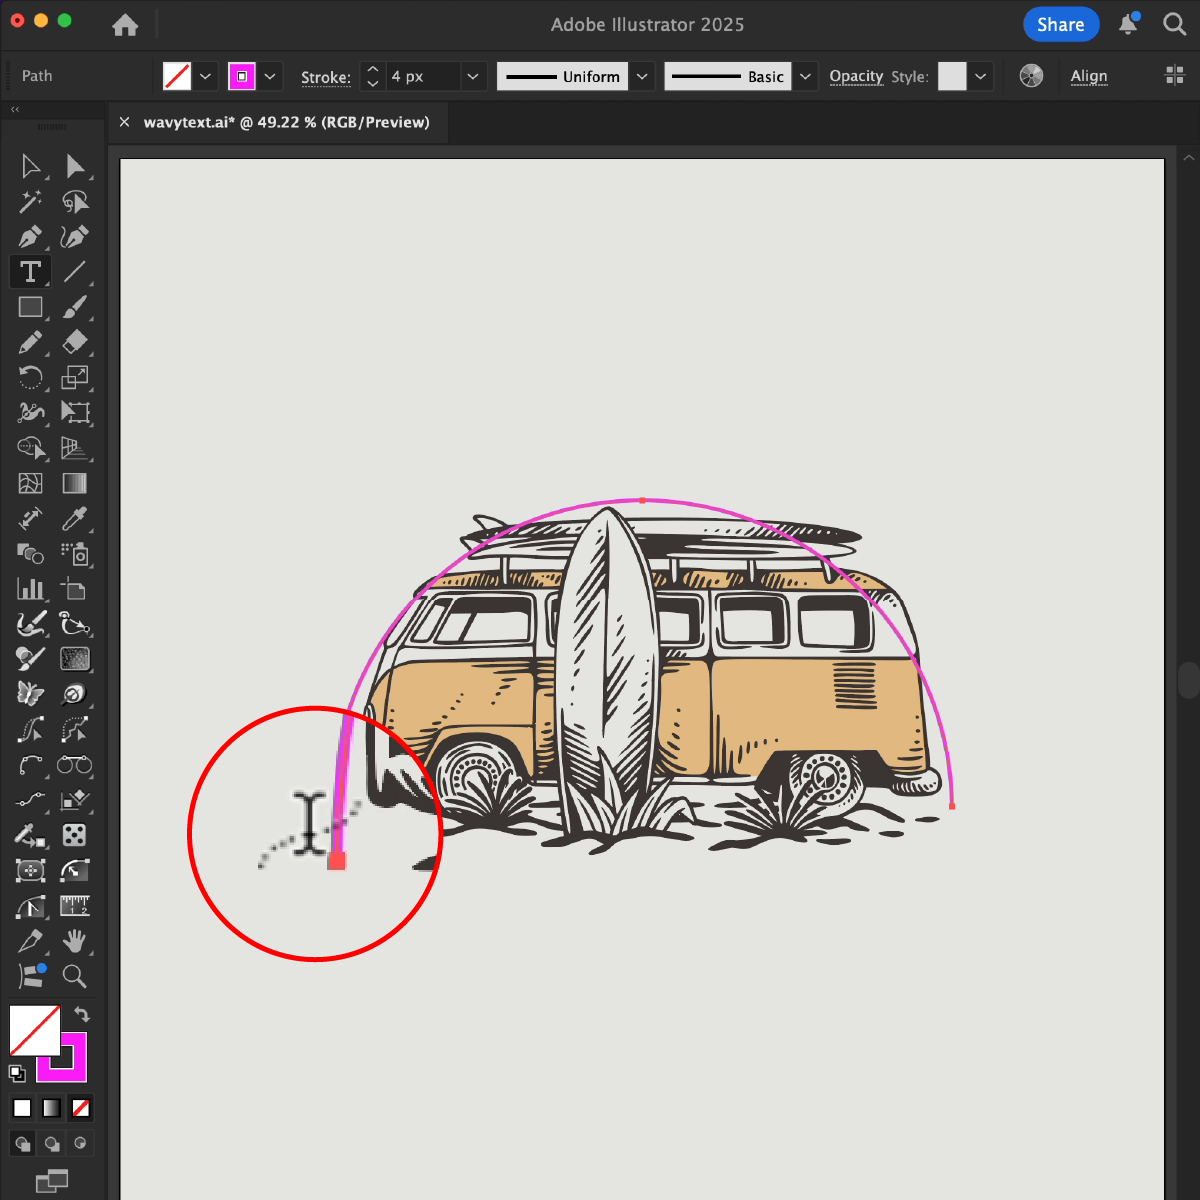
Using the Pen Tool (P), Line Segment Tool (\) or Pencil Tool (N) create a path. It can be straight, curved or wavy. If you already have a path, just select it using the Selection Tool (V).
Select the Type Tool (T) from the toolbar and hover your cursor near the path. When the cursor changes to a Type on a Path cursor (a small "I" with a dotted curved line), click directly on the path where you want to start typing.
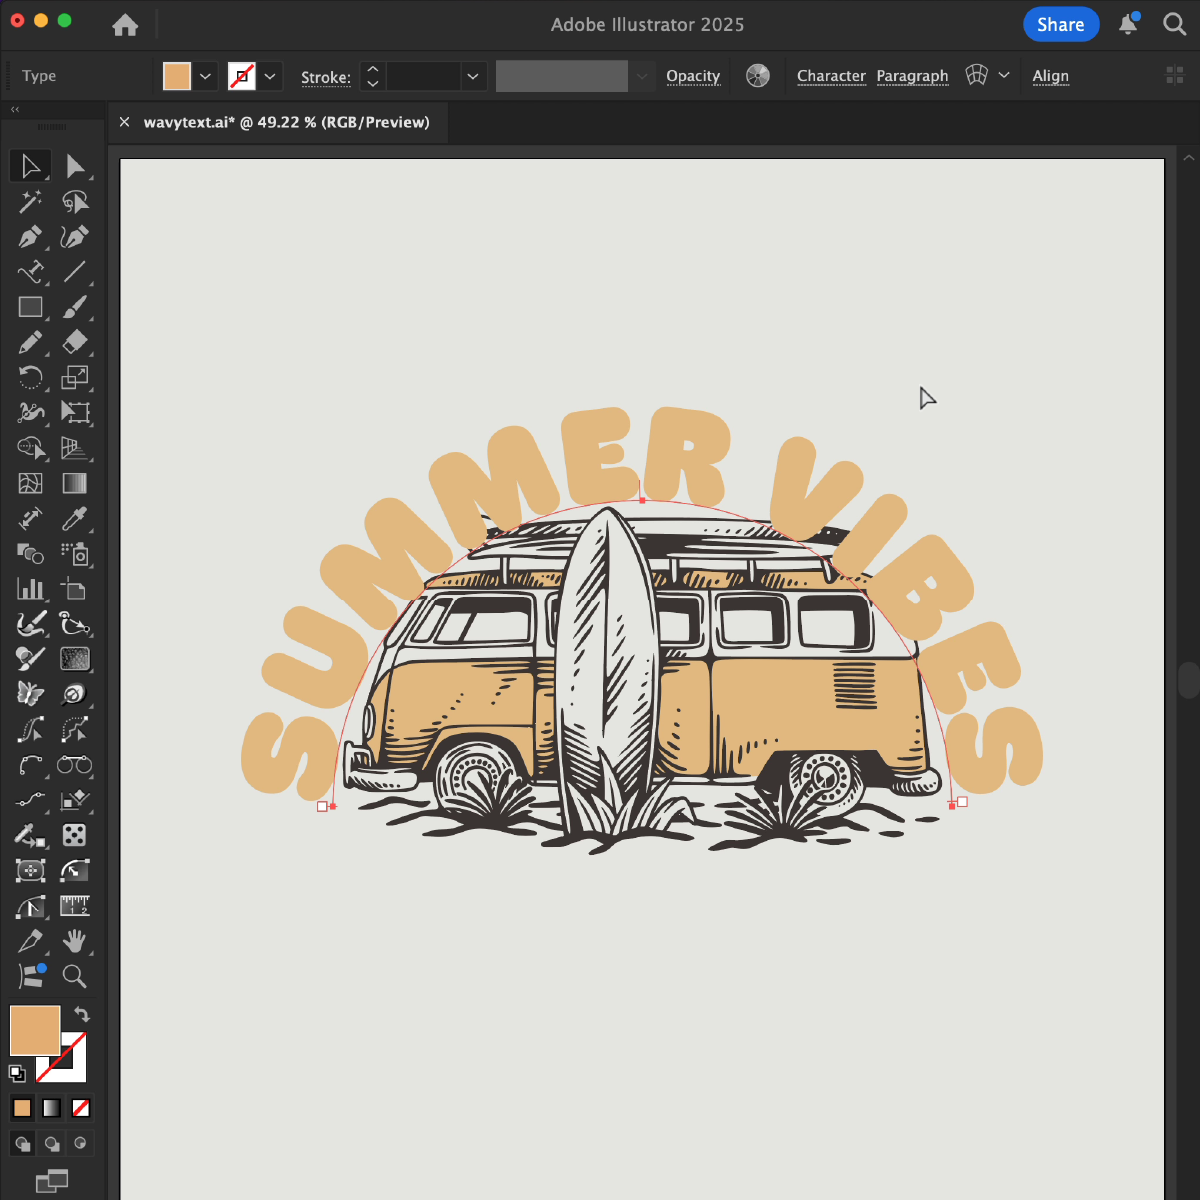
Start typing your text and the text will follow the path you've created. You can adjust the position of the text along the path by clicking and dragging the small text handles at the beginning or end of the text. They are shown with a left/right arrow by the cursor.
You can then modify the font, size, color, or alignment of the text. Use the Direct Selection Tool (A) to adjust the path if needed and the text will automatically follow the updated shape of the path.
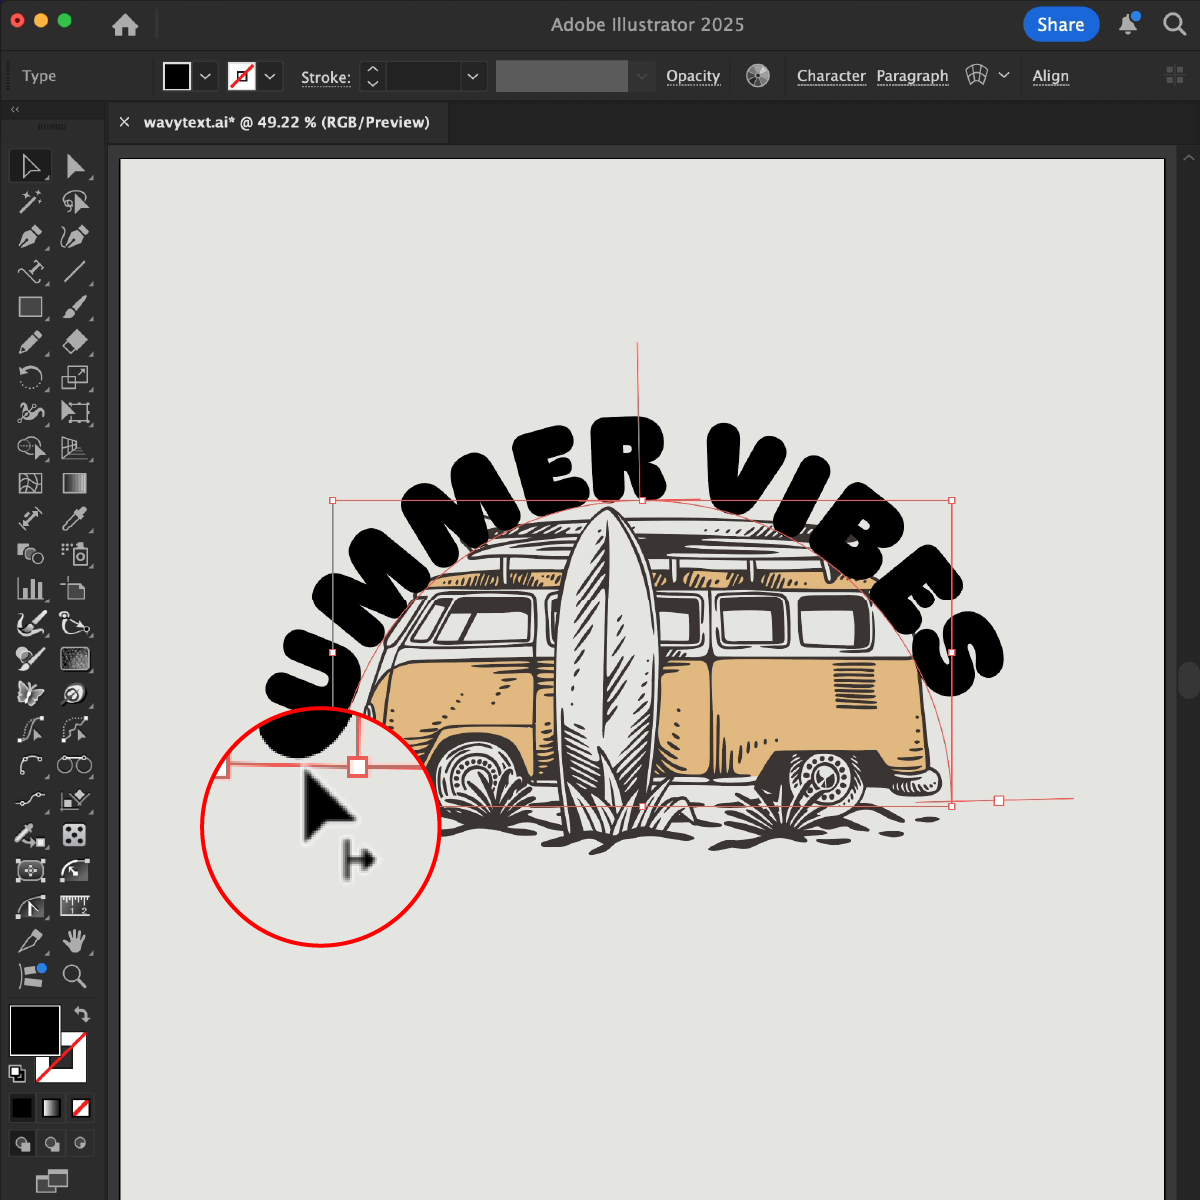
To change the direction of the text and flip-it upside down on the path, select your type with the Selection Tool (V). When you see the alignment annotation lines, hover over the center marker and the cursor will change to an up arrow — click-and-drag to move the text to the other side of the path, this will flip the text to write along the other side.
Envelope Distort
To warp type into a predefined shape you’ve created we will use the Envelope Distort feature in Adobe Illustrator:
Use the Type Tool (T) to create the text you want to distort. Using the Pen Tool (P), Shape Tools, or other drawing tools, create the object (shape) that you want to use as the envelope. This could be any vector shape like a circle, rectangle, or custom path.
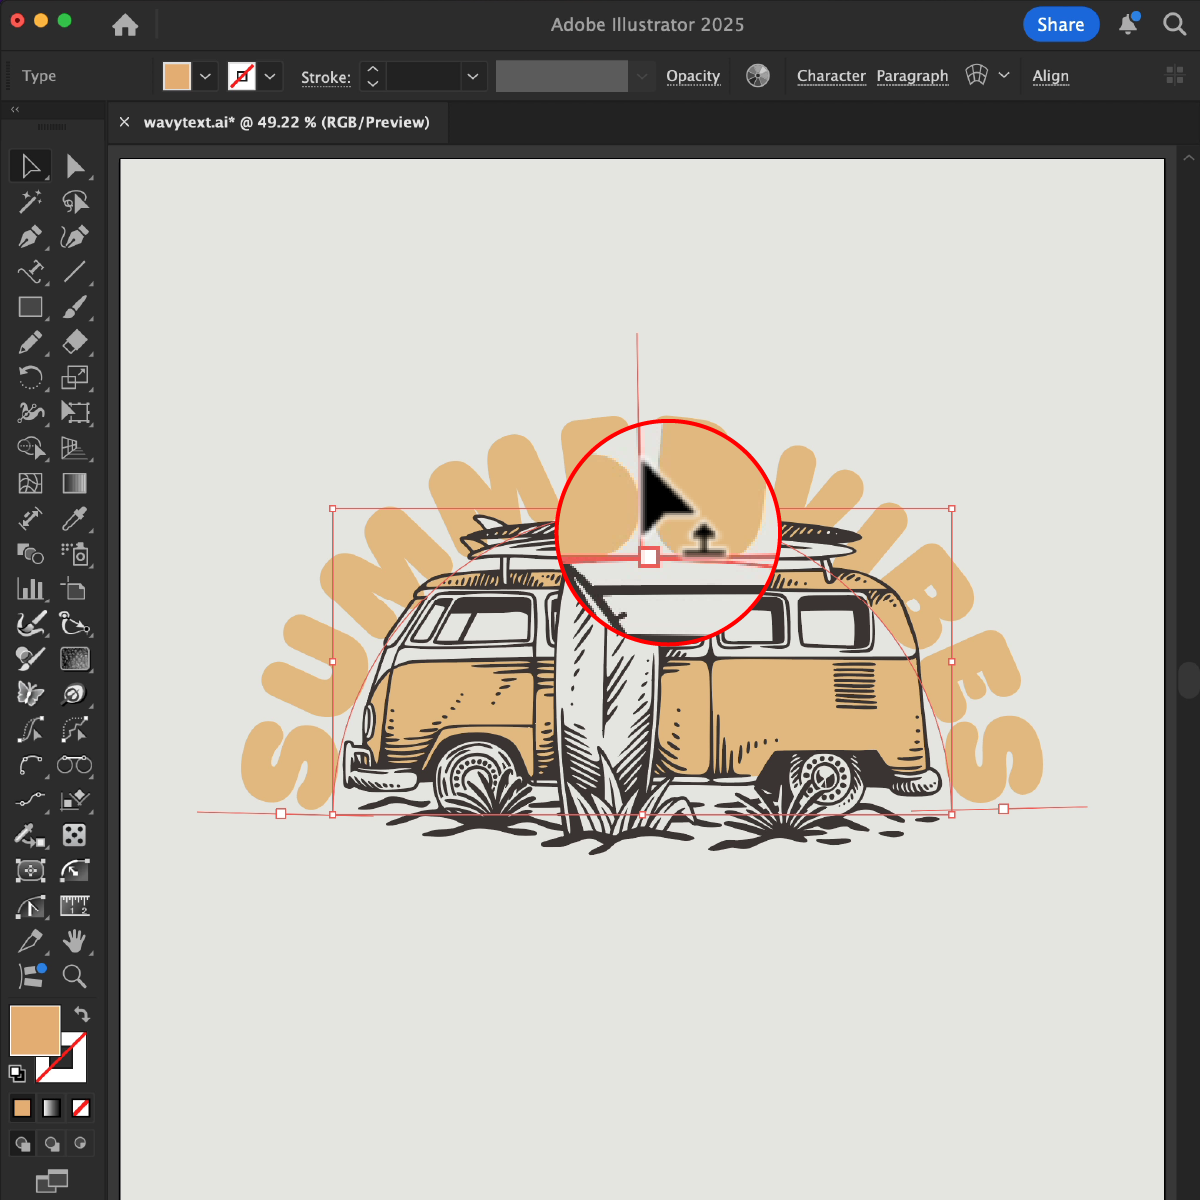
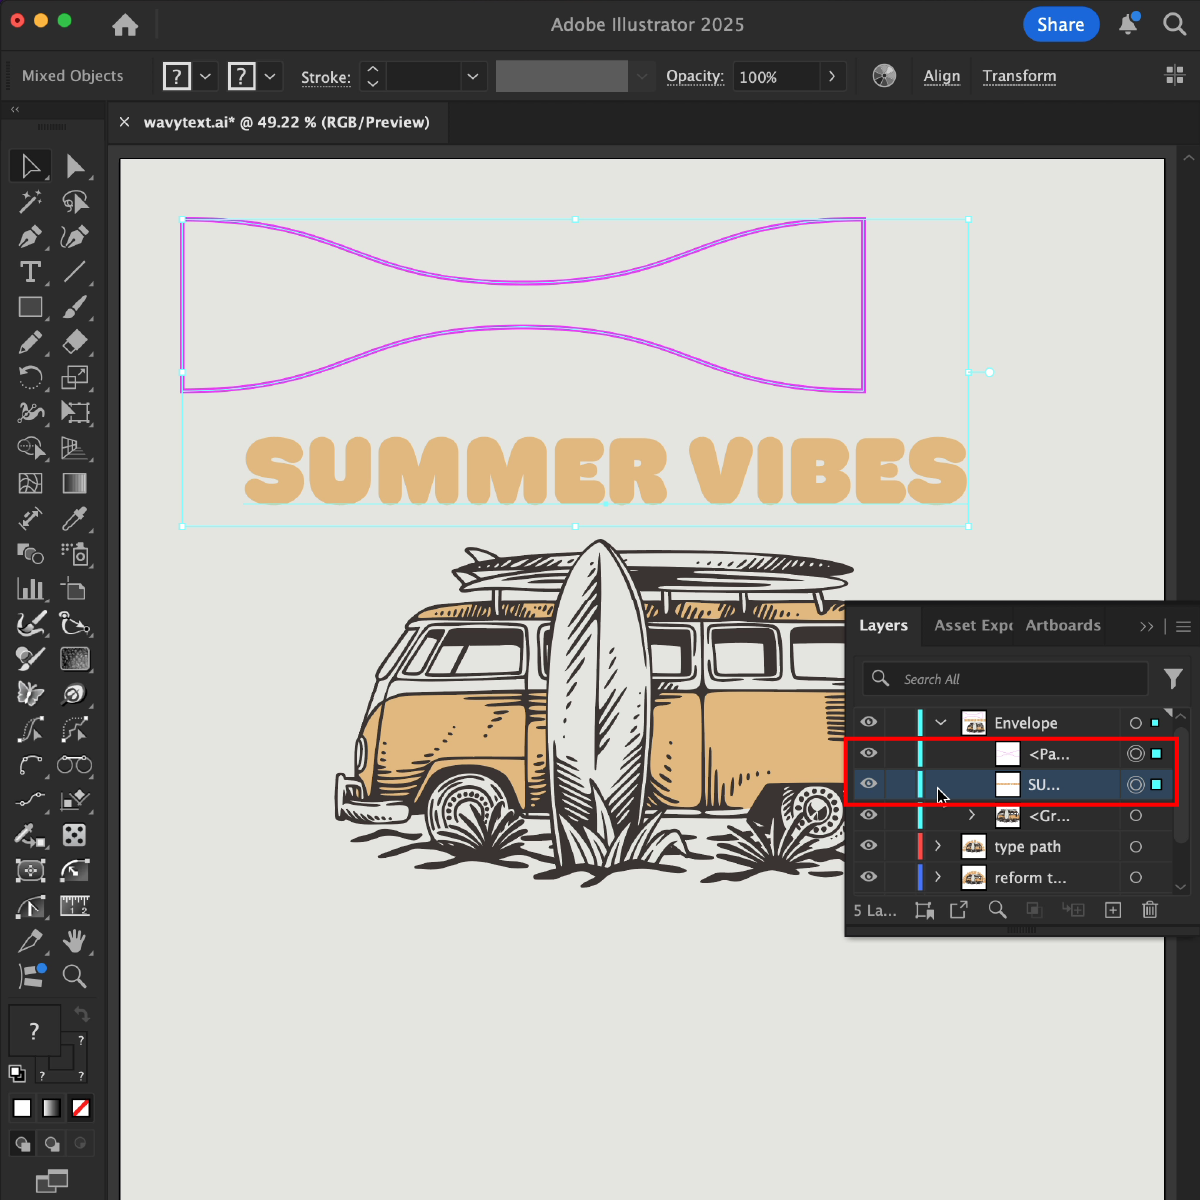
Select the text, then whilst holding the Shift key, select the object you just created. Ensure the envelope object you created is on top of the text, you can check the stacking order in the layers panel (Window > Layers).
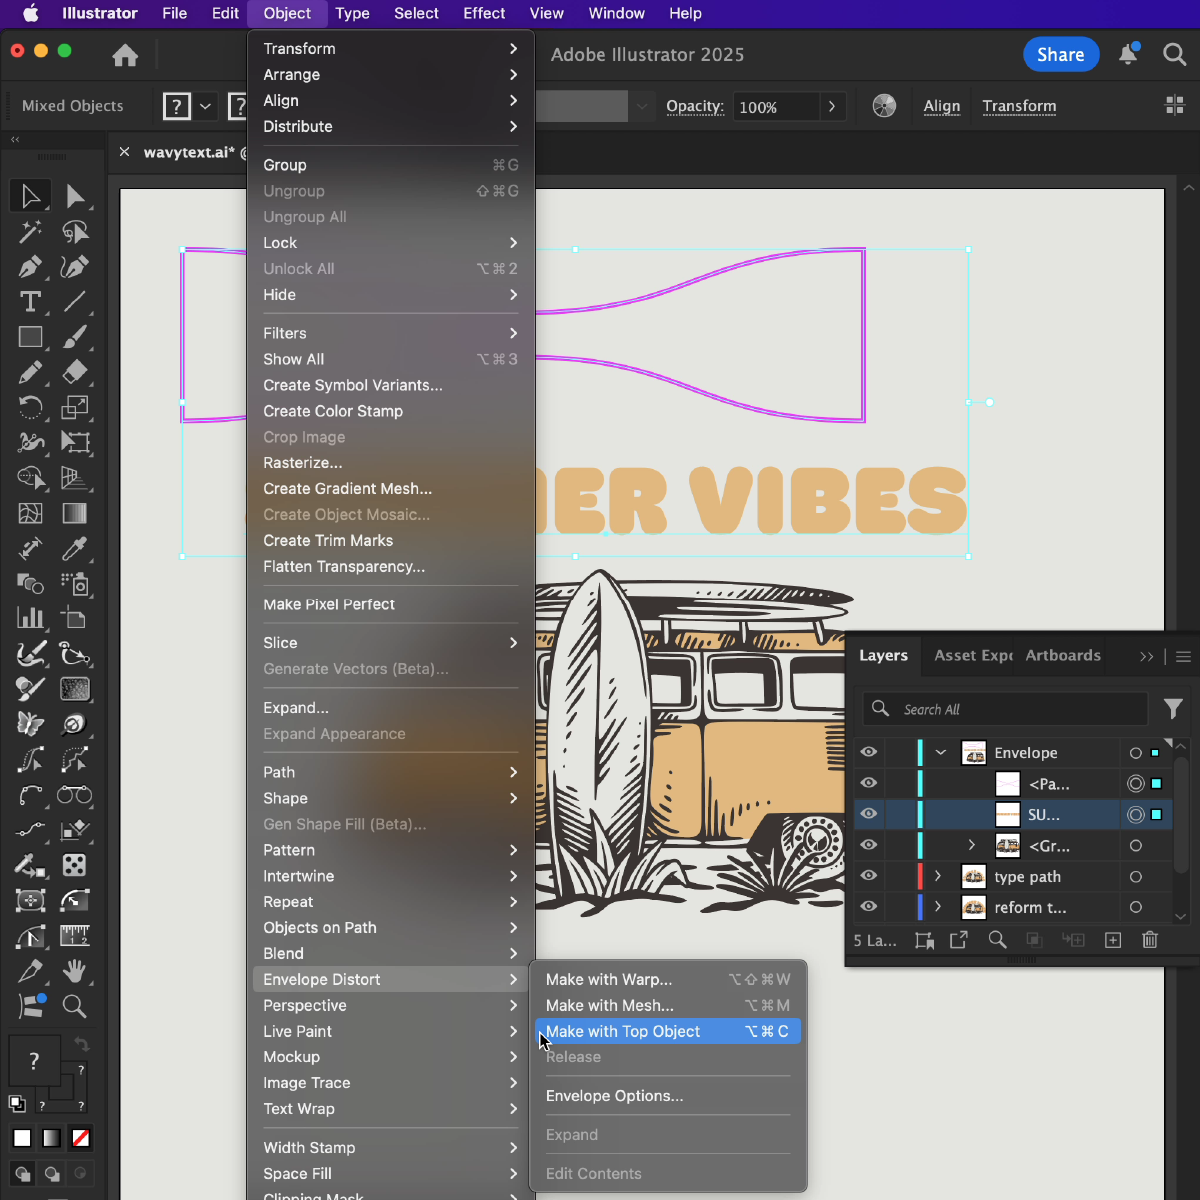
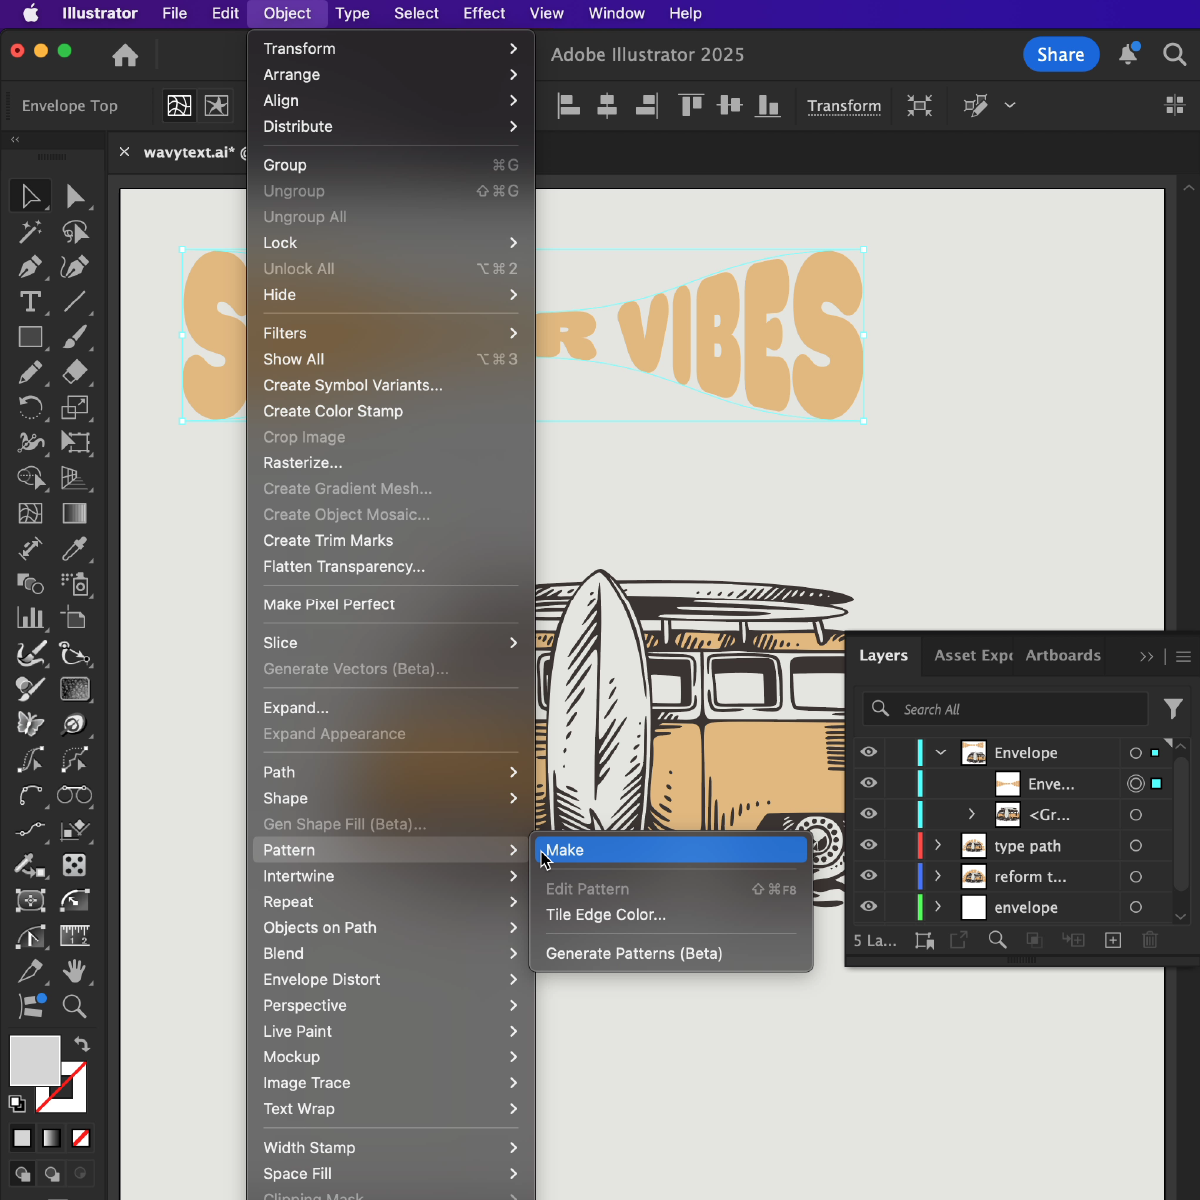
Go to Object in the menu bar, and choose Envelope Distort > Make with Top Object. This will distort the text to match the shape of the top object. The shape will now act as the envelope that wraps around or distorts the text.
If you want to tweak the distortion further, you can select the Direct Selection Tool (A) to adjust anchor points of the object. The text will automatically update to match any changes in the shape.
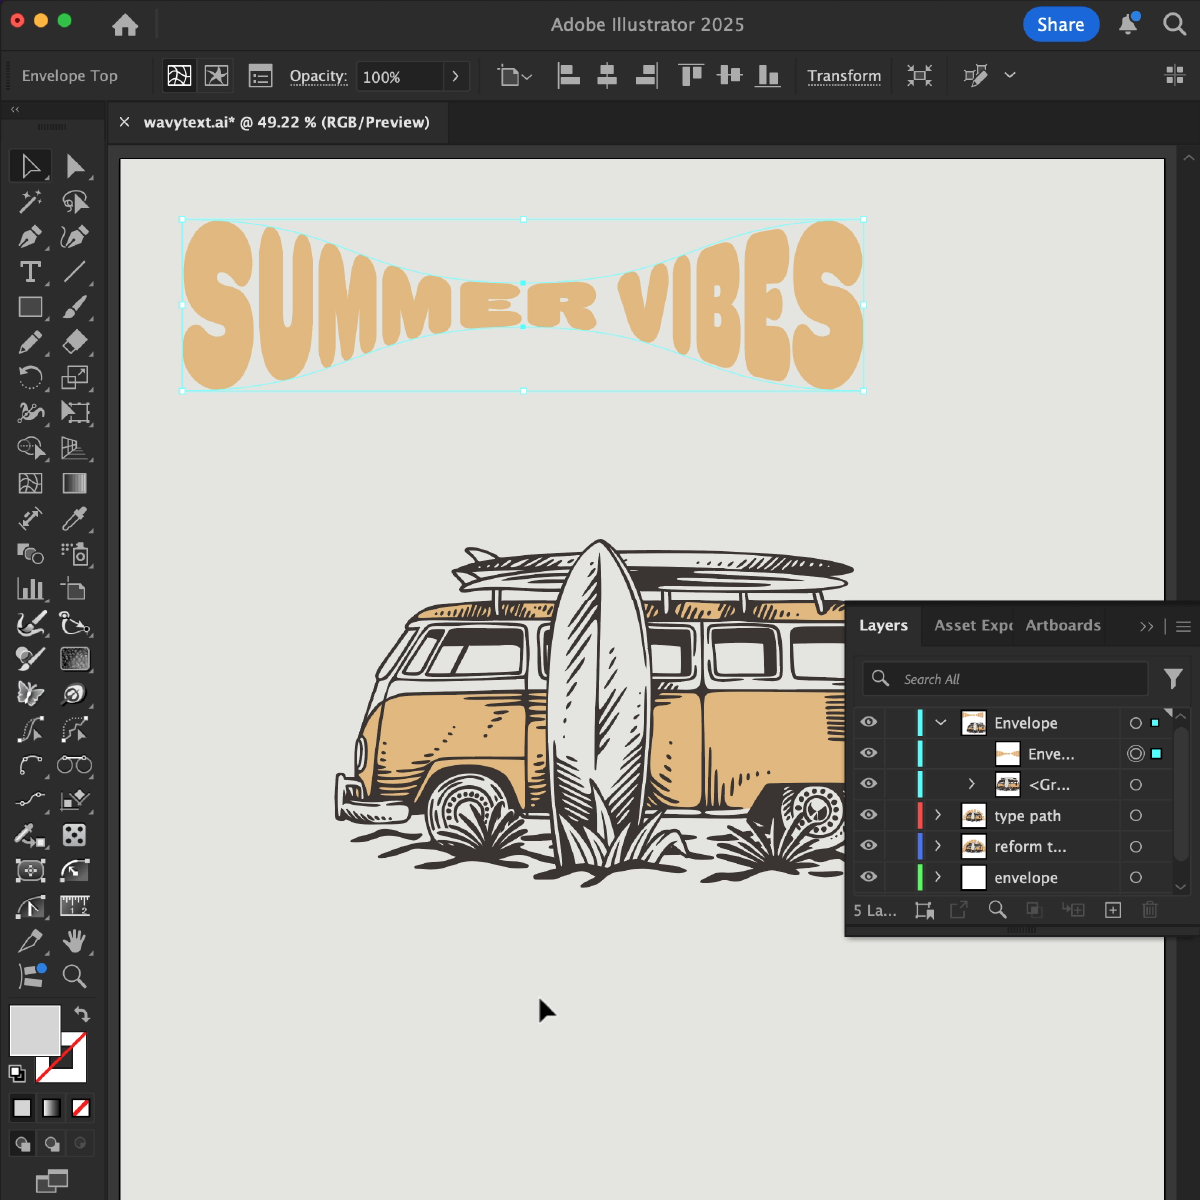
This was the result from our Envelope Distort:
If you would like to turn this into a background pattern, with the enveloped text selected head up to Object > Pattern > Make.
You can use the Pattern editing feature to create a repeating Brick by Row Pattern and adjust the spacing between the repeats.
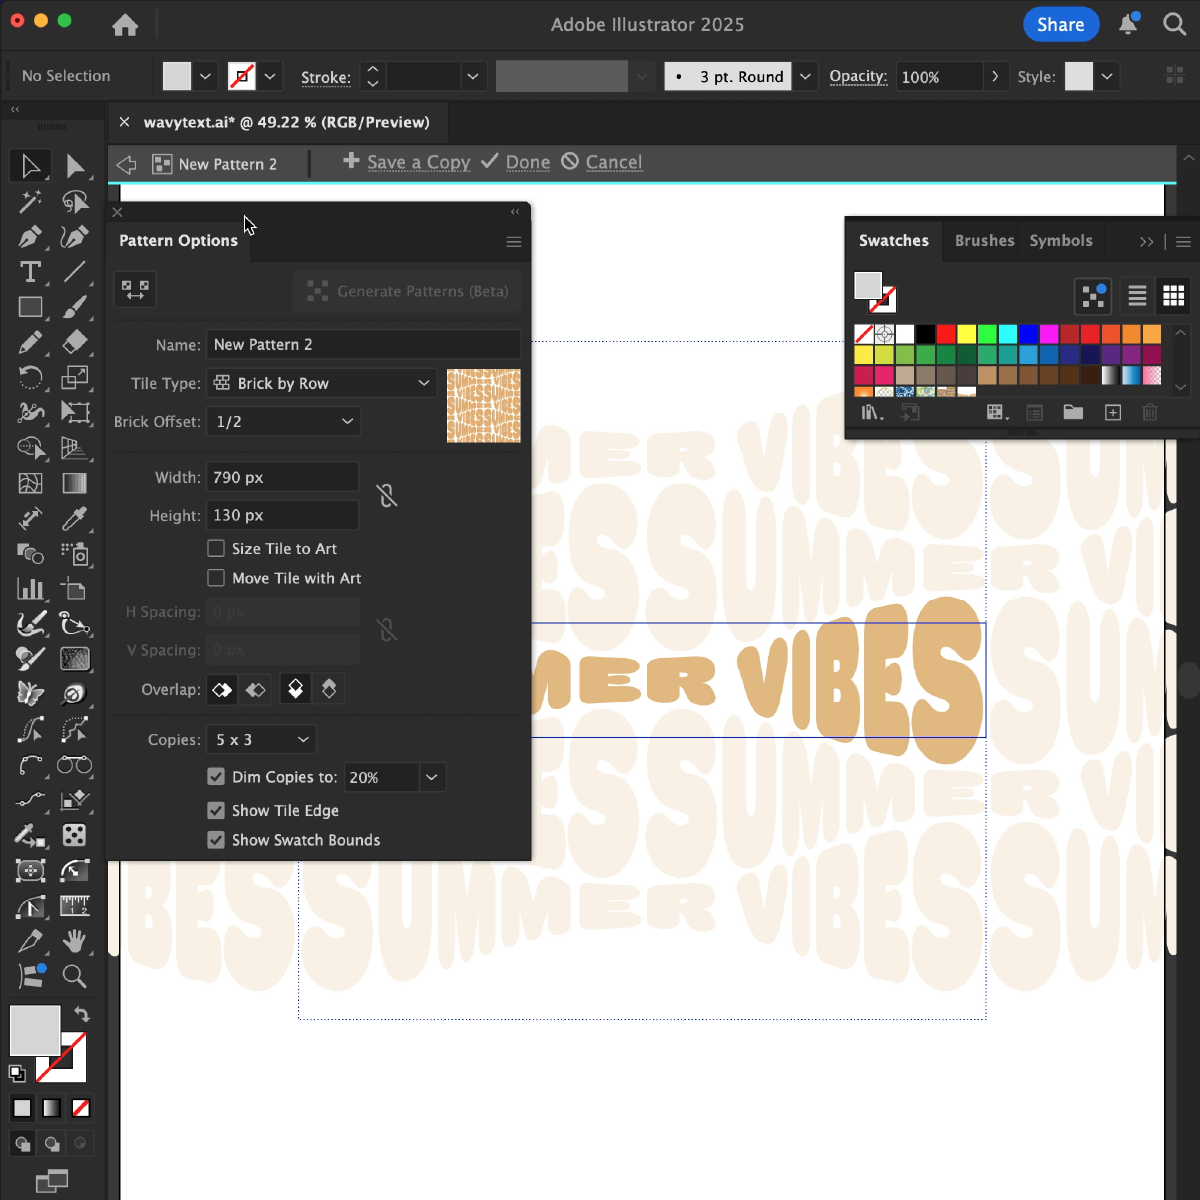
This is automatically saved as a new swatch in your Swatches panel and can be used as a background pattern. Use the different blending modes in the Opacity panel to create different effects.

Reform text
Astute Graphics provides a feature for Adobe Illustrator called Reform Text that allows you to easily manipulate text in creative ways, like reshaping and distorting it. Unlike the Type on a Path tool, Reform Text will elegantly display your text along the path, rather than simply rotating each letter awkwardly. Here's how you can use the Reform Text tool and panel to warp type along a path with extra controls such as acceleration and variable heights.
Make sure the Astute Graphics Reform Plugin is installed. You can try the Reform plugin free for 7 days with just your email address. Find out more here…
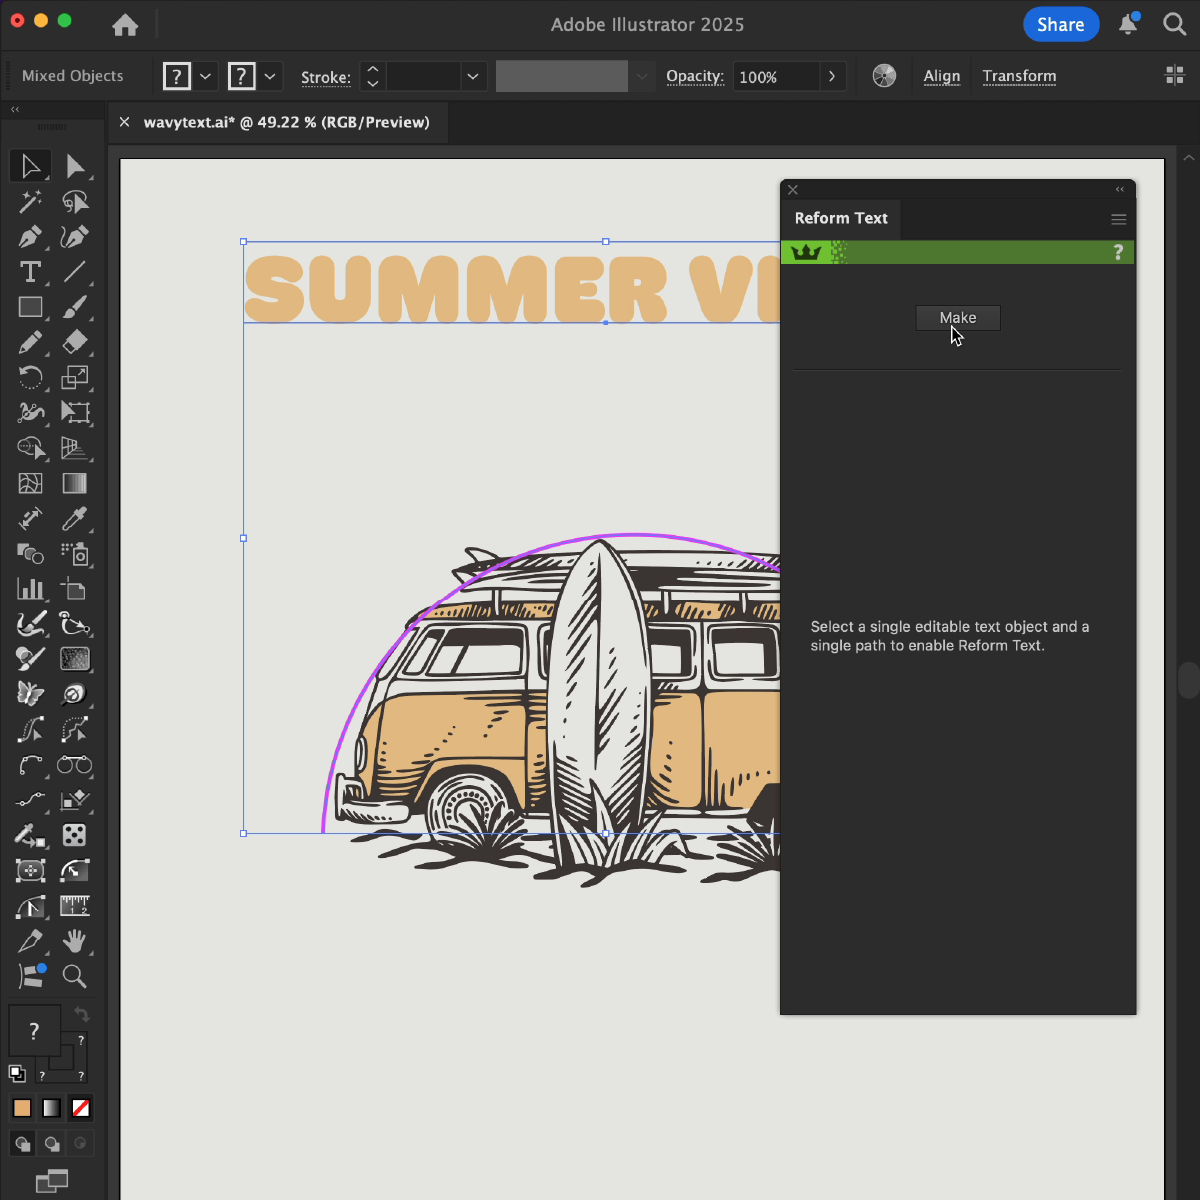
As with the Type on a Path tool in the instructions above, draw out your path and your type. Use the Selection Tool (V) to select both objects. Open the Reform Text panel (Window > Astute Graphics > Reform Text). The panel will show a “Make” button, click this to start using the tool.
Reform Text will initially place the text at a uniform height. To create a variable height, turn on the Show Markers option in the panel.
To Adjust the Height:
Option 1: Click on each height marker individually to adjust it.
Option 2: Use the values in the panel for more precise adjustments.
Adjust Marker Types:
Height markers can be either sharp or smooth.
To remove a marker, double-click on it.
The Left and Right margin value fields adjust the Reform Text's start and end points along the path. You can also use the Start and End Delimiters (green and red triangles) to manually adjust the margins in real-time.
Tip: Temporarily disable the Show Markers option to hide the annotation preview lines and see your final results better.

Reform Text offers alignment options like left, right, center, justify, and justify text with scaling. Take time to explore how each alignment affects your text. You also have the ability to adjust the baseline, aligning text to the bottom, center, top of the path, or adding your own custom value.
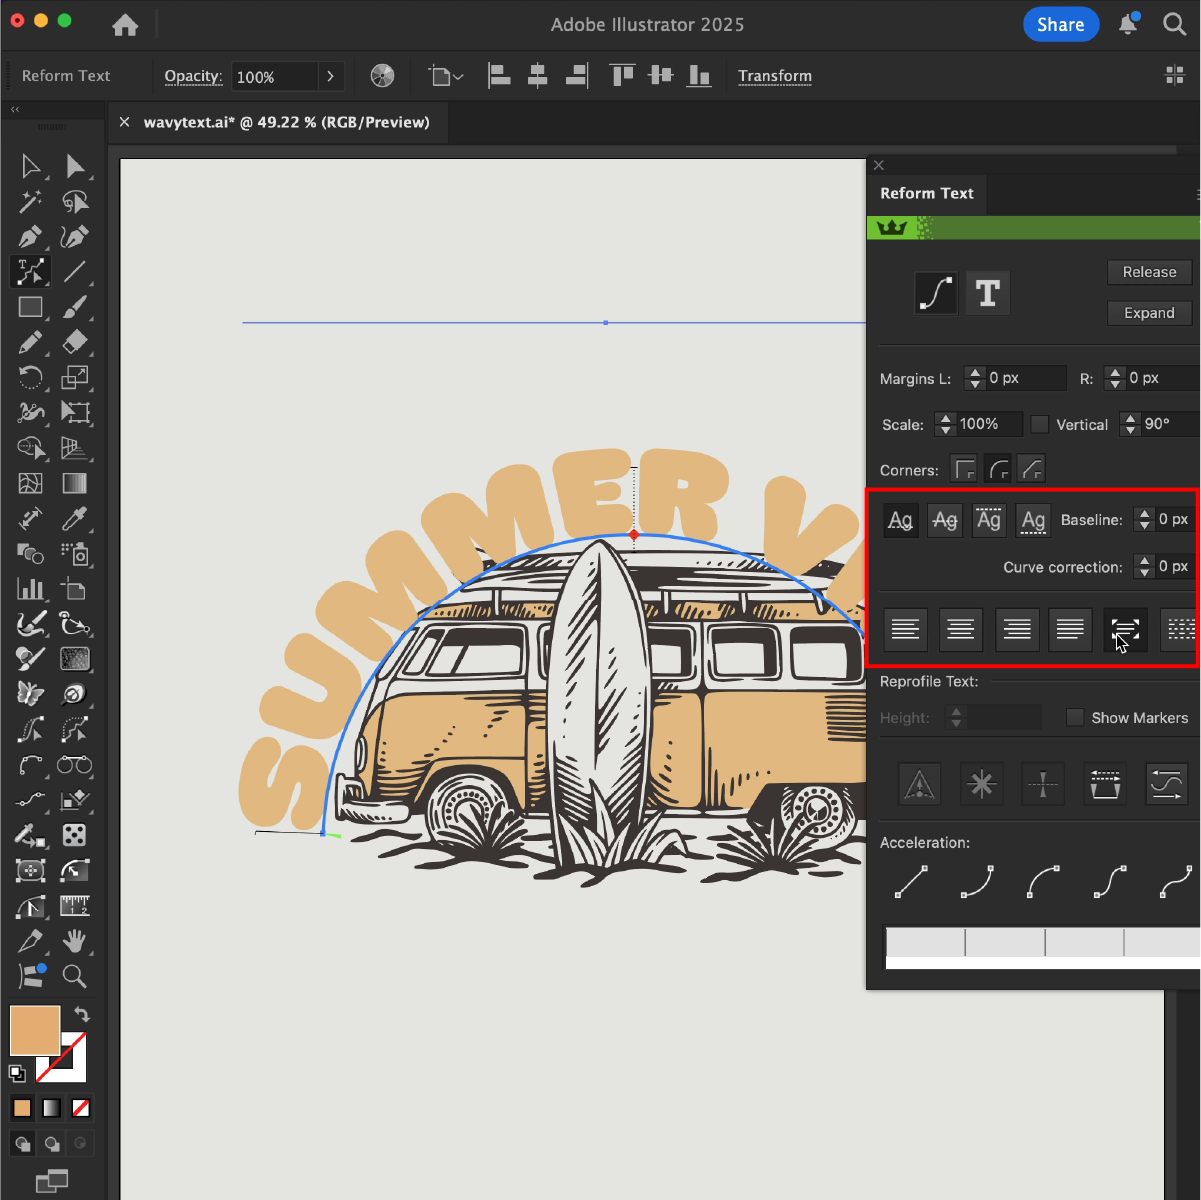
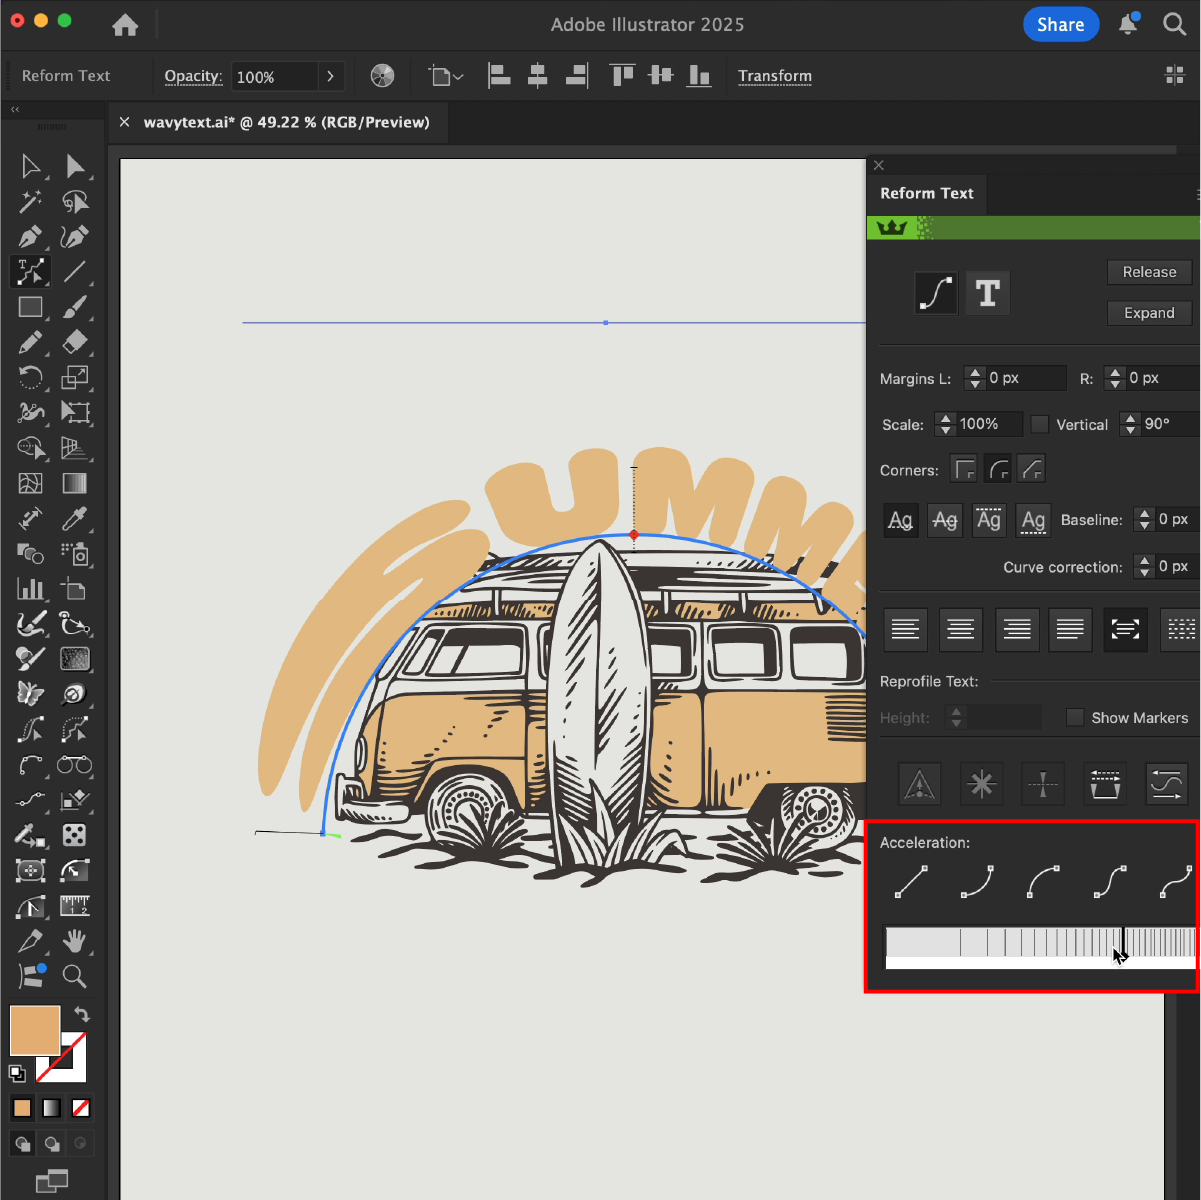
In the Acceleration section at the bottom of the panel you can choose from:
Ease in
Ease out
Sigmoid distortions
No acceleration
If you’ve enabled the acceleration option, move the slider marker(s) to adjust the in/out acceleration.
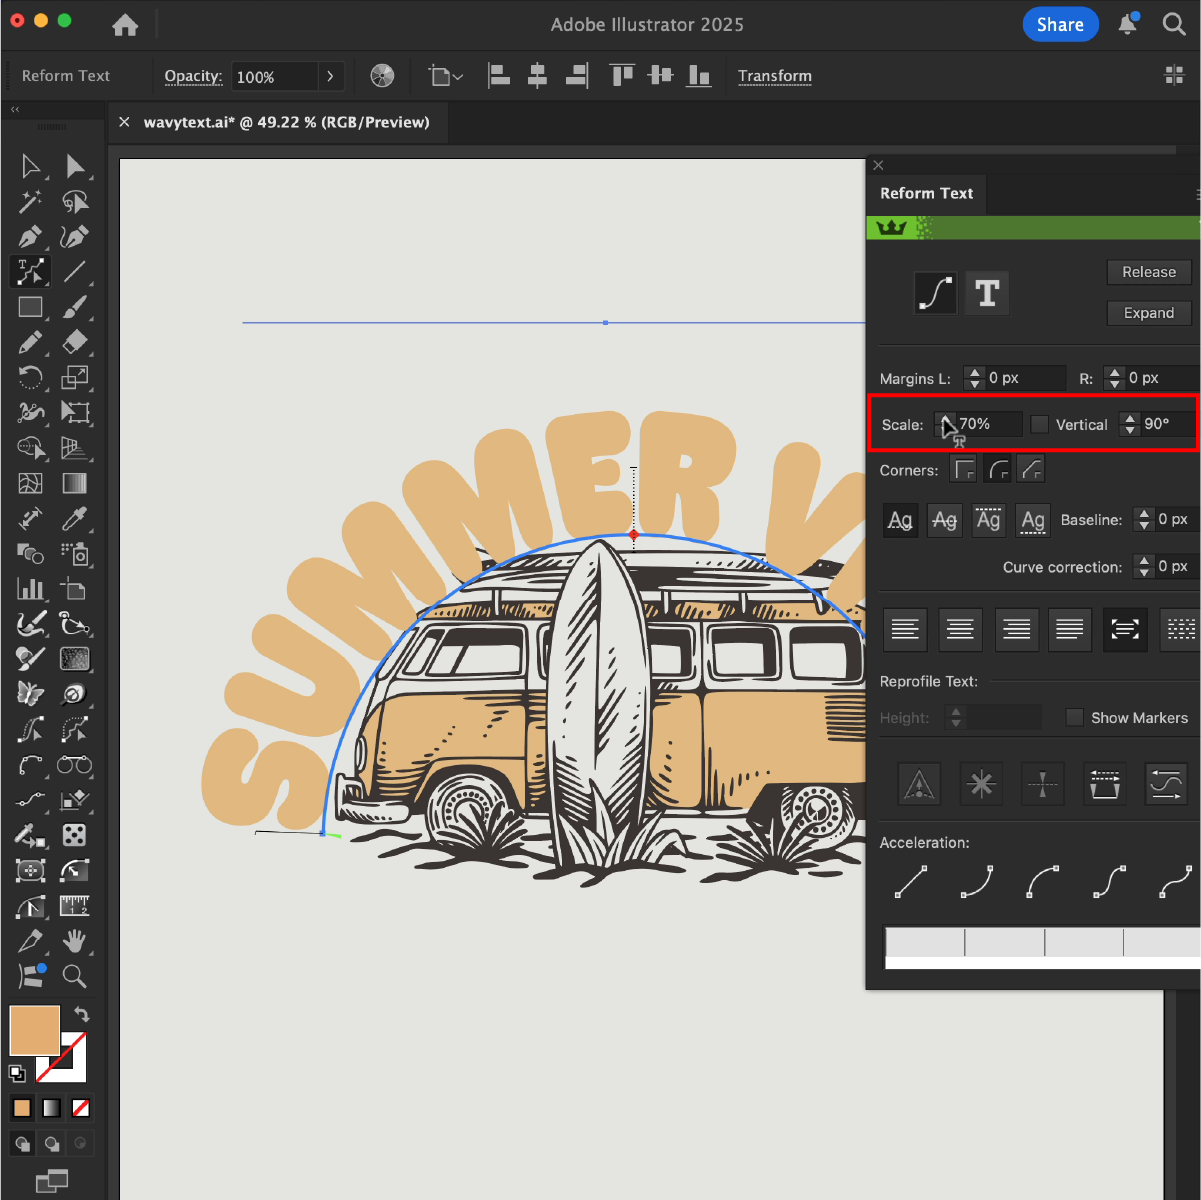
The Reform Text panel has lots of fine-tuning options for you to explore. Use the Scaling value box to explore adjusting the scale of the type. The Vertical section toggles on/off aligning the text to a vertical angle, by default it's set to 90° (North when looking at your Illustrator artboard).
You can use any other path editing tools to adjust your original type path. Click on the “T” button in the panel to edit the original text object.
Reform Text will stay active until you choose to Release it and remove it, or Expand the text to vector outlines.
To try Reform Text for free, signup for an account today. Need more help on this tool? Here's the full documentation for Reform Text.