Add stipple shading to artwork
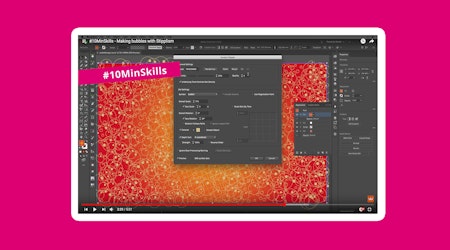
1 minute readIn this quick tip we’re going to add some stipple shading to our artwork with the Stipplism Plugin.
➡️ Draw out an ellipse (L)
➡️ Apply a linear gradient
➡️ Change the angle of the gradient (G)
➡️ Navigate to Effect > Stipplism > Stipple
➡️ The Stipple popup window will appear
➡️ Select the Scale Dots by Tone option, and click OK
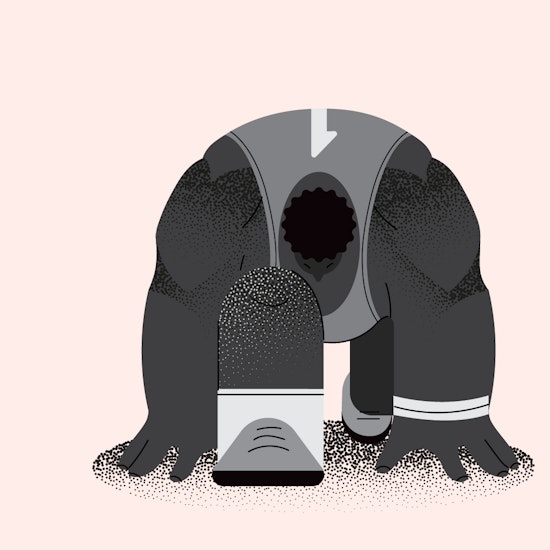
➡️ You can continue to adjust your gradient to reposition the scale of dots
➡️ The darkest point will have the most stipples
➡️ To make changes to the Stipple, click the Stipple Effect in the Appearance panel