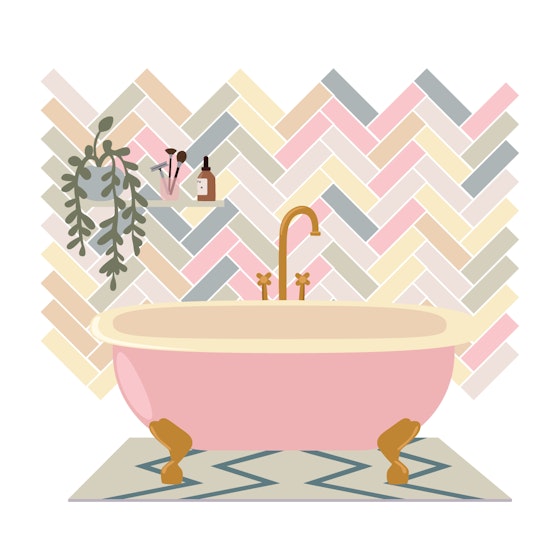
Create a herringbone pattern in Illustrator
2 minute readIn this quick tip we are using Snap to Collisions Tool (part of ColliderScribe) to make a herringbone pattern in Illustrator…
Create a herringbone pattern background in Illustrator:
🚰 Start with one rectangle set at a 45 degree angle
🚰 Find the Snap to Collisions tool stacked under the Selection tool
🚰 Drag your rectangle down whilst holding Shift + Alt (mac) / Option (Windows) to duplicate the shape and keep it aligned with the original
🚰 The pink dots will show it’s colliding exactly with the original path
🚰 Duplicate this process (Command / Control + D) to create a column of rectangles
🚰 Select All (Command / Control + A), Copy (Command / Control + C) and Paste (Command / Control + V)
🚰 Use the transform menu to reflect all the copies on the horizontal axes
🚰 Use Snap to Collisions Tool again to collide and nest these new copies to the originals
🚰 You now have a full herringbone pattern
🚰 Select the 2 columns and use Snap to Collisions Tool to duplicate and nest the next section into place (Shift + Alt / Option to constrain the angle and duplicate)
🚰 Ensure the pink dots are colliding in the corners
🚰 Duplicate this process (Command / Control + D) to create a full herringbone pattern
To finish: We used Randomino with a list of our swatch colours to randomly change their fill color.