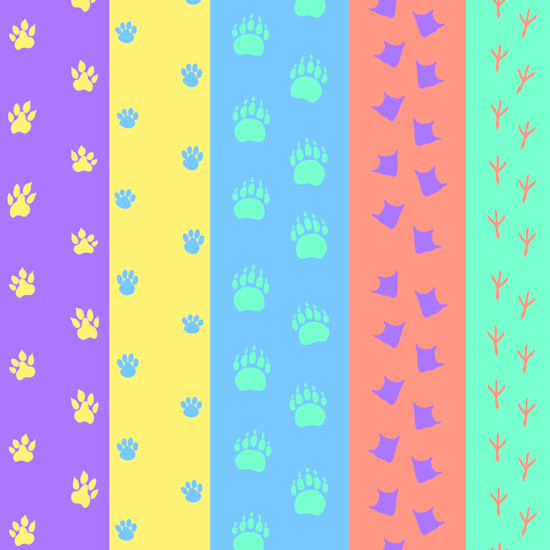
Creating paw prints in Illustrator
2 minute readIn this quick tip we’re going to swap open paths for paw print repeats using the Reprofile tool, part of the Reform Plugin. The paw print profile pack is available for subscribers to download inside their Astute Manager.
Click inside the Reprofile Panel to activate.
Select Paw Prints in the Category dropdown.
Select your first profile.
Whilst hovering over your path, hold down the Alt (mac) / Option (Windows) as you drag out from one side of your open path.
Release the mouse and then click the Use Defaults button in the panel.
We always recommend using the defaults that have been applied to downloaded profiles, but you can always update these by double-clicking the profile to enter the Profile Attributes Window.
When you're happy, click Apply to confirm.
Swap the fill and stroke (Shift+X).


