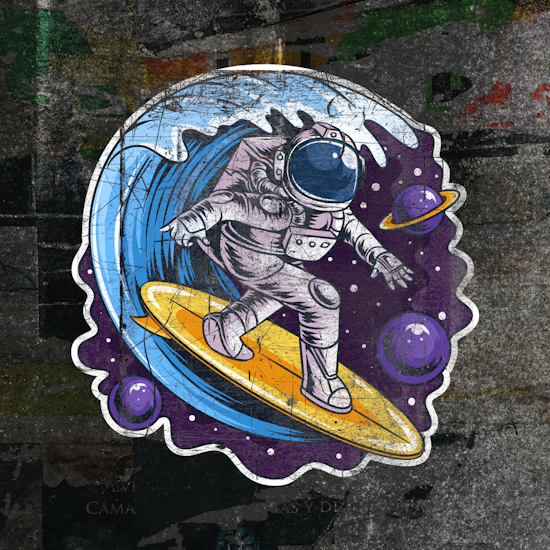
Quick guide to the Texturino plugin
2 minute readSometimes adding that little bit of texture can bring a whole new level of detail and meaning to your vector illustrations. The Texturino Plugin allows you to quickly add textures to objects, groups, and layers in Illustrator. Choose from the 100s we give away with an annual subscription, or import your own from raster images.
In this quick tip we are selecting and grouping all the artwork together and using the Retro Supply Texture Snack Pack available when you sign up for a subscription.
Select the art you want to add texture to
Open the Texture Panel (Window > Astute Graphics > Texture)
Use the dropdown to select a texture Category
Pick a texture from the Name dropdown, and the Preview window will show you the thumbnail
Click the big Plus icon to apply the texture
You can then use the Texture UI widget handles to set the Scale, Rotate, Position, Opacity and Blending Mode
You can also stack multiple textures by simply picking another from the dropdown, and clicking the Plus icon
To remove a texture, click the X icon in the panel
Top tip: Having a texture knockout through the shapes into the color behind gives a translucent retro quality. But adding a multiply blending mode gives us the impression that it’s printed on there.


