Adding Mezzotint Textures in Illustrator
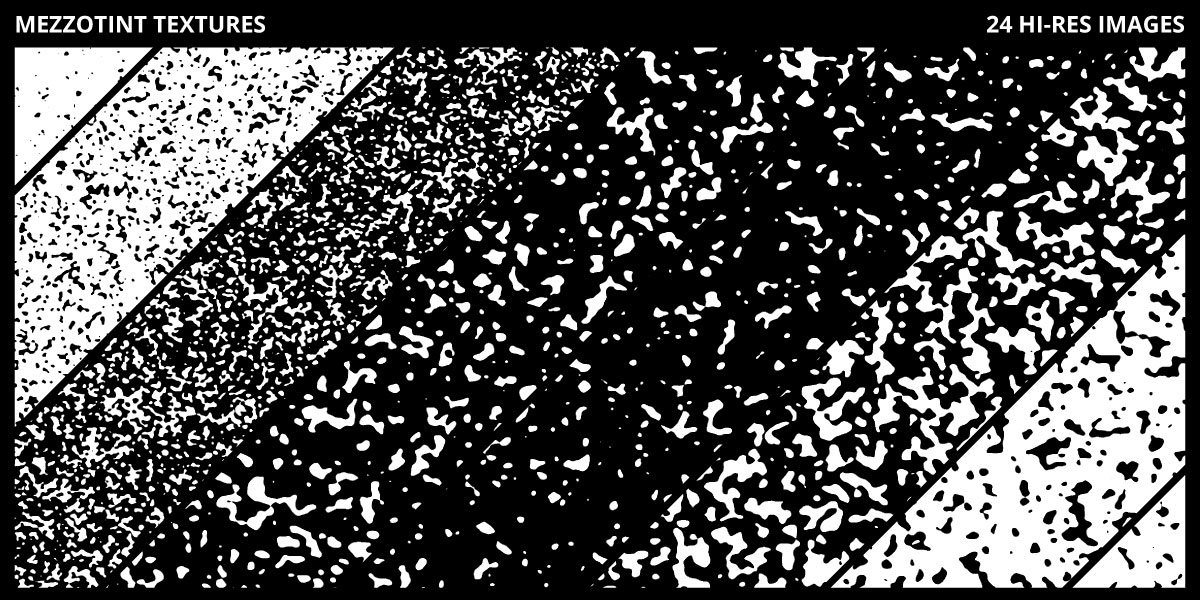
5 minute readAstute Graphics has launched a new texture pack, made exclusively available to all Astute Graphics subscribers.The Mezzotint texture pack adds an engraving effect to your designs. The pack has 24 handmade high-resolution textures, ranging not only in grain density but also in grain size.
In this tutorial we are going to show you how to find and download the textures from your Astute Manager, then how to import them into Adobe Illustrator using the Texturino texture panel so that you can use them in your design work.
How to find and download textures
Simply open your Astute Manager, or log into your Astute Graphics account page and navigate to the Texture packs section. From there, you have access to all Texturino texture packs.
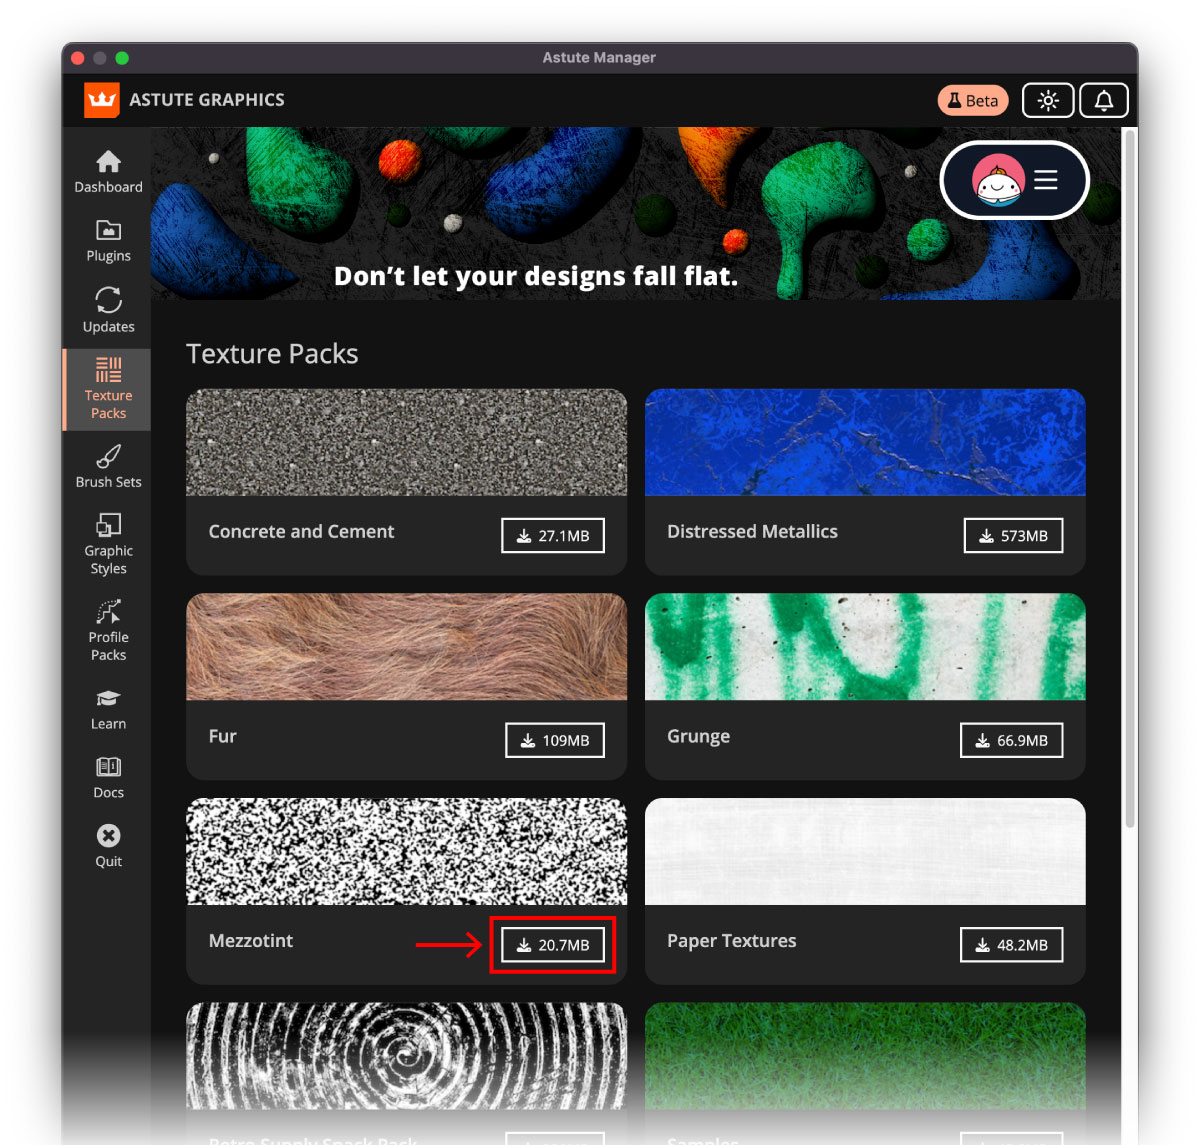
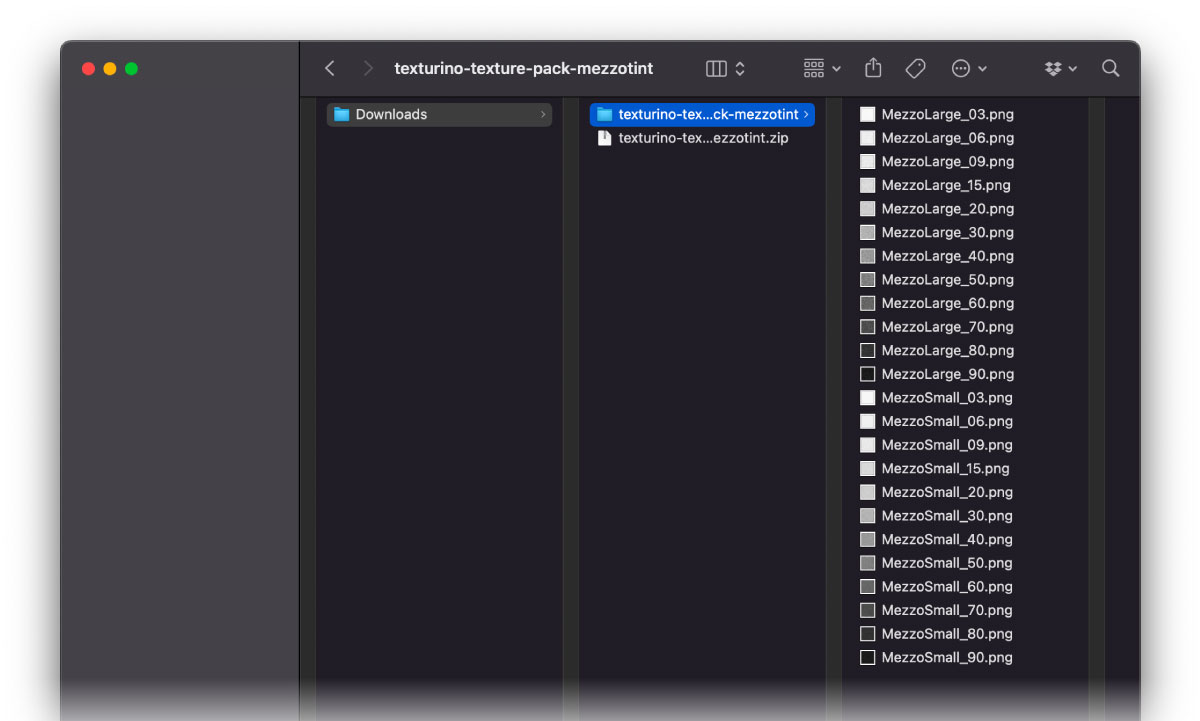
Once you have pressed the download button the file will begin to download from your browser. You can then unzip the package contents to reveal the PNG image files.
Note: This professional texture pack is only available to current subscribers. If you are a lapsed customer or a trial user you can subscribe to all plugins, textures and other resources by visiting your account page or our Pricing page.
How to import the textures into Adobe Illustrator
To import the PNG files extracted from the downloaded .ZIP file, please ensure that:
The Texturino plugin is installed in Adobe Illustrator
You have the Texturino panel visible (Window > Astute Graphics > Texture)
then just click on the Import button in the panel (as shown below)…
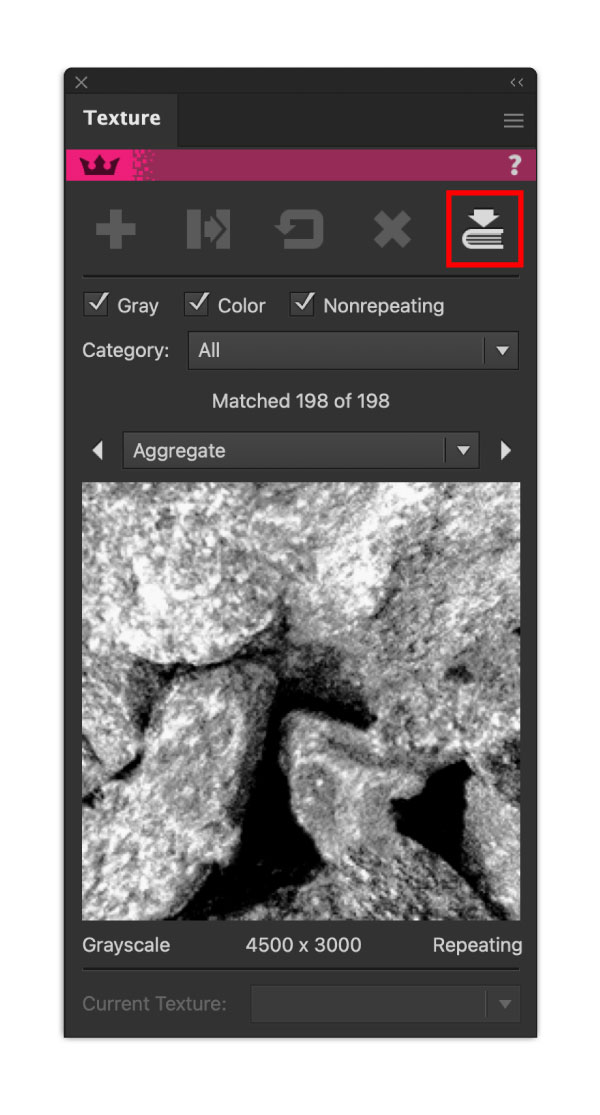
...and select all PNG texture files to import and complete the process.
When the textures have been successfully imported, the Texture Manager dialog window will appear and highlight the recently imported files.
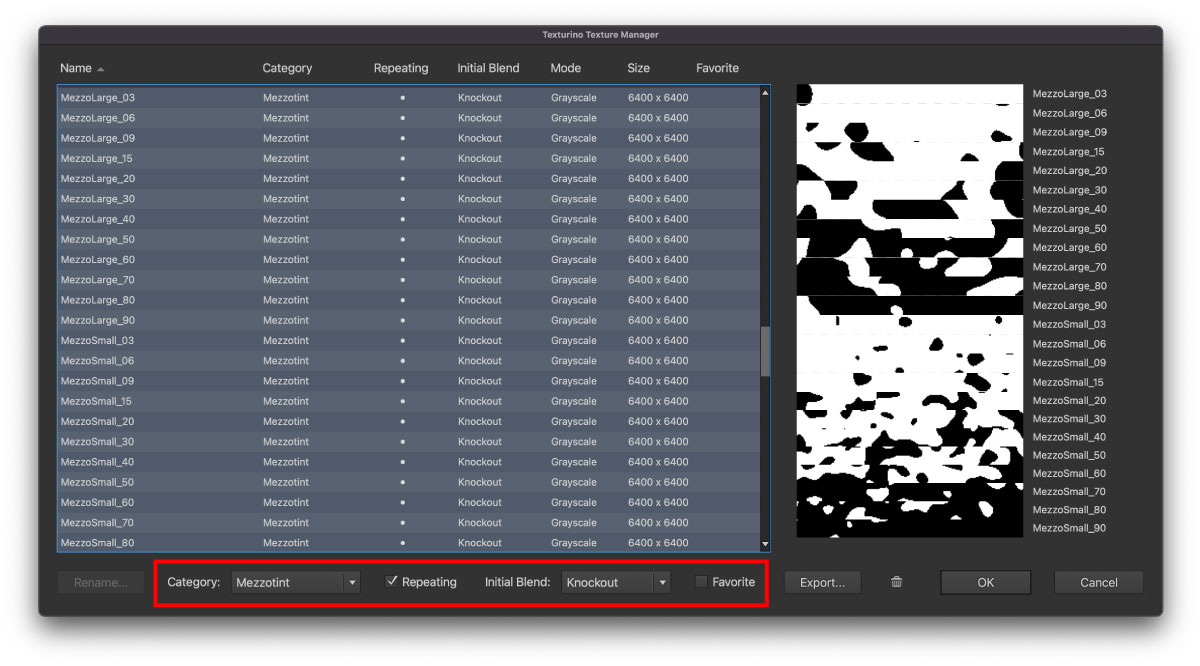
The texture packs are optimised for Texturino with all categories and default blend modes set, but you can adjust these in the Texture Manager.
Press OK to confirm any changes and close the Texture Manager.
How to use your textures
Use the category dropdown in the Texture panel to find the Mezzotint pack, and select the one you wish to apply to your artwork.
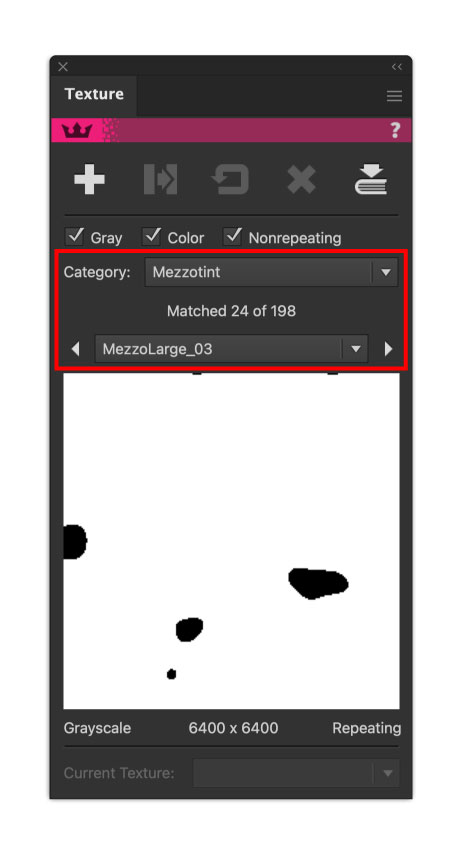
Select your artwork and press the big plus icon to add the texture.
The Texture annotation widget will then appear, allowing you to easily change the scale, opacity and rotation of the texture.
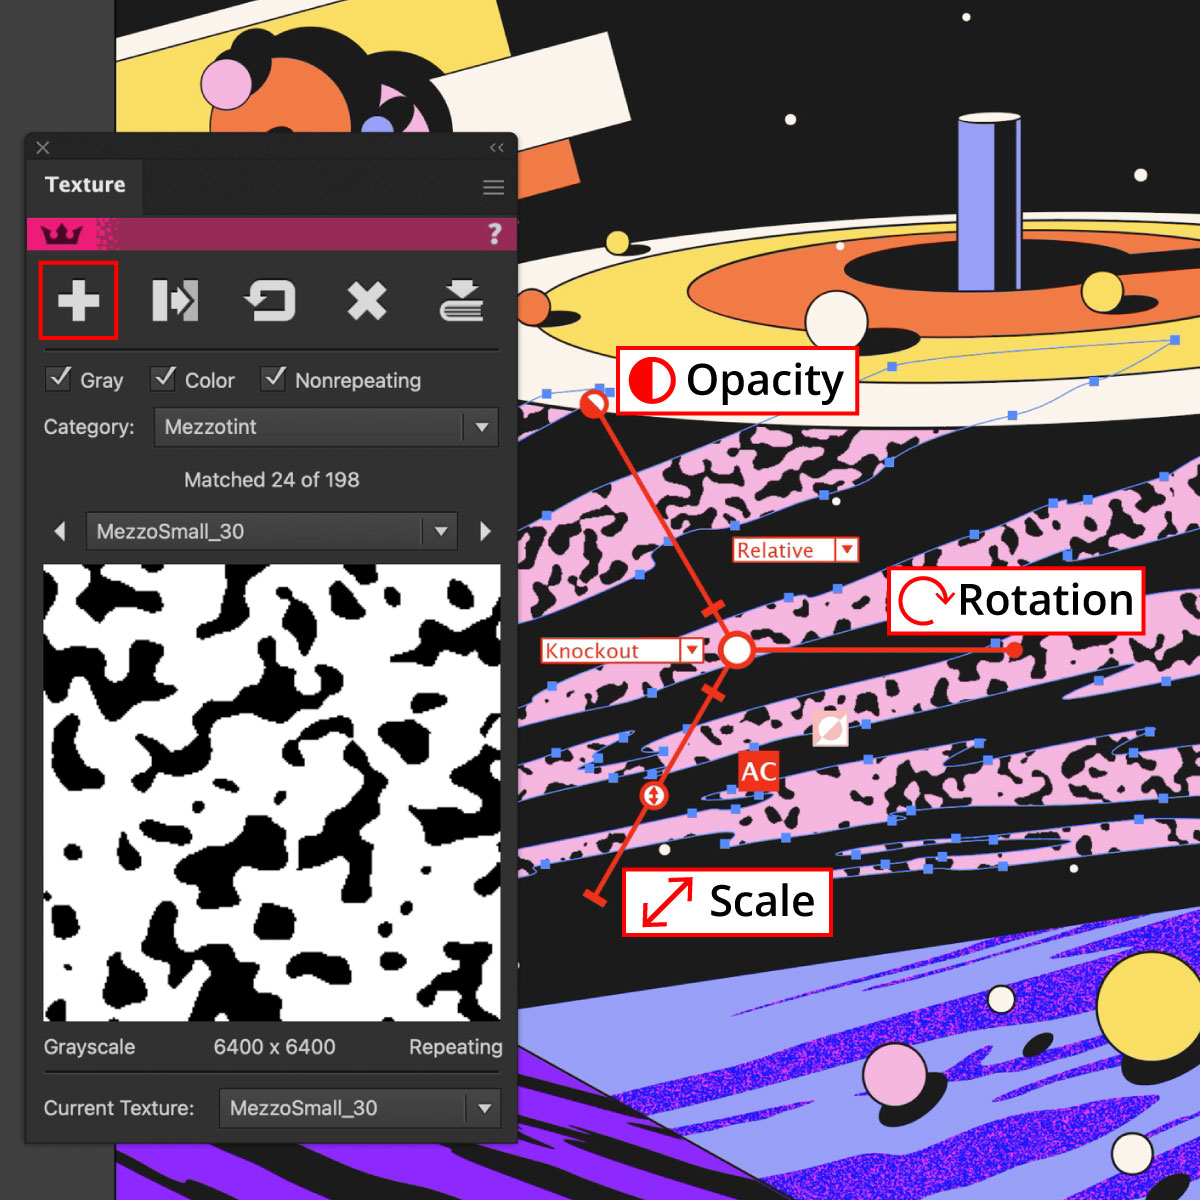
Use the blend dropdown menu to experiment with overlaying the textures in different blending modes.
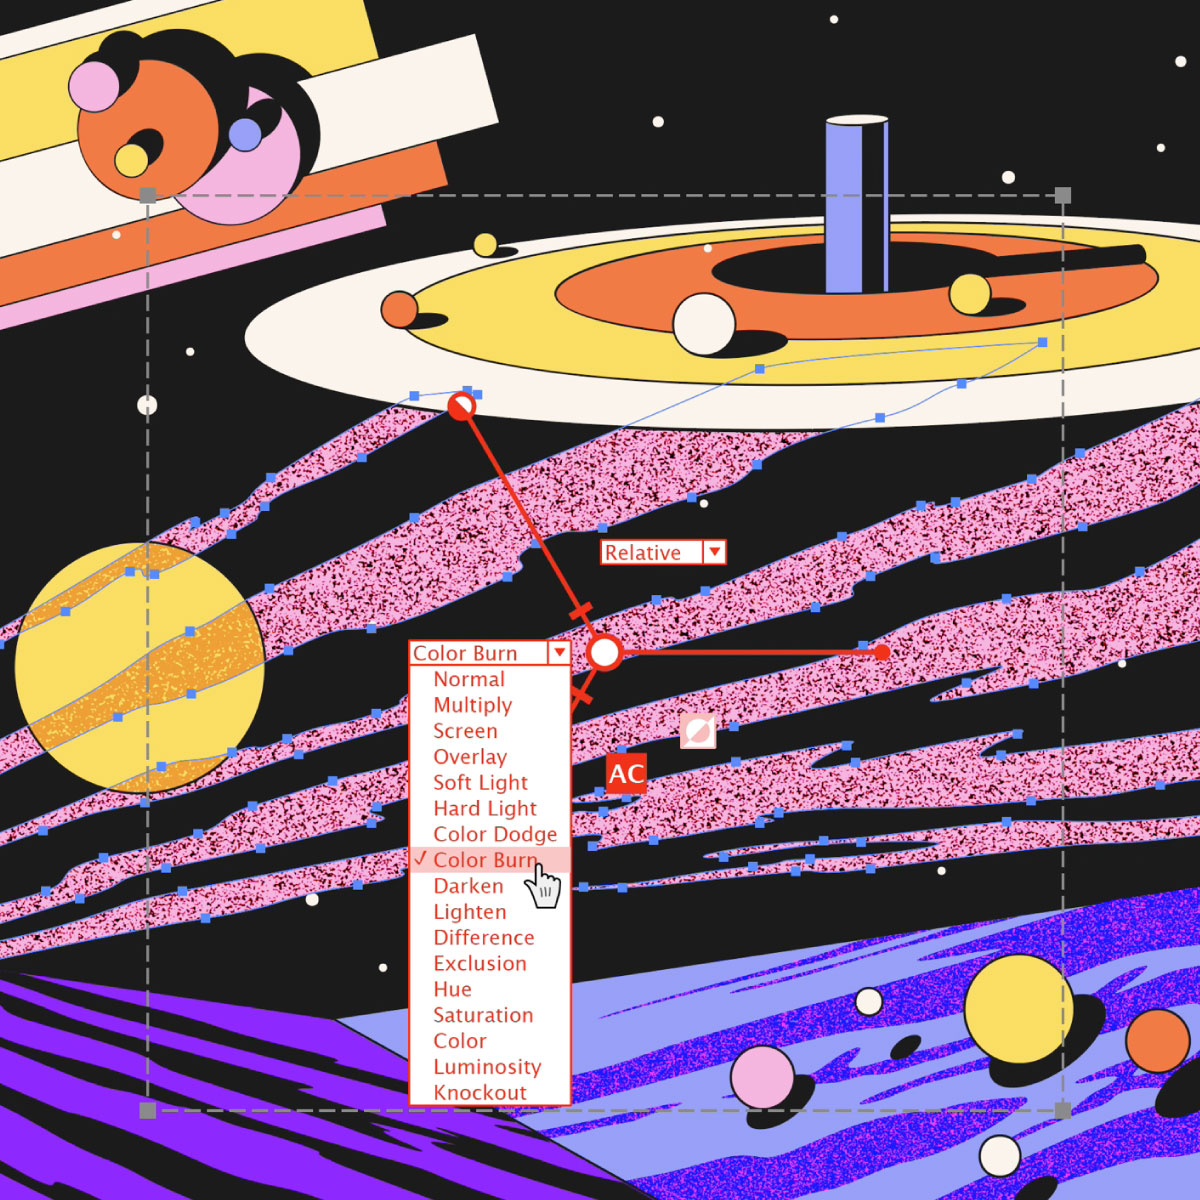
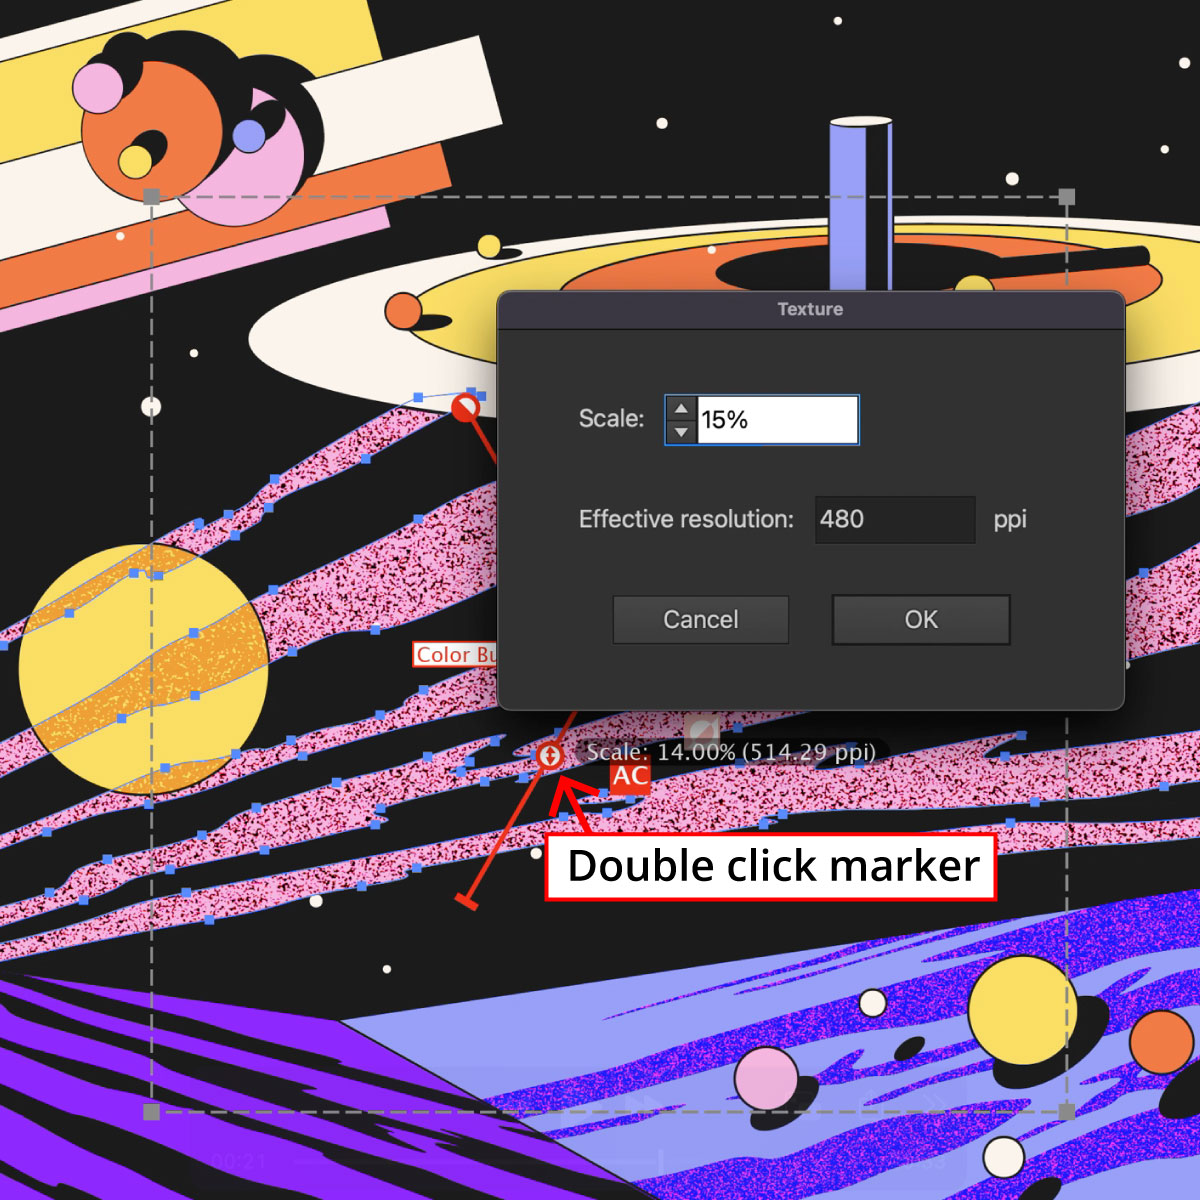
Top Tip: Double-clicking any one one of the annotation markers will open a dialog box that allows you to enter an exact value. This is especially helpful if you wish to ensure your textures are 300dpi or above for a higher print quality.
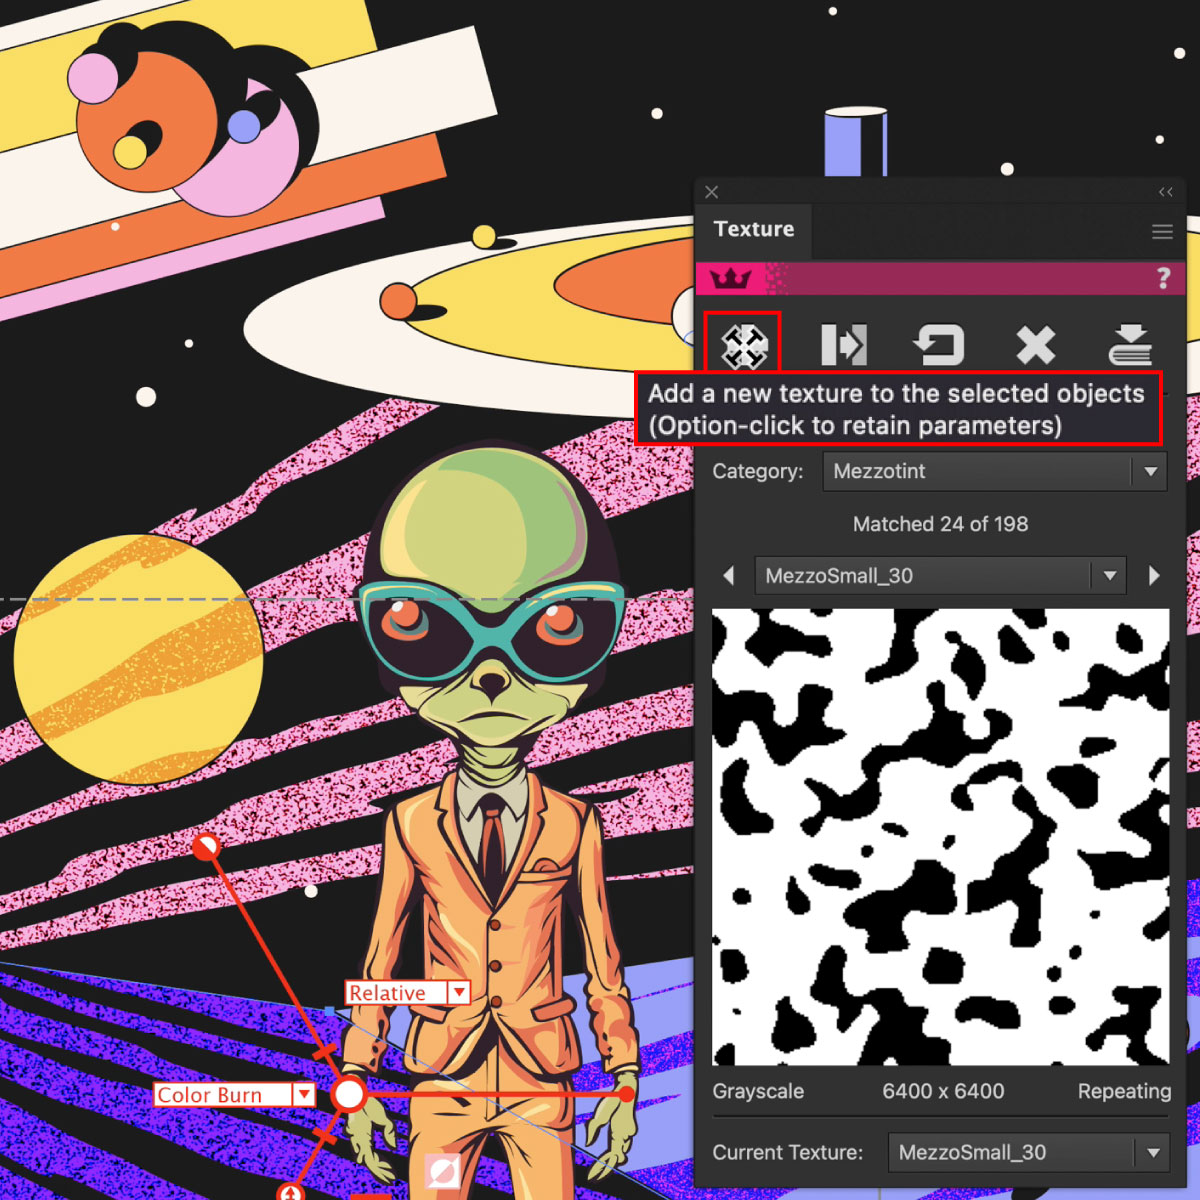
Reapplying the texture settings to another object
If you want to apply the same texture with the same settings that you have just applied to another object, you can hold the Option/Alt key while pressing the add texture button.
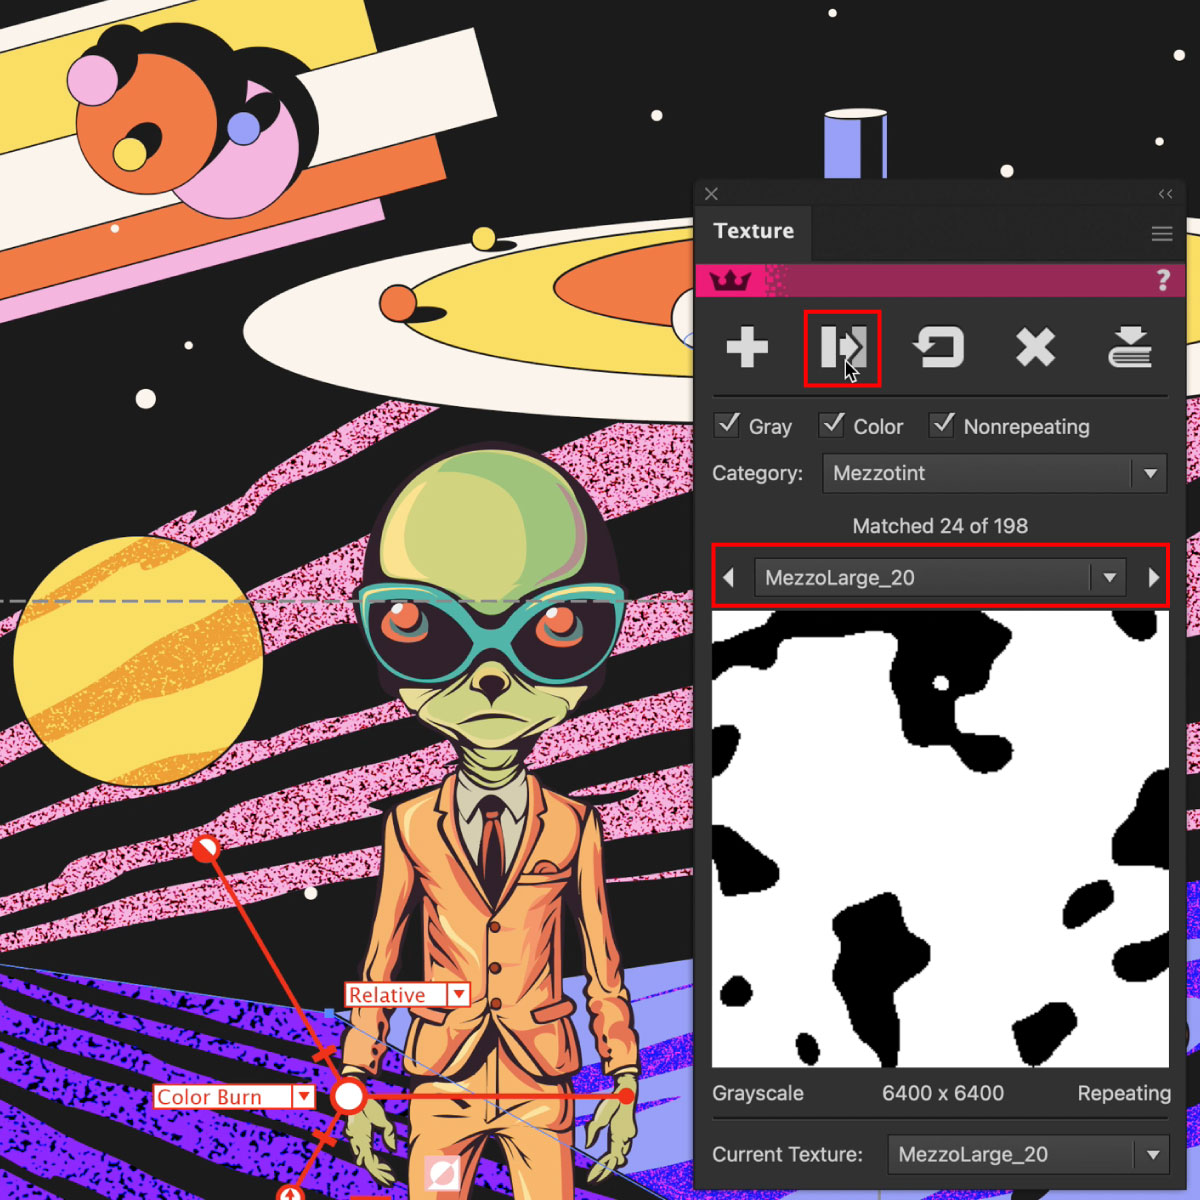
Swapping out textures
You can swap textures by using the Replace button. First select your object, then select the new texture in the panel and use the Swap button.
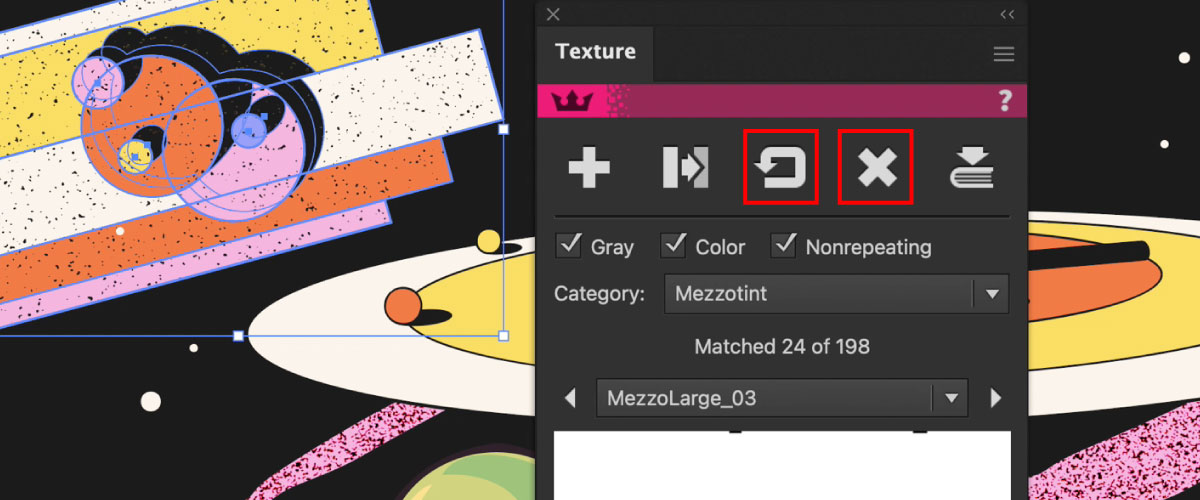
Reset or remove a Texture
To reset the texture to its default values use the Return icon button.
To remove the targeted texture entirely use the Cross icon button.
Stacking textures
To stack textures on top of one another, all you need to do is locate it in the panel and press the plus icon again.
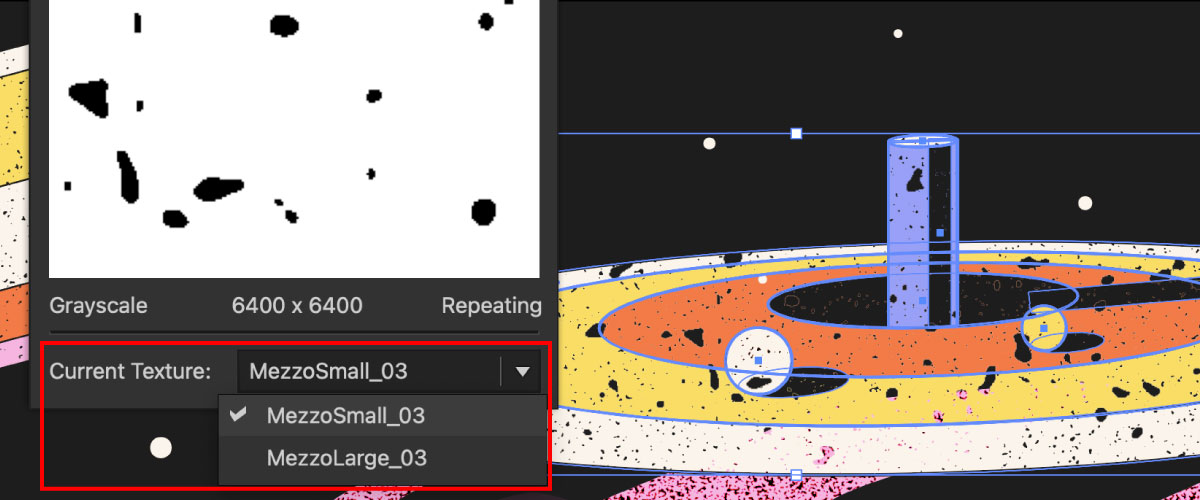
This then activates the Current Texture dropdown at the bottom of the panel, allowing you to swap the control widgets to manipulate each texture in turn.
If your texture annotation widget has disappeared, click inside the preview window to reactivate it.
Adding textures to groups
You can apply textures to a single object, live type, embedded images, or even groups and layers. In fact you can add a texture to almost any artwork in Illustrator with the Texture panel.
If you need any more help with Texturino, don’t forget to check out our documentation site: https://docs.astutegraphics.com
