Create dotted shading with Phantasm and Stipplism
3 minute readIn this article, I will talk you through a quick way to create dotted shading with Phantasm or Stipplism. The described technique allows you to change the shaded shape so that the dotted effect will exactly match the shape. In addition, you can apply the shading effect to other similar shapes with a single click, without repeating the settings applied earlier.
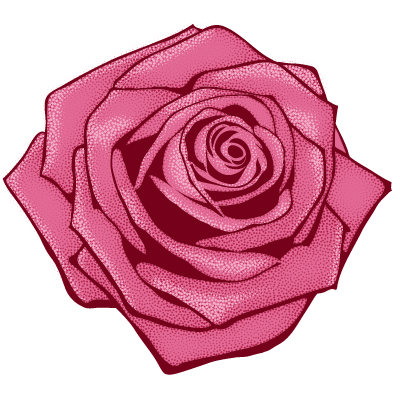
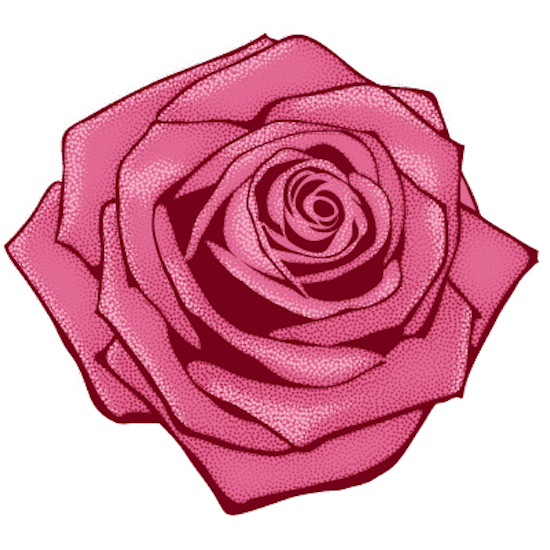
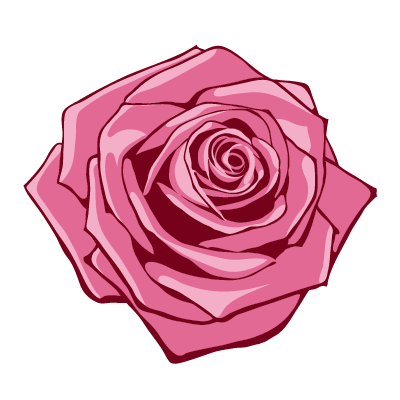
Let’s look at the technique of creating dotted shading on the example of a rose.
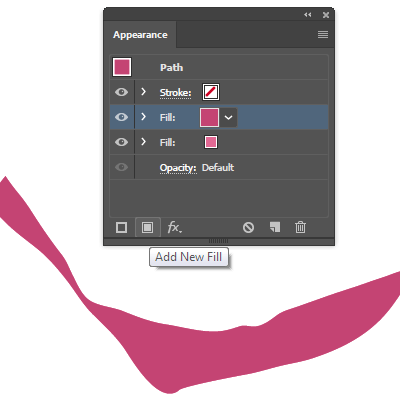
To begin, select the pink petal, and add a new fill to this object in the Appearance panel. The color of this fill is darker than the original color of the petal.
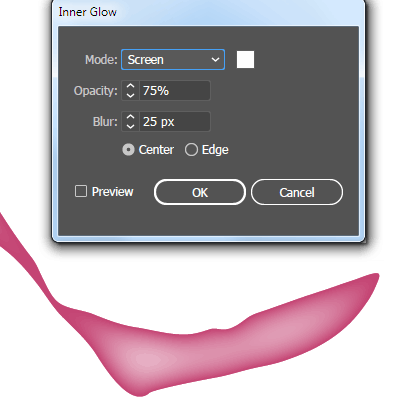
Apply the Inner Glow effect to the upper fill (Effect > Stylize > Inner Glow…).
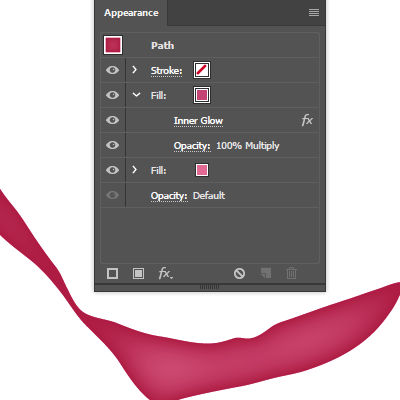
Then apply the Multiply blending mode.
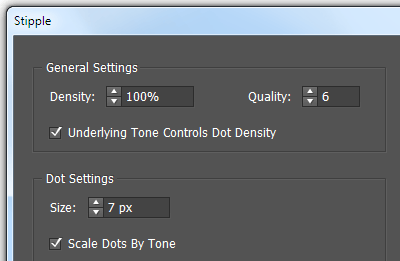
Now create dotted shading with Stipplism. Keeping the upper fill selected, go to Effect > Stipplism > Stipple… and set the parameters similar to those shown in the picture below.
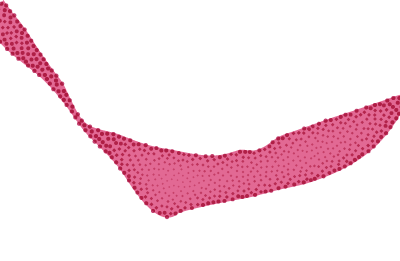
To create light and shadow, you can use other raster effects, their combination and gradient fills. To create dots, you can also use the Phantasm Halftone effect. The important thing is that all the shading effects should be applied to the additional upper fill of the object. In this case the shaded shape can be changed and the effect stays true to the shape.
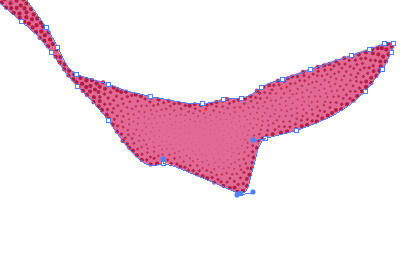
In order not to repeat all the described above actions for other similar objects, create a new graphic style based on the shaded shape.
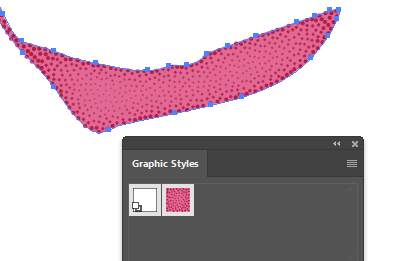
Now I simply apply this style to the other petals.
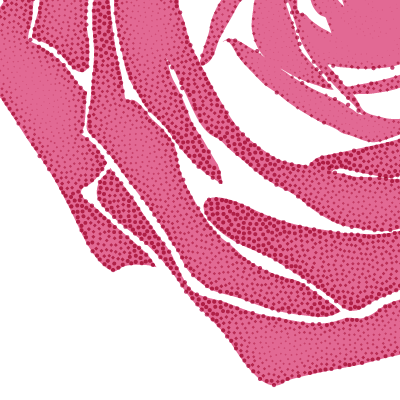
Apply the Stipplism Stipple effect to the highlights on the rose and my artwork is ready.
