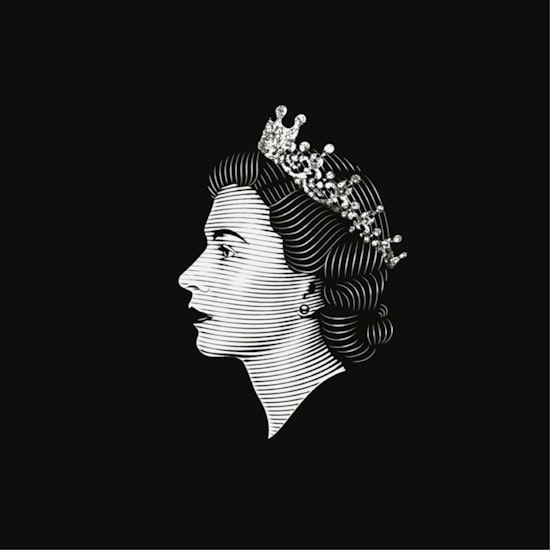
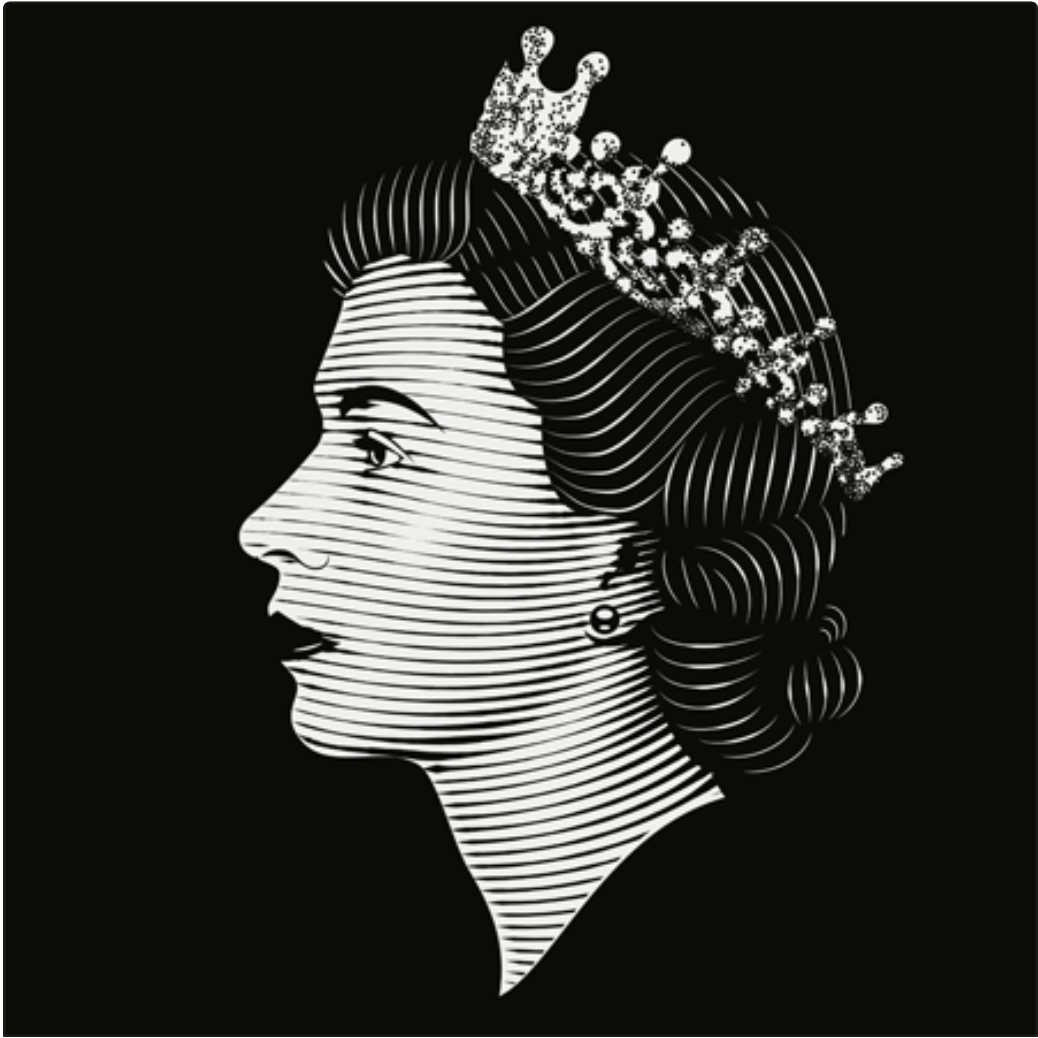
How to create Queen Elizabeth portrait in engraved style with WidthScribe
12 minute readToday we will create a portrait of Queen Elizabeth II in an engraved style. Three tools of WidthScribe plugin, such as Width Selector Tool, Width Stamp Tool and Width Brush Tool, will help us with that. In order to accelerate and facilitate the process of drawing, we will also use other unique vector tools from Astute Graphics. It makes your drawing easy!
Step 2
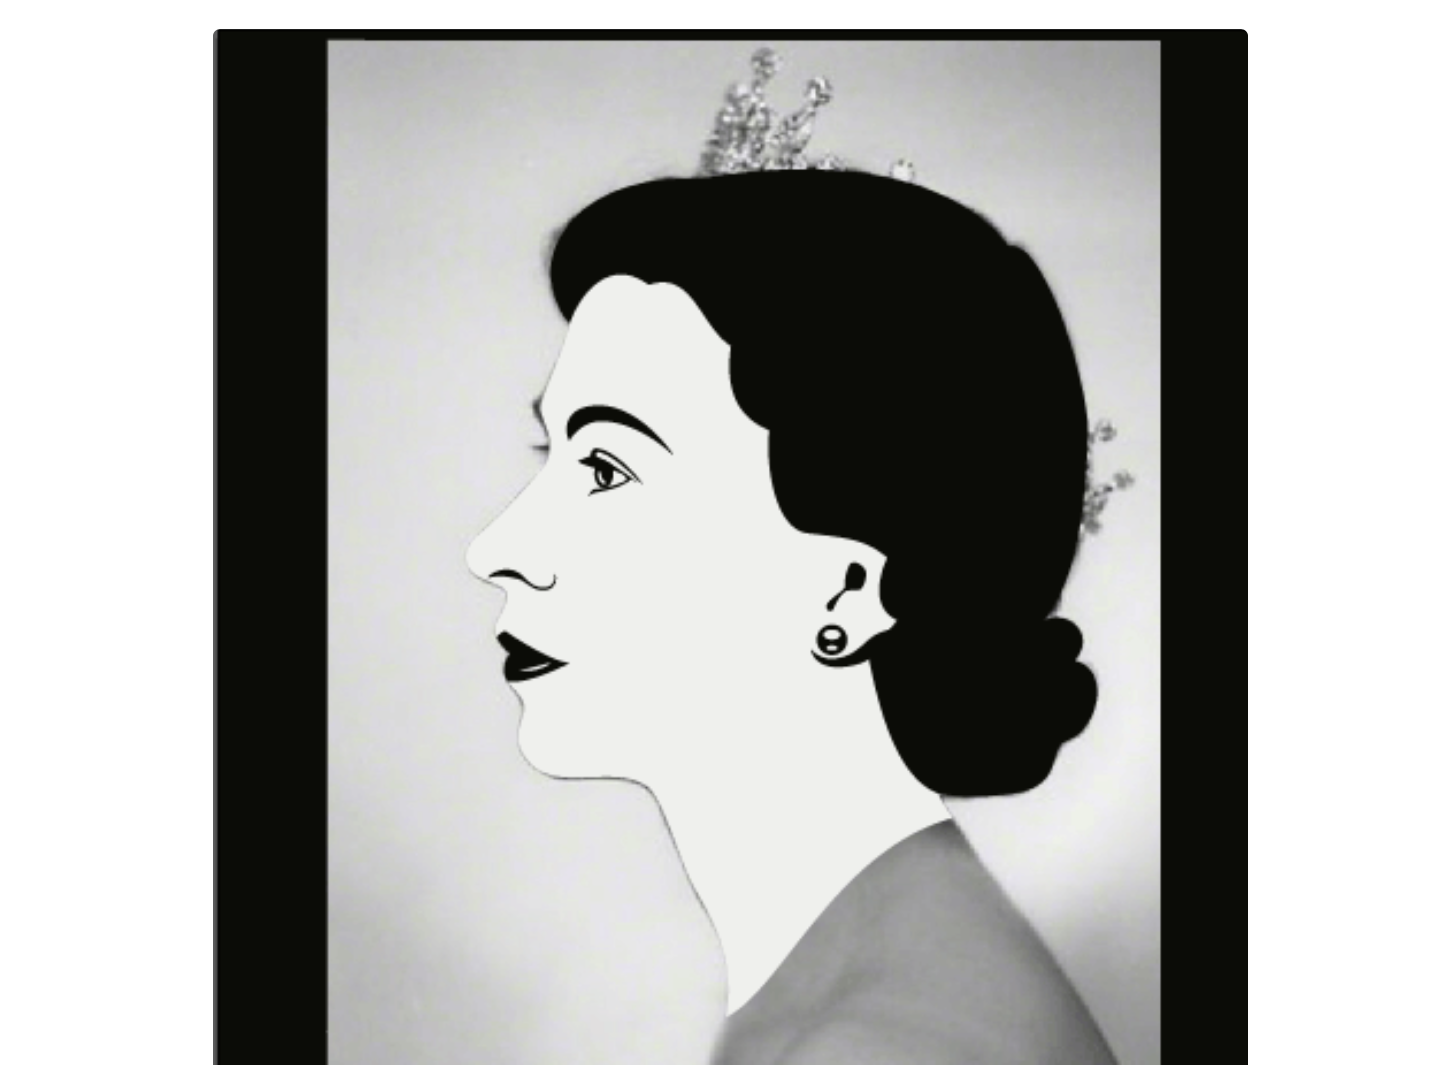
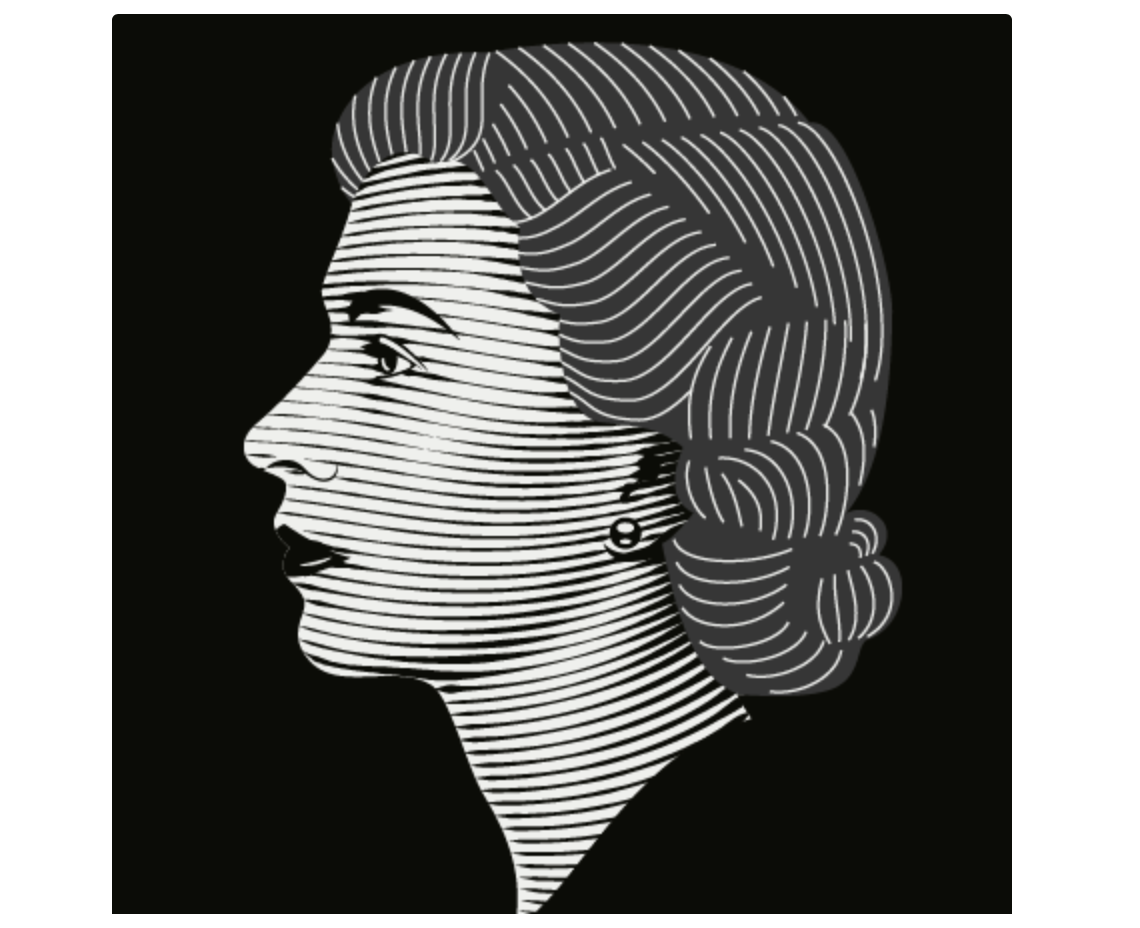
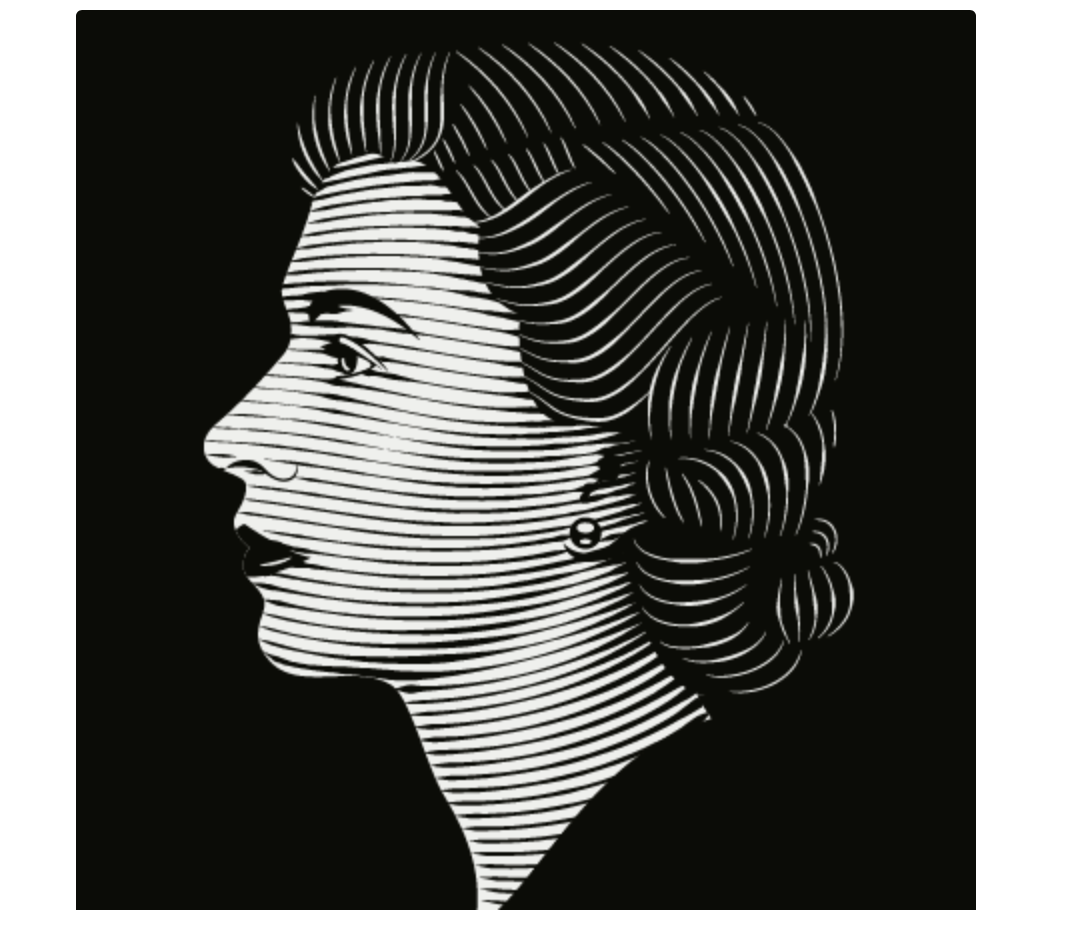
Create a black rectangle for the background, and place it below the photo of the Queen. Now recreate Queen Elizabeth’s facial contour using the Pen Tool (P) or InkScribe, which will be a more intelligent and comfortable tool. Draw hair outline and facial details to create a simplified version of her face.
Do not delete the bitmap image, you will need it in the next steps of this tutorial. To create some objects it is more convenient to use variable width paths rather than filled paths. Let’s look at it on the example of the nostril’s shape. Create an S-shaped uniform path.

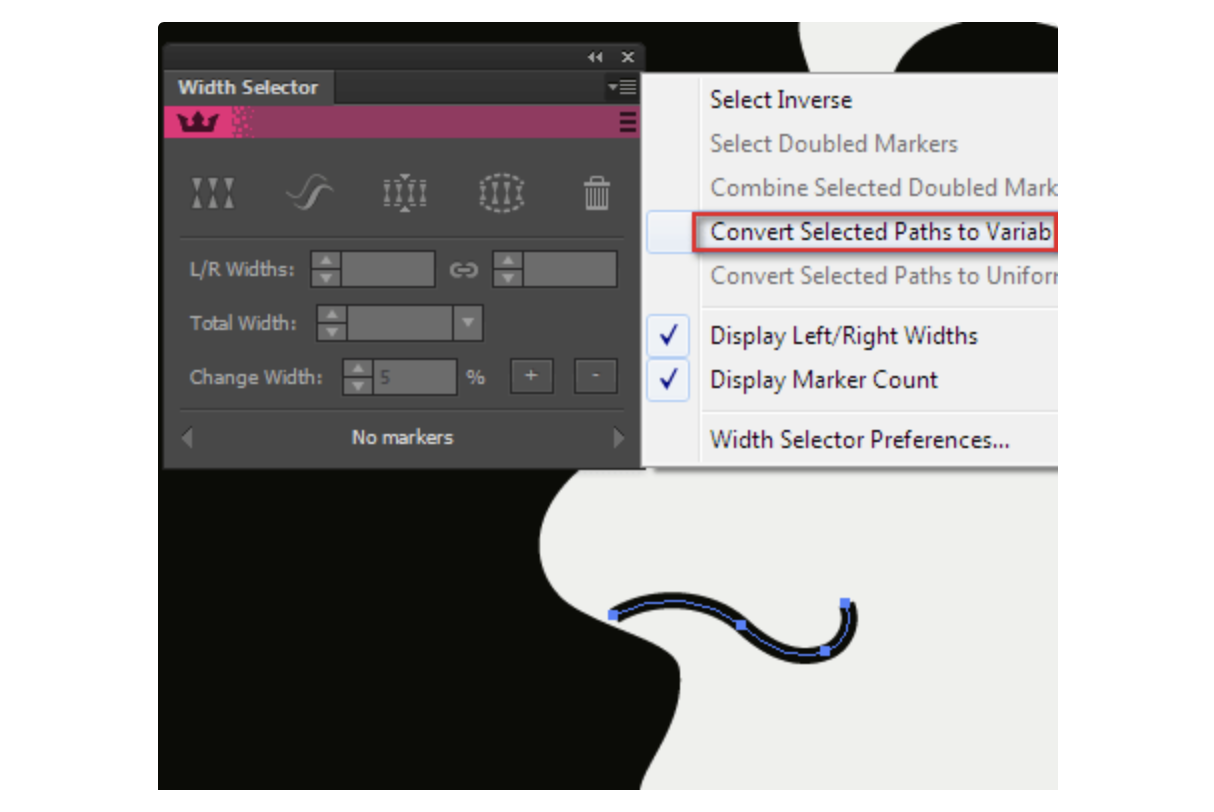
Give it the desired shape using the Width Selector Tool and its panel (Window > WidthScribe > Width Selector panel). Select the path, and then choose the Convert Selected Paths to Variable Width in the dropdown menu of the panel.
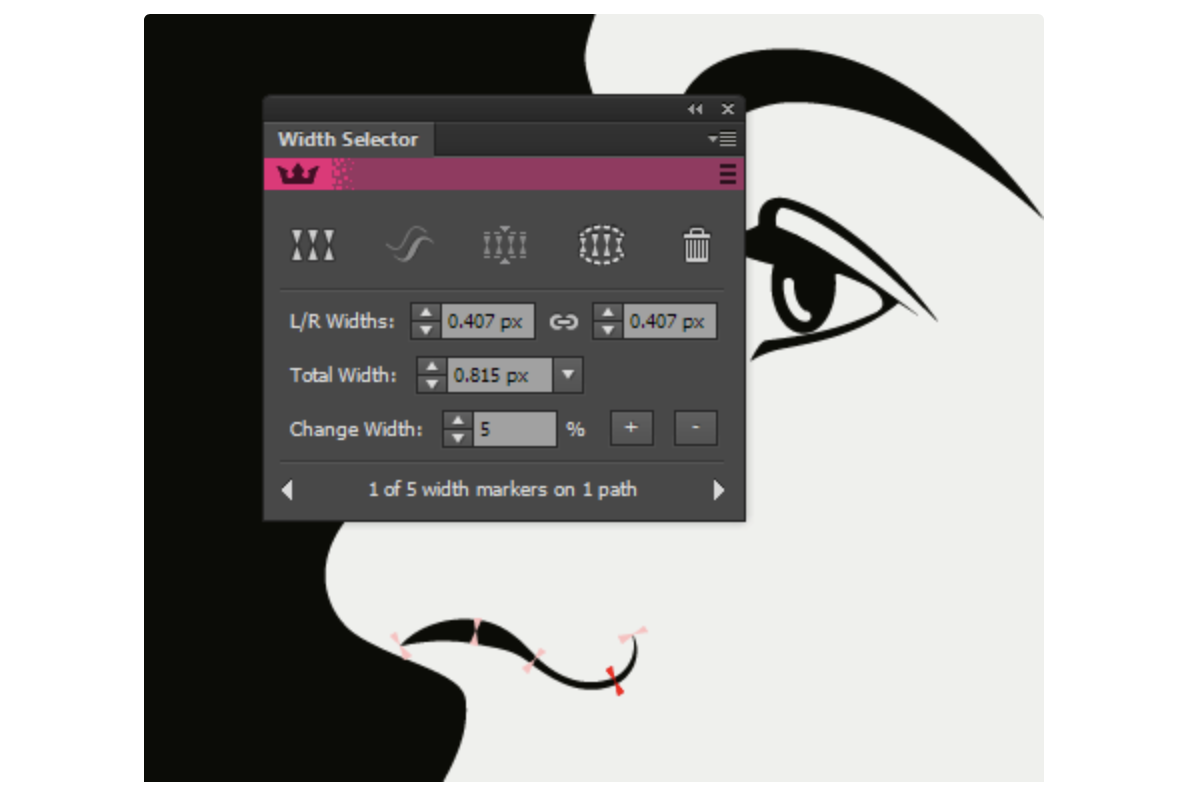
Red width markers appeared at the beginning and the end of the path, select them using the Width Selector Tool, then click on the Taper stroke button in the Width Selector panel. This leads to sharpening of the ends of the paths.

With the help of the Width Selector Tool, we can add new width markers and change their position. Tool’s panel allows us to accurately and conveniently control the width value of any selected markers, allowing us to quickly give the desired shape to the path.
Step 3
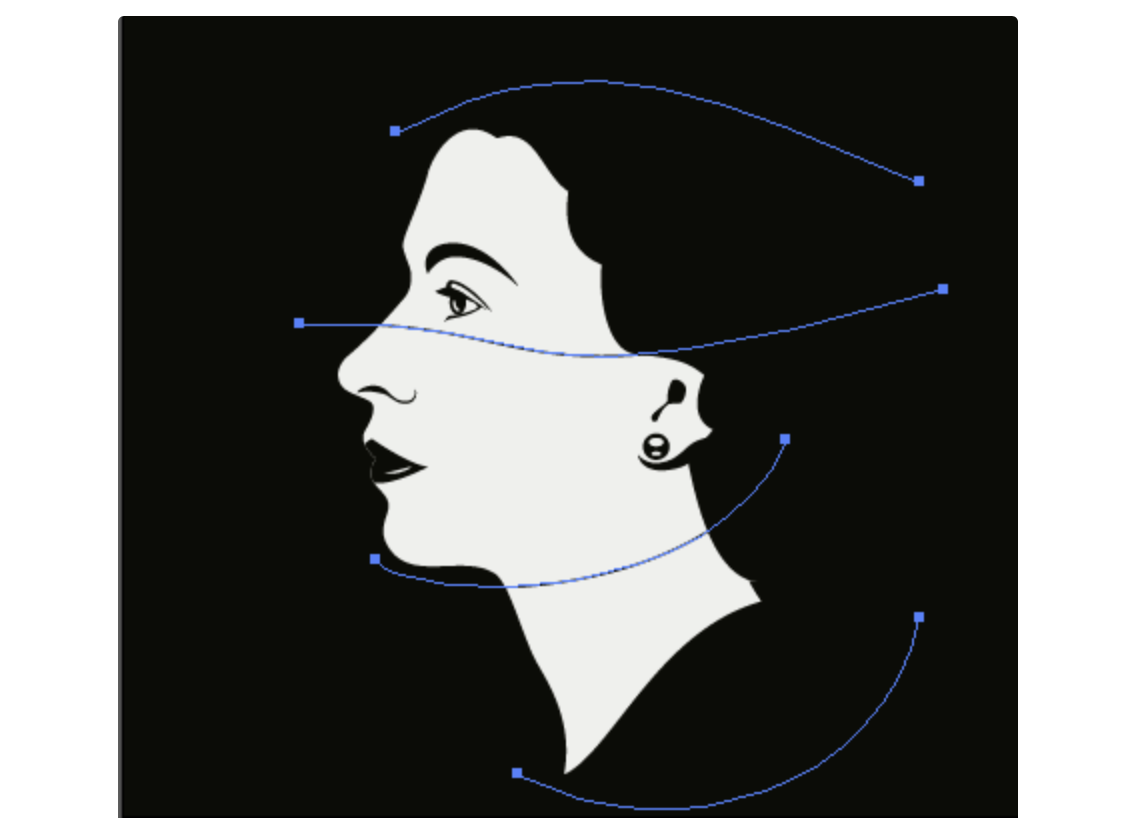
Create hatching on the face of the queen. The direction of the lines should represent the face shape. To create such hatching it is convenient to use the Blend Tool (W). Draw four curved segments similar to the one shown in the following picture.
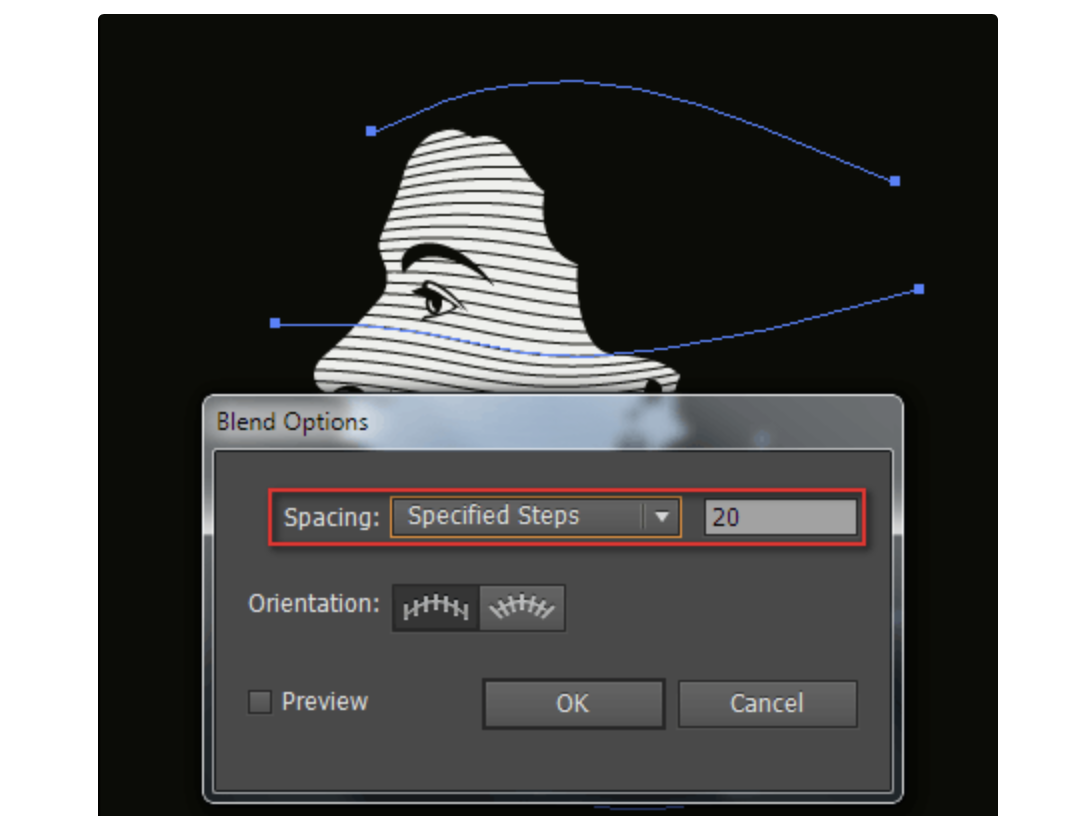
Select the path and go to Object > Blend > Make. Double-click on the Blend Tool icons in the Tools panel. In the opened dialog box, set the appropriate number of steps.
After the blend object is created, you can change the position of the path and edit their shape to achieve better results.
Step 4
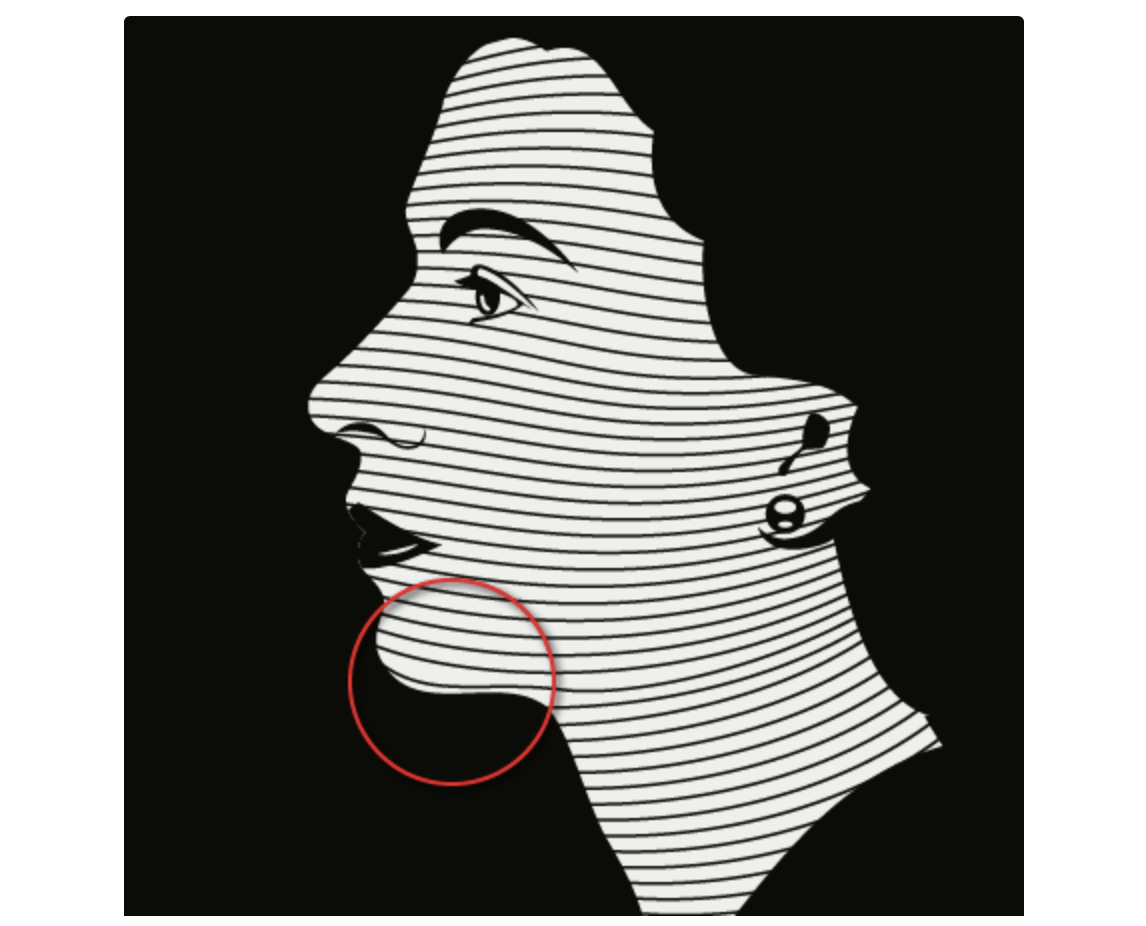
Select the blend object, then go to Object > Blend > Expand. Now you can edit the direction of some of the paths that you think may better display the shape of the face. For example, I changed the shape of paths in the chin area.
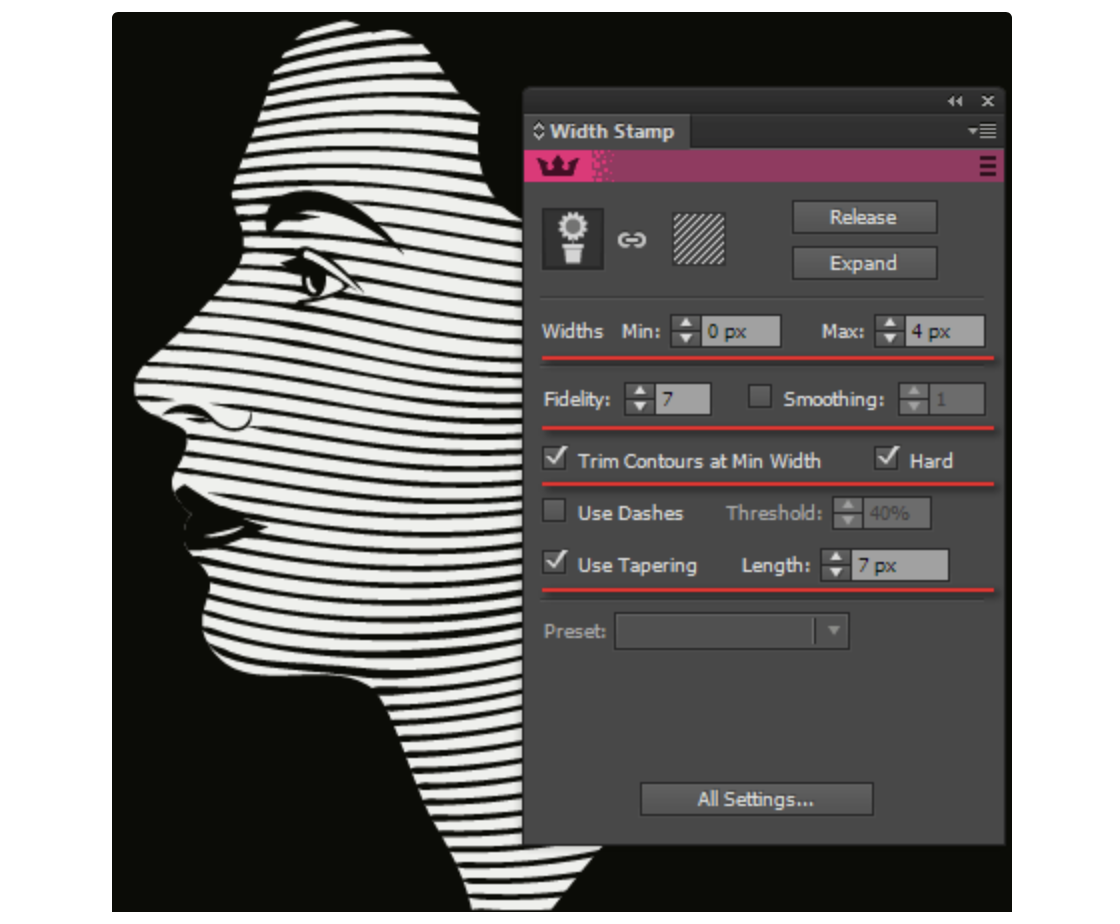
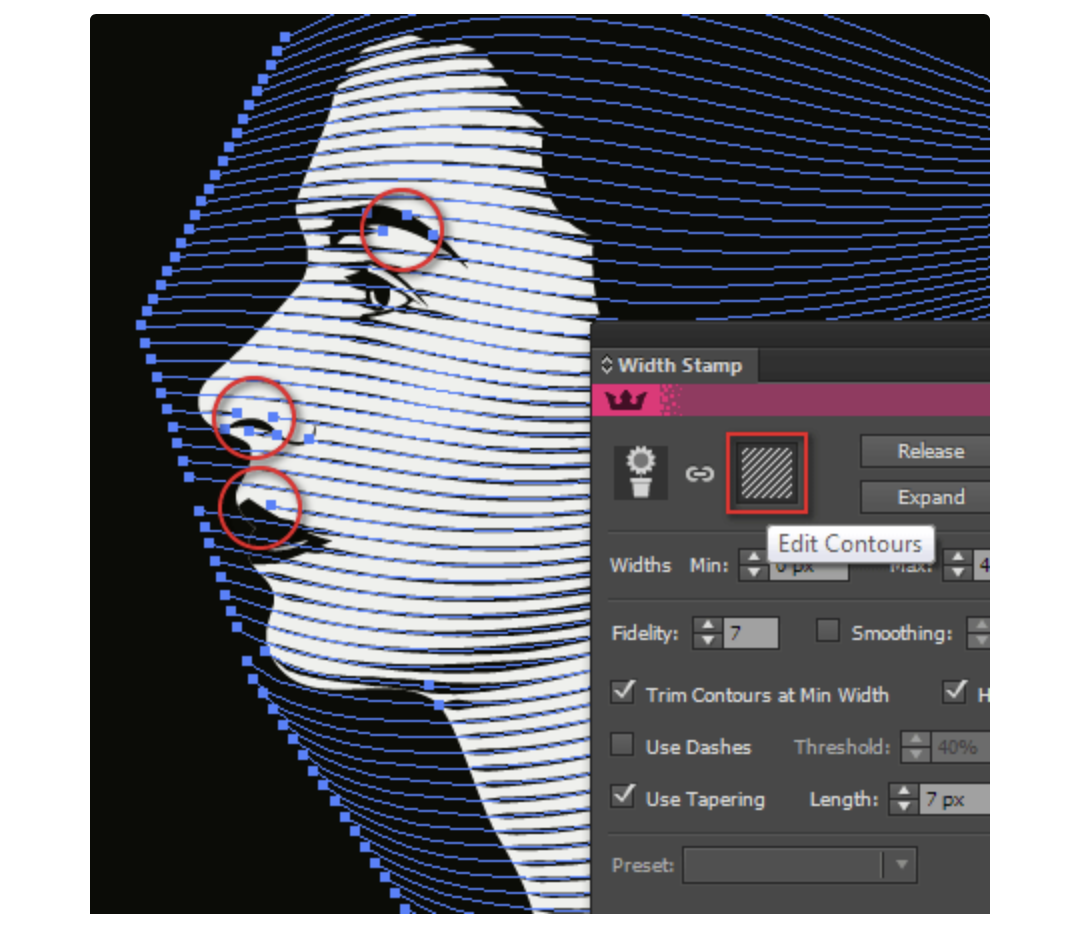
Hatching must transmit not only the shape of the face, but the light and shadow on it as well. You can get this effect with the help of the Width Stamp Tool of WidthScribe. Duplicate the Queen’s photo and temporarily disable its visibility. We will need this copy later to create the crown. Select photo and hatching, open the Width Stamp panel (Window > WidthScribe > Width Stamp panel). Click Make with Top Object button in the panel. We set the minimum and maximum width of the paths. Accuracy and smoothness of the variable width path are controlled with the help of the Fidelity and Smoothing parameters respectively. The higher the numerical value of Fidelity, the more accurately the variable thickness paths will correspond to the lights and shadows of the illustration. However, this leads to the creation of a greater amount of width markers resulting in the increased size of the document. The higher the numerical value of the Smoothing, the smoother there will be a transition between the width markers. Tick Trim Contour at Min Width, Use Tapering options and set the Length value. The parameters that I used, are shown in the following figure.
You can experiment with your values and options, so you can better understand the features of this tool.
Step 5
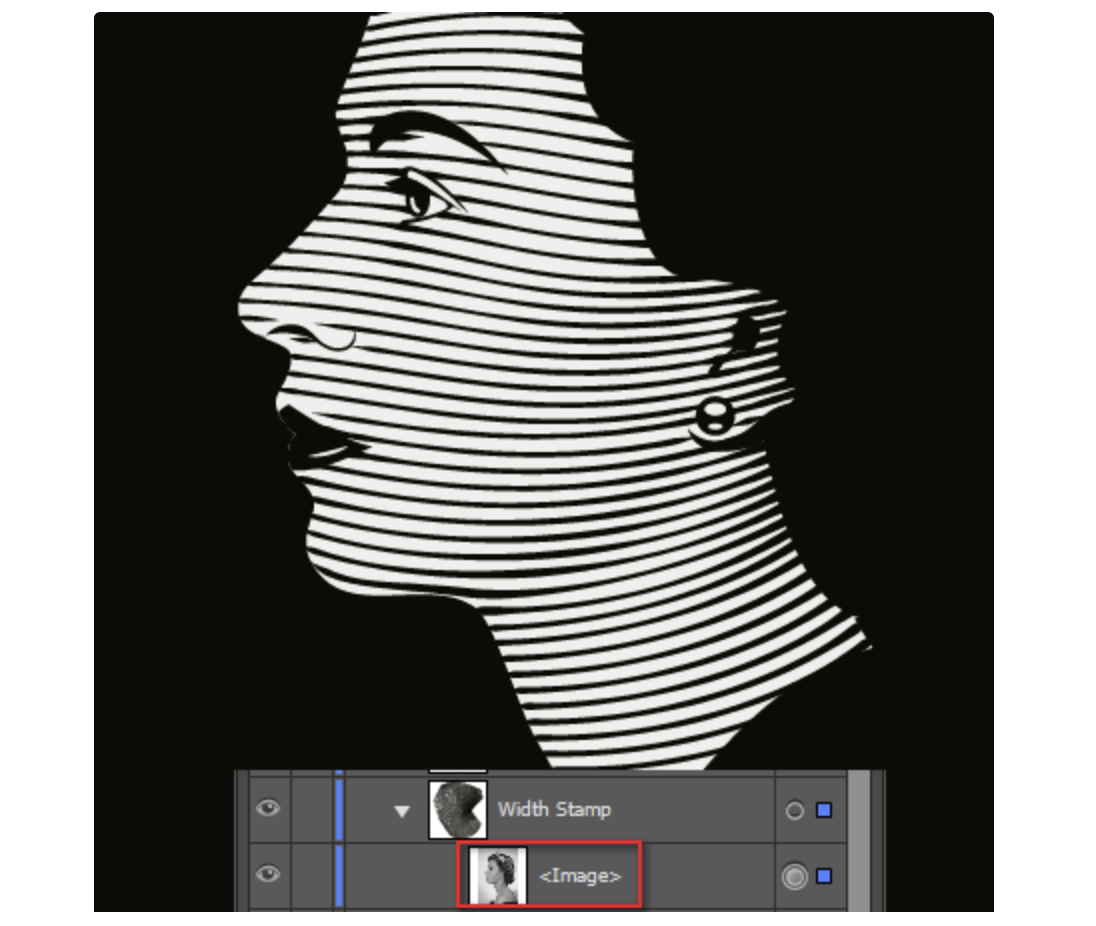
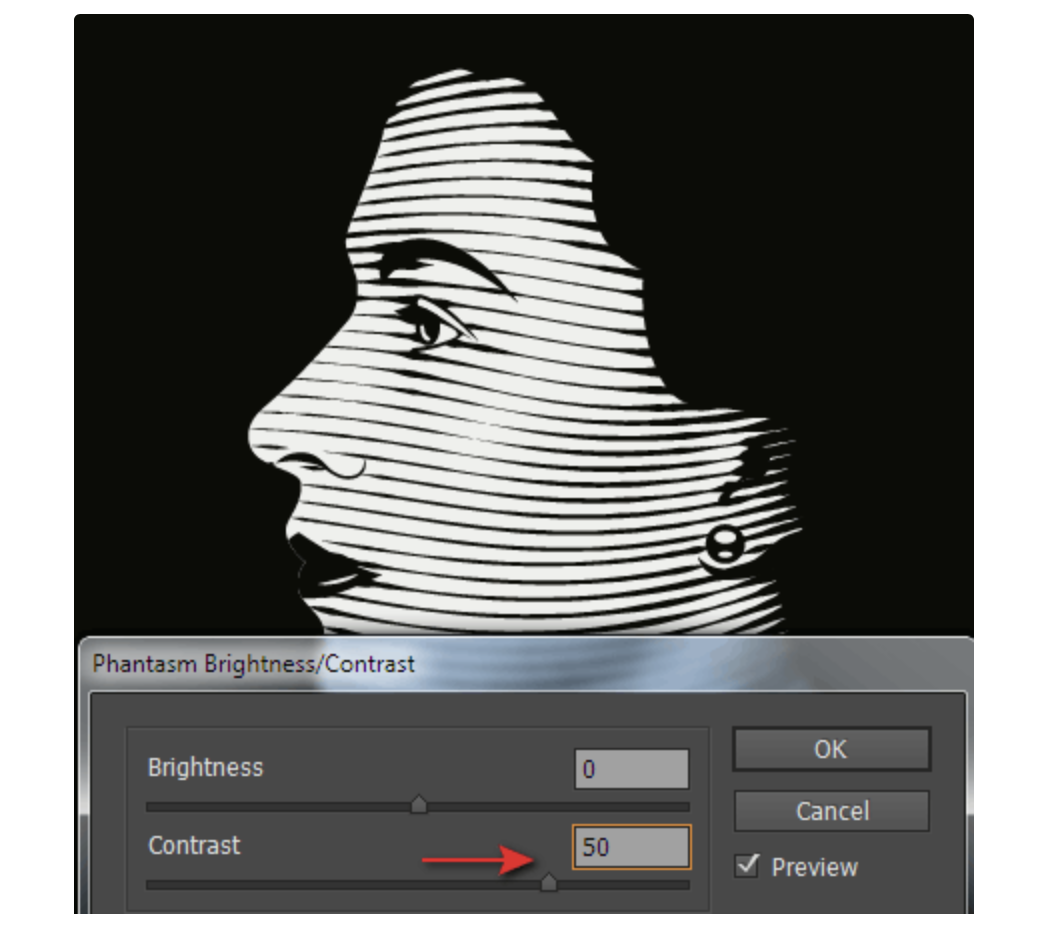
In my opinion, light and shadow on the face are not very expressive. But we can easily fix it with the help of Phantasm. Select Image object inside the Width Stamp group in the Layers panel, then go to Effect > Phantasm > Brightness / Contrast … and increase the contrast in the dialog box. Such correction of an image will be instantly reflected on the width of the hatch lines as Width Stamp is a dynamic object.
In some areas lines can produce undesirable shadow. To eliminate these defects, click Edit Contours icon in the Width Stamp panel, then using the Scissors Tool cut out and remove unnecessary segments.
Step 6
Create paths that with its shape will reflect the direction of the hair. Here I will also use blend objects, that will later be expanded and edited.
Using the Width Selector Panel transform the uniform paths to variable width paths and sharpen their ends with the help of Taper stroke feature.

Step 7
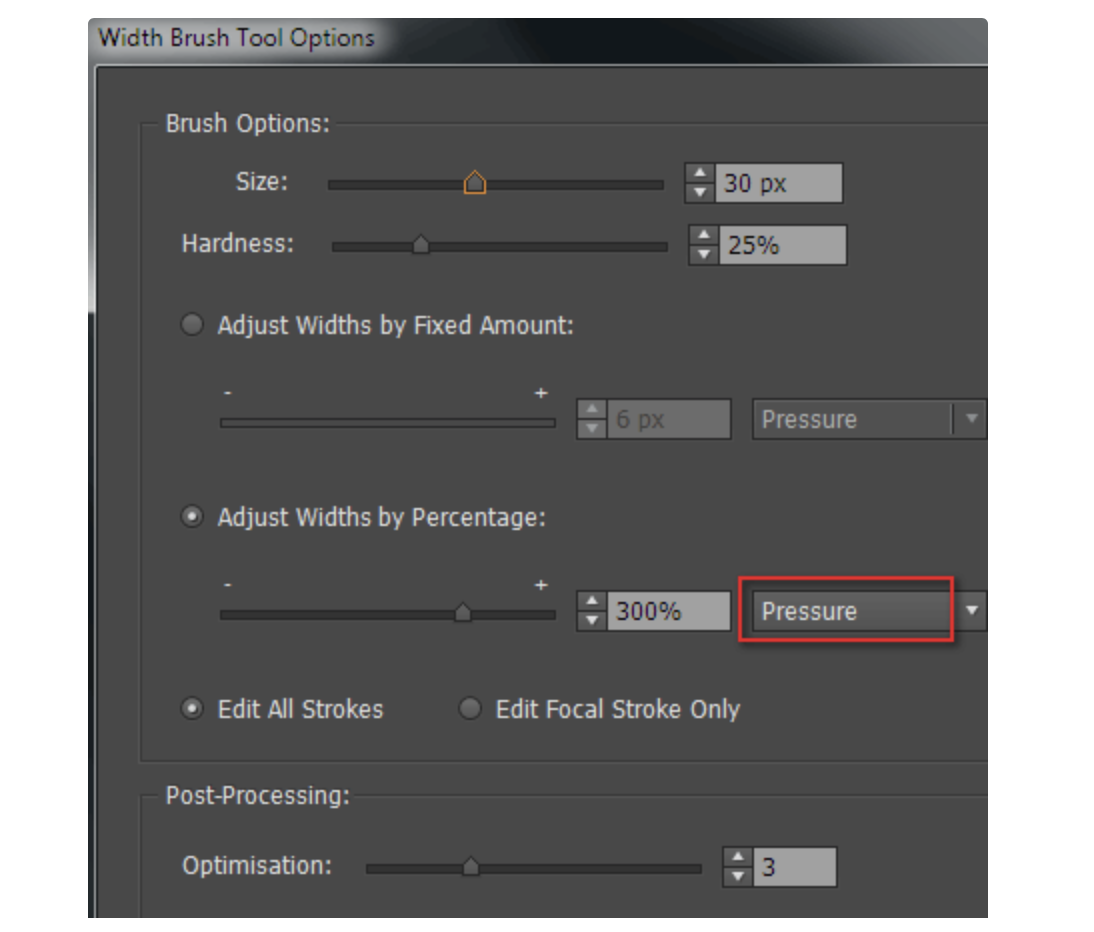
Now let's create glare on hair. For these purposes we will use the Width Brush Tool of WidthScribe. Double-click on the tool icon in the Tools panel. In the open dialog box, set the parameters similar to those shown below. Here I will use a graphic tablet, so I choose pressure option.
Select one of the strands of hair and draw the stylus over the spot where you want glare to be.
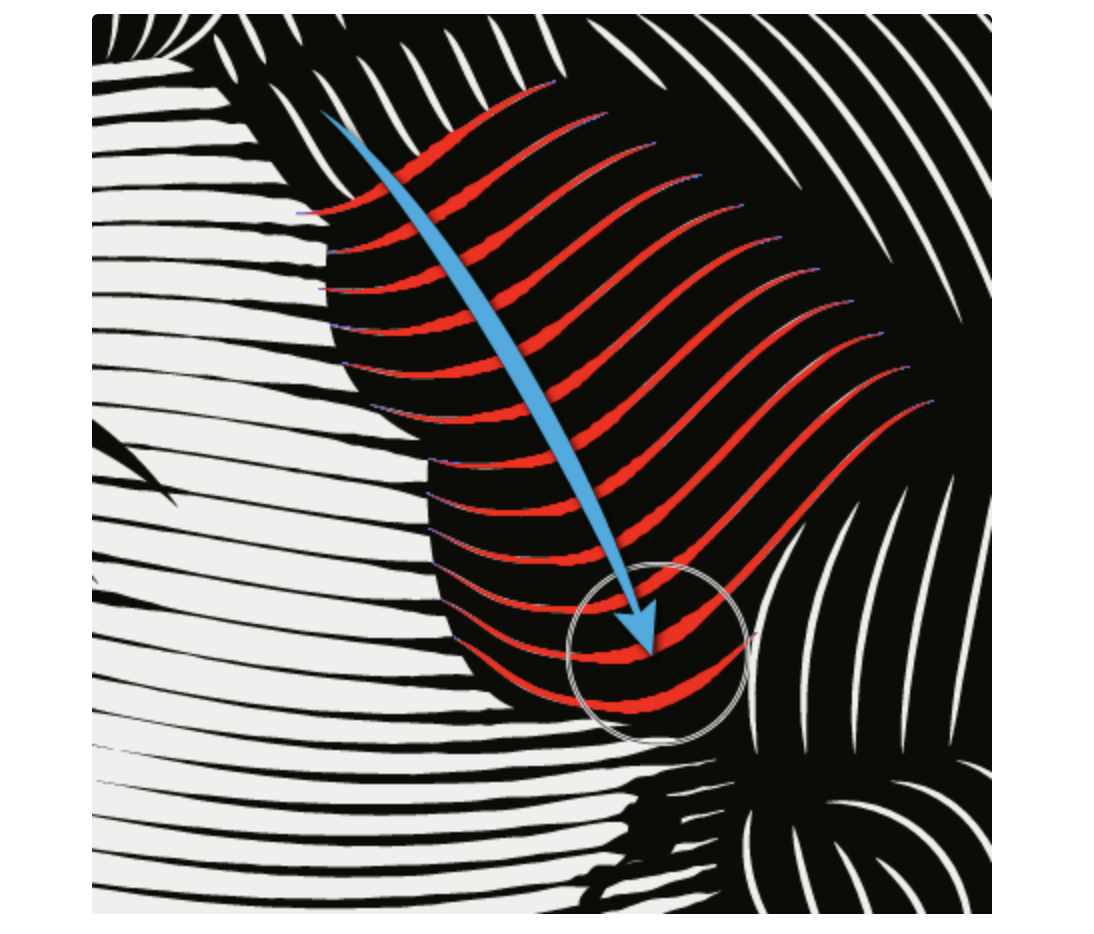
A few strokes of the brush and the royal hair is done.
Step 8
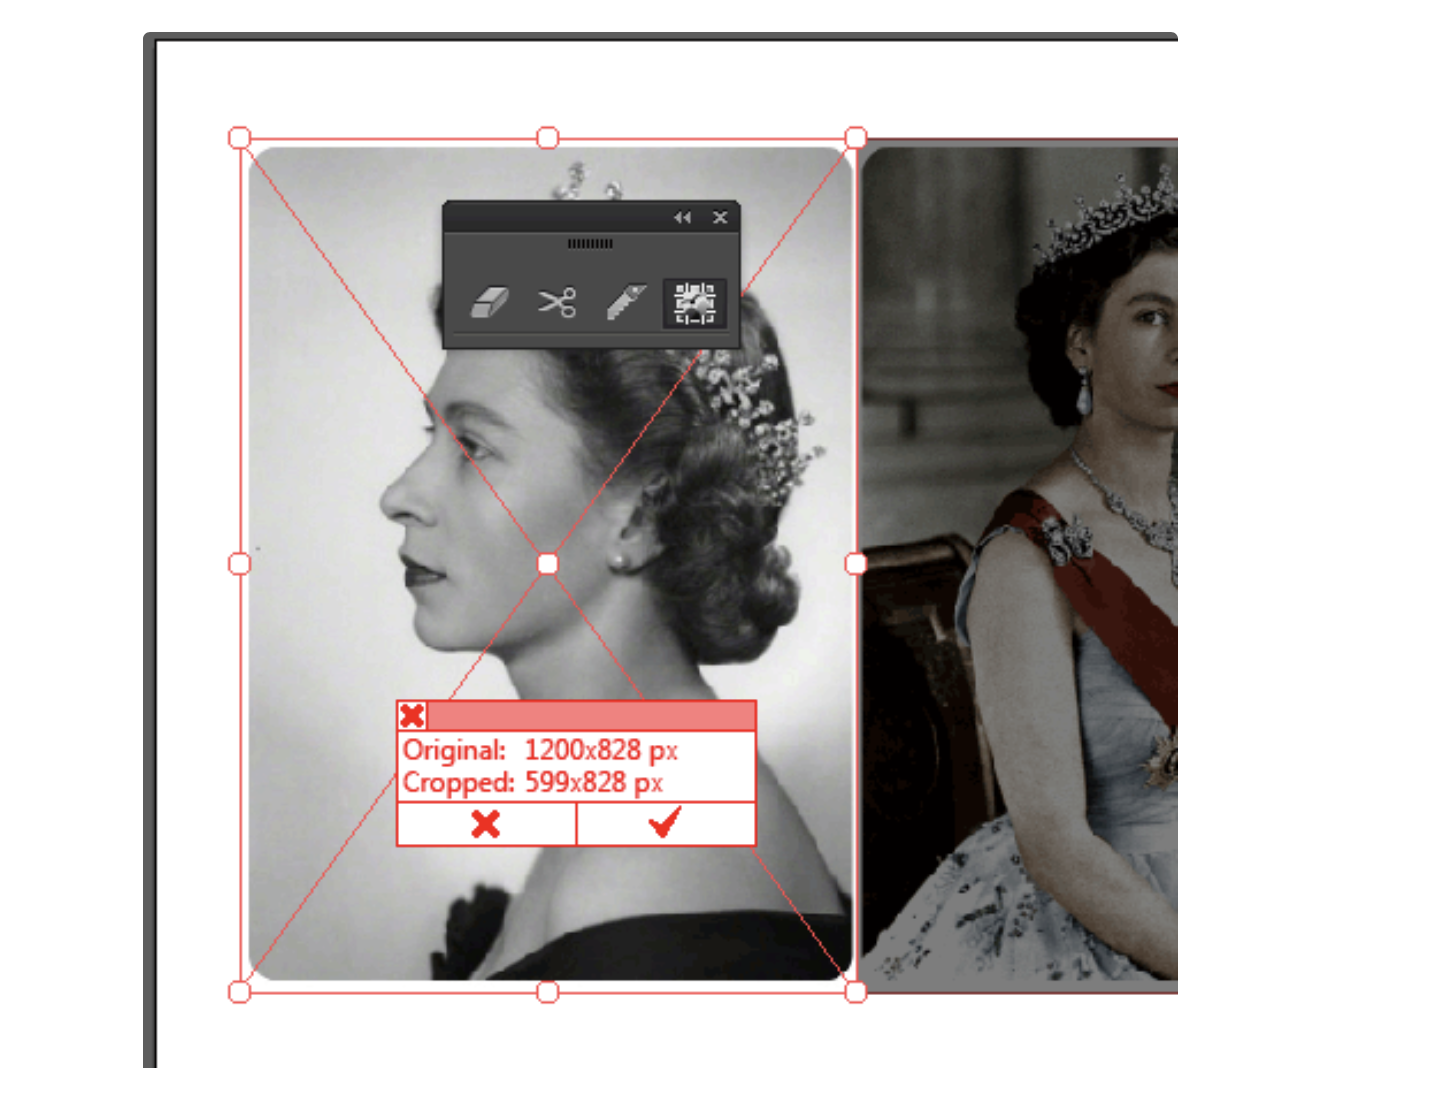
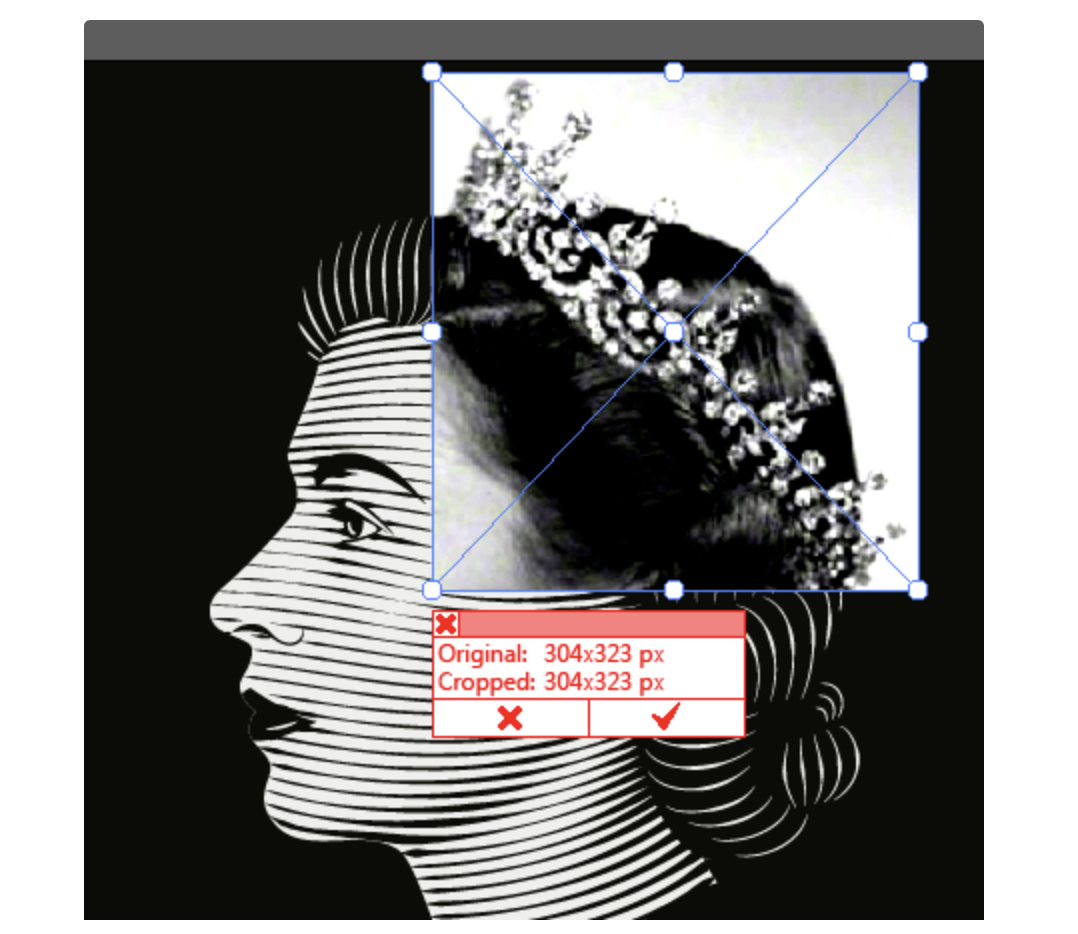
Create a crown. Enable the visibility of photo copy of the Queen. Crop image with Crop Image Tool of Rasterino, leaving only the crown. We do this in order to avoid unnecessarily increase of the file size. It doesn’t make any sense to apply the following effects to the portion of the image that will not be visible.
Crown has a complex shape, we can quickly create it with such painting tools as the Pencil Tool or Dynamic Sketch Tool.
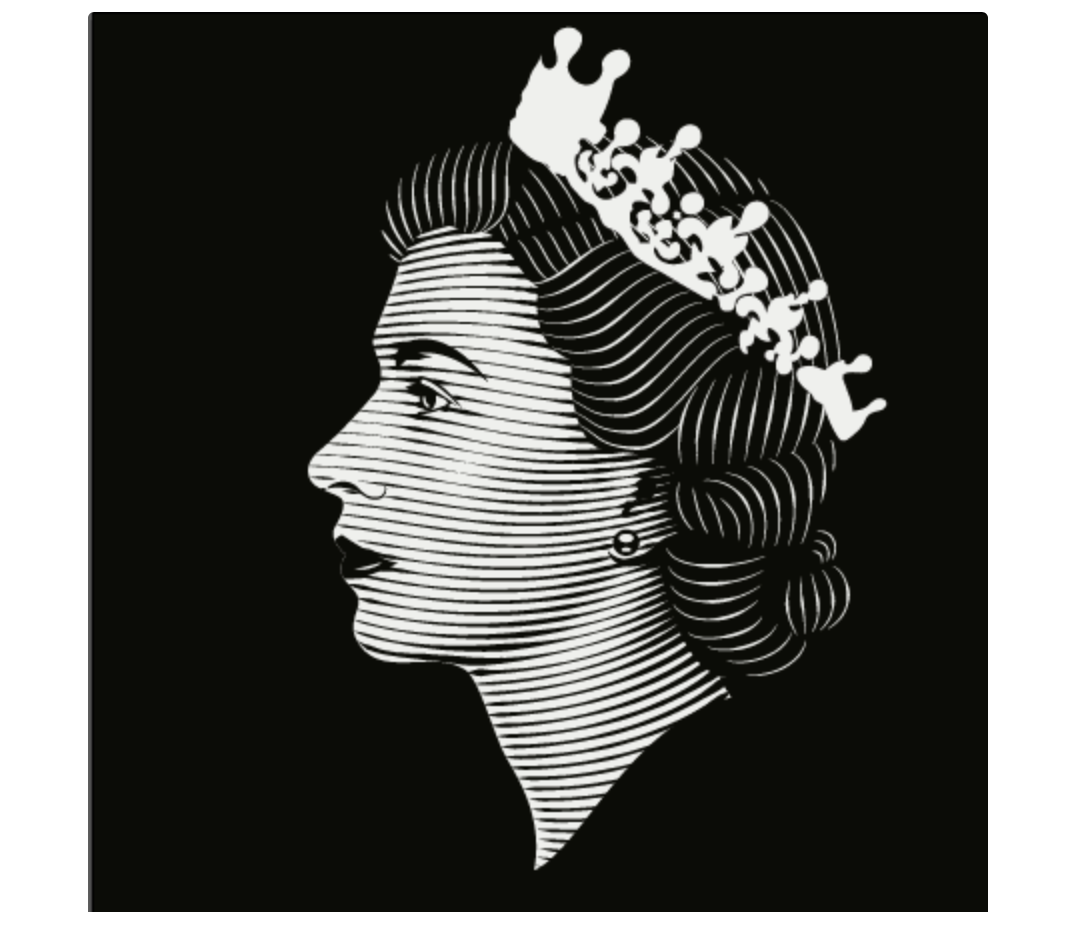
Select all objects of the crown, then go to Object > Compound Path > Make.
Step 9
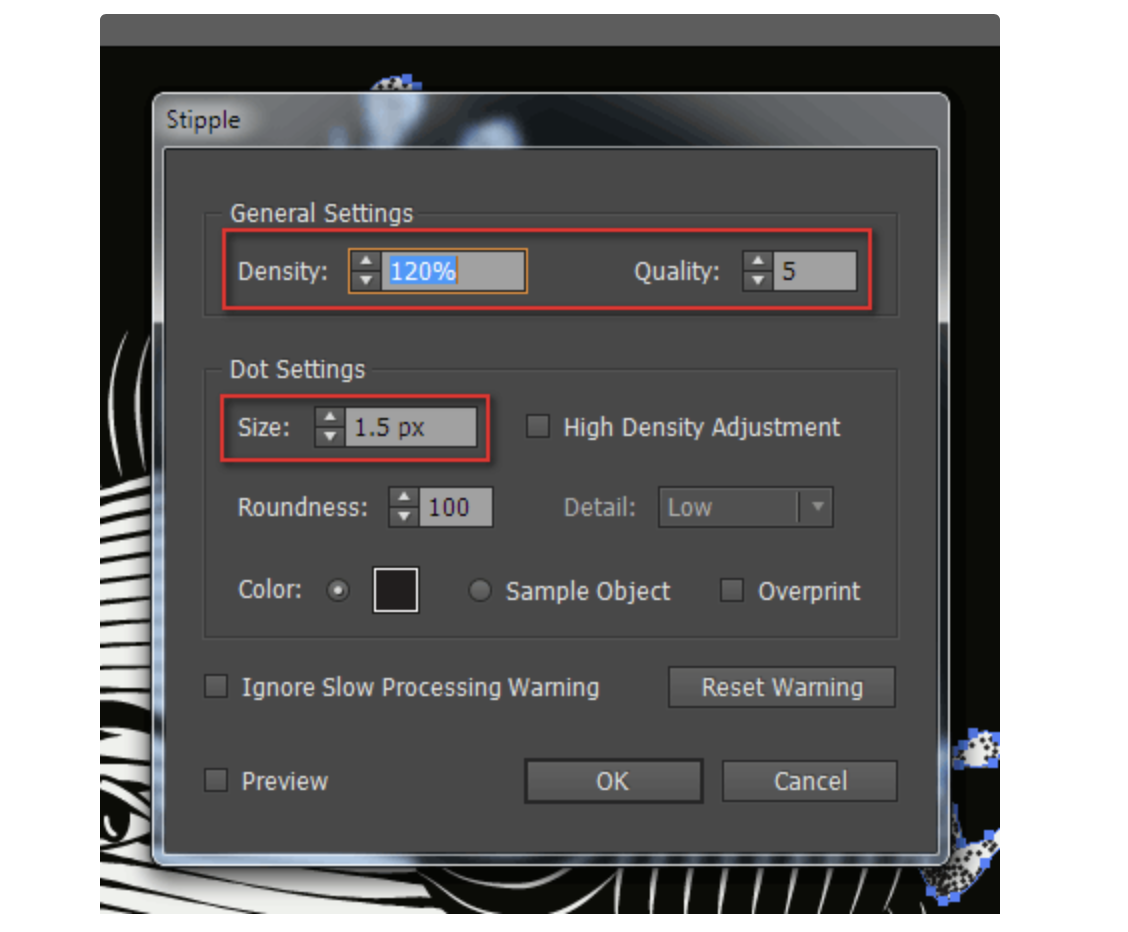
Duplicate shape of the crown and place a photo of the crown between two vector crowns. The visibility of the upper crown is temporarily disabled. Create light and shadow on the crown using points, we will need Stipplism to do this. Select a photo of the crown, then go to Effect > Stipplism > Stipple…. In the open dialog box, pick the parameters that will meet your requirements. My settings are shown in the picture below.
Now limit the visibility of the points with the help of the upper contour of the crown, turn on its visibility and create a clipping mask (Cmd/Ctrl + 7).
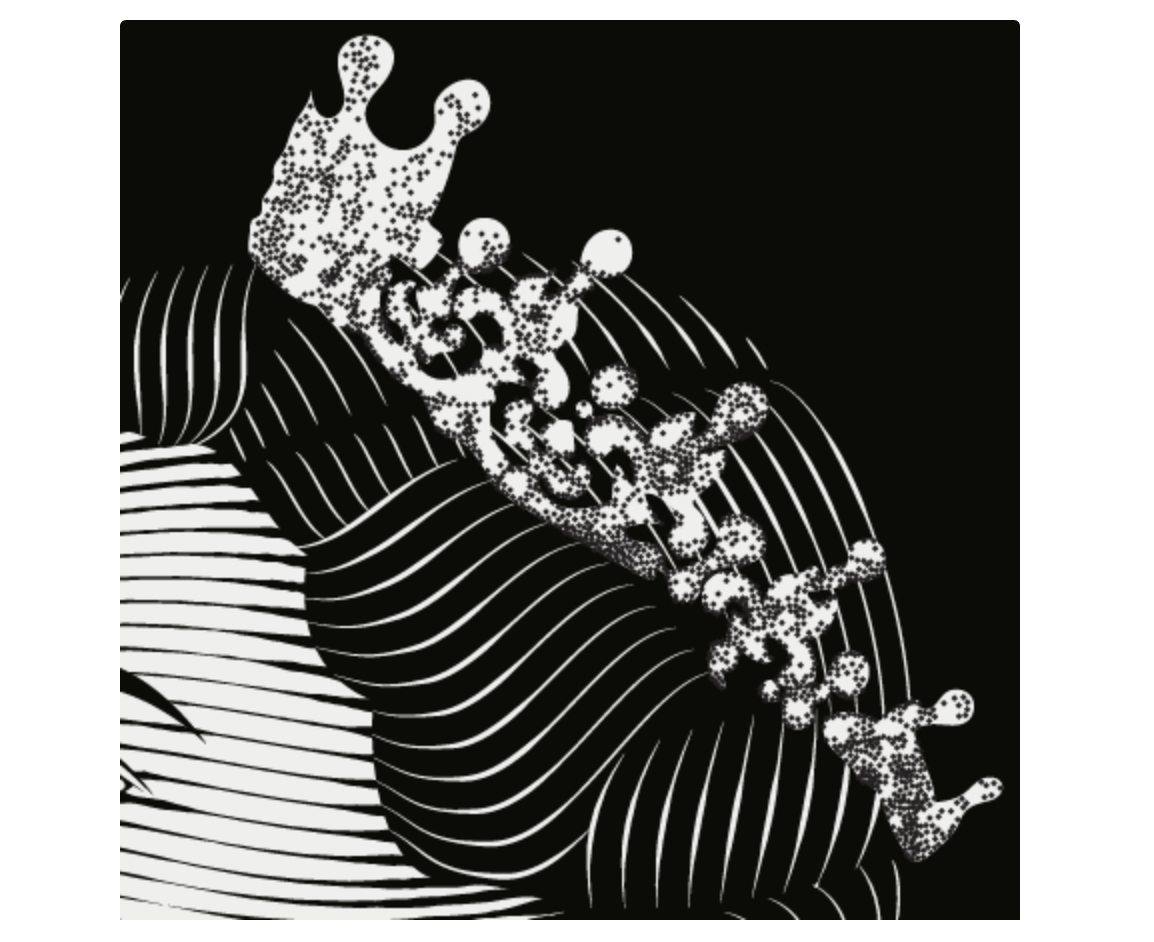
Queen’s portrait is ready!