How to make symbol variants
6 minute readIf there’s one thing we love about software, it’s the hidden gems. The features you may not realise are there but are so useful and very creative.
In this tutorial we are going to look at Symbol Variants (this feature is only available for Phantasm if Stipplism is installed). A symbol variant is where you have a base symbol to use in your art, but also additional symbols to accompany it, very useful for creating art where you want to use more than one symbol but don’t want to keep applying effects over and over on top of each other.
So let’s look at how to make a set of symbol variants, and then apply it using our two plugins which symbol variants work perfectly with, Stipplism and more recently, Phantasm halftone.
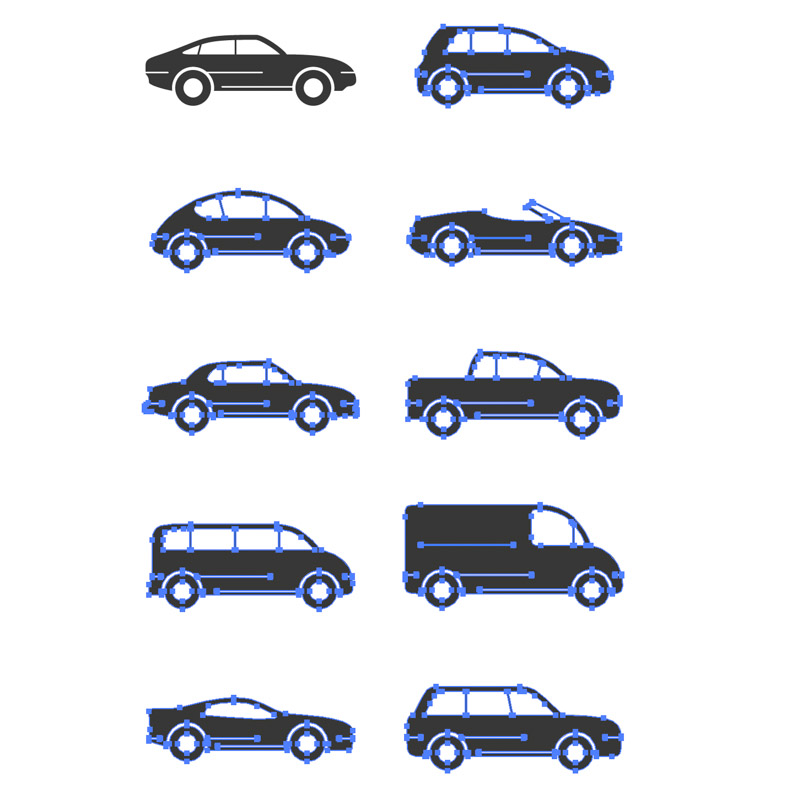
First we need to decide on our main symbol, then what our variants will be. I have downloaded some car vector shapes and we will use 10 of them, one base and 9 variants.
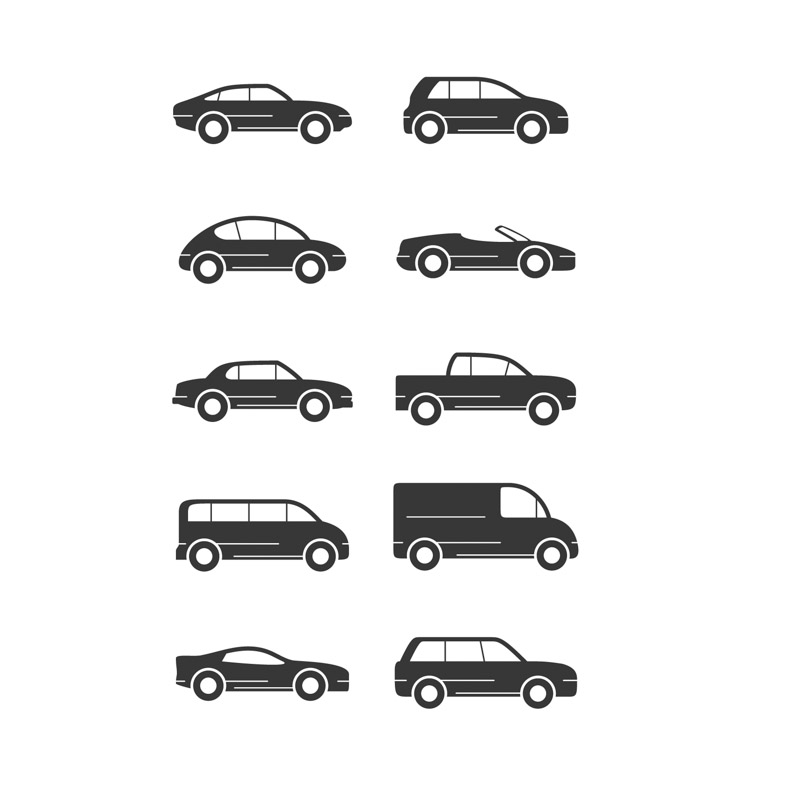
With all the shapes open, go to Window > Symbols to open the Symbols panel. Click on the flyout and choose Select all unused and click on the trash can, this gives us a clean symbols panel.
Now select any car shape and drag it into the symbols panel. Name it, change to a graphic symbol and leave all of the other settings and click OK. This is now our base symbol.
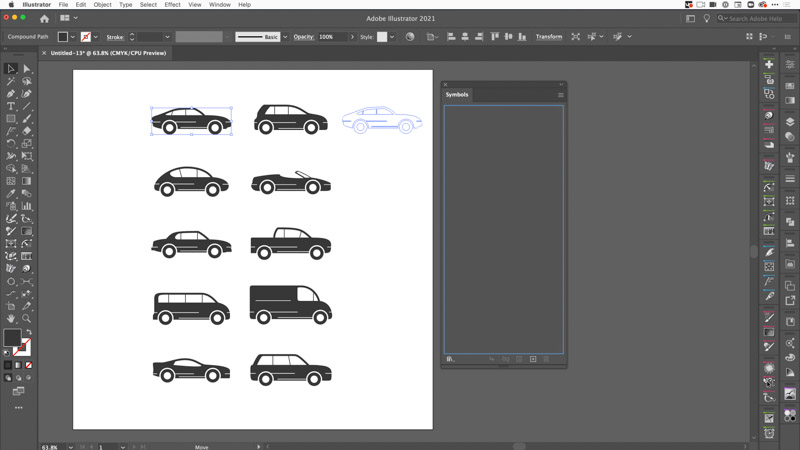
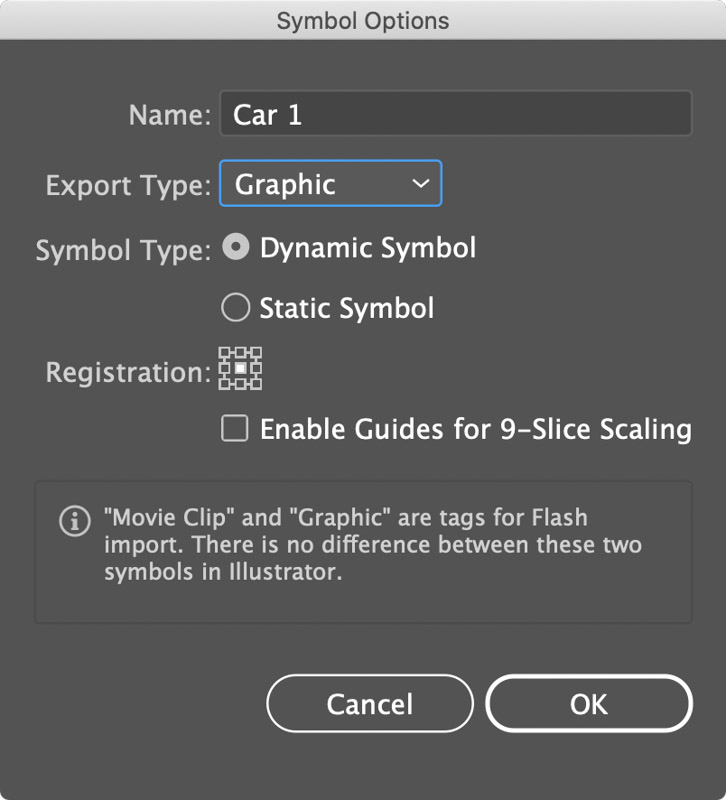
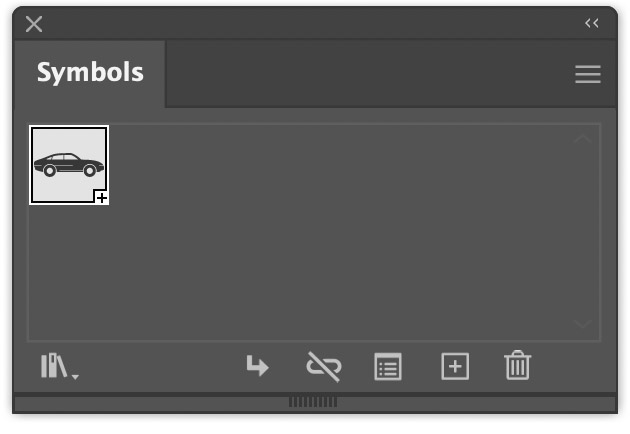
If we were to use Stipplism or Phantasm halftone now, we could select this symbol as our stipple or halftone pattern – something you can’t do natively in Illustrator, so that’s already cool! And we'll show you this at the end of this tutorial.
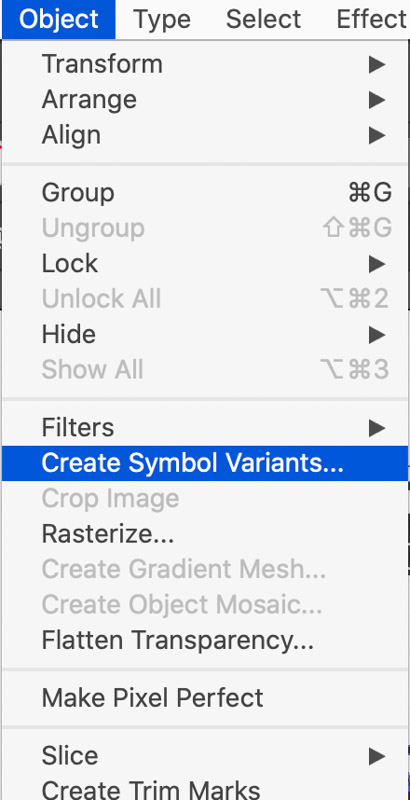
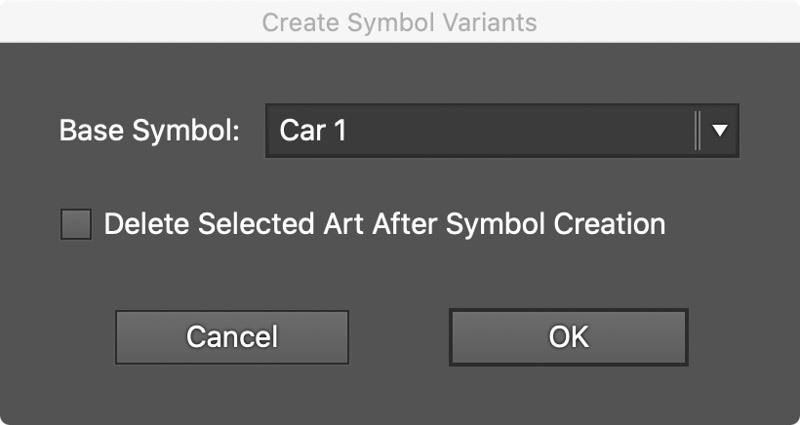
Next we need to select the other nine cars. Once selected, go to Object > Create Symbol Variants. You will be presented with a dialog panel that asks which symbol you want to add the variants to. You should only have one, the CAR 1 symbol. You can check the box to delete the artwork once you have created the variants. Click OK.
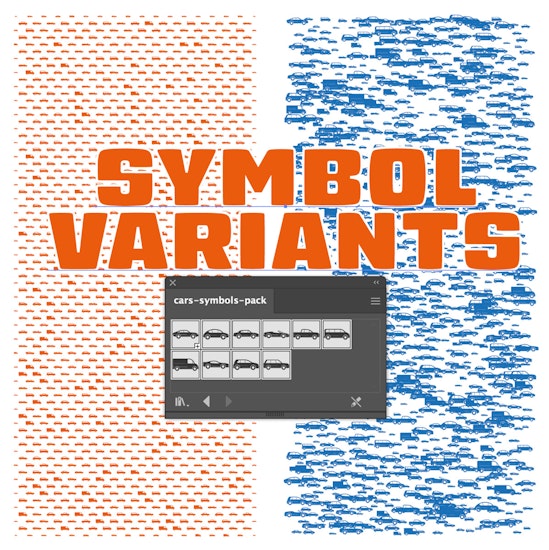
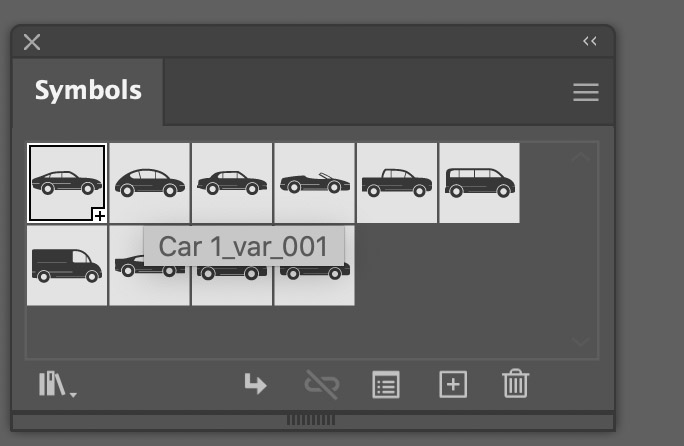
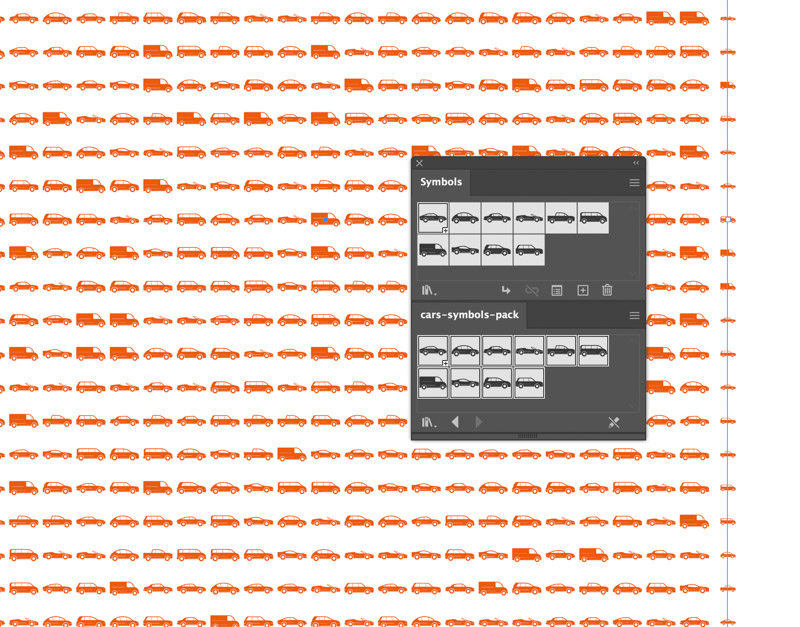
Now in the Symbols panel you will the cars have been added. The base symbol has a small plus + in the corner and the rest are named Car1var001, 002,003 etc. We have now created our symbol set and variants, let’s go and test how to use them.
There are two plugins where the Symbol Variants really come into their own, Phantasm halftone and Symbol Stipple. Let’s take a quick look at both but we have plenty of tutorials on our YouTube channel showing how to use them including our recent Playstation 5 tutorial.
Testing Symbol Variants with Phantasm and Stipplism
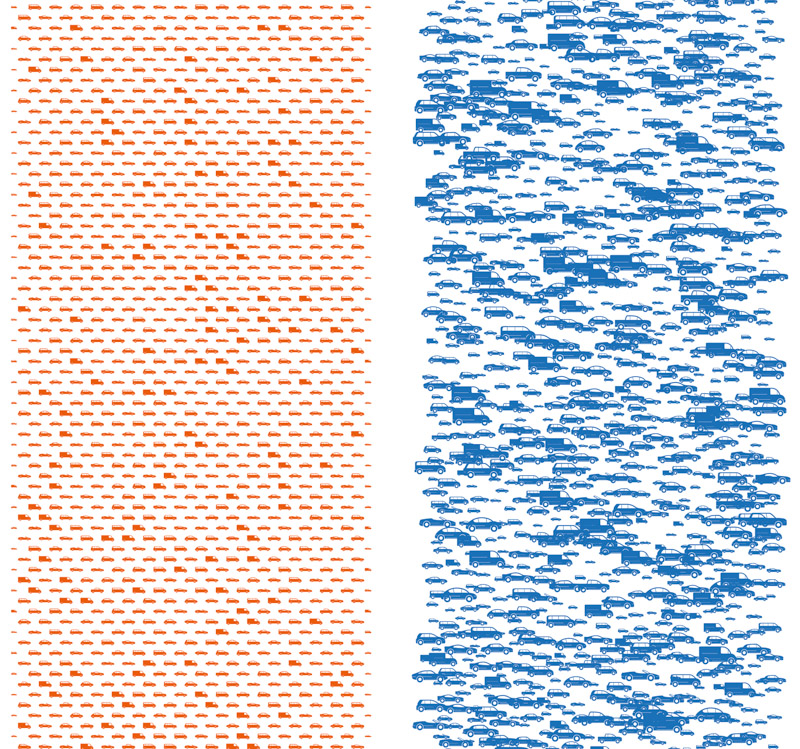
Create a new document, 1000px x 1000px. In that document create two rectangle shapes side by side with a small gap between. Make one orange and the other blue as shown. The left orange will be our Phantasm and the right blue one will be Symbol Stipple.

Open the phantasm panel (Window > Astute Graphics > Phantasm)
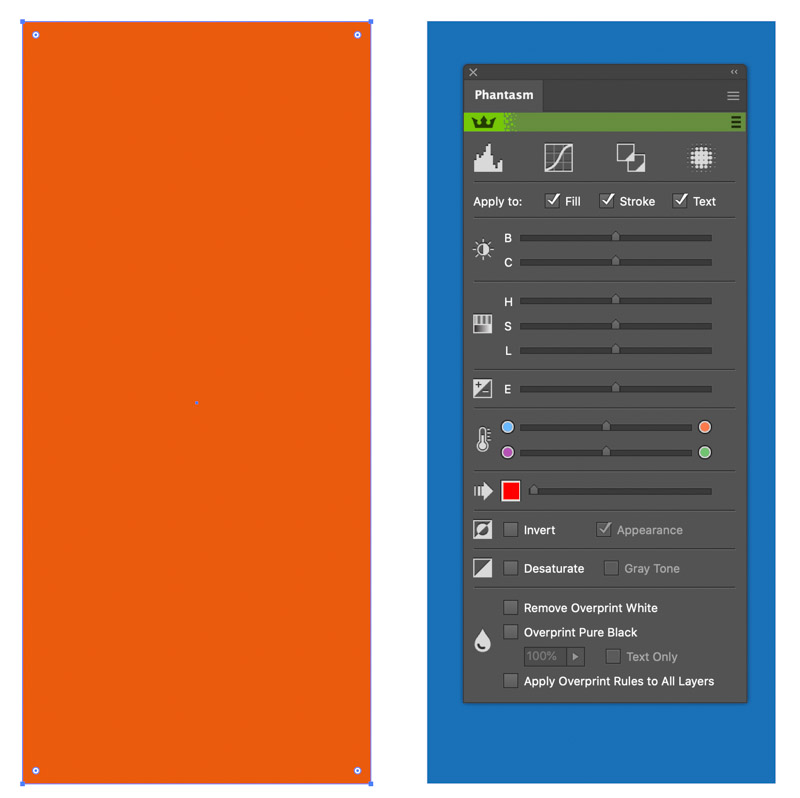
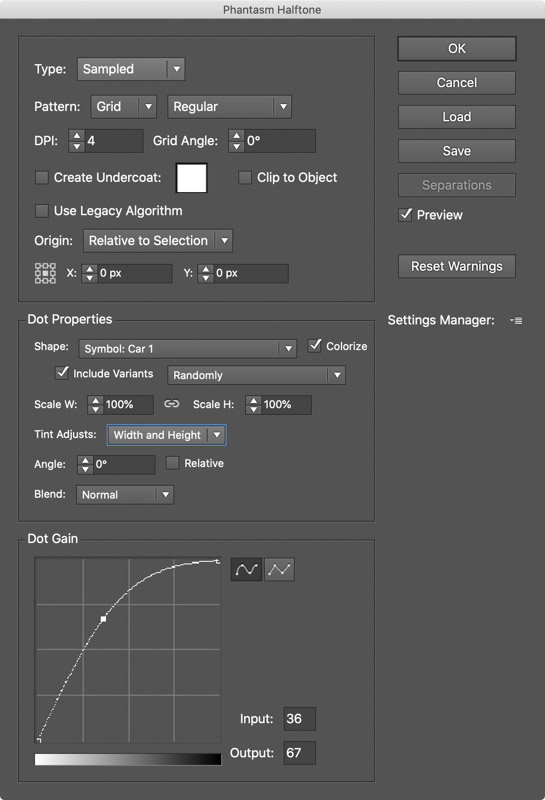
With the orange rectangle selected, click on the Phantasm icon and choose Sampled and follow the settings as shown in the panel just to achive the result shown, each set of symbols can produce different results. Ensure you have “include variants” checked. You can experiment with the settings further but this just demonstrates how to activate the symbol variants in Phantasm.
Now select the blue triangle and go to Effects > Stipplism > Symbol Stipple
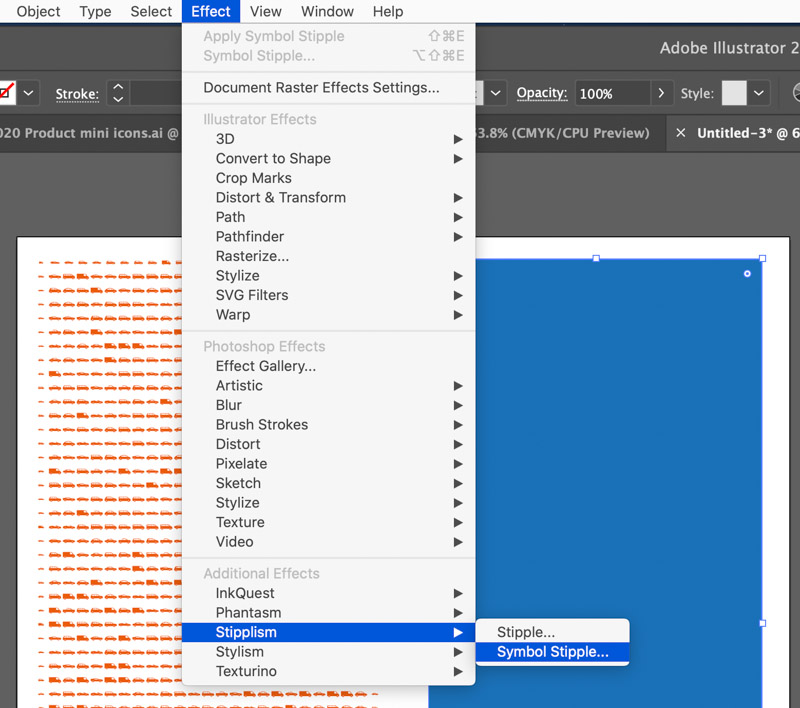
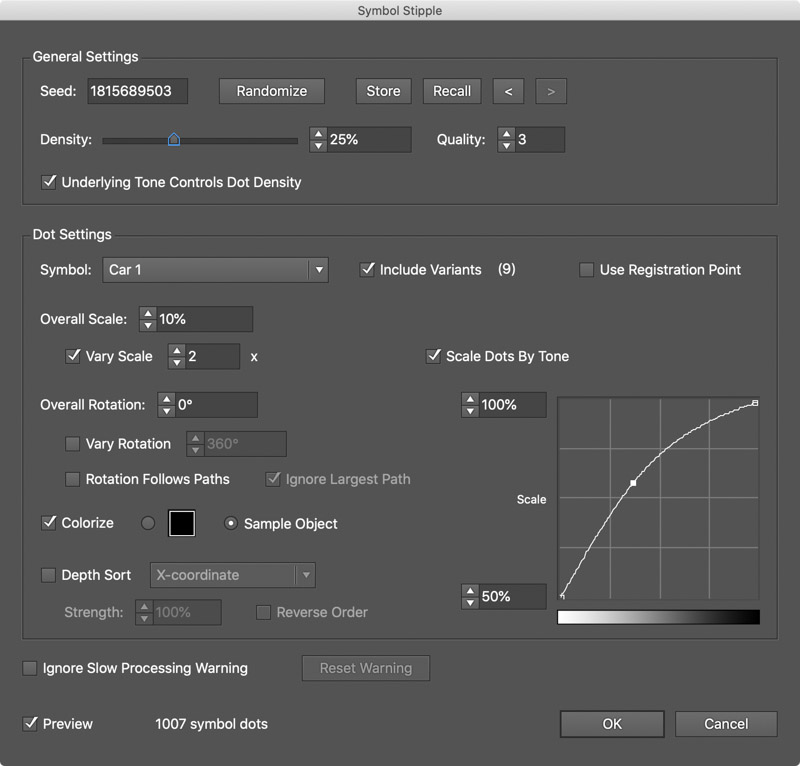
When the panel opens make sure you check Preview in the bottom to ensure you can see the changes. Then adjust the sttings, see the panel for the settings chosen for this example and ensure you have the symbol selected and the variants checked as well. Experimentation is once again the name of the game.
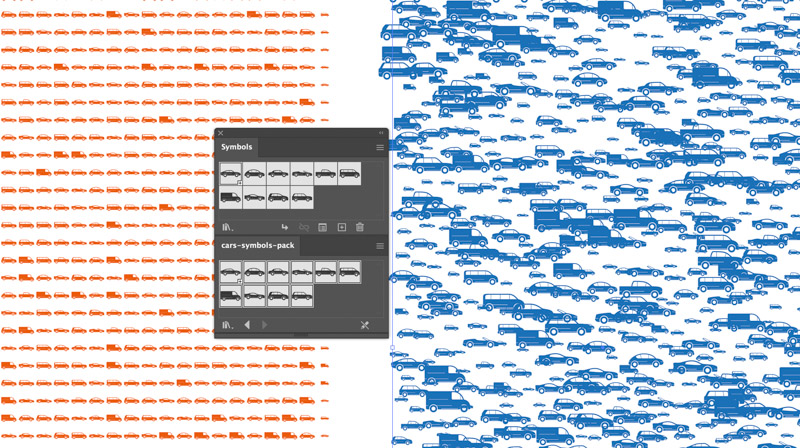
And there you have Symbol Variants, try different symbols, from multiple pen daubs, different colors, random shapes, themed shapes, even letters. It is a very flexible, creative and powerful option to have in your design arsenal.
