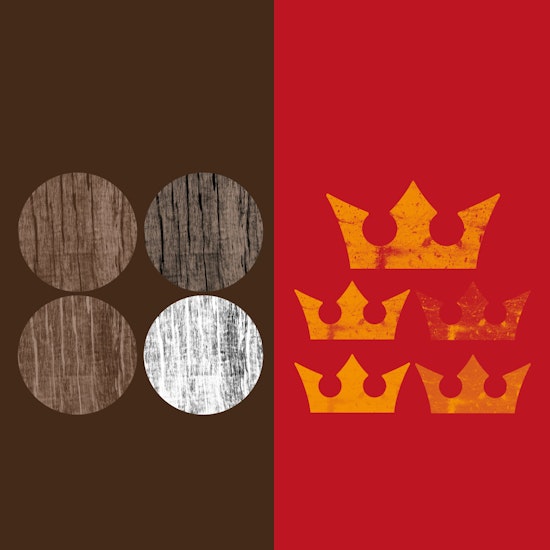
New Texturino Features - Invert textures & knockout opacity
5 minute readOne of our most popular, creative and versatile tools is our Texturino tool.
Texturino enables you to you quickly and easily add one or more raster-based textures as a live effect to filled paths, live text, gradient meshes and raster objects. Plus, the intuitive annotation controls let you quickly change a texture's scale, rotation, opacity, and blending mode. Textures can also be set as "repeating", meaning they will be automatically tiled to fill the object.
Over the past year we have added some additional features at the request of our customers. We had enhanced the Texture Manager to give you better control over texture management, sorting and adding your own textures in multiple formats.
Now we have added some additional control over the texture settings themselves. In this brief tutorial we will look at then new ‘Invert Texture’ feature plus the brand new blend mode addition, ‘Knockout Opacity’.
First up, Invert Texture.
Previously you would select your artwork, then find a suitable texture to add to it and then control the scale, opacity and a choice of 16 blend modes. And this is still very powerful as it is, but we thought it would be good to add the ability to invert the texture, given you more creative options depending on the artwork and the final outcome you are looking for.
So let’s take a look at some examples of how we can apply a texture and use this new function with a couple of the blend modes.
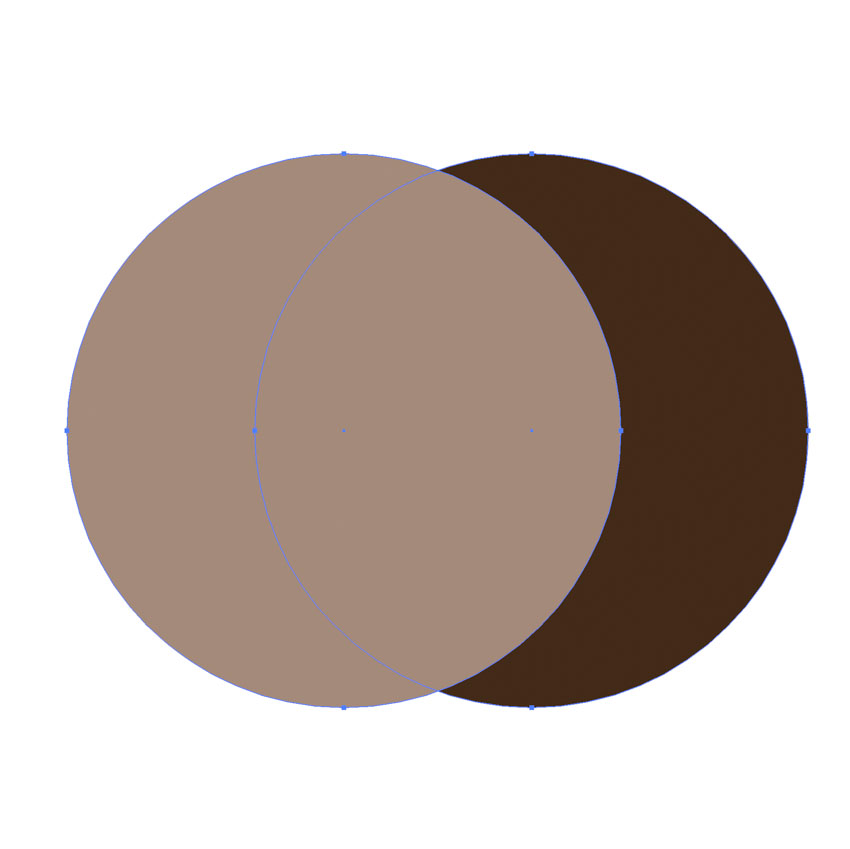
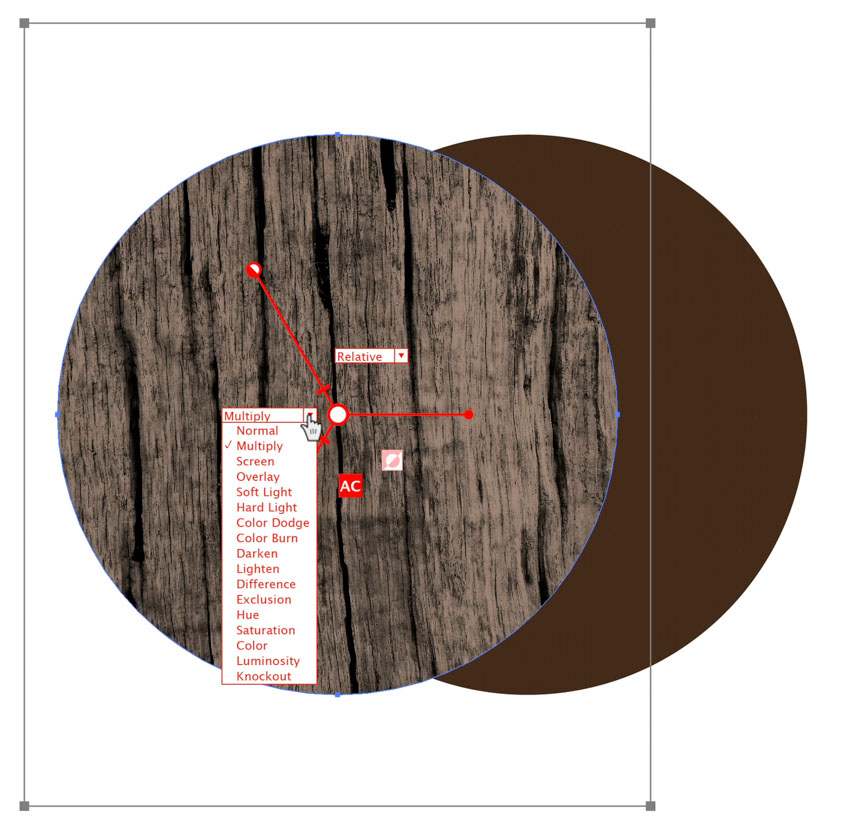
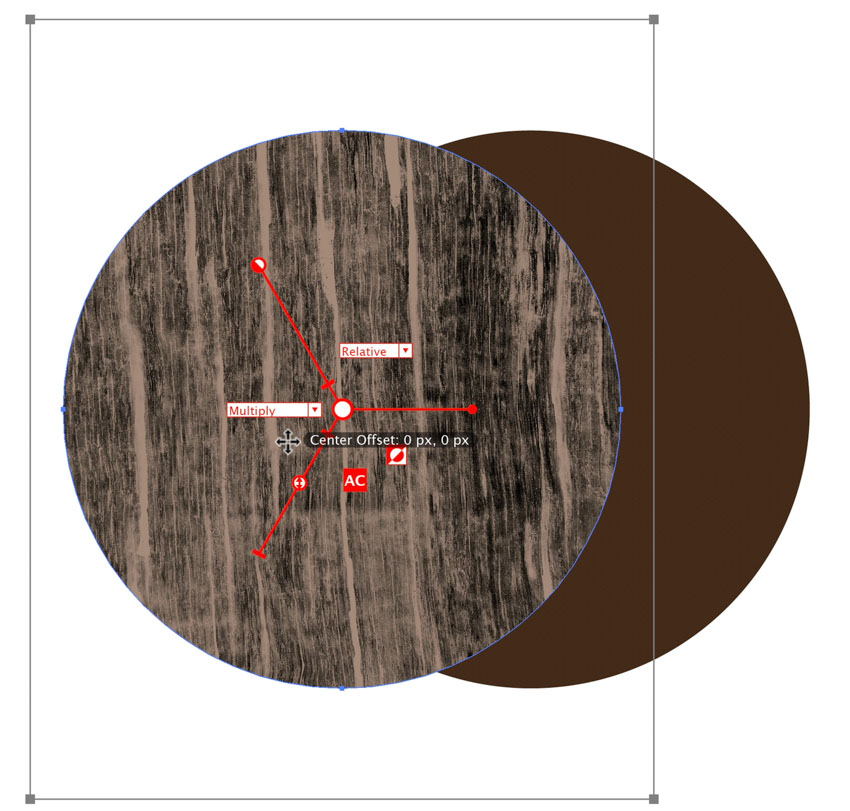
Here we have two circles, two different shades of brown. We will apply a texture to the top shape and show how the invert effect affects the artwork.
With the top circle selected open up the Texturino panel Window > Astute Graphics > Texturino
From the category select ‘Samples’ from the dropdown and then Weathered Wood.

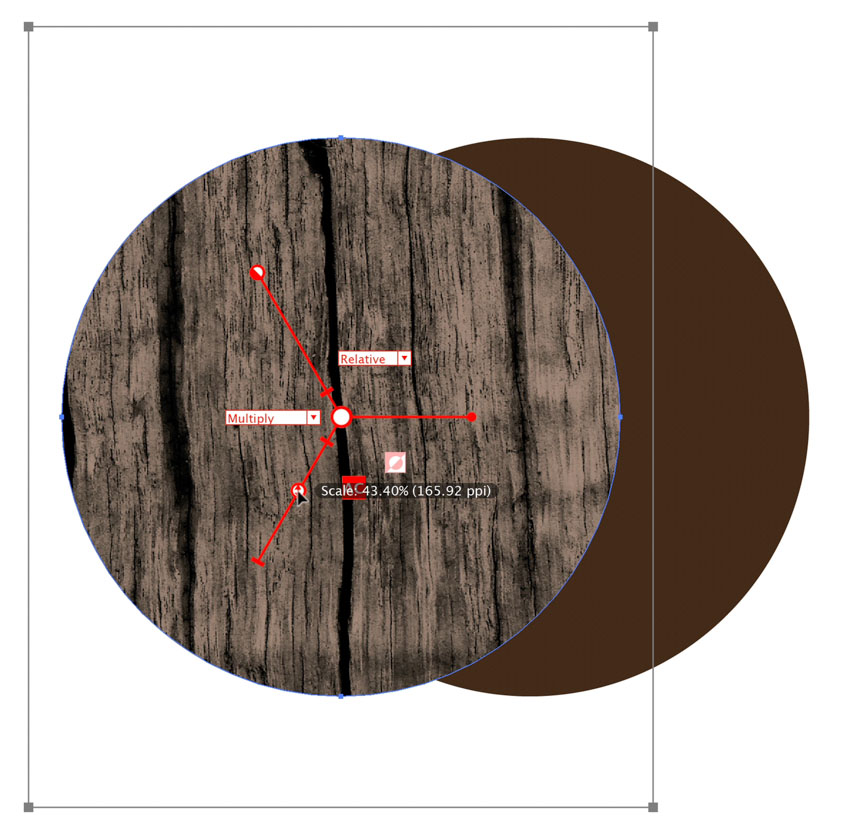
Then click on the large + to add the texture to the top circle shape. Once applied we can adjust the scale in the annotation controls. if you accidentally leave the artwork and the annotation vanishes, just click on the little crown in the pink strip on the Texturino panel and it will appear again, that was an extra thing we added to some of our effects panels.
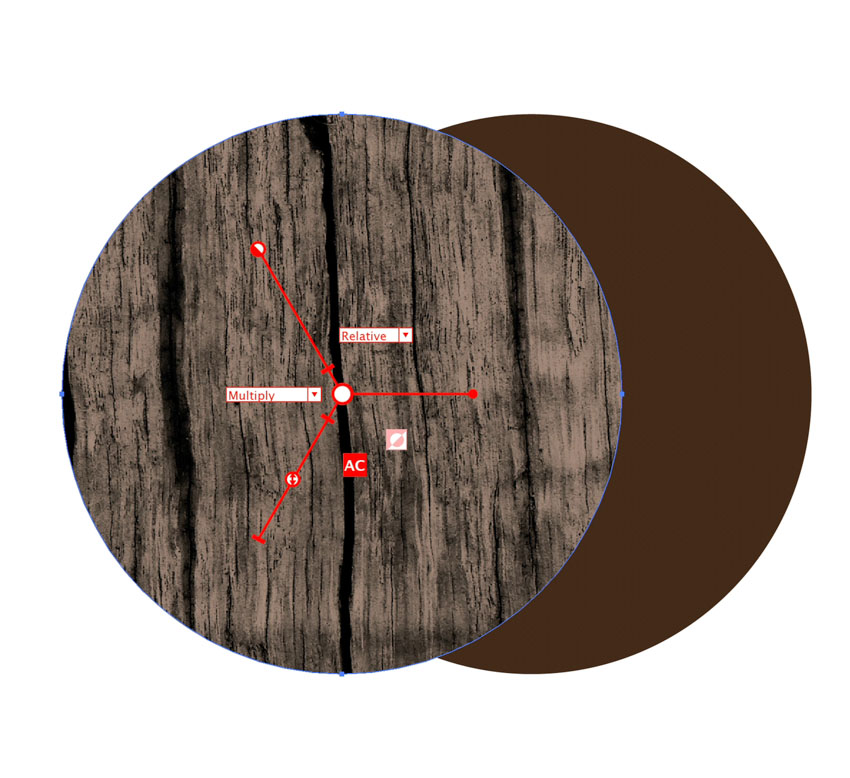
We will leave the opacity as it is but we will try some different blend modes. Note that only Knockout will allow the back circle to show through, the others apply the blend mode between the texture and the shape it’s applied to in this instance.
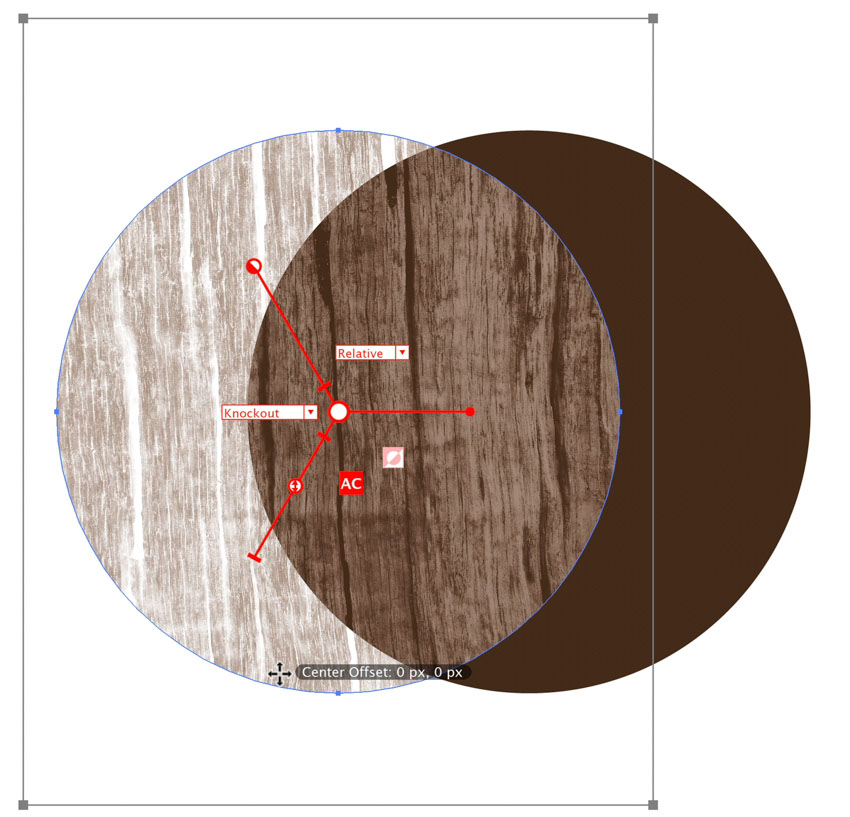
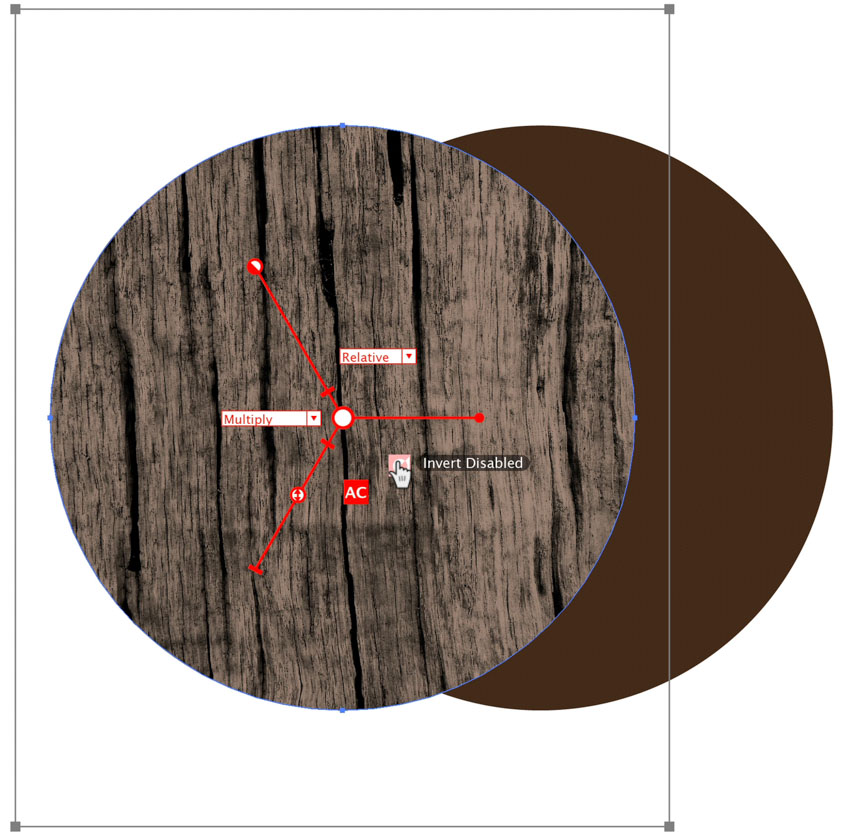
Once you have a blend mode selected look for the new control to invert the texture, it's just to the lower right, about 4 o'clock if you imagine it as a clock face, just click on that to enable and disable the texture. Depending on how much contrast there is in the texture will depend on how how of the dark or light shows when inverted, but it’s a great way of doubling up the power of your textures by enabling the inverted versions.
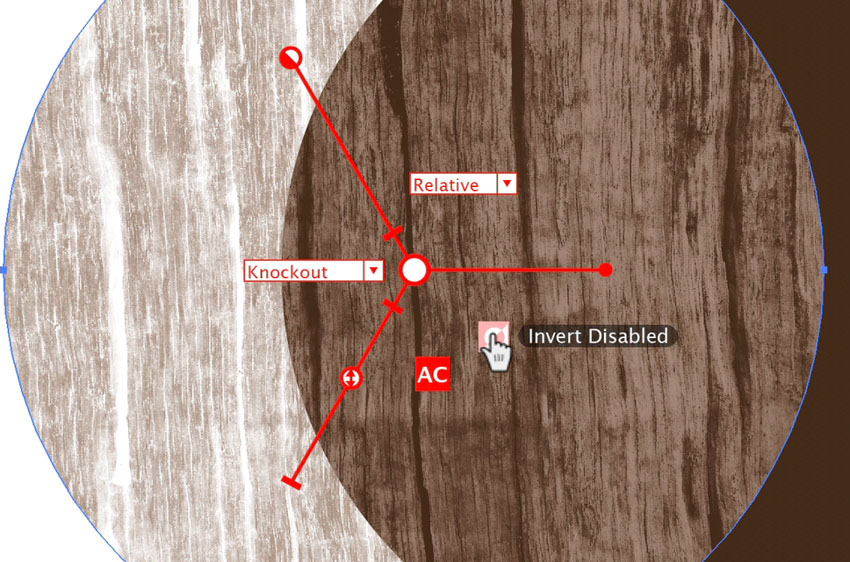
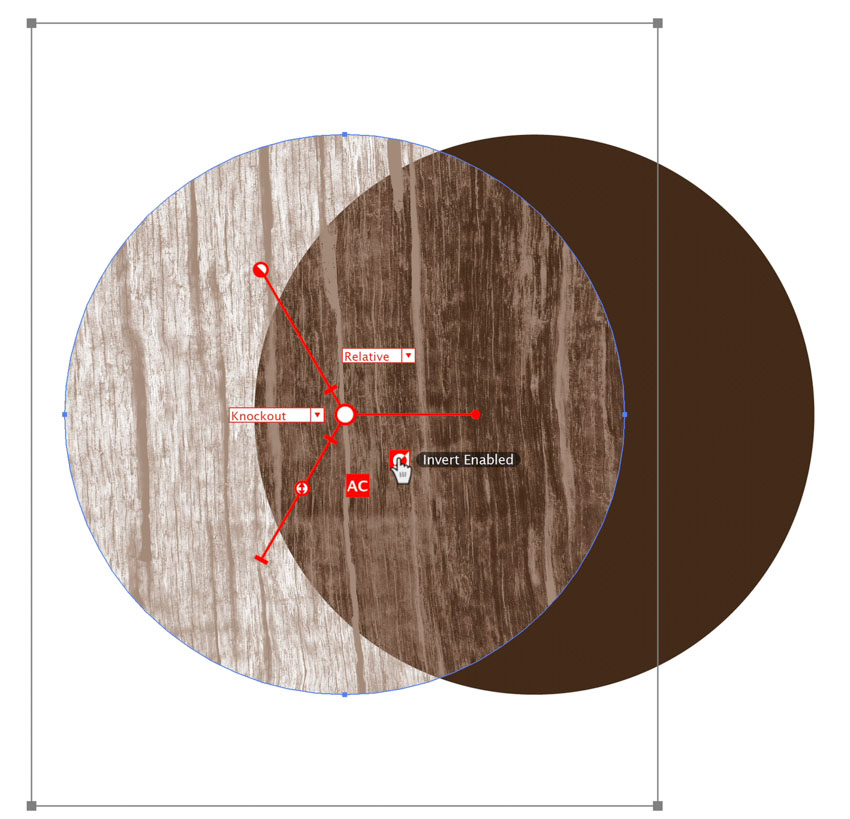
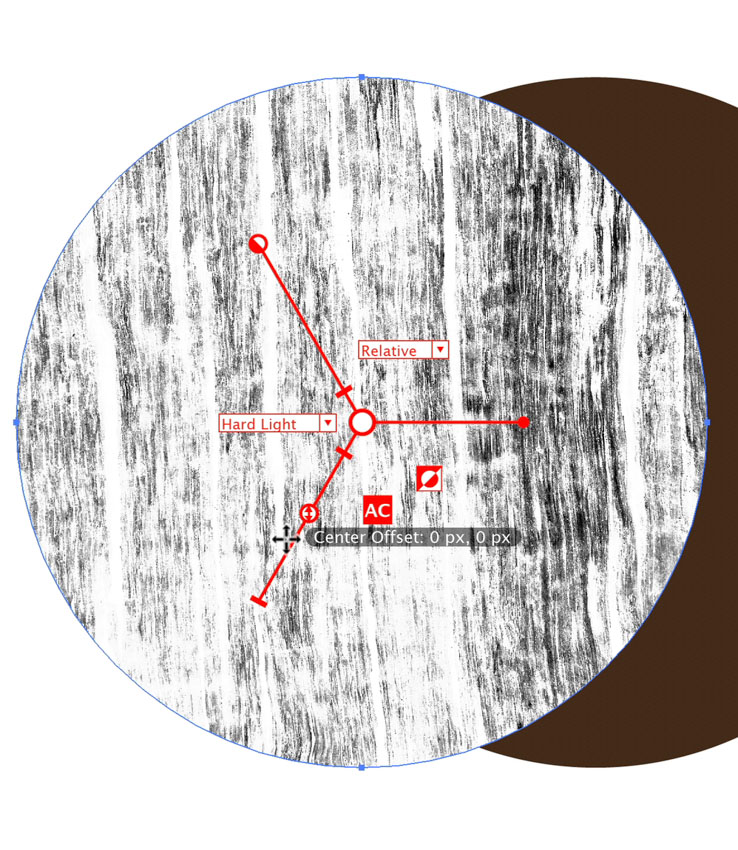
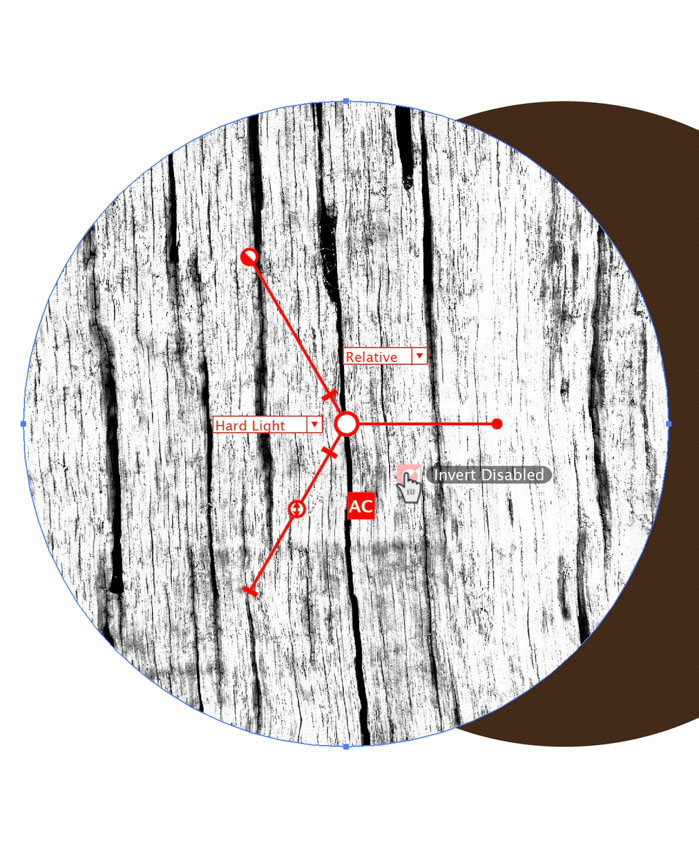
As mentioned, with Knockout you will now punch the texture through the top shape through to whatever is behind it, in this case the back circle shape. Now when you invert the texture you can see the effect it has between the two shapes, and it’s really cool!
With the other blend modes you can see the effect taking place on the isolated shape and the contrast in the texture will invert as you click the invert annotation.
So that’s the first new addition. The second is the ability to now control the opacity of this Knockout. Let’s look at another example.
Here we have the crown logo sat on a circle. Using the same method as before, add the texture, in this example we used Grunge Concrete. Scale the texture accordingly and then select the blend mode as Knockout. Now you can use both the Invert option and the new opacity control slider that is also available for all the other blend modes. Check out the video below to see the opacity effect applied:
You can create and add your own textures to Texturino and these effects will work on those so think about textures with lots of contrast.
Have fun with these updates!