How to vector your illustrations
5 minute readWhy do you need to convert illustrations into vectors? Some drawing tablets and apps produce your final artwork as raster graphics, also called bitmap graphics. This means they cannot be scaled without distorting, as they are basically colored pixel squares. Vector graphics on the other hand, are paths and shapes that can be easily reshaped and scaled. This is best practice if you intend to share them or have them printed etc.
There are many methods to bring your sketches or iPad illustrations into Adobe Illustrator in order to vectorise them...
Tracing your sketch
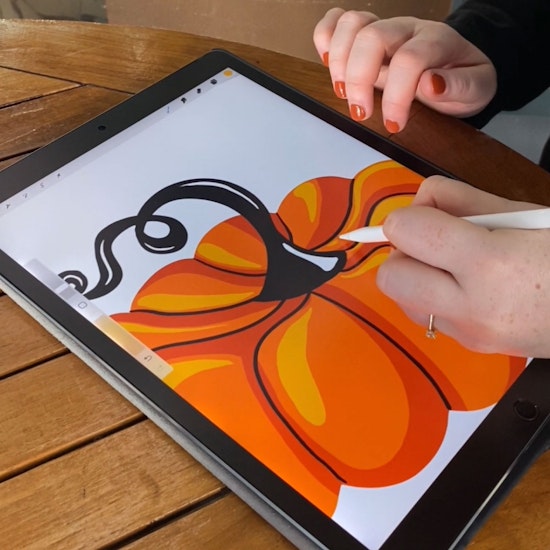
If you have drawn on paper or on your drawing tablet, then you need to bring that image into Adobe Illustrator.
Embed the image onto your artboard in its own layer.
Using the Phantasm plugin you can increase the brightness, enhance the contrast, and even desaturate to reduce it to a clear outline.
Reduce the opacity of the image to 50% and lock the layer.
Next, use guides to mark out the key areas, then start to redraw using either basic shapes, or with a natural drawing tool like the Pencil tool or DynamicSketch. This tutorial Create a children’s book illustration with DynamicSketch in Adobe Illustrator shows how to use DynamicSketch to sketch and trace your Illustrations.
Adobe’s Image tracing
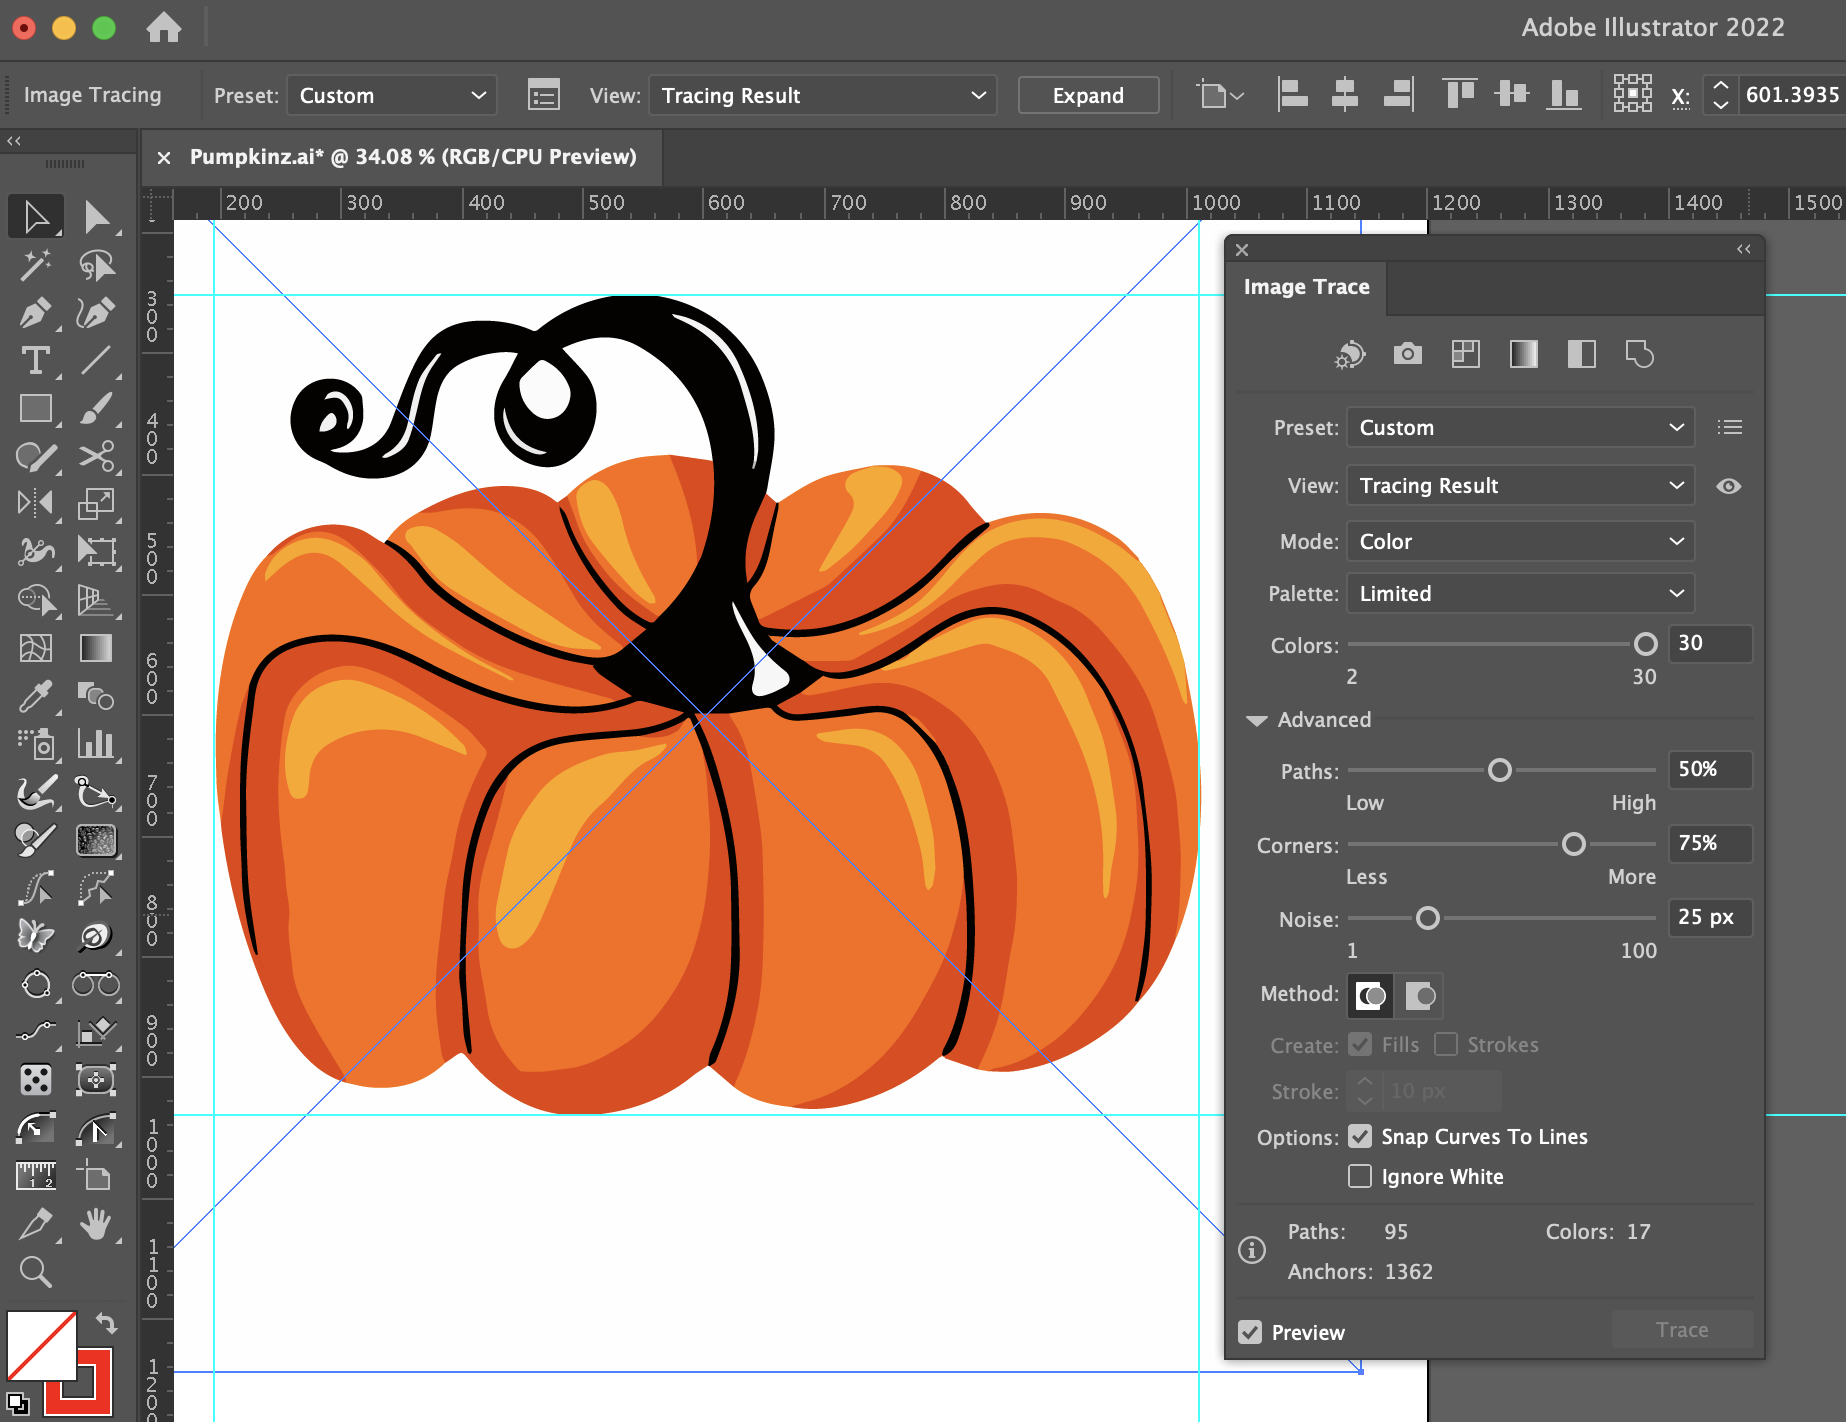
Adobe Illustrator's image tracing can be a bit hit or miss. The Image Trace panel (Window > Image Trace) has several options to help you perfect your vector tracing. But it can be time consuming and CPU heavy to fine tune with the preview setting on. Here are things you need to know about image tracing in Illustrator:
You need to Embed your image onto the artboard before you can start to image trace.
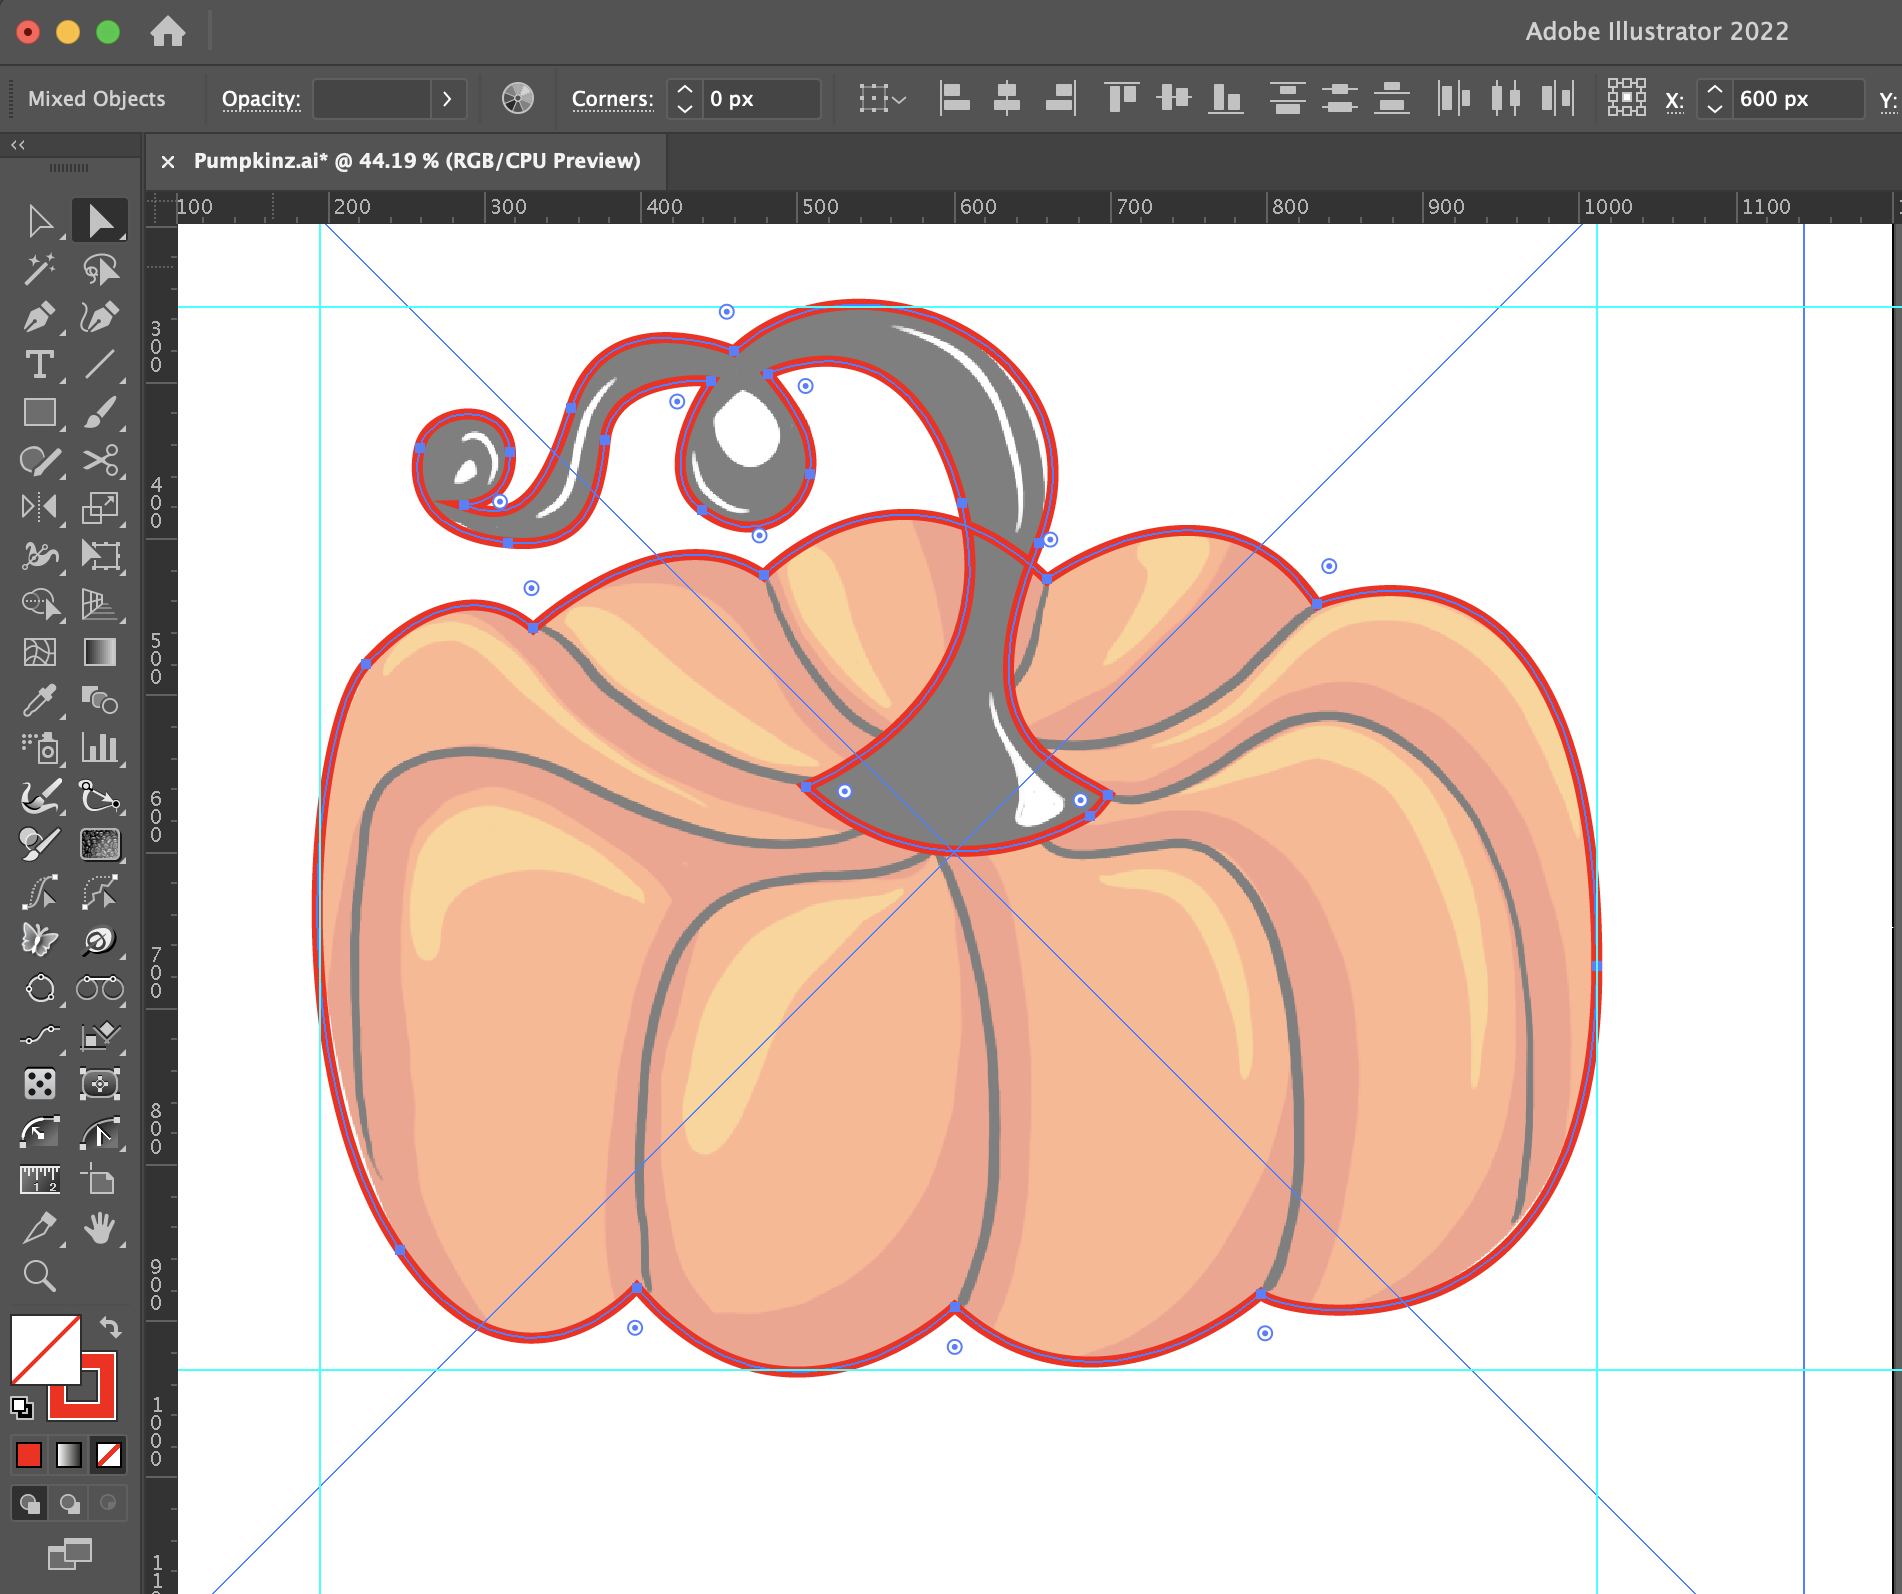
Once you image trace your artwork, you will no longer have strokes, everything will be shapes.
Easy shapes will make for easy tracing. For instance, if you start with a simple black and white sketch with bold lines, tracing should be straight forward.
If you use the Preview option in the image trace panel window, make a small adjustment only, and then wait before you click again. The CPU rendering can lag, so if you become too trigger happy you could find yourself in a spinning beach ball waiting room.
The Advanced dropdown menu gives you more access to image tracing controls. The settings you should use will vary slightly depending on what work you want to trace. But just try to remember:
The more paths = the more details
The lower the noise = the smoother the path
Use VectorFirstAid to remove and tidy up redundant points after you’ve finished the trace.
Why don’t Astute Graphics make a better image trace plugin?
Unfortunately, the science behind auto-tracing artwork is a complicated one, and there aren’t many who can invest the time into building it. But there is some hope in Vector Magic.
From the Vector Magic website: “Easily Convert JPG, PNG, GIF Files to PDF, SVG, EPS Vectors Quickly get your artwork ready to print, embroider, cut, and more with the world's best full-color auto-tracer!” This is a paid for service (which we are not affiliated with) but we’ve heard very good things about it.
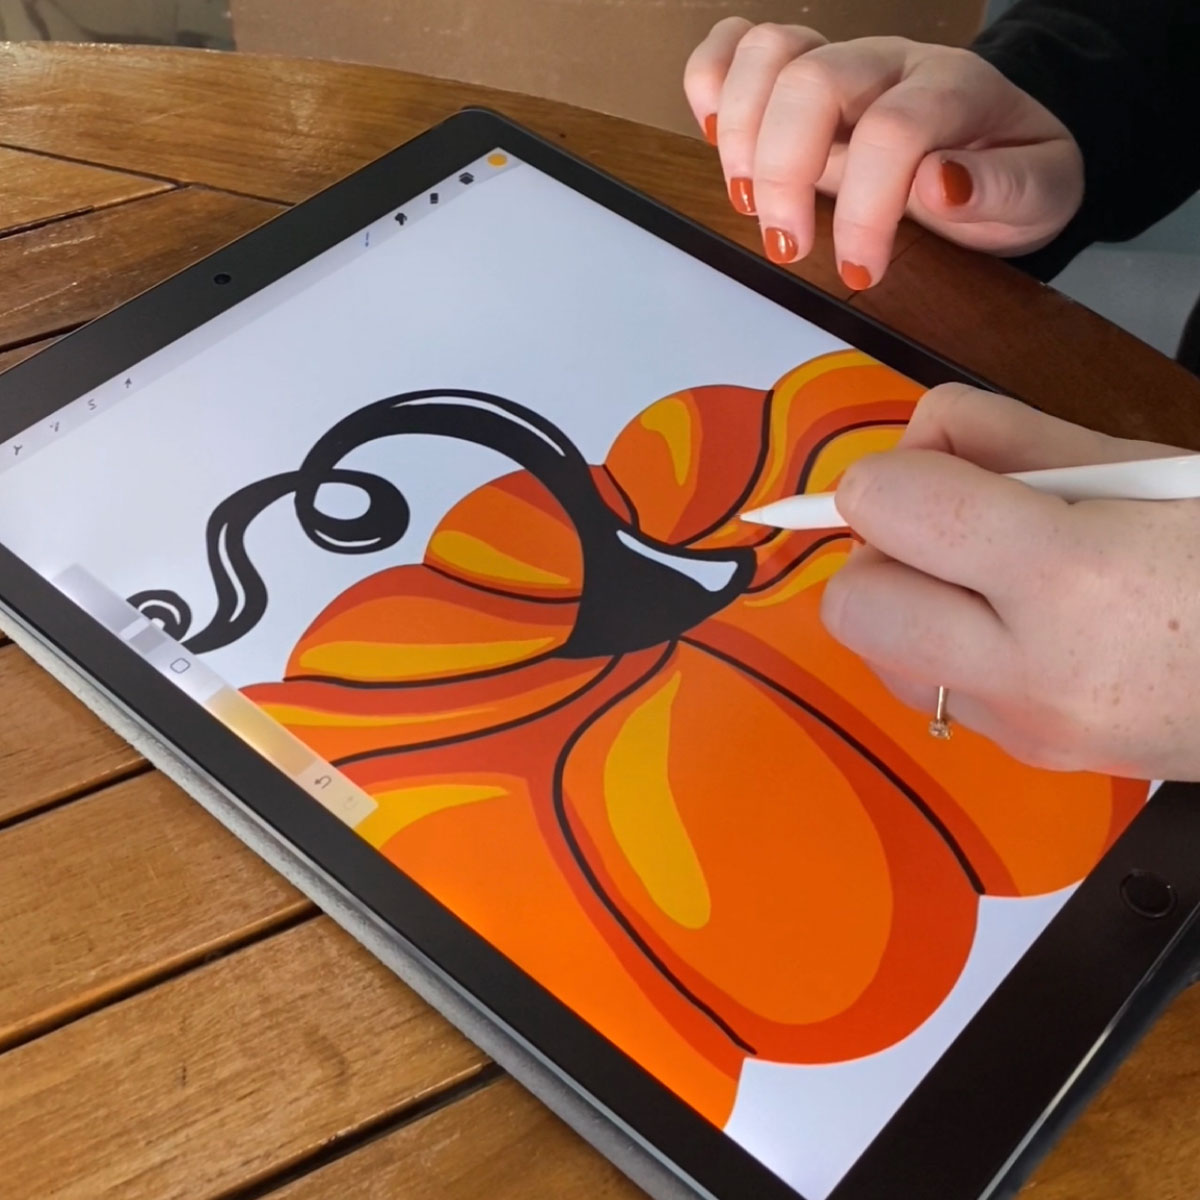
Preparing your tablet sketches
If you have your sketch/illustration on your drawing tablet (i.e. in Procreate) then here are some ideas of how to prepare it for vectorizing:
When starting a new Procreate document, make sure you use the correct size. As standard practice, try and make your graphics a minimum of 1000px square.
Set up your color mode the same in Procreate as you do for an Illustrator document.
Avoid gradients, as image tracing in Illustrator only uses up to 30 colors.
Be wary when using pressure brushes as image trace will struggle to translate them. It's better to add these details after in Illustrator.
Remember, strokes are turned into shapes through the tracing process.

